
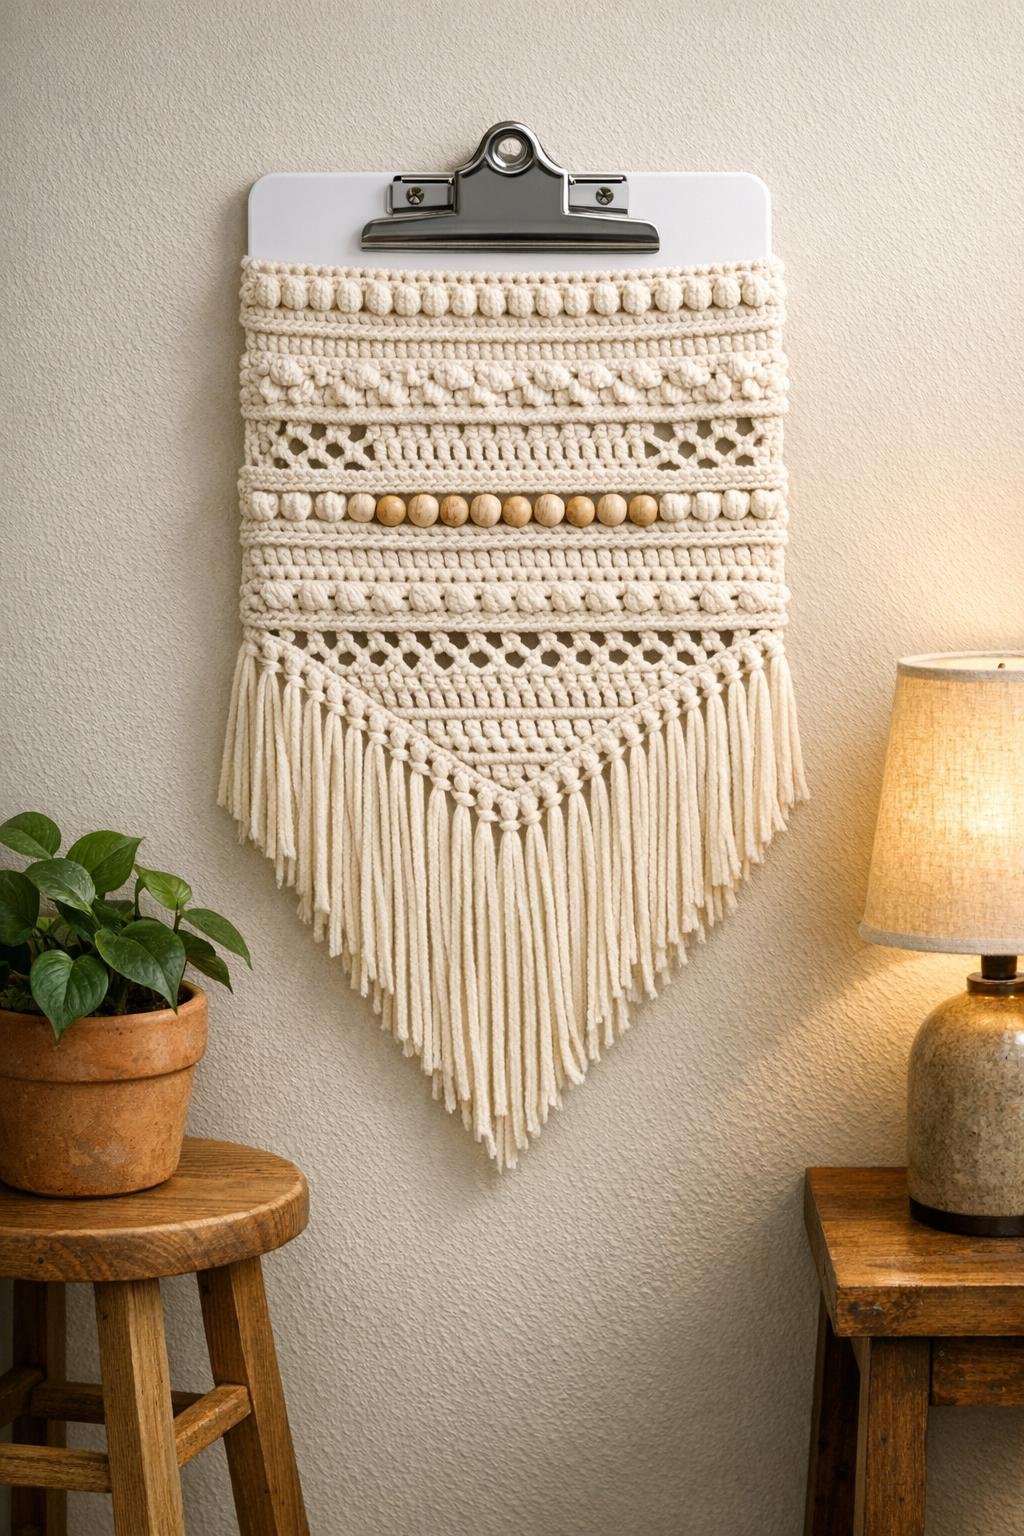
This project turns one plain white dollar store clipboard into a surprisingly polished crochet wall hanging by using evenly cut slots as the foundation. Instead of working onto a wood dowel or metal ring, I crochet directly through the clipboard, which gives the whole piece a crisp shape, a clean top edge, and enough structure that it hangs beautifully without flopping around.
I love a project like this because it has the same satisfaction as a good pantry-stretch meal: simple ingredients, a smart method, and a result that looks much more special than the cost suggests. If you know basic crochet stitches, you can make this easily, and even if you're newer to crochet, the fixed slots make the spacing very forgiving.
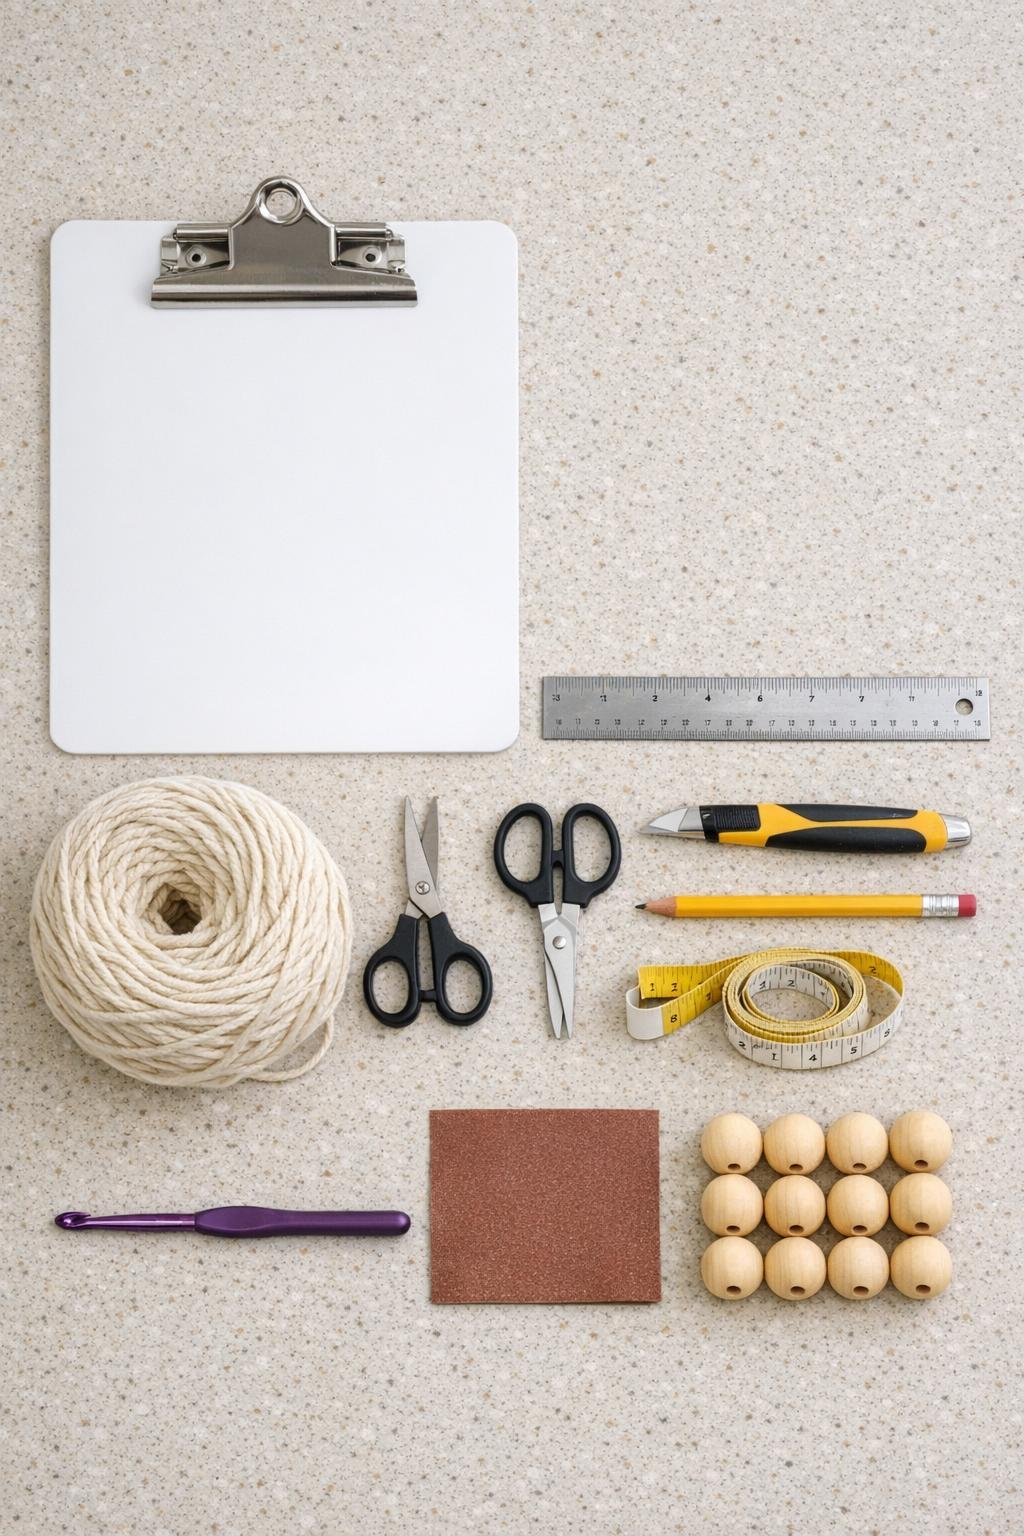
Materials
Instructions
1. Wipe the clipboard clean and remove any price sticker residue so the yarn won't catch later. Measure the lower long edge and mark 12 evenly spaced slot centers across the width, leaving about 1/2 inch clear at each side.
2. Use the ruler to draw 12 vertical slots, each about 3/16 inch wide and 1/2 inch deep, cut into the bottom long edge of the clipboard. Cut slowly with the craft knife, then smooth each slot with fine sandpaper so the yarn can slide without snagging.
3. Tie the yarn to one outer slot with a small knot at the back, then work 1 single crochet through each slot across to create the first row. Keep the stitches snug but not tight so the edge stays straight.
4. Chain 1, turn the clipboard upside down so the slots are now at the top, and single crochet back across the row into the stitches you just made. This gives you a firm foundation row that visually connects the crochet to the clipboard.
5. Begin the body pattern by working 1 single crochet, 1 half double crochet, and 1 double crochet into the first three stitches, then continue alternating taller and shorter stitches across for a gently textured panel. Repeat this pattern for 8 more rows, keeping the edges even.
6. On the next row, create soft openwork by repeating 1 double crochet, chain 1, skip 1 stitch across, ending with 1 double crochet. Work 1 full row of single crochet into that openwork row to lock it in and add structure.
7. Repeat the textured rows from Step 5 for another 6 rows so the hanging looks full rather than skimpy. If you want a longer piece, add 2 to 4 more rows here before shaping the fringe edge.
8. Shape the bottom edge by working fewer stitches at each side over the next 3 rows to form a shallow point in the center. This small taper gives the wall hanging a finished, intentional silhouette.
9. Cut 24 strands of yarn, each 14 inches long, and fold them in half to attach fringe across the bottom edge with lark's head knots. Trim the fringe into a soft V shape so it echoes the pointed crochet panel.
10. Thread 12 short yarn tails through the wooden beads and tie them onto selected fringe strands or along the lower crochet row for subtle weight and detail. Space the beads evenly so they look decorative but balanced.
11. Cut a 16-inch piece of cotton cord and tie it securely through the metal clip opening at the top of the clipboard to make a hanging loop. If you want a neater finish, weave in all yarn ends with a yarn needle and add a tiny dot of clear-drying glue on the back knots.
12. Steam lightly from a distance or mist and finger-shape the crochet so the rows relax and the fringe hangs straight. Let it dry flat, then hang it so the white clipboard remains visible as the clean, modern frame for the crochet panel.
Variations & Tips
Color idea: Cream cotton gives this a clean, natural look, but soft terracotta, sage, or dusty blue also work beautifully against the white clipboard.
Yarn substitution: Macramé cord can be used for a chunkier version, but keep it around 3 mm so it still passes comfortably through the slots.
Slot spacing tip: If your clipboard is slightly narrower or wider, divide the usable width by 12 before cutting so the slots stay even and the crochet panel hangs straight.
Edge-finishing tip: If any slot feels rough after cutting, sand it again before crocheting; cotton yarn will catch on even tiny burrs, and that can fuzz the finished work.
Design variation: Instead of a pointed bottom, keep the lower edge straight and make a thicker fringe for a more modern, blocky wall hanging.
Display tip: This looks best where the clipboard shape can still be recognized, so give it a little breathing room on the wall and don't crowd it with too many surrounding decorations.