
There are a few things a country hallway has to do well: catch muddy boots, stand up to wet weather, and still look tidy when company comes through the door. This boot tray does all three. By fitting a large rimmed metal baking sheet down into a shallow wicker basket and packing the base with smooth river rocks, you get a sturdy landing spot for shoes and chore boots that lets drips settle below instead of spreading across the floor.
I like projects like this because they solve a real everyday problem without looking fussy or store-bought. If your entryway sees rain boots, snowy shoes, garden clogs, or dog-walking mud, this is an easy afternoon fix that looks warm and finished in the hallway instead of purely utilitarian.
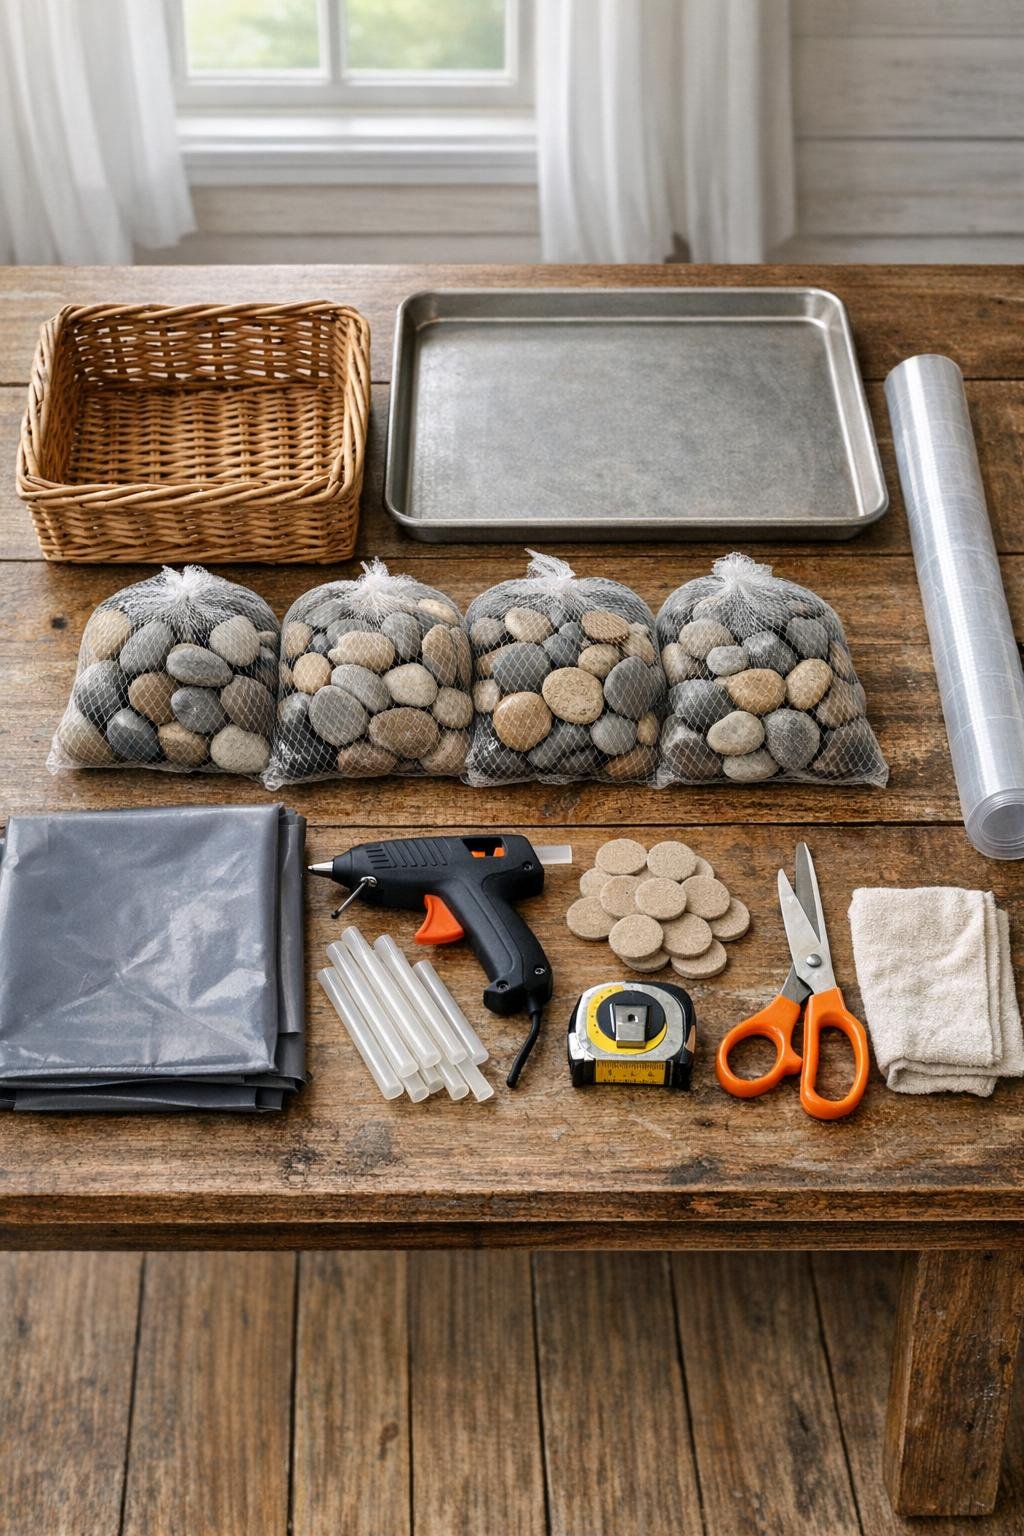
Materials
1 shallow rectangular wicker basket, approximately 24 inches long x 16 inches wide x 4 inches high
Instructions
1. Measure the inside of your wicker basket and make sure the baking sheet sits down into it with a little room around the edges for the rocks. The pan should rest flat and low without bulging the basket sides.
2. Wipe the baking sheet clean with the soapy water and dry it well so no grit or packing dust ends up in your finished tray. This also gives you a clean surface for the non-slip liner.
3. Cut the heavy plastic liner to fit the inside bottom and lower sidewalls of the basket, leaving just enough extra to tuck neatly into the corners. Press it into place so the wicker is protected from trapped moisture.
4. Add the adhesive felt pads to the underside of the basket, spacing them near the corners and along the long sides. This keeps the tray from scratching hardwood or tile when it gets shifted around.
5. Pour a generous, even layer of river rocks into the lined basket, using about half the rocks at first. Spread them so the entire bottom is covered and the layer is roughly 1 inch deep.
6. Set the baking sheet into the middle of the basket and press it down gently until it sits firmly on the rock bed. Check that it is level and that the rim stays visible and easy to wipe clean.
7. Pour the remaining river rocks around the outside edges of the baking sheet, filling the gap between pan and basket wall. Pack the stones snugly so the pan does not shift when boots are set into it.
8. Cut the clear non-slip shelf liner to fit inside the baking sheet and lay it flat in the bottom. This keeps wet shoes from sliding and gives the tray a more finished, practical surface.
9. If any corners of the plastic liner peek above the rocks, trim or tuck them down for a tidy look. Add a tiny dab of hot glue in hidden spots only if a section of liner or a few edge rocks need help staying put.
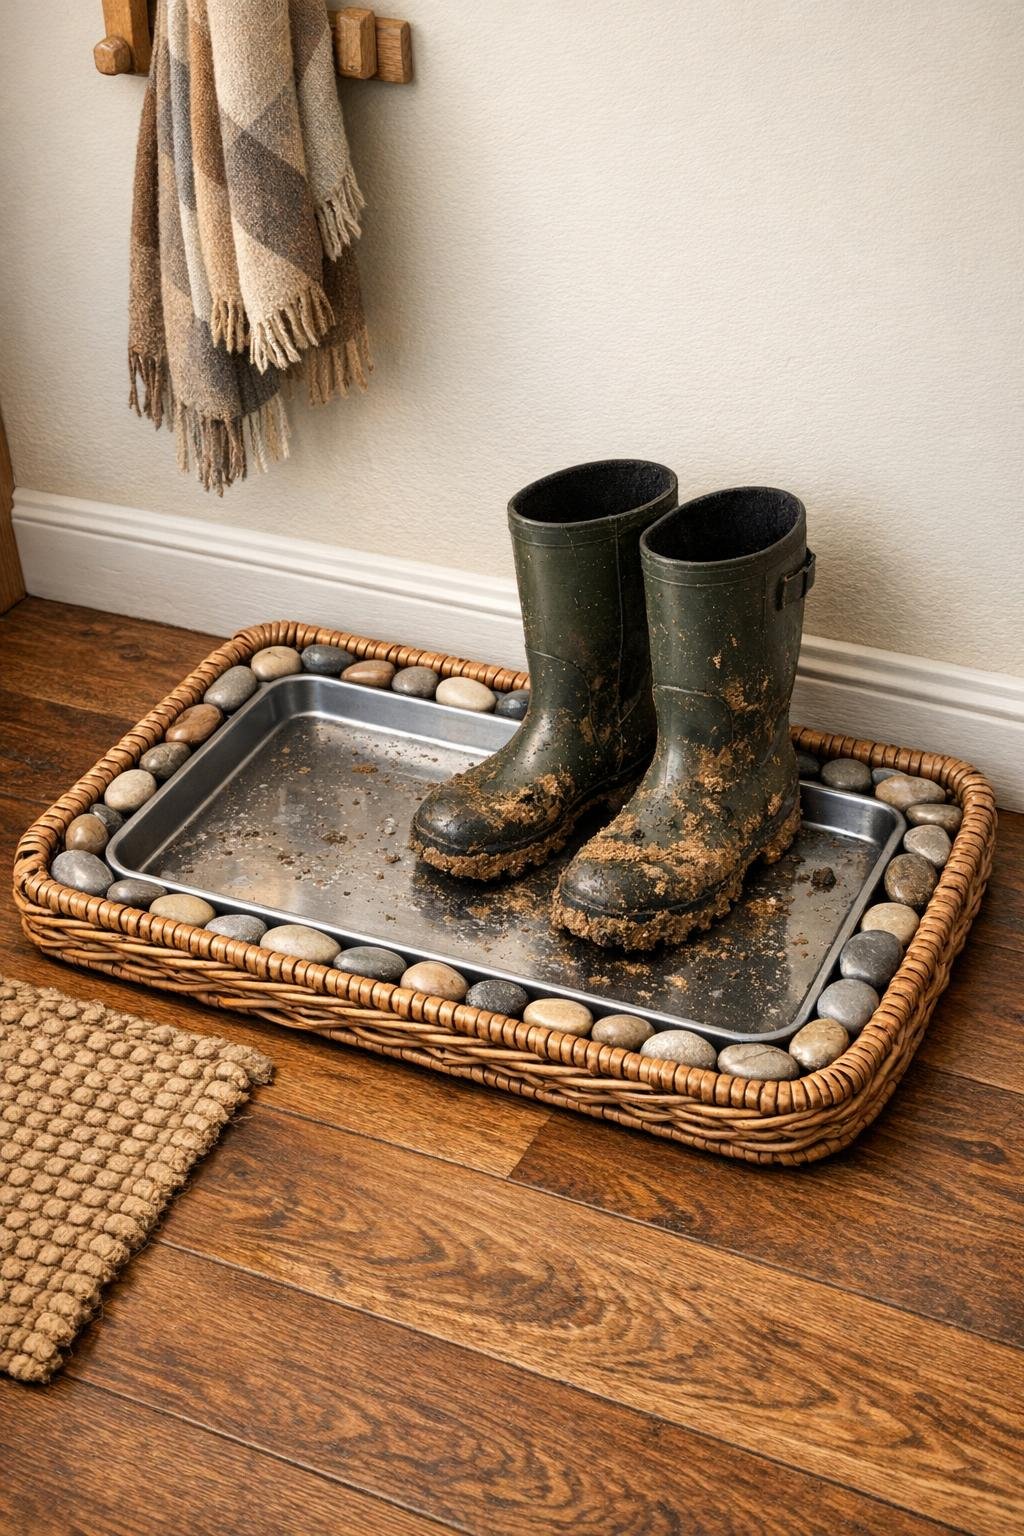
10. Place the finished tray in the hallway and test it with a pair of muddy boots or winter shoes. Leave enough open pan space for two to three pairs of shoes, and keep the rock border visible so the basket still looks decorative.
Variations & Tips
For snowy weather: Use a slightly deeper layer of rocks under the pan so melted snow stays contained and the tray dries out faster between uses.
For a darker look: Choose black or charcoal river rocks with a dark-stained wicker basket for a more tailored hallway style that still hides dirt beautifully.
For extra stability: If your basket is a touch larger than the pan, wedge a few more stones tightly along the long sides before adding the final decorative layer on top.
Easy cleaning tip: Lift out the non-slip liner every few days, dump out grit, and wipe the baking sheet with vinegar water or mild soap to keep odors and stains from building up.
Floor-saving tip: Check the felt pads once a season, especially if the tray sits near an active door. Replacing worn pads is a lot easier than buffing scratches out of wood.
Pretty but practical finish: Set the tray beside a small crock for shoe brushes or a folded hand towel for wet paws and boots. It makes the whole hallway corner feel intentional, which is something I’ve learned goes a long way in a hardworking home.