
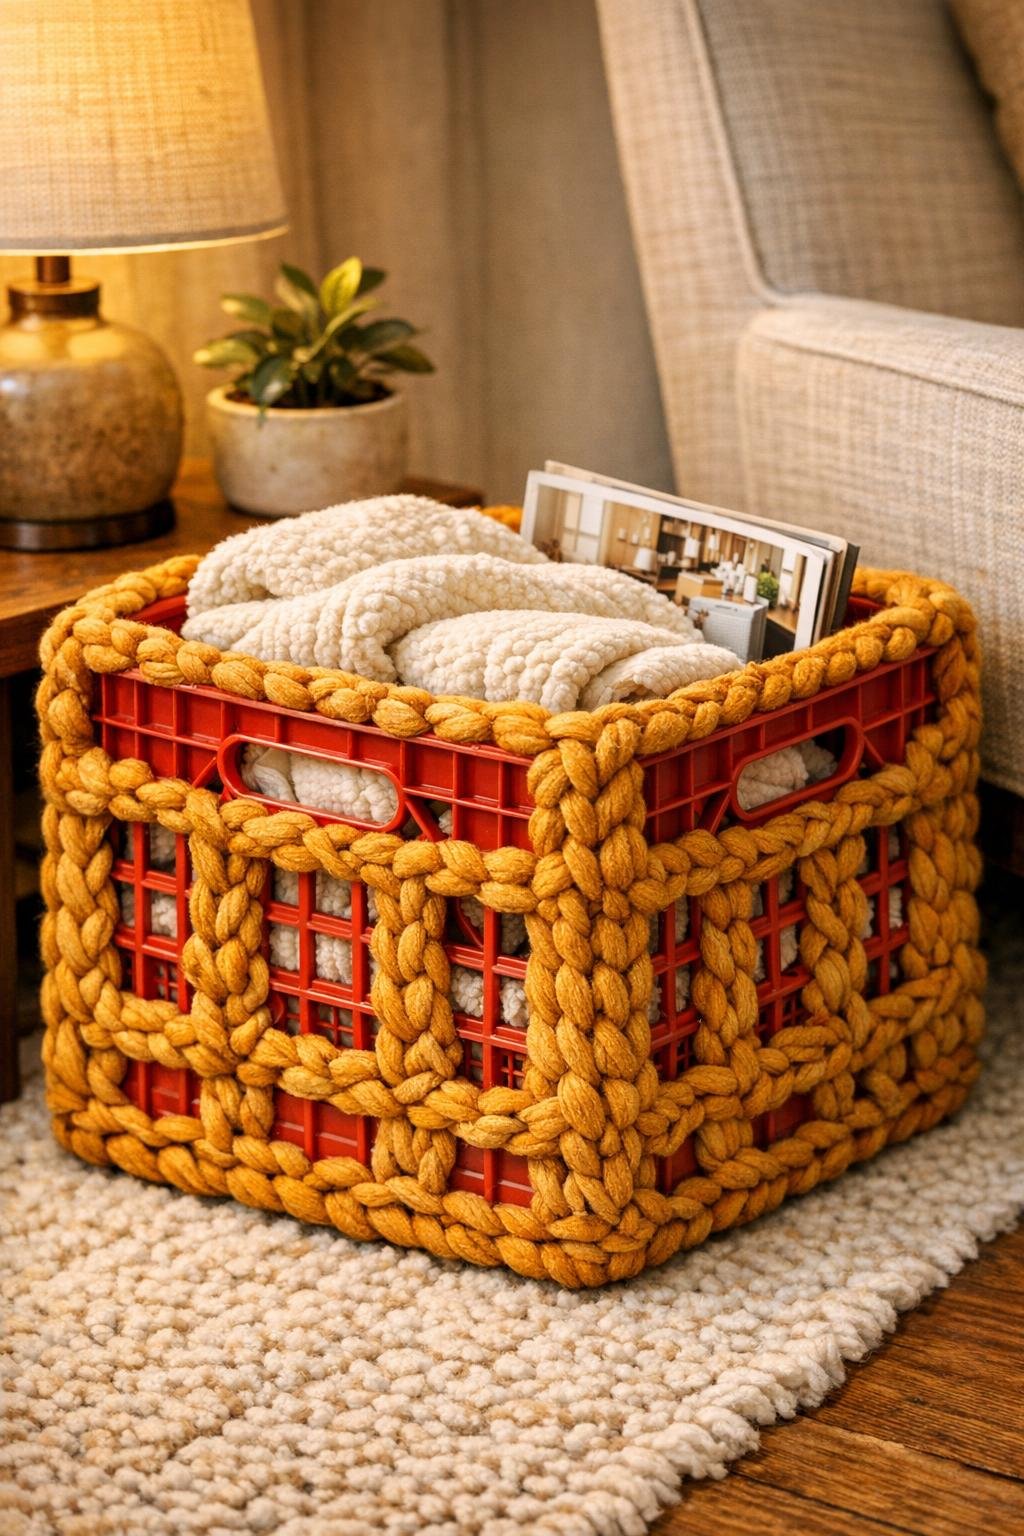
I love a thrift-store object with good bones, and an old milk crate absolutely qualifies. This project turns a vintage red plastic milk crate into a generously textured decorative basket by crocheting chunky amber yarn right through the wire-style grid openings, so you get structure from the crate and warmth from the yarn without having to build a form from scratch.
If you can manage a simple single crochet and a little patience, you can make this. The method is wonderfully practical: the crate does the heavy lifting, and the crochet softens it into something that looks intentional enough for blankets, magazines, toys, or pantry overflow. It reminds me a bit of cooking with a sturdy stock pot—you start with a dependable base, then layer in richness until the plain thing becomes the star.
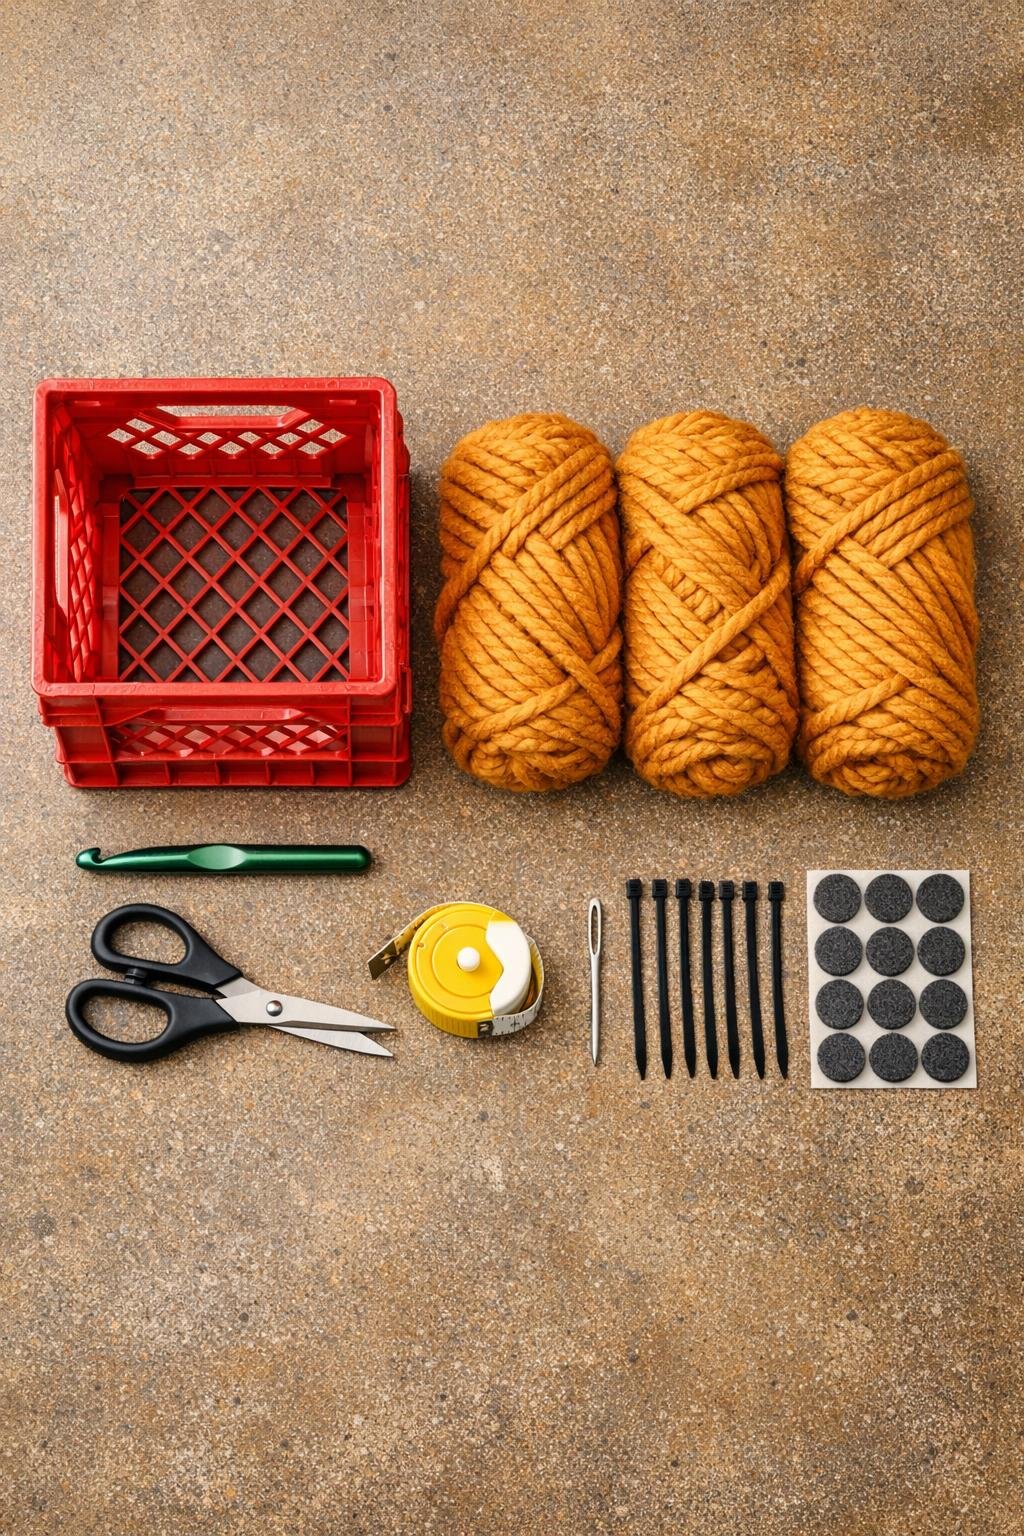
Materials
Instructions
1. Clean the milk crate well with warm soapy water, dry it completely, and check for any cracked or sharp spots that could snag yarn; trim or sand any rough plastic edges if needed.
2. Add the felt pads to the underside corners and along the bottom edges so the finished basket slides easily and does not scuff your floor or shelf.
3. Place the crate upside up and decide which side will be the front; this helps you keep your joins and yarn tails toward the back for a cleaner finished look.
4. Start at the lower back corner and tie the yarn securely around one vertical bar near the bottom row, leaving a 6-inch tail to weave in later.
5. Work single crochet directly through each grid opening along the bottom row of one side, pulling the yarn through the opening and around the plastic bar so every stitch anchors onto the crate itself.
6. Continue across that side with one stitch in each opening, keeping your tension snug enough to cover the grid attractively but loose enough that the crate does not bow inward.
7. At the corner, work 2 single crochet stitches around the corner bar, then turn and crochet across the next side in the same way; repeat around all four sides of the crate.
8. Join the round with a slip stitch around the starting bar, then begin the next row one grid opening higher, stacking the stitches so the yarn forms dense horizontal bands across the crate sides.
9. Repeat row by row up the sides, crocheting through each opening and adding 2 stitches at every corner bar on each round so the fabric hugs the crate neatly without puckering.
10. When you finish a skein, join a new one at a back corner by tying a firm small knot close to the crate bar and crocheting over the tails for several stitches before weaving them in with the yarn needle.
11. Keep working until all four sides are fully covered from the bottom row to the top row of side openings, leaving the crate’s top rim exposed for a crisp, useful edge.
12. Crochet a finishing round around the top rim by placing one single crochet around each top opening or bar space, with 2 stitches at each corner, to visually connect the side panels and soften the hard plastic edge.
13. For a fuller decorative look, make a second pass on any side that seems visually open by slip stitching over exposed bars between rows, especially at the corners and near the top edge.
14. Cut the yarn with an 8-inch tail, thread it onto the yarn needle, and weave all tails back through the bulky stitches on the inside of the crate.
15. Use the small zip ties on the inside top and bottom edges—two per long side and one per short side if needed—to discreetly secure any areas that shift, then trim the tie ends flush.
16. Shape the crochet with your hands, tugging the rows into even alignment so the amber covering looks dense and intentional, then fill the basket with rolled throws, towels, or magazines to help it settle into its final form.
Variations & Tips
Softer finish: If your crate has especially large openings, line the inside with a simple rectangle of canvas or an old pillowcase after crocheting so smaller items do not poke through.
Color strategy: Amber is beautiful against red plastic because it warms and deepens the crate instead of fighting it, but rust, mustard, oatmeal, or deep olive also work well if you want a different mood.
Stitch choice: Single crochet gives the fullest coverage and best structure here. Half-double crochet works too, but it leaves a looser, more open surface and usually needs more adjustment around corners.
Handle option: If your crate has open handholds, leave those areas uncovered as you crochet so the basket stays easy to carry; just edge the openings with a few tight stitches for a tidy border.
Best uses: I like this basket for bulky, attractive storage—throws, extra towels, knitting supplies, or pantry linens—because the crate stays sturdy and the yarn makes it feel at home with softer furnishings.
Thrift-store tip: Choose the straightest crate you can find, and look for one with an even grid pattern. In projects like this, a regular structure is like even knife cuts in cooking: everything comes together more cleanly, and the finished result looks much more polished.