
When my garden hits that late-summer or early-fall stretch, I start thinking less about daily watering and more about getting moisture down where roots can actually use it. This simple deep-watering reservoir is one of those old-school garden tricks that still earns its keep, especially in raised beds and thirsty vegetable rows. You’re turning sliced plastic milk jugs into buried slow-watering chambers, with two easy shed staples helping them stay useful and easy to find.
I love this project because it costs next to nothing, uses what many of us already have on hand, and really helps when the weather swings from dry afternoons to chilly nights. If you grow tomatoes, peppers, squash, mums, or even a fresh fall planting of greens, this is a practical little upgrade that makes watering more efficient without adding fancy equipment.
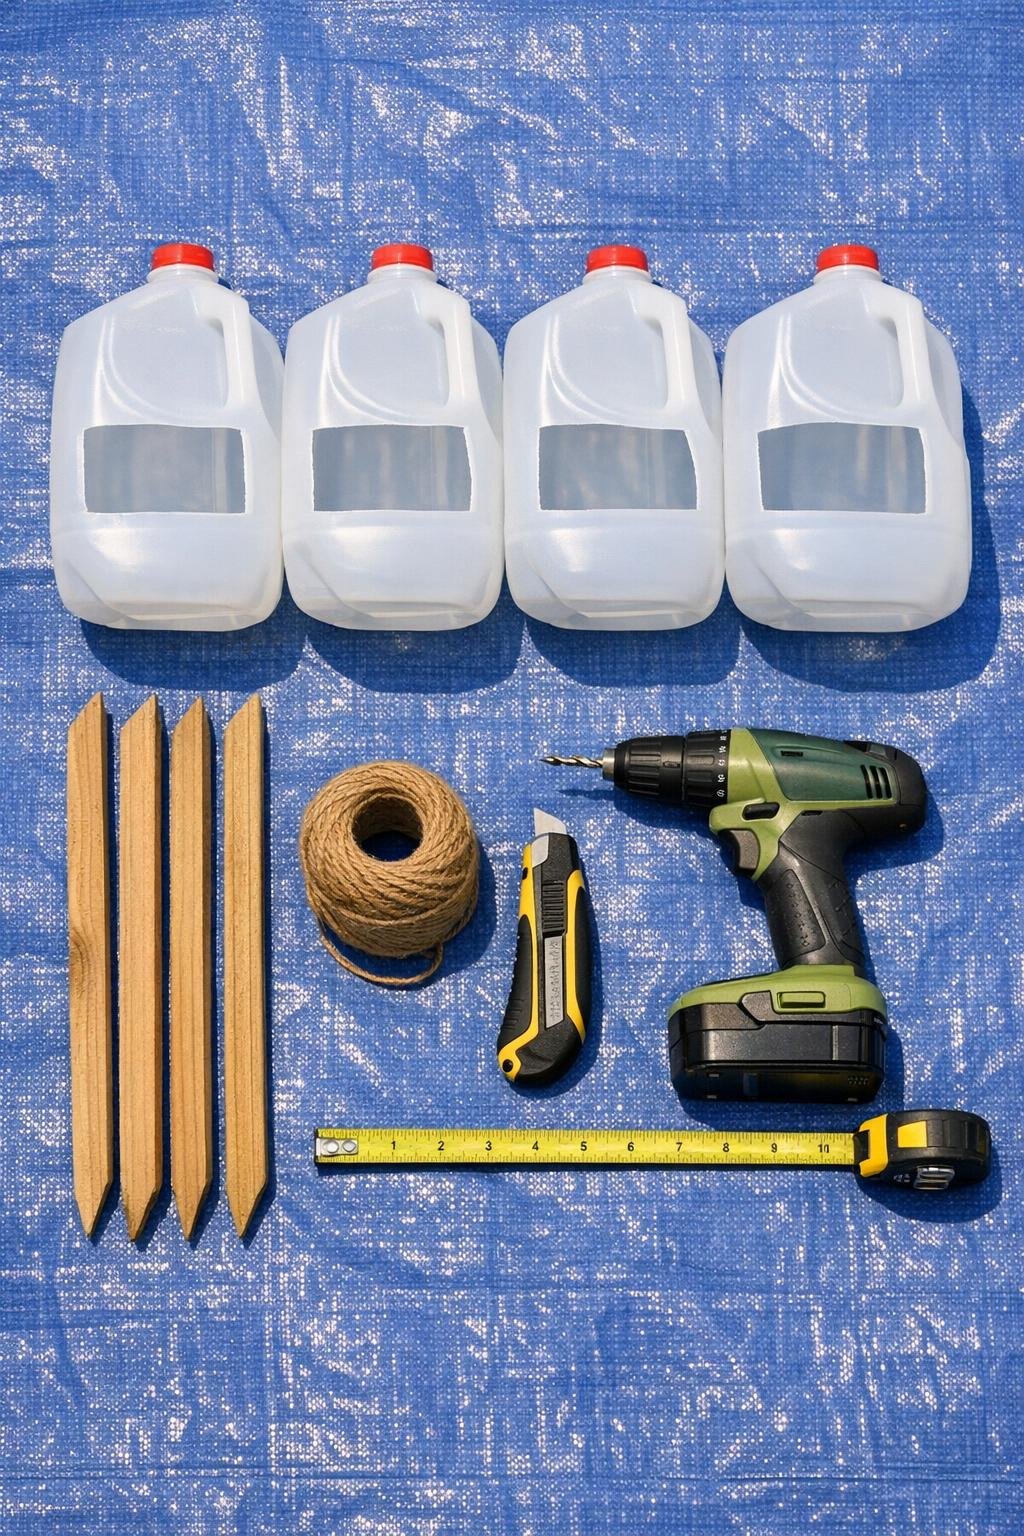
1. Rinse the milk jugs well and leave the caps on so the jug shape stays firm while you cut and drill.
2. Use the marker to draw a large rectangle or oval on one broad side of each jug, leaving a 1 1/2-inch border all the way around and keeping the handle and neck untouched.
3. Slice along the marked line with the utility knife to create a wide fill opening in each jug; make the opening generous enough to pour water in easily, but not so large that the jug loses its strength.
4. Drill 8 to 10 holes in the bottom of each jug and 6 more around the lower sidewalls, placing the side holes within 2 inches of the base so the water seeps out low and deep.
5. Add 1 to 1 1/2 cups of pea gravel to the bottom of each jug to keep soil from packing tightly against the holes and to give the reservoir a little weight.
6. In your garden bed, dig a hole beside each large plant or between every 2 to 3 smaller plants, deep enough to bury about two-thirds to three-quarters of the jug with the side opening facing up.
7. Set one jug into each hole with the handle or neck slightly above soil level so you can spot it fast when it’s time to refill.
8. Backfill around the jugs firmly, pressing soil in snugly so there are no big air gaps, and keep the opening clear of loose dirt.
9. Push a wooden stake into the soil right behind each jug and tie it loosely to the handle with a short piece of garden twine so the station stays easy to find under mulch or falling leaves.
10. Pour water into each jug until full, then watch how quickly it drains the first time so you learn whether your soil needs fewer or more refill days.
11. Spread mulch around the plants and around the buried jugs, but leave the jug opening and neck exposed so you can refill without digging.
12. Refill the reservoirs as needed, usually every 2 to 5 days depending on rain, plant size, and temperature; for heavy feeders like tomatoes, I like to check them whenever I’m already out picking dinner.
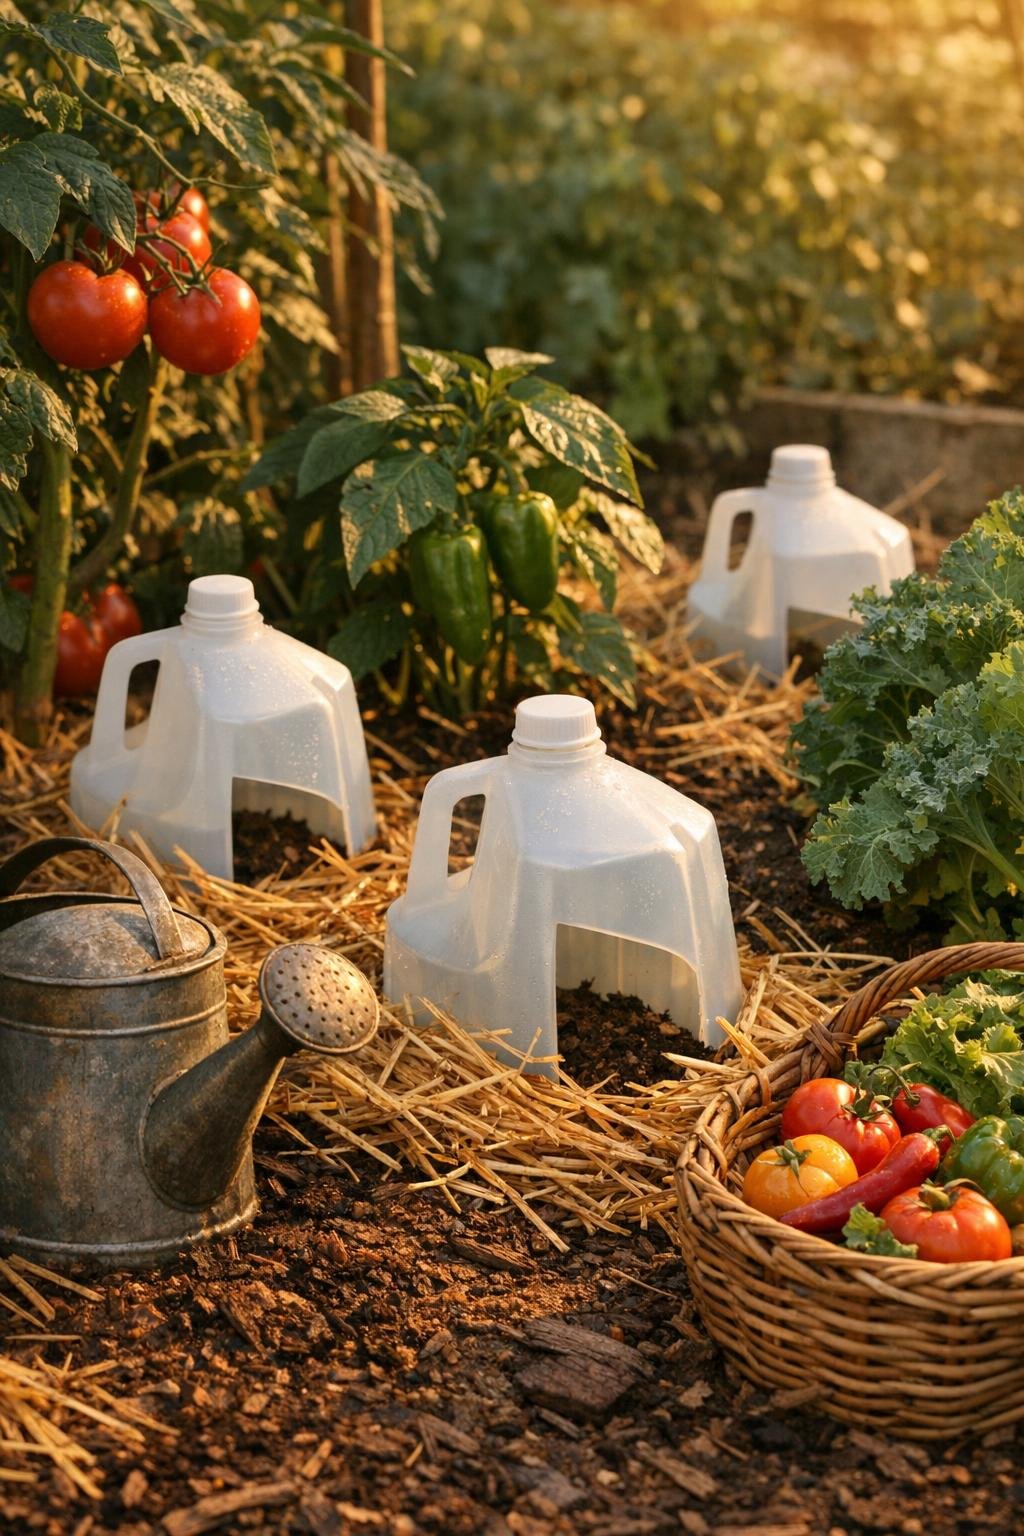
For raised beds: Place the jugs a little closer together than you would in an in-ground row. In my raised beds, one reservoir for every 18 to 24 inches gives the nicest, most even deep watering.
For picky drinkers: Some plants, just like some kids at my dinner table, seem fussier than others. Tomatoes, peppers, and squash love this setup, while shallow-rooted lettuce usually does better with one reservoir nearby plus lighter surface watering.
If your soil is heavy clay: Drill a couple of extra side holes and mix a little compost into the backfill so water can move outward more easily instead of lingering too long in one spot.
If your soil is sandy: Keep the lower holes small and mulch generously. Sandy beds drain fast, so the mulch is what really helps stretch each fill-up.
For easy fertilizer feeding: Once every few weeks, fill the jug with diluted liquid fertilizer or compost tea instead of plain water. It delivers nutrients right to the root zone with much less waste.
To keep debris out: Set the cap on loosely after filling, or poke a few tiny holes in the cap and screw it on. That helps keep mulch, mosquitoes, and curious garden messes from collecting inside.
For colder fall nights: Dark mulch around the jug helps hold daytime warmth and slows evaporation. I’ve found that little bit of extra root-zone stability can keep fall crops looking happier longer.
Best placement tip: Don’t bury the jug right against the stem. Keep it 4 to 6 inches from most vegetables, and 6 to 8 inches away for bigger plants, so roots grow toward the water instead of sitting in constantly wet soil.