
There’s a particular kind of satisfaction in turning the plain little things we all have tucked behind the shed into something that looks clever, useful, and just a touch elegant. This raised bed drainage tower does exactly that. By cutting the bottoms out of black plastic nursery pots and pairing them with two simple dollar store finds, you can make a sturdy vertical fill-and-drain column that helps water reach deep into the bed right where roots need it most.
I like projects like this because they solve a real garden problem without asking for fancy supplies or a full afternoon. If you grow in raised beds and get tired of water running across the top while the lower soil stays dry and packed, this is for you. It’s easy, practical, and once it’s tucked into a bed with mulch around it, it looks tidy enough that folks really do ask if you bought it somewhere.
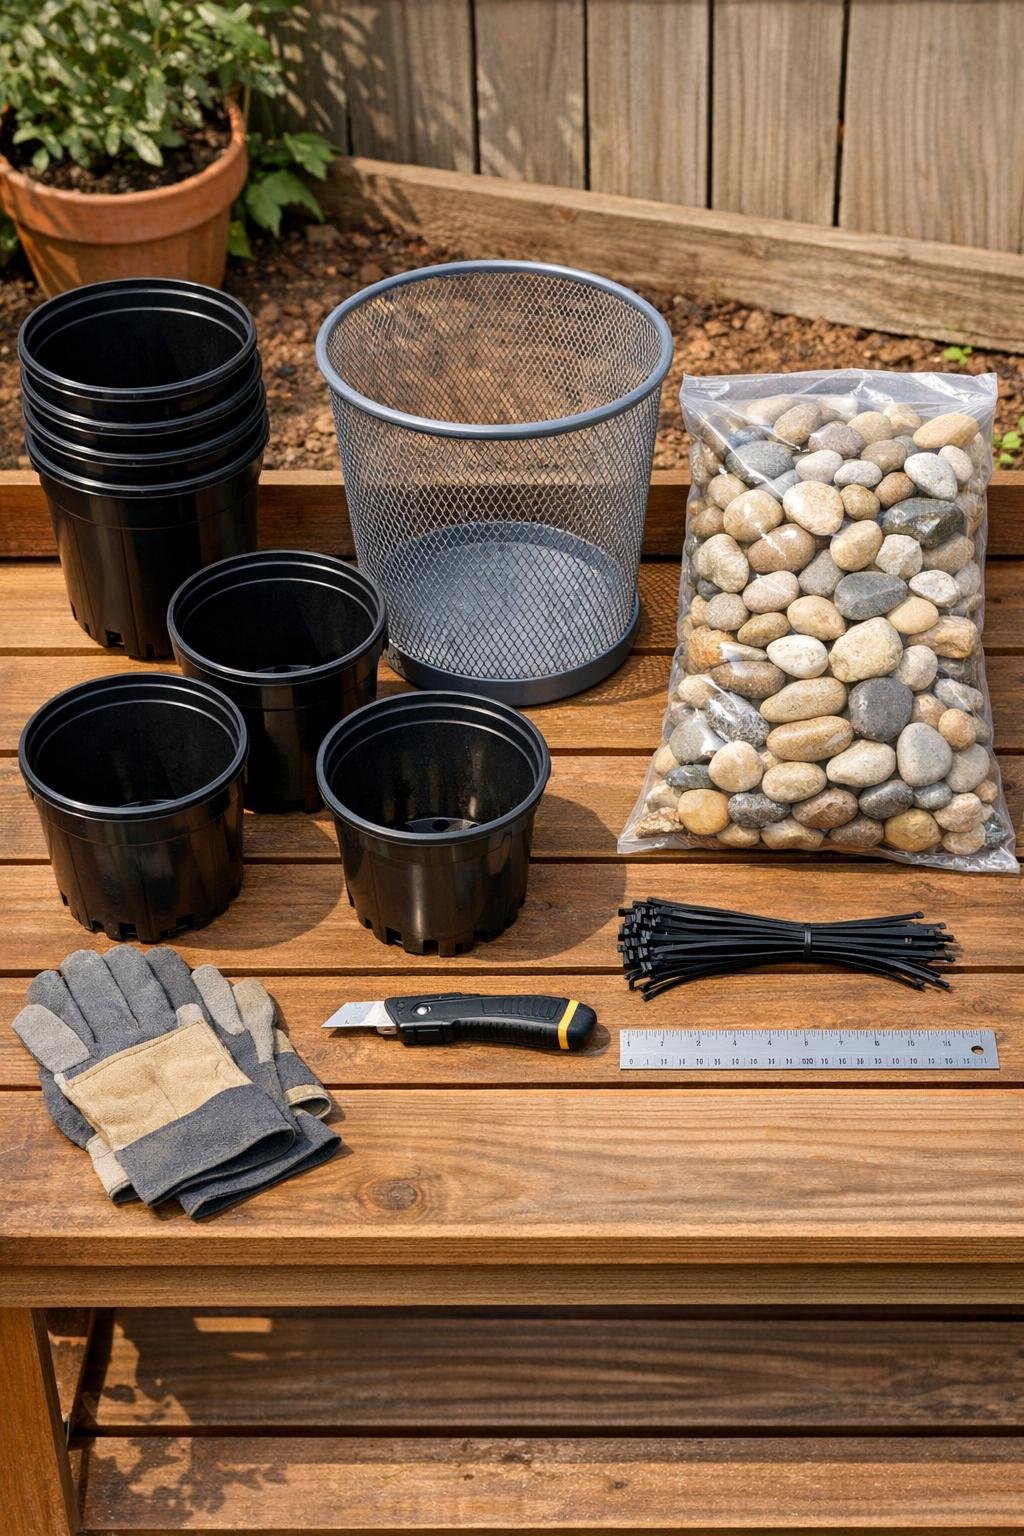
Materials
Instructions
1. Wash the nursery pots and let them dry, then stack them to check that they nest neatly into a tall tapered column. Choose pots that are close in size so the finished tower stays straight and snug.
2. Cut the bottom out of each nursery pot with a utility knife, leaving a 1/2-inch rim around the edge so each pot keeps its strength. Work slowly and press the blade away from your hand on a stable bench.
3. Slide the bottomless pots together into one long tower, overlapping each pot by about 2 inches so the shape narrows gently from top to bottom. Fasten the overlap at three evenly spaced points with zip ties to keep the stack from shifting.
4. Set the wire wastebasket over the pot tower to test the fit, then trim the top pot edge if needed so the basket slides down around it easily. The basket is what gives this project its nice finished look and keeps mulch from falling into the center.
5. Wrap the lower 8 inches of the tower with landscape fabric and secure it with two zip ties. This slows soil from washing into the openings while still letting water move out into the bed.
6. In your raised bed, dig a hole 8 to 10 inches deep and wide enough for the base of the tower. Pour 2 cups of coarse gravel into the hole so the bottom drains freely instead of sitting in packed soil.
7. Place the tower into the hole with the narrow end down and backfill firmly around it until it stands straight on its own. Leave 6 to 8 inches of the tower above the soil line so it stays easy to fill with water.
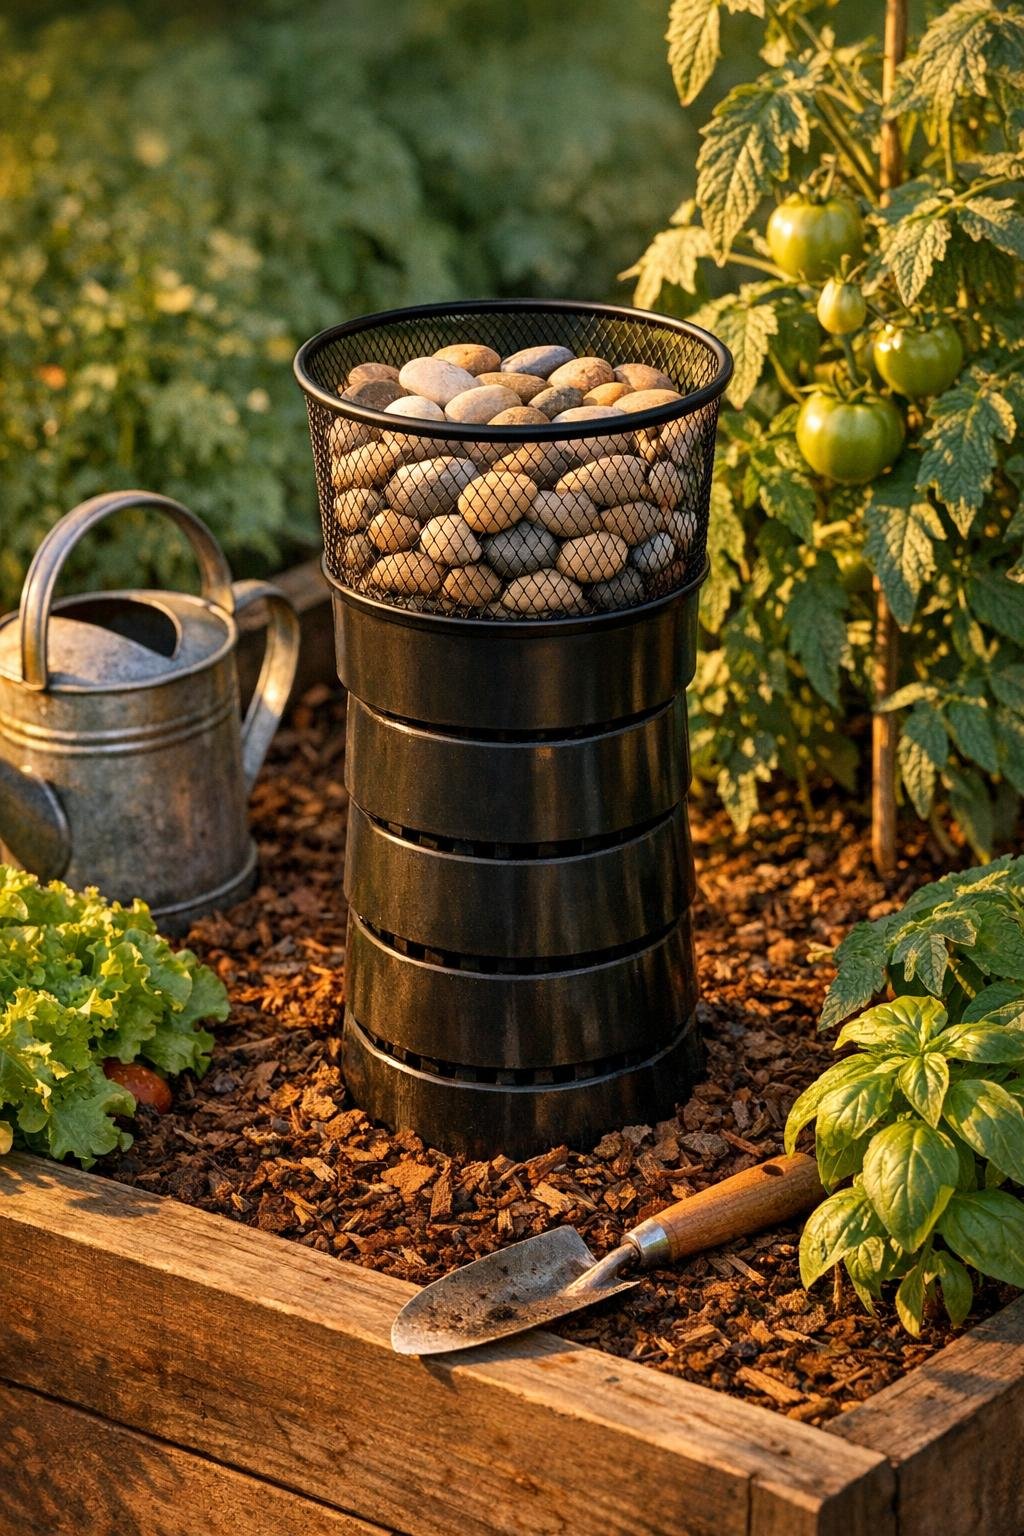
8. Slide the wire wastebasket down over the exposed part of the tower and anchor it to the top pot with three more zip ties. This outer sleeve protects the plastic pots, keeps the shape crisp, and gives the whole thing a more polished, store-bought look.
9. Fill the visible top section of the basket with decorative river rocks or glass vase filler until it looks full and finished. This weight helps steady the tower and gives the top a clean, intentional appearance.
10. Spread mulch around the base to blend the tower into the bed, then water through the center until you see the surrounding soil moisten. Once installed, you can pour water right into the top and send it down deep instead of wasting it on runoff.
Variations & Tips
For deeper beds: Add two more nursery pots to make a taller tower if your raised bed is more than 18 inches deep. I still keep about 6 inches above the soil so it’s easy to spot and fill.
For a cleaner finish: Spray-paint the wire wastebasket matte black before assembling if the finish is shiny or mismatched. Let it dry fully before it goes into the garden.
For sandy soil: Skip only half the landscape fabric instead of wrapping the whole lower section. Sandy beds drain fast already, so a little extra opening helps water spread better.
For heavy clay blends: Use extra gravel under the tower and poke a few side holes in the lowest pot section. That gives water more ways to escape into stubborn soil.
Best placement: I like to install one tower between two large plants like tomatoes, peppers, or zucchini so the roots on both sides can benefit. In a 4-by-8 bed, two towers usually give very good coverage.
Season-end care: Pull the river rocks out, rinse the tower, and store it by the shed if your winters are hard on plastic. Around here in the Midwest, that little bit of care often buys you another growing season or two.