
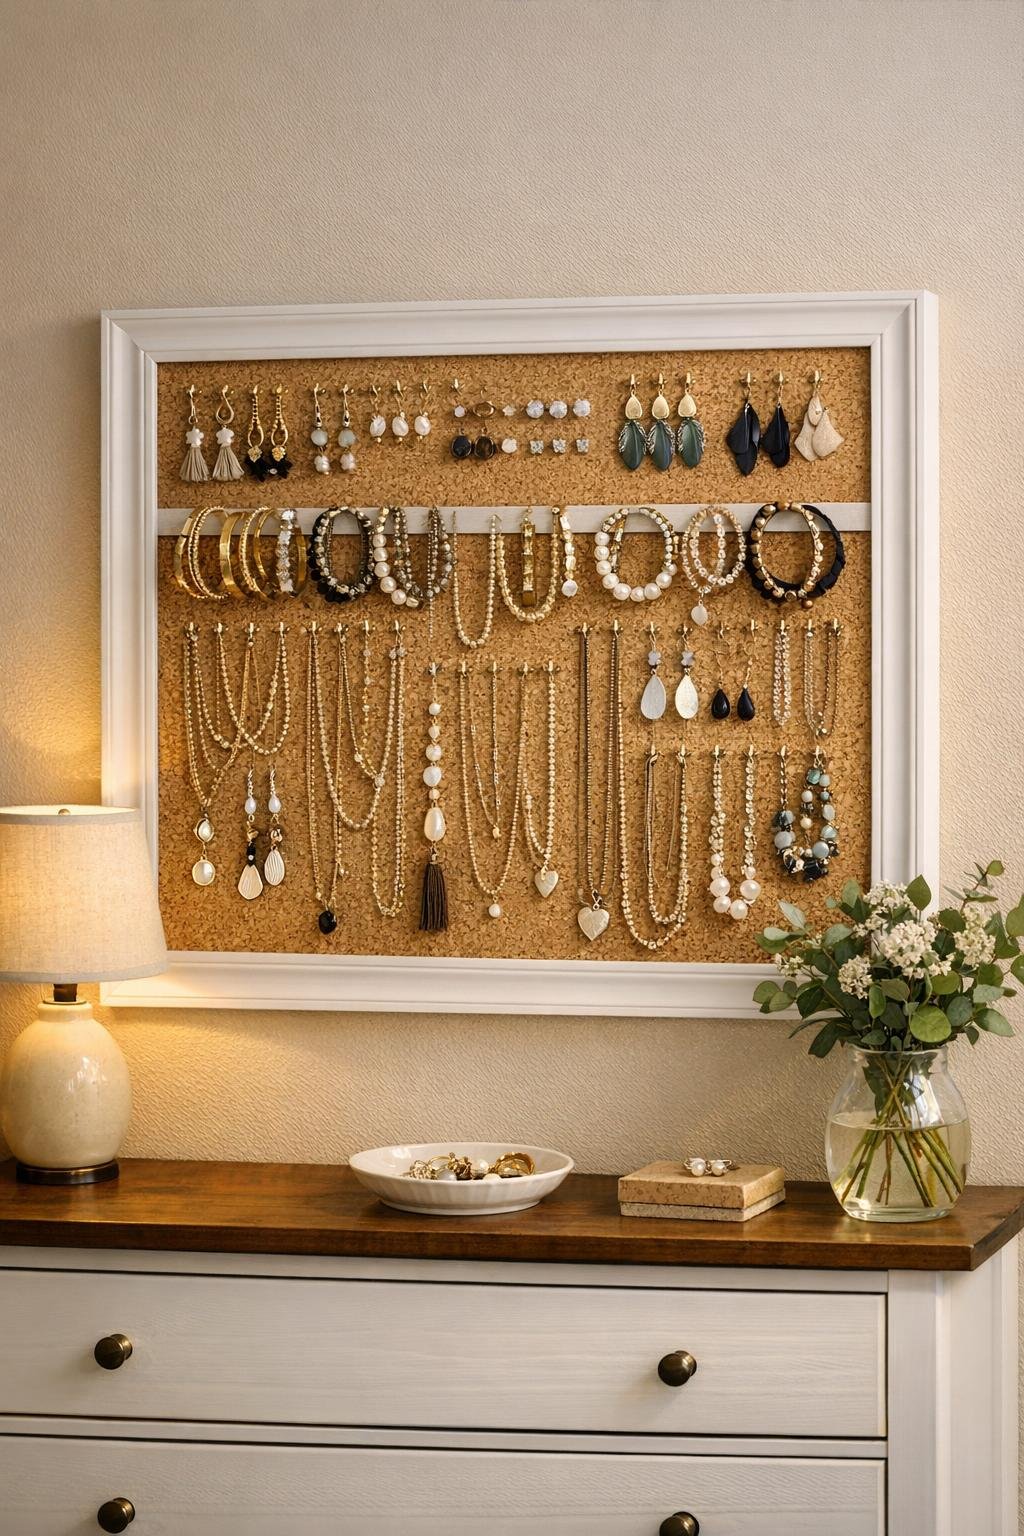
This bedroom jewelry organizer is one of my favorite kinds of projects: fast, affordable, and genuinely useful the minute you hang it up. By wrapping cork drawer liner around a picture frame backing, you get a soft pin-friendly surface for earrings, necklaces, bracelets, and little hair accessories, all in one tidy spot that looks much nicer than a tangled dish on the dresser.
I love projects like this because they fit real life. On busy weekday mornings, I do not want to dig through a jewelry box looking for a matching pair of studs, and this setup makes everything visible at a glance. If you have an empty frame, a roll of cork liner, and about an hour, you can turn a plain backing board into a polished bedroom organizer that feels custom without being fussy.
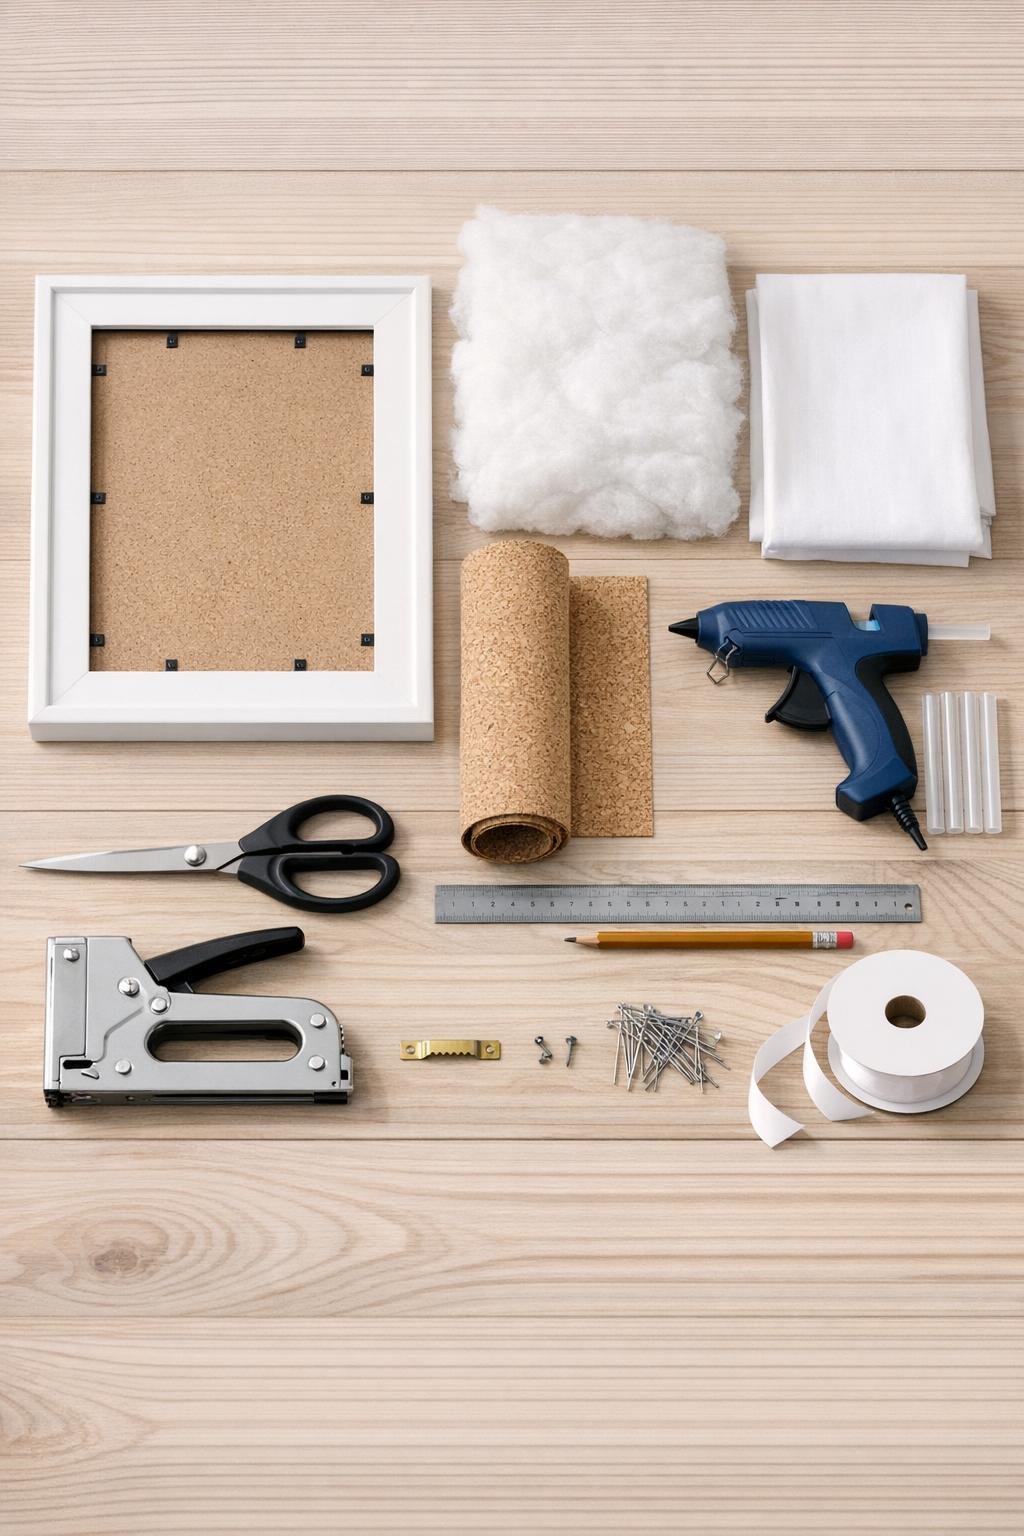
Materials
Instructions
1. Remove the frame backing, glass, and inserts, then set the glass aside for another project so you are left with the large white wooden frame and its backing board.
2. Lay the backing board on top of the batting and cut the batting 1 inch larger on all sides, then repeat with the white fabric so both layers can wrap cleanly around the back.
3. Center the batting on the backing board, pull it snug over the edges, and staple it to the back, placing staples every 2 to 3 inches for a smooth lightly padded surface.
4. Place the fabric over the padded board, smooth out any wrinkles, and staple the fabric to the back the same way, folding the corners neatly like wrapping a gift.
5. Cut the cork drawer liner so it is large enough to cover the entire front and wrap 1 inch around all four edges, then lay it cork-side out if your liner has a backing layer.
6. Center the padded fabric-covered board on the cork, pull the cork firmly over one long side, and hot glue it to the back; repeat on the opposite side, keeping the front smooth and flat.
7. Wrap and glue the two short sides next, folding the corners tightly so they stay crisp and do not bulk up once the board goes back into the frame.
8. Trim away any extra cork on the back so the board sits flat, then let the glue cool for a few minutes before handling it further.
9. If you want ribbon sections for extra organization, cut three pieces of ribbon 14 inches long and stretch them horizontally across the front, spacing them evenly before gluing the ends around to the back.
10. Reinsert the finished cork-wrapped backing into the white frame and secure it with the frame tabs or points, checking that the cork front sits taut and centered.
11. Attach the sawtooth hanger to the back top edge, then hang the organizer on the wall at a height that makes it easy to reach during your morning routine.
12. Add straight pins or decorative push pins across the cork in rows for necklaces, bracelets, and hoop earrings, then tuck studs through the cork surface or under the ribbon bands to fill the organizer generously.
Variations & Tips
Add more storage: If you wear a lot of long necklaces, use a taller frame like 18 x 24 inches so you have enough drop length without chains piling on each other.
Use what you have: If your frame is another color, keep it as-is for a thrifted look or paint it before assembly so the finished organizer matches your bedroom furniture.
Make it softer-looking: I like the thin layer of batting under the cork because it gives the board a slightly cushioned look and helps the finished piece feel a little more custom.
Choose the right cork: Thin flexible cork drawer liner wraps much more easily than thick cork tiles, especially around the edges and corners of a frame backing.
Keep jewelry from tangling: Space pins at least 2 inches apart for chunkier necklaces and stagger shorter pieces between them so everything hangs visibly instead of overlapping.
Try decorative pins: Pearl-head pins, brass push pins, or small clear thumbtacks all work well and can make the organizer feel more finished without adding extra effort.
Use ribbon bands wisely: Ribbon is especially handy for stud earrings, bobby pins, and lightweight bracelets, and it breaks up the cork nicely if you want a more dressed-up look.
Bedroom placement tip: Hang it near the dresser or closet, not in a steamy bathroom, since cork and fabric both stay looking nicer in a drier room.
Busy-morning tip: I like to group jewelry by category or by my most-worn weekday pieces, because anything that saves even two minutes before work feels like a win in my house.