
I love a garden shortcut that feels a little old-school but still earns its spot, and this one absolutely does. For this project, I’m turning sliced tennis balls and a simple piece of landscape fabric into an easy moisture reservoir layer for a raised bed before frost sets in. The tennis balls create air pockets and slow-release space under the soil, while the fabric keeps everything separated enough to make the bed easier to manage next season.
If you’re trying to keep a raised bed from drying out so fast during cold snaps, windy fall weather, or those weird warm afternoons we still get in the Midwest, this is a very doable afternoon project. I like it because it uses just two main materials, doesn’t ask you to rebuild the whole bed, and gives tired soil a little backup system without much fuss.
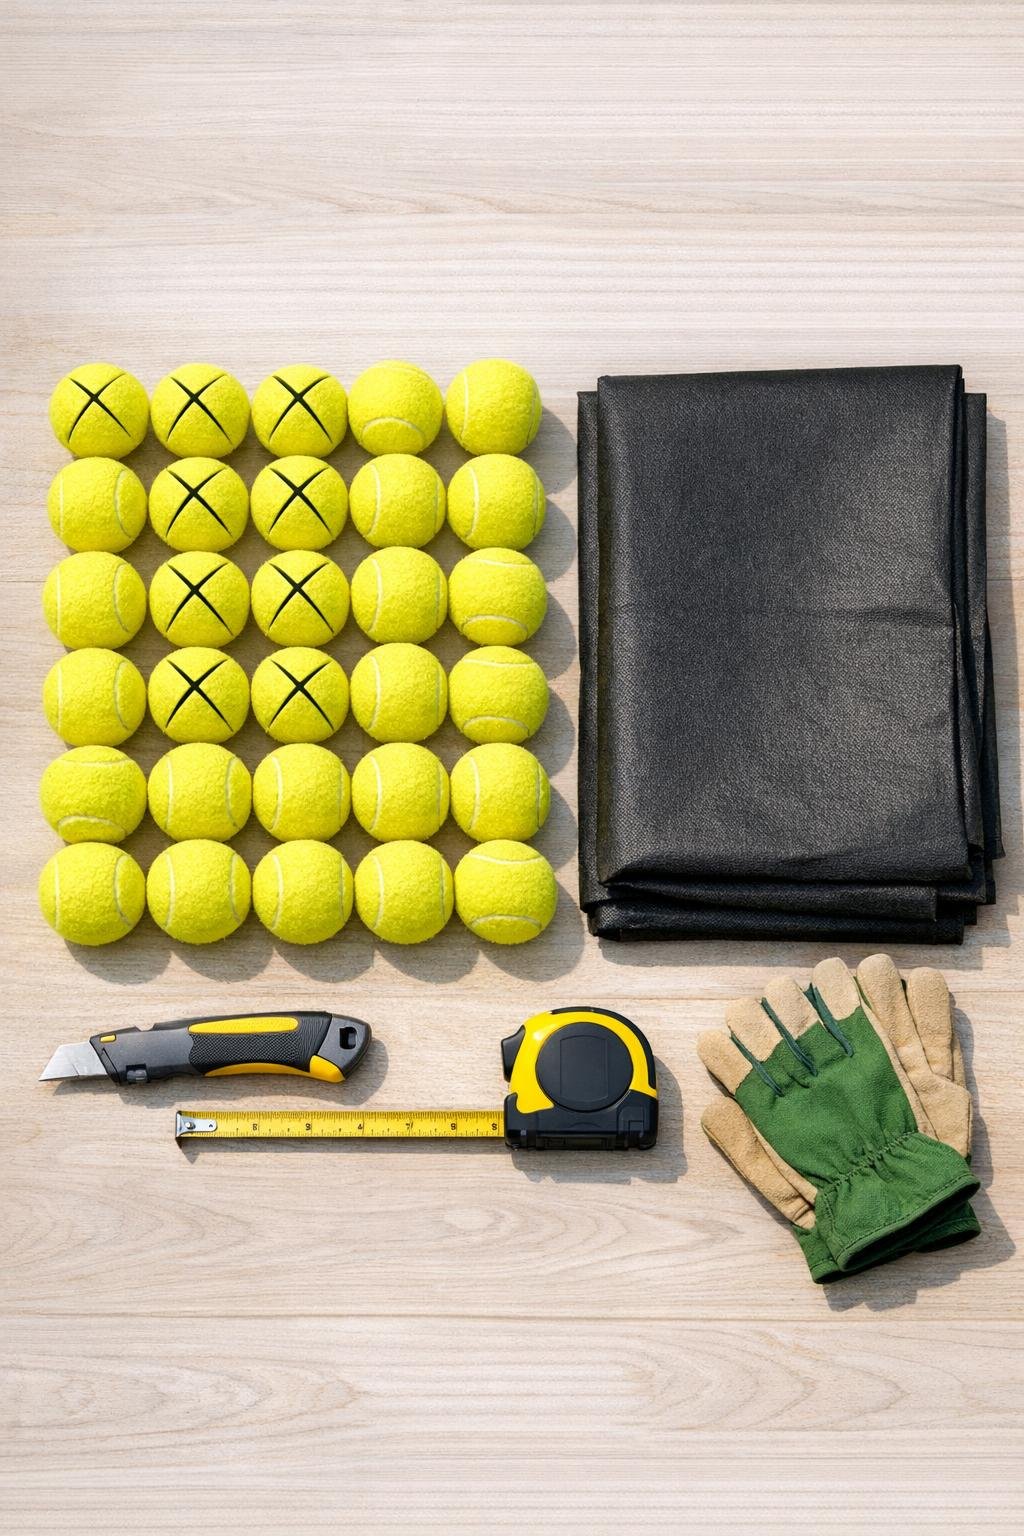
Materials
Instructions
1. Pull back the top 4 to 6 inches of soil from your raised bed and set it aside in a tarp, wheelbarrow, or large garden tub so you can build the reservoir layer underneath.
2. Rinse the tennis balls if they’re dusty, then let them dry for a few minutes so they’re easier to handle and won’t drag extra grit into the bed.
3. Use a utility knife to cut a deep X into each tennis ball, making each slit about 1 1/2 inches long so water can move in and out while the ball keeps its shape.
4. Spread the cut tennis balls across the bottom of the exposed bed in an even layer, spacing them about 3 to 4 inches apart so the whole bed gets consistent moisture-holding pockets.
5. Unroll the landscape fabric over the tennis balls and trim it if needed so it fits just inside the bed frame without bunching hard into the corners.
6. Pin the fabric in place with landscape pins, using one at each corner and the rest along the long sides so the fabric stays flat when you return the soil.
7. Add the soil back over the fabric, gently spreading it to an even depth and topping off with fresh raised bed mix anywhere the bed settled low.
8. Water the bed slowly and deeply until the top layer is fully moistened; this helps settle the soil and starts charging the reservoir spaces created by the sliced tennis balls below.
Variations & Tips
For smaller beds: Use about 12 tennis balls and a 3-foot by 4-foot piece of landscape fabric for a compact raised bed or deep planter.
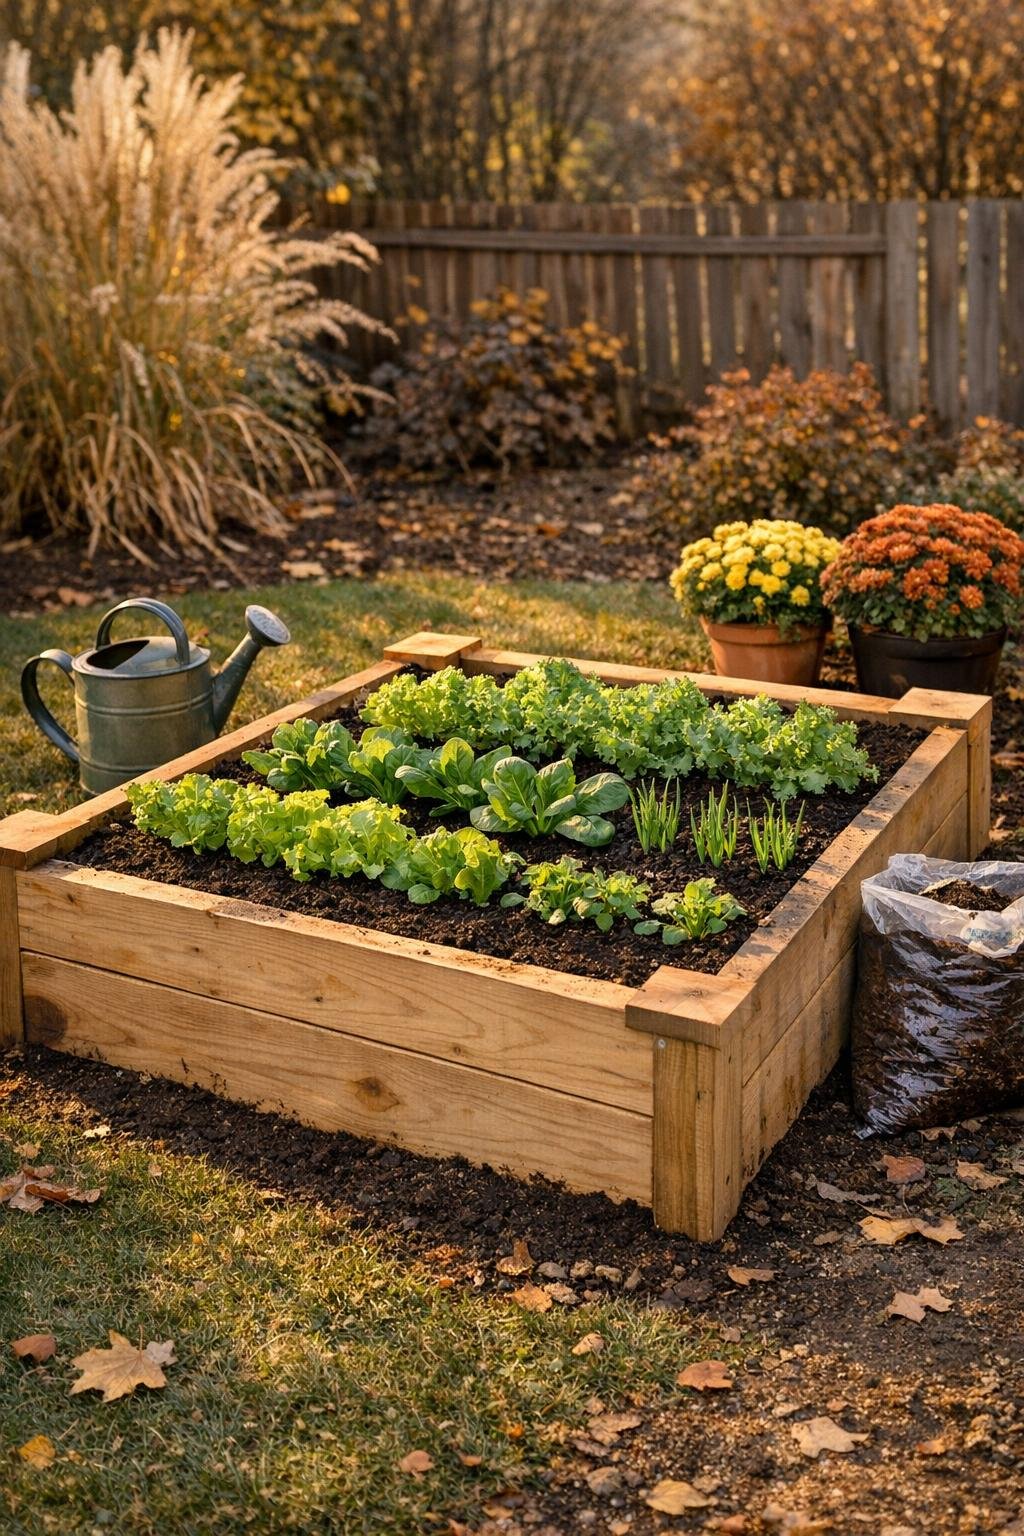
Best placement: I like this method most in beds that dry out fast, especially ones near fences, south-facing walls, or windy corners of the yard.
Don’t pack tightly: Leave a little space between the tennis balls instead of cramming them together; the gaps help create more even air and moisture movement under the soil.
Use before a cold stretch: Doing this before the ground gets truly hard gives the bed time to settle, and it’s much easier than trying to fuss with frozen soil later.
Top with mulch: A 1- to 2-inch layer of shredded leaves or fine mulch on top makes the whole setup work better by slowing evaporation from above too.
Keep expectations realistic: This won’t replace proper watering, but it can help buffer moisture swings, which is exactly the kind of low-effort support I appreciate during a busy workweek.