
I love a yard project that solves a real problem and still ends up looking intentional instead of improvised. This simple root zone insulating collar does exactly that: you slice open colorful foam pool noodles, wrap them around the base area of tender plants, and pair them with one common yard staple to hold everything neatly in place before the first frost hits. It gives roots a little buffer from those early cold snaps, helps protect the soil surface, and looks surprisingly tidy once it's installed.
If you're like me and usually remember frost protection right when the weather app starts sounding dramatic, this is a great last-minute project. It's easy, fast, inexpensive, and especially useful for roses, young shrubs, newly planted perennials, dwarf evergreens, or even larger patio containers you want to overwinter in place. I also love that it uses cheerful pool noodles in a way that actually looks polished once everything is tucked in.
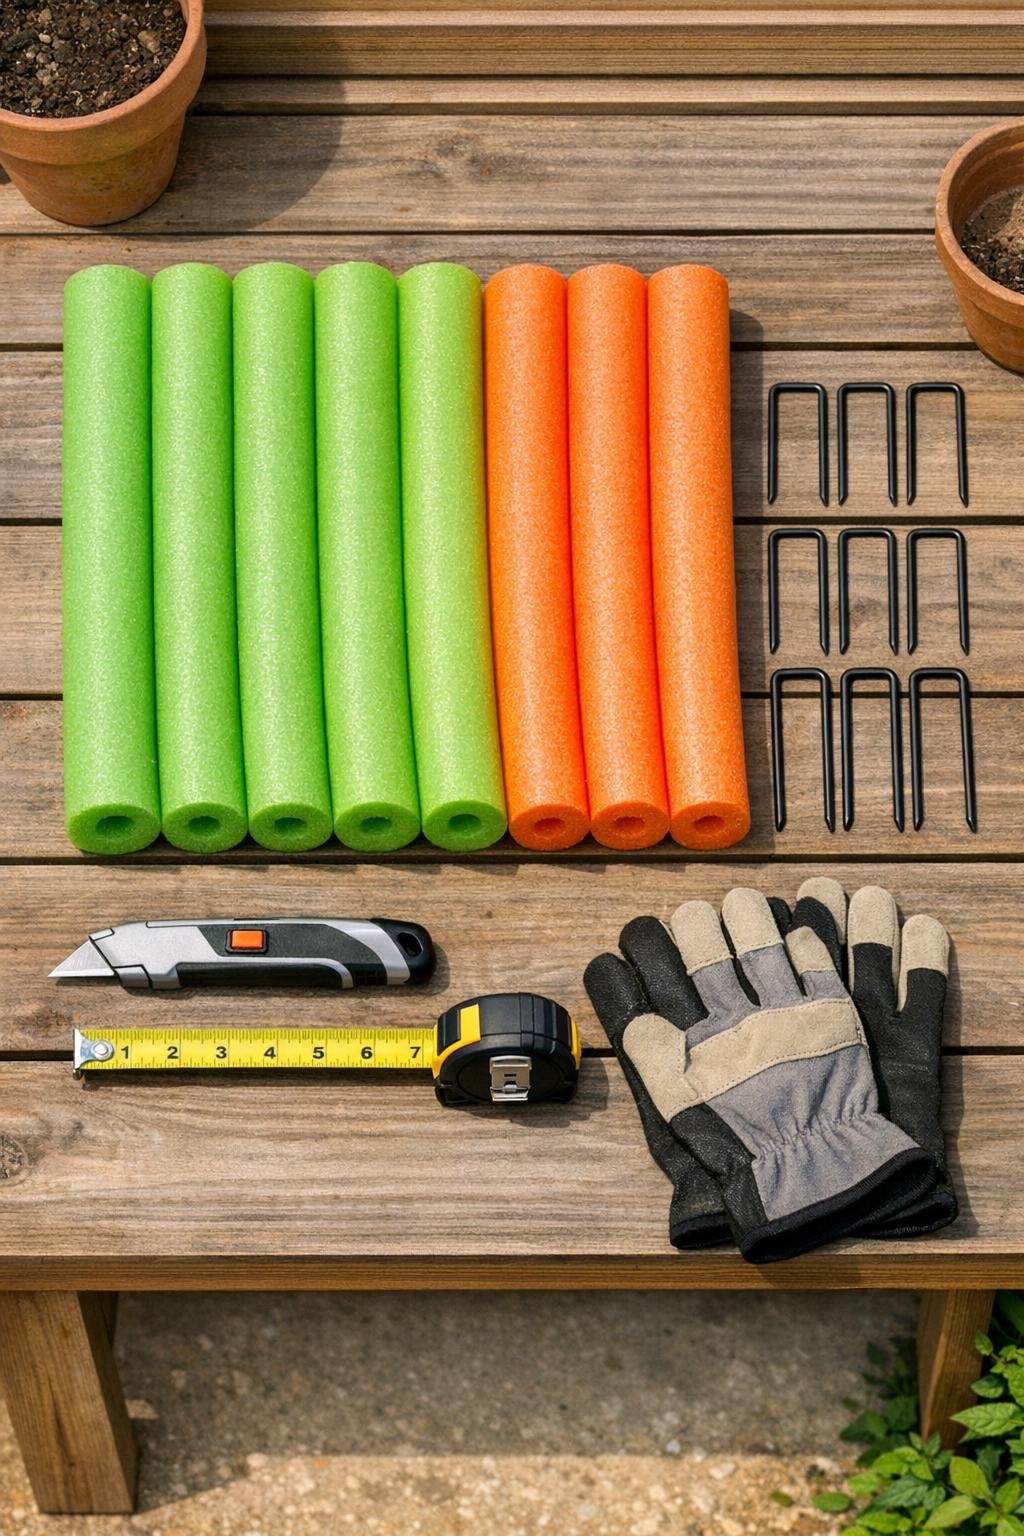
Materials
Instructions
1. Measure around the plant's root zone where you want the collar to sit, usually 8 to 18 inches out from the main stem for small shrubs and perennials. I aim for a circle wide enough to protect the soil over the root area, not pressed tight against the trunk or crown.
2. Clear away loose leaves, tall mulch, and any debris so the soil surface is fairly level. This helps the noodles sit flush and keeps the finished collar looking neat instead of wavy.
3. Put on gloves and slice each pool noodle lengthwise from end to end with the utility knife, creating a full slit so each noodle can open and bend more easily. Keep the cut as straight as possible because that clean seam helps the collar sit evenly on the ground.
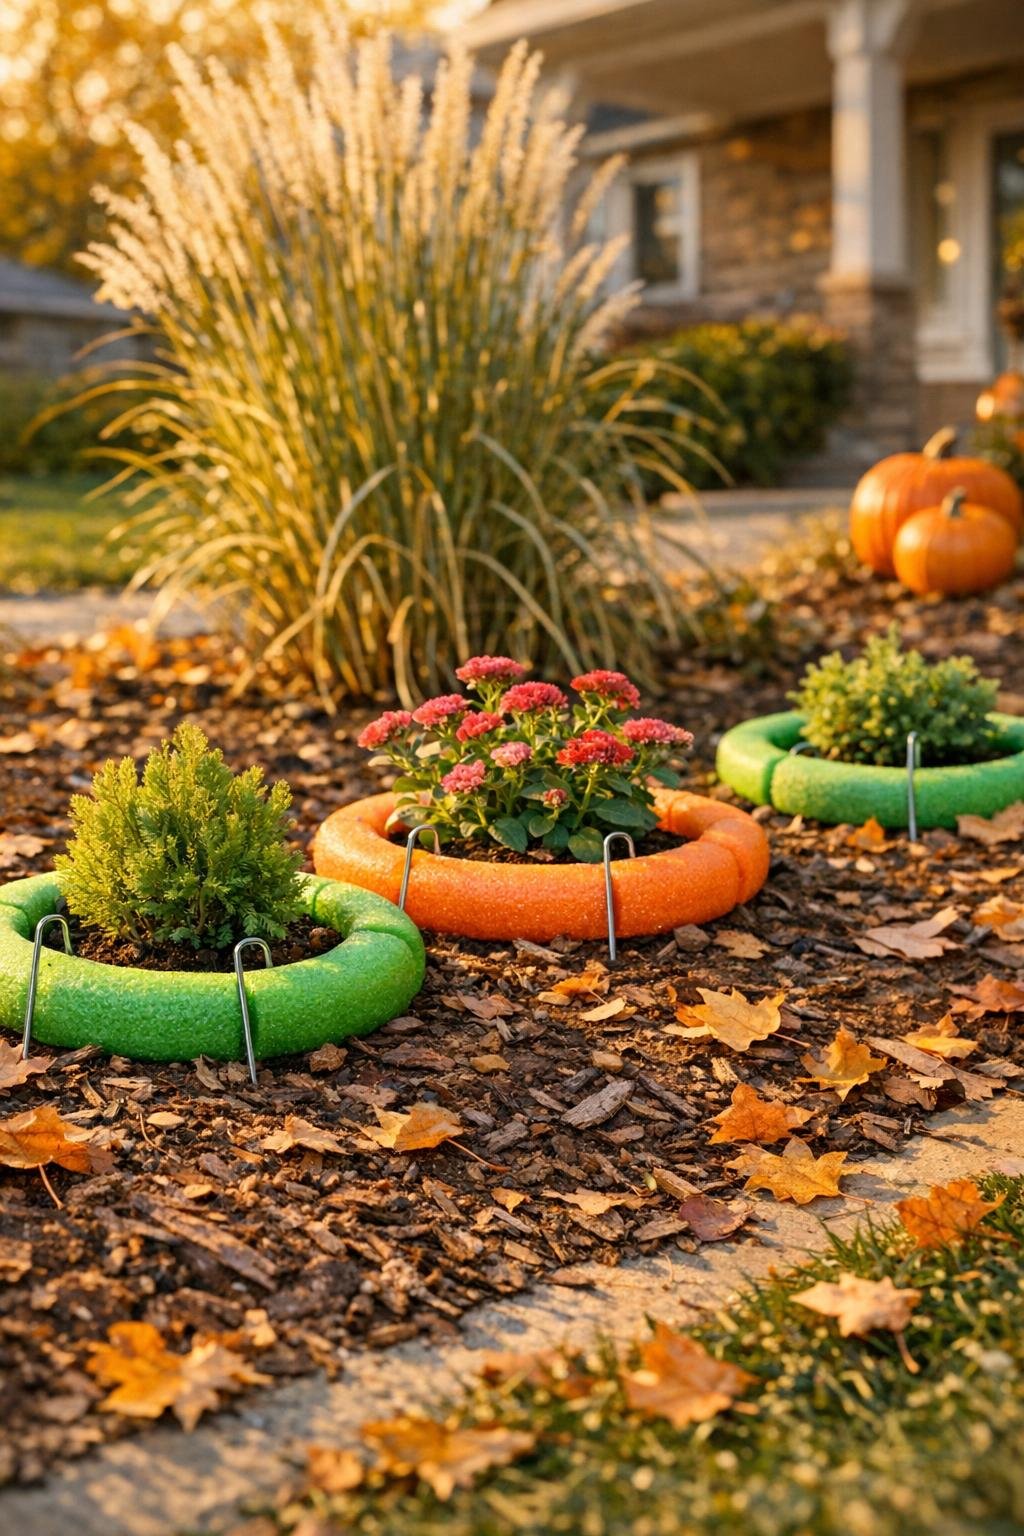
4. Cut the slit noodles into curved sections sized for your plant, using four to eight pieces to build a full circle depending on diameter. For a fuller, more finished look, alternate the green and orange sections around the ring.
5. Set the noodle sections on the soil in a complete circle around the plant, with the slit side facing down so each piece grips the ground a little better. Butt the ends tightly together to reduce gaps where cold air can reach exposed soil.
6. Anchor each section with two landscape staples, one near each end, pressing them over the foam and into the soil at a slight angle. On longer pieces or windy sites, add a third staple in the center so nothing shifts during freeze-thaw cycles.
7. Adjust the ring until it looks smooth and balanced, then tuck a thin layer of mulch right up to the outside edge of the noodles to blend the collar into the bed. I leave the inner edge visible because it gives the project that crisp, finished look people notice from the sidewalk.
8. Repeat around additional plants, matching the ring size to each root zone rather than forcing every collar to be identical. Once the weather warms in spring, pull the staples, lift the sections, brush them off, and store them flat for next year.
Variations & Tips
For extra-cold nights: Pile 1 to 2 inches of shredded mulch or pine straw around the outside of the collar after installation. I still keep the inner edge and the plant crown clear so moisture does not sit right against the stem.
For container plants: Make a smaller ring to fit just inside the rim of a large outdoor pot, then staple only if the potting mix is firm enough to hold them. This is a handy trick when I'm trying to stretch the season on patio herbs or a small evergreen.
Best plants for this project: Use these collars around shallow-rooted ornamentals, newly planted shrubs, roses, or perennials that benefit from reduced soil temperature swings. Skip plants that need very dry winter crowns, unless you place the collar farther out near the drip line.
Color strategy: Bright alternating colors make the collars easier to see while mowing and raking, but you can also group one color per bed for a more coordinated look. If your neighbors ask where you bought them, that's usually the moment this project becomes weirdly satisfying.
Sizing tip: One 52-inch noodle makes a ring about 16 inches across if used almost whole, or it can be cut into shorter arcs for larger circles. I like to dry-fit all the pieces first so I use every section efficiently and don't waste material.
Storage tip: Brush off soil, let the pieces dry completely, and bundle matching sizes together with twine before storing. That little bit of organization saves so much time when the first frost warning pops up next fall.