
When strawberry season winds down out here, I start thinking less about berries and shortcake and more about how to tuck that bed in safely for the cold months ahead. This little garden trick uses stacked aluminum pie tins baked into sturdy crown covers, along with two humble dollar-store helpers, to make quick protective domes that shed wet weather, block heaving frosts, and mark exactly where those crowns are resting until spring.
I like this project for gardeners who want something simple, cheap, and genuinely useful without fussing with lumber or specialty cloches. The finished covers are light, easy to store, and generous enough to protect individual strawberry crowns while still letting you mulch around them, and that old-fashioned pie-tin shine does a fine job of standing out in the garden when everything else has gone brown.
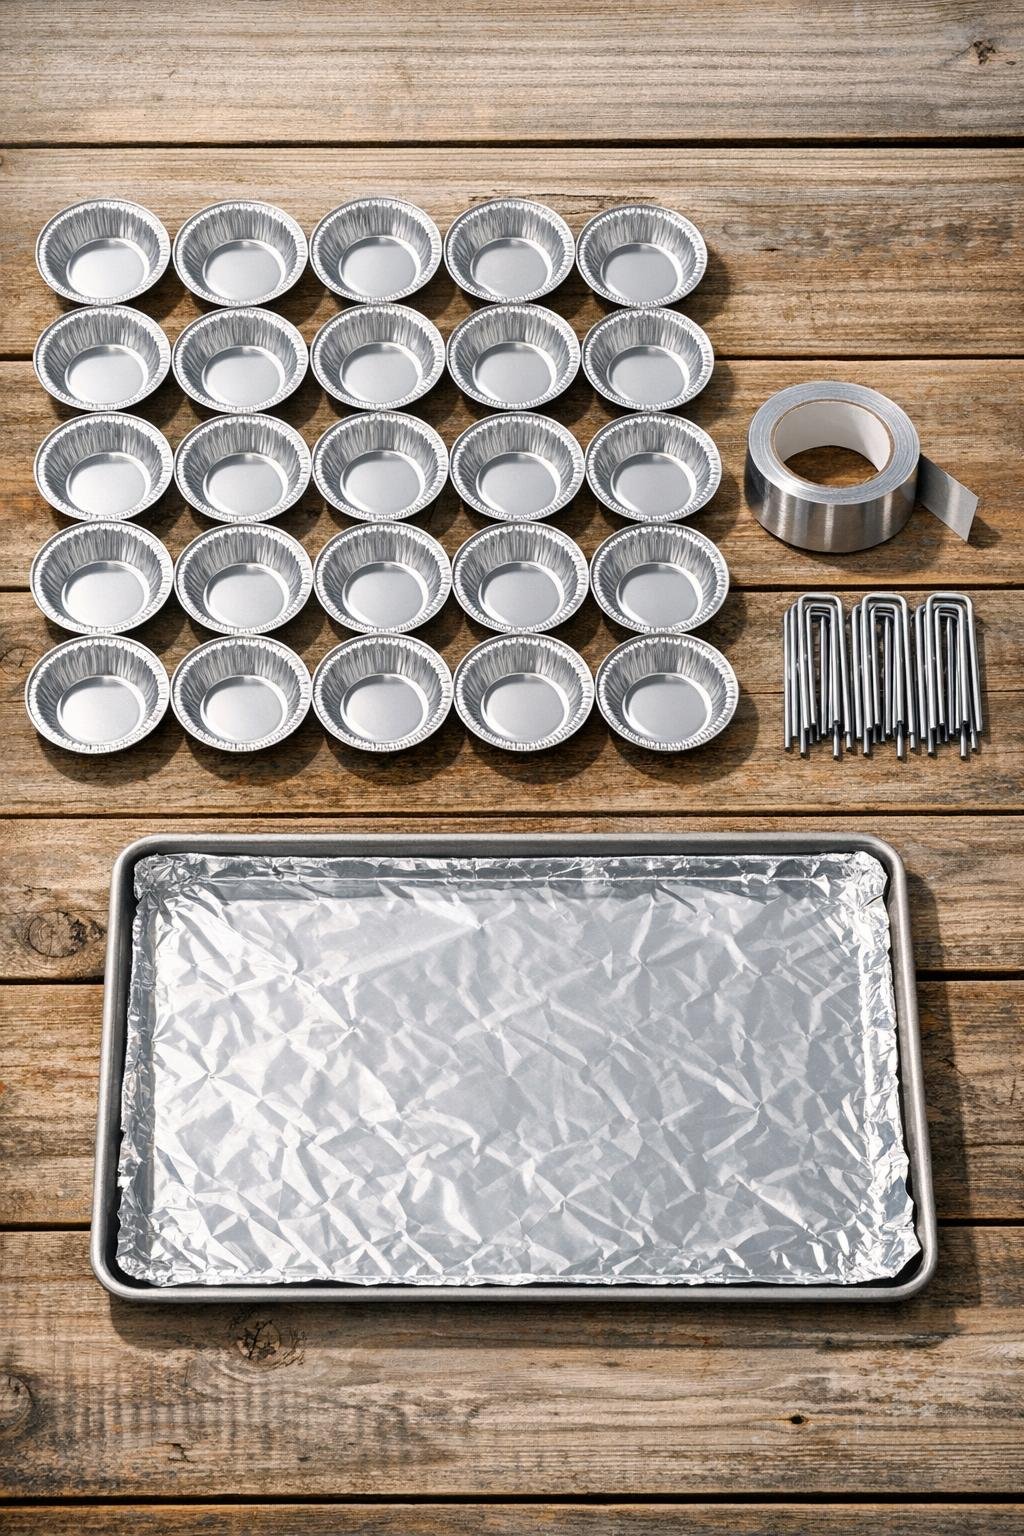
Materials
Instructions
1. Clean up your strawberry bed first by clipping off dead leaves, pulling weeds, and lightly mounding loose mulch away from each crown so you can see where every plant sits.
2. Pair the pie tins two at a time, nesting one inside the other so each cover has a double thickness and a little more strength than a single flimsy tin.
3. Press the center of each nested pair down gently with your palm to flatten the bottom slightly, then pinch around the rim in 6 to 8 spots so the tins grip each other and hold their shape.
4. Set the nested tins upside down on a foil-lined baking sheet and bake them at 325 degrees Fahrenheit for 12 to 15 minutes, just until they relax into a firmer, more set shape; let them cool completely before handling.
5. Tear foil tape into 4-inch strips and bridge each strip across the rim in two directions, making a simple cross underneath every tin to reinforce it and help it keep its dome.
6. Use your thumb to make two small staple slots near opposite sides of each rim, just wide enough for the legs of a landscape staple to pass over the cover once it is in the garden.
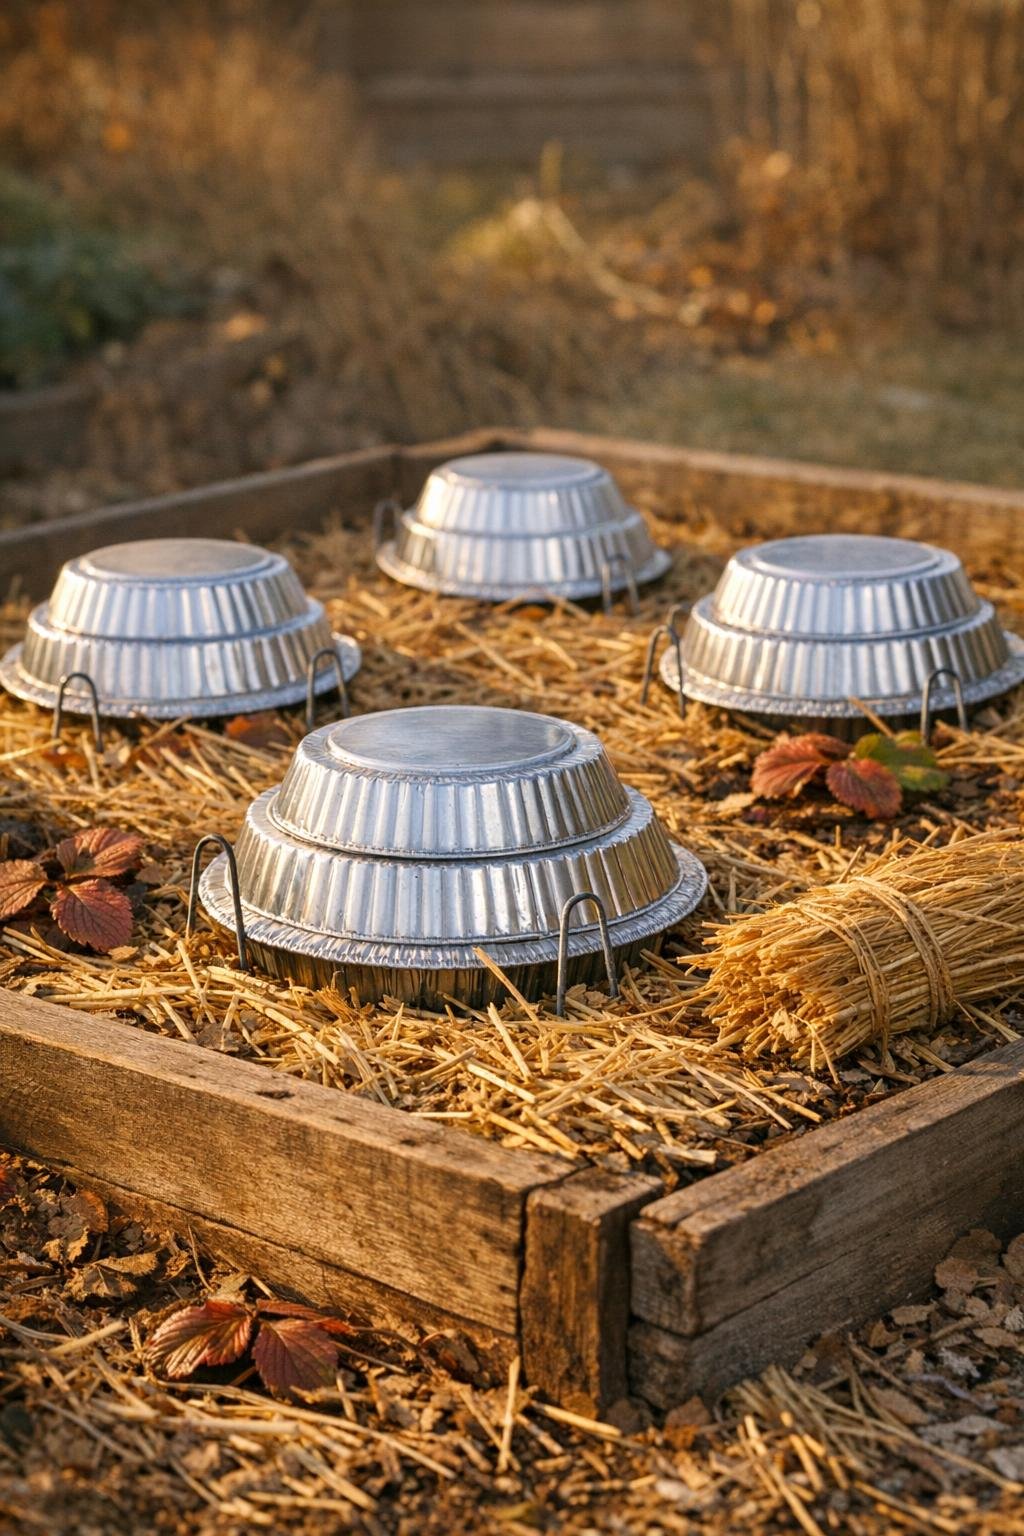
7. After your first few hard frosts and once the plants are fully dormant, set one dome over each strawberry crown with the open side down and the flattened top centered over the plant.
8. Push one landscape staple over each cover, lining the staple legs up near the rim slots so the dome stays put through wind, thaw, and winter rain.
9. Pull clean straw or pine straw mulch up around, but not tightly over, the sides of each cover so the crown is insulated while the top of the aluminum dome still sheds moisture.
10. Check the covers once after a windy spell, then leave them in place until late winter or very early spring, when you can lift them on mild days to ease the plants back into light and air.
Variations & Tips
For larger crowns: If you have older strawberry plants with broader crowns, use three nested pie tins for those few bigger plants instead of two, then tape them the same way for extra depth and stiffness.
For very windy beds: In open country, where winter wind has a mind of its own, use two landscape staples in an X pattern over each cover rather than one; that little bit of extra anchoring makes a world of difference.
Mulch timing: I wait until the plants have gone dormant before covering, because putting protection on too early can hold warmth in when the bed really needs to settle down for winter.
Spring removal: Lift the covers gradually instead of all at once if a warm spell comes early; strawberries wake up fast, and I have found they do better with a gentle transition than a sudden shock.
Storage tip: When the season turns, brush the covers clean, stack them in a dry shed, and slide the staples into the top tin so the whole set stays together for next year.
Bed-marking bonus: One reason I still like this old trick is that the shiny covers mark every crown clearly, which saves a lot of accidental stepping and raking when the winter garden looks bare as bones.