
I love a smart garden shortcut, especially the kind that uses a few random shed leftovers and saves me from a bigger weekend chore later. This mulch ring is exactly that: you slice open foam pool noodles, pair them with landscape pins and bagged mulch, and create a tidy protective collar around plants in a fall garden bed. It helps hold mulch where you want it, cuts down on washout, and gives tender crowns and shallow roots a little extra insulation heading into colder weather.
If you’ve got perennials, young shrubs, or newly planted fall additions that need a little help before winter, this is an easy project with a surprisingly polished result. I’m always looking for garden jobs I can squeeze in between work emails and making dinner, and this one genuinely fits into that “doable before dark” category while still making the bed look finished.
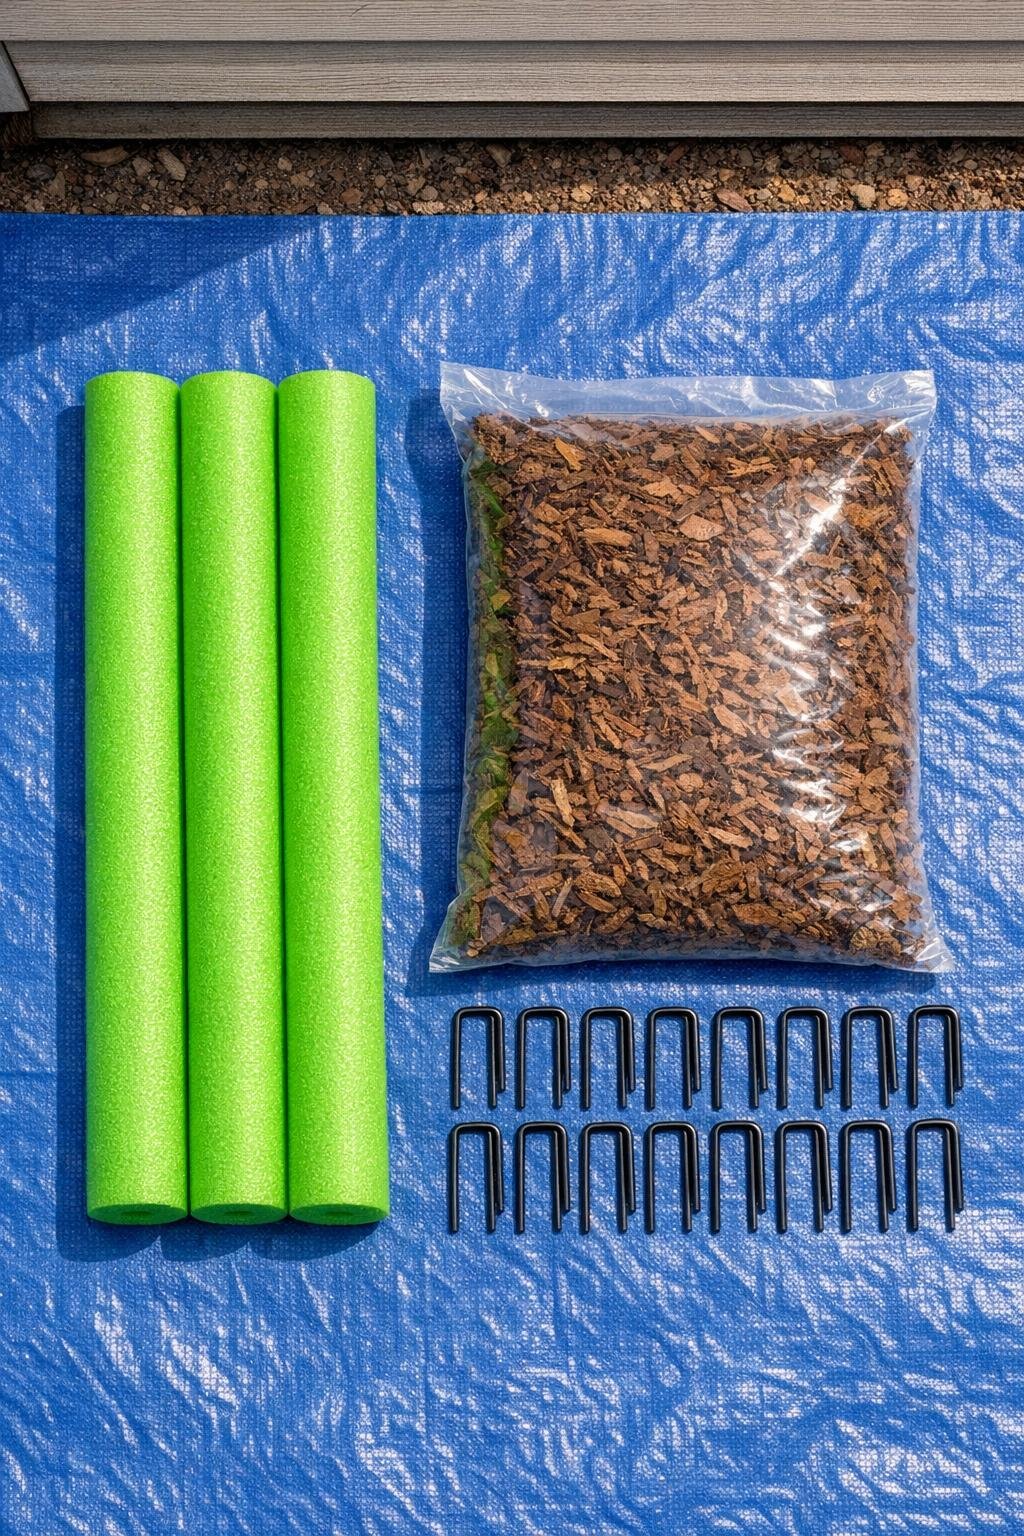
Materials
Instructions
1. Clear the garden bed surface around the plants you want to protect, pulling out any fresh weeds and raking the soil smooth so the rings will sit flat.
2. Slice each pool noodle lengthwise with a utility knife, cutting through one side only so each piece opens into a C-shaped channel.
3. Open one noodle and press it around the outer edge of a plant’s root zone, forming a circle about 14 to 18 inches wide for perennials or 20 to 24 inches wide for a young shrub.
4. Overlap or trim the ends so the noodle makes a snug ring, then anchor it with 4 to 6 landscape pins pushed over the foam and into the soil.
5. Repeat with the remaining noodles to create additional rings, spacing them so each plant gets its own defined mulch basin without crowding neighboring stems.
6. Fill each ring with a generous 2- to 3-inch layer of shredded mulch, keeping the mulch about 1 inch away from the plant crown or main stem to prevent rot.
7. Lightly fluff and level the mulch by hand so it fills the entire ring evenly and looks mounded but not packed down.
8. Water the bed gently to settle the mulch in place, then press any lifted sections of foam back against the soil and add one more pin wherever a ring wants to shift.
9. Check the rings after a windy day or heavy rain, topping off low spots with the remaining mulch so the protective layer stays full through the season.
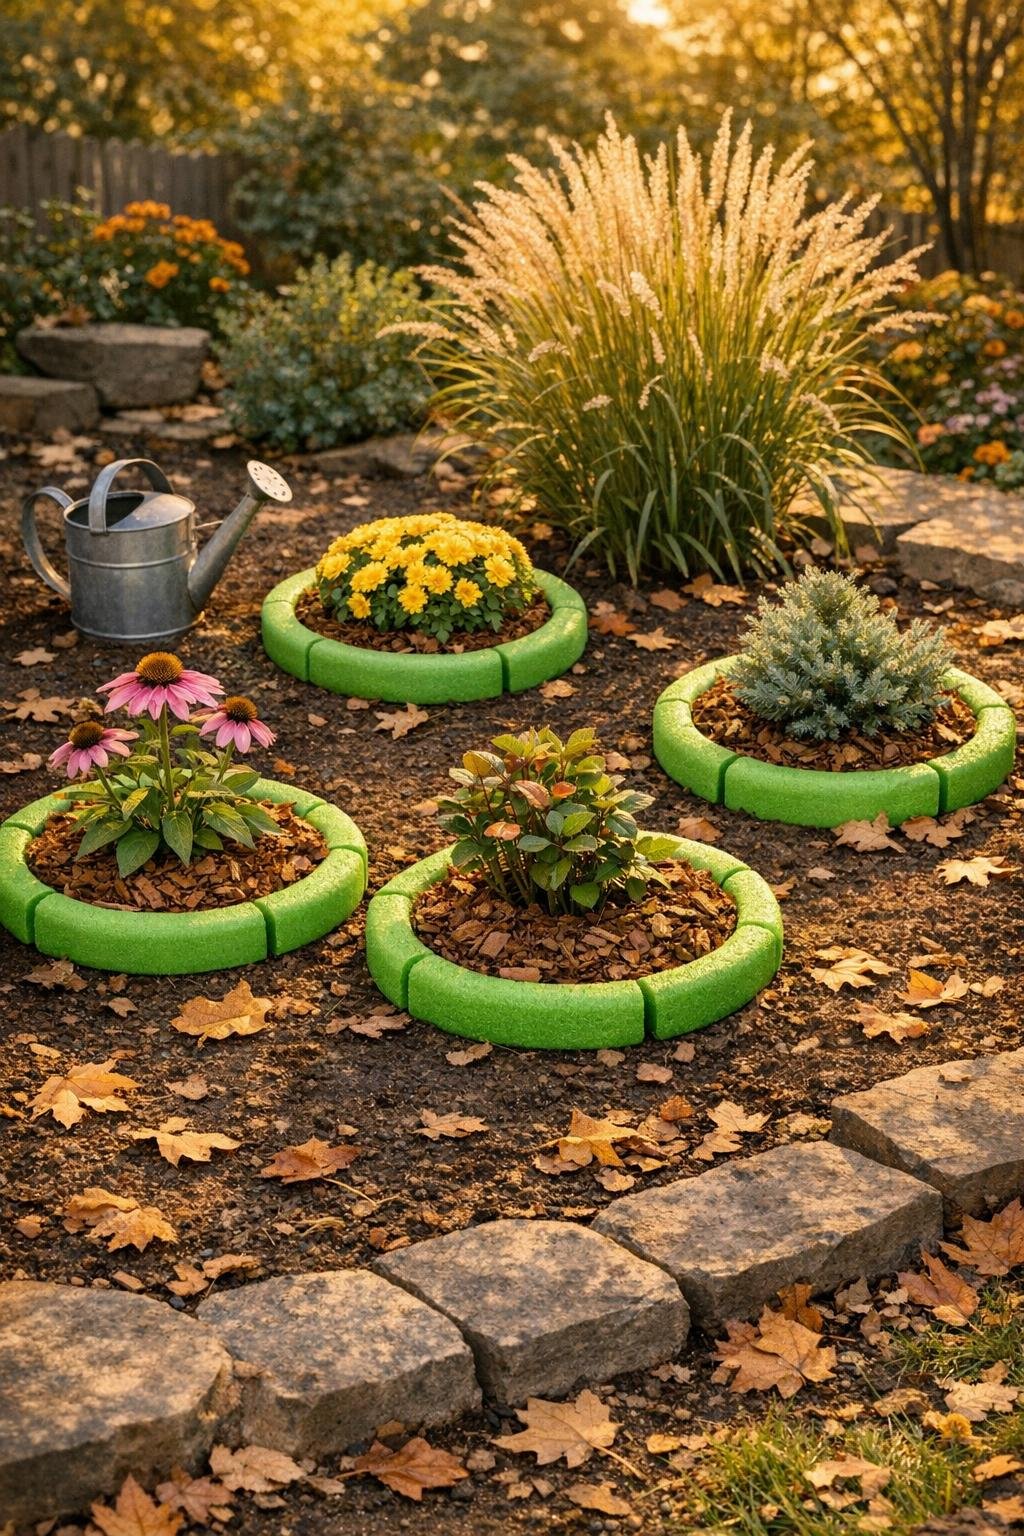
Variations & Tips
For larger plants: Connect two noodle sections into a wider circle and use 6 pins instead of 4 so the ring stays round once it’s filled with mulch.
For neater beds: Tuck the brightest side of the noodle downward if possible and leave the slit facing the soil; once the mulch is in, the ring reads much cleaner from a few feet away.
Best mulch choice: Shredded hardwood mulch works especially well because it knits together inside the ring and is less likely to blow away than chunkier bark pieces.
What to avoid: Don’t pile mulch directly against plant stems or crowns, even in late fall; I know it’s tempting when you want extra protection, but that extra contact can trap too much moisture.
For veggie beds: Use these rings around overwintering kale, sage, thyme, or first-year strawberries to help mark the plants and keep mulch from spreading all over the bed.
Quick seasonal check: I usually peek at mine after the first freeze and again after a hard rain. It takes maybe five minutes to reset a pin or add a handful of mulch, and that tiny bit of maintenance keeps the whole bed looking cared for.