
This is one of those projects that feels a little like kitchen science and a little like holiday decorating therapy, which is probably why I love it so much. You start with pantry staples and a saucepan, and by the end you have a polished Christmas mantel accent that looks far more expensive than it really is. As someone who is usually squeezing creative projects in after work and before I start thinking about dinner, I appreciate anything that gives a big payoff without needing specialty supplies.
If you’ve ever admired those glowing holiday village sets in home stores but not the price tag, this is a very doable version to make at home. The process is simple, but the finished look is clean and elegant rather than crafty, especially if you keep the houses bright white and group them together with warm lights.
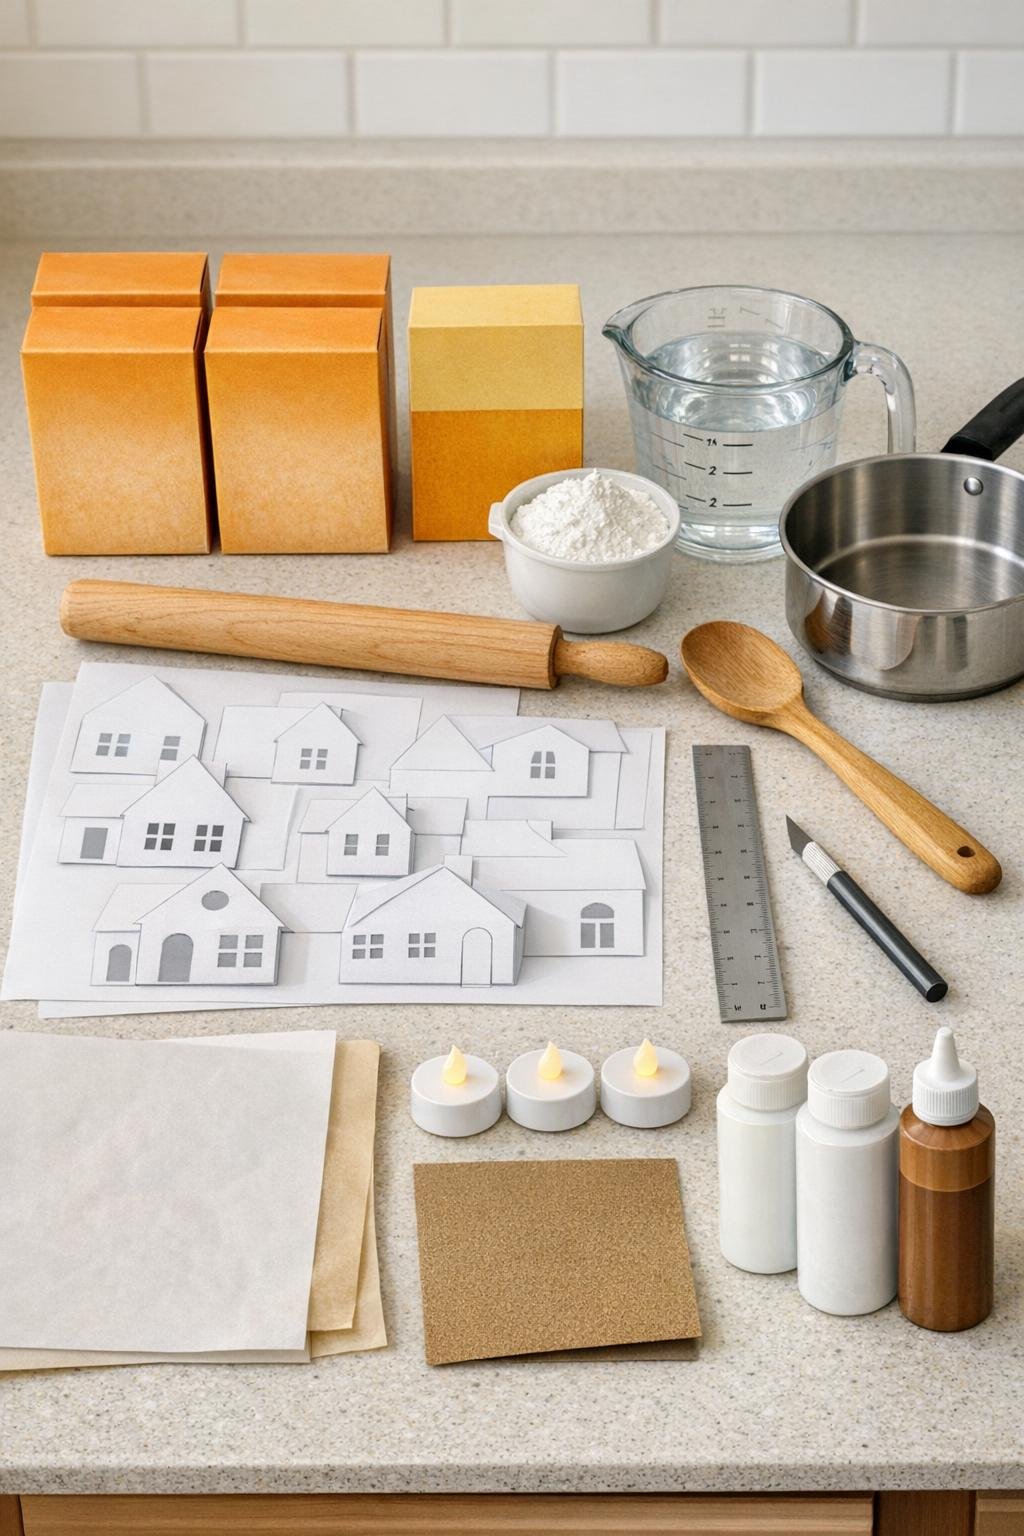
Materials
4 boxes baking soda, 16 ounces each
Instructions
1. Line a tray or baking sheet with parchment, clear a flat work surface, and print or sketch 6 to 8 house templates in different widths and rooflines so the village will look full and layered when grouped together.
2. In the saucepan, stir together all 4 boxes of baking soda, 1 cup cornstarch, and 3 cups water until smooth, then cook over medium heat, stirring constantly, until it thickens into a mashed-potato-like dough.
3. Turn the dough onto parchment and knead it for 2 to 3 minutes, dusting your hands lightly with cornstarch if needed, until it is smooth and no longer sticky.
4. While the dough is still warm, roll it between two sheets of parchment to an even 1/4-inch thickness, using paint stir sticks or dowels as guides so every panel dries at the same rate.
5. Place the templates over the dough and cut 2 front/back pieces, 2 side pieces, and 2 roof pieces for each house, keeping the largest houses around 8 to 9 inches tall and the smallest around 4 to 5 inches tall.
6. Cut out windows and doors before the pieces dry, making windows generous enough to glow clearly at night; I like a mix of tall church-style windows, square cottage windows, and a few tiny round attic openings.
7. For freestanding lantern-style houses, cut one extra plain rectangle for the bottom edge of each house opening or leave the base open entirely so a tea light can slide underneath later; both methods work, but the open-bottom style is easiest.
8. Let the cut pieces air-dry on parchment for 12 hours, flip them carefully, and dry another 12 to 24 hours until firm; if an edge warps slightly, gently nudge it straight while the piece is still leathery.
9. Sand the edges lightly with 220-grit sandpaper so the seams fit cleanly, then dry-fit each house before gluing to make sure the roof pieces sit neatly on top.
10. Assemble each house with tacky glue, gluing front to side, back to side, and then adding the roof pieces last; support the walls with mugs or jars while each house sets for about 30 minutes.
11. Let the glued houses dry completely for several hours, then brush on a thin coat of white acrylic paint to unify any uneven spots and give the whole set that smooth bone-white porcelain look.
12. Once the paint is dry, seal the houses with a light matte topcoat so they stay crisp-looking through the season without turning shiny.
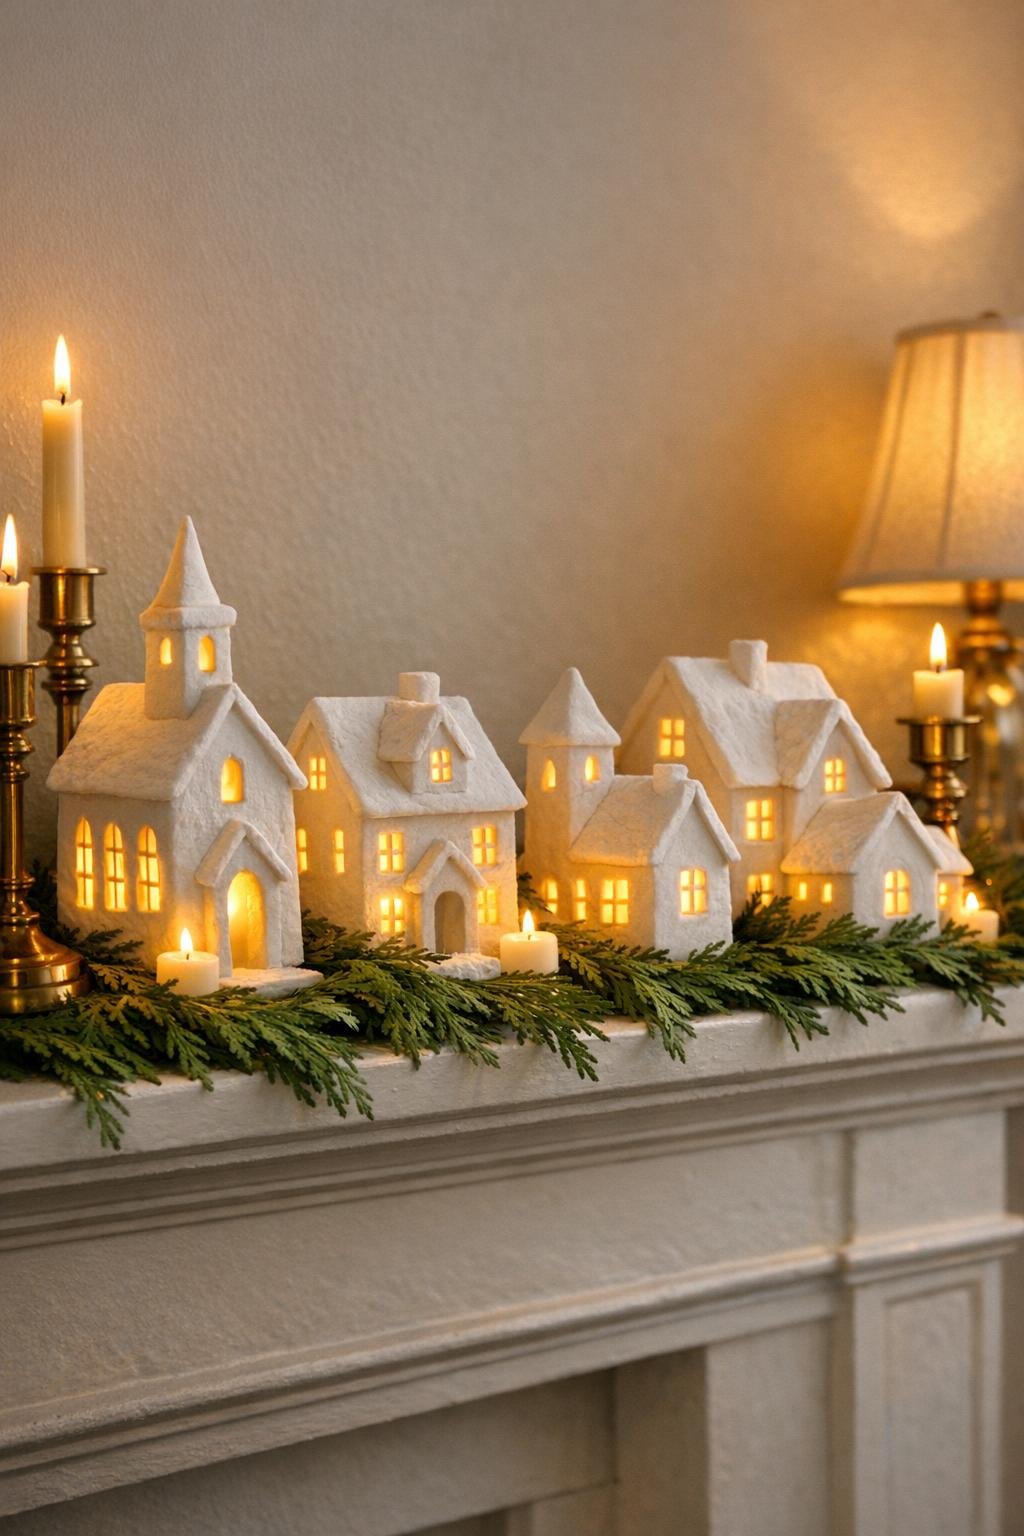
13. Arrange the finished houses in a clustered village on a mantel, sideboard, or shelf, placing taller houses in back and smaller ones in front for depth, then tuck a battery tea light inside or behind each one.
14. Add a warm white micro light strand behind the row if you want an extra glow, turn the lights on at night, and adjust the spacing until every window reads bright and cozy from across the room.
Variations & Tips
Make it look store-bought: Vary the heights and rooflines instead of making matching houses. That mix is what gives the village that collected, high-end look.
Best lighting choice: Battery tea lights are the easiest for individual houses, but a micro string light behind the whole grouping creates a softer, more even glow if some houses are too small to hold a light.
If your dough cracks: Knead in a few drops of water while it is still warm, then smooth the crack with a damp fingertip. Tiny cracks usually disappear once painted.
For cleaner cuts: Cut the windows right after rolling the dough, before a skin forms on top. I learned this the hard way on my first batch when I waited too long after answering a work email.
Keep the color elegant: Stick with matte white paint and skip glitter. The clean white finish is what makes these read like porcelain instead of school craft clay.
Display idea: I love setting the village on a mantel with fresh or faux cedar underneath so the white houses really pop at night. It also helps hide the tea lights and makes the whole setup feel fuller.
Storage tip: Wrap each house in tissue and store them in a shallow box after the holidays. They’re sturdier once sealed, but they’ll last much longer if the window cutouts aren’t rubbing against each other.