
There’s something deeply satisfying about taking the plainest household supply and turning it into porch décor with real presence. I love projects like this because they rely more on shaping, layering, and finish than on expensive materials, and the result has that oversized, festive look that reads far more polished than the ingredient list would suggest.
If you enjoy easy seasonal decorating but still want the end result to feel elegant and substantial, this is a wonderful weekend project. The base is simple enough for beginners, but the finishing steps are what make it feel special, and that’s where I always think a project earns its keep.
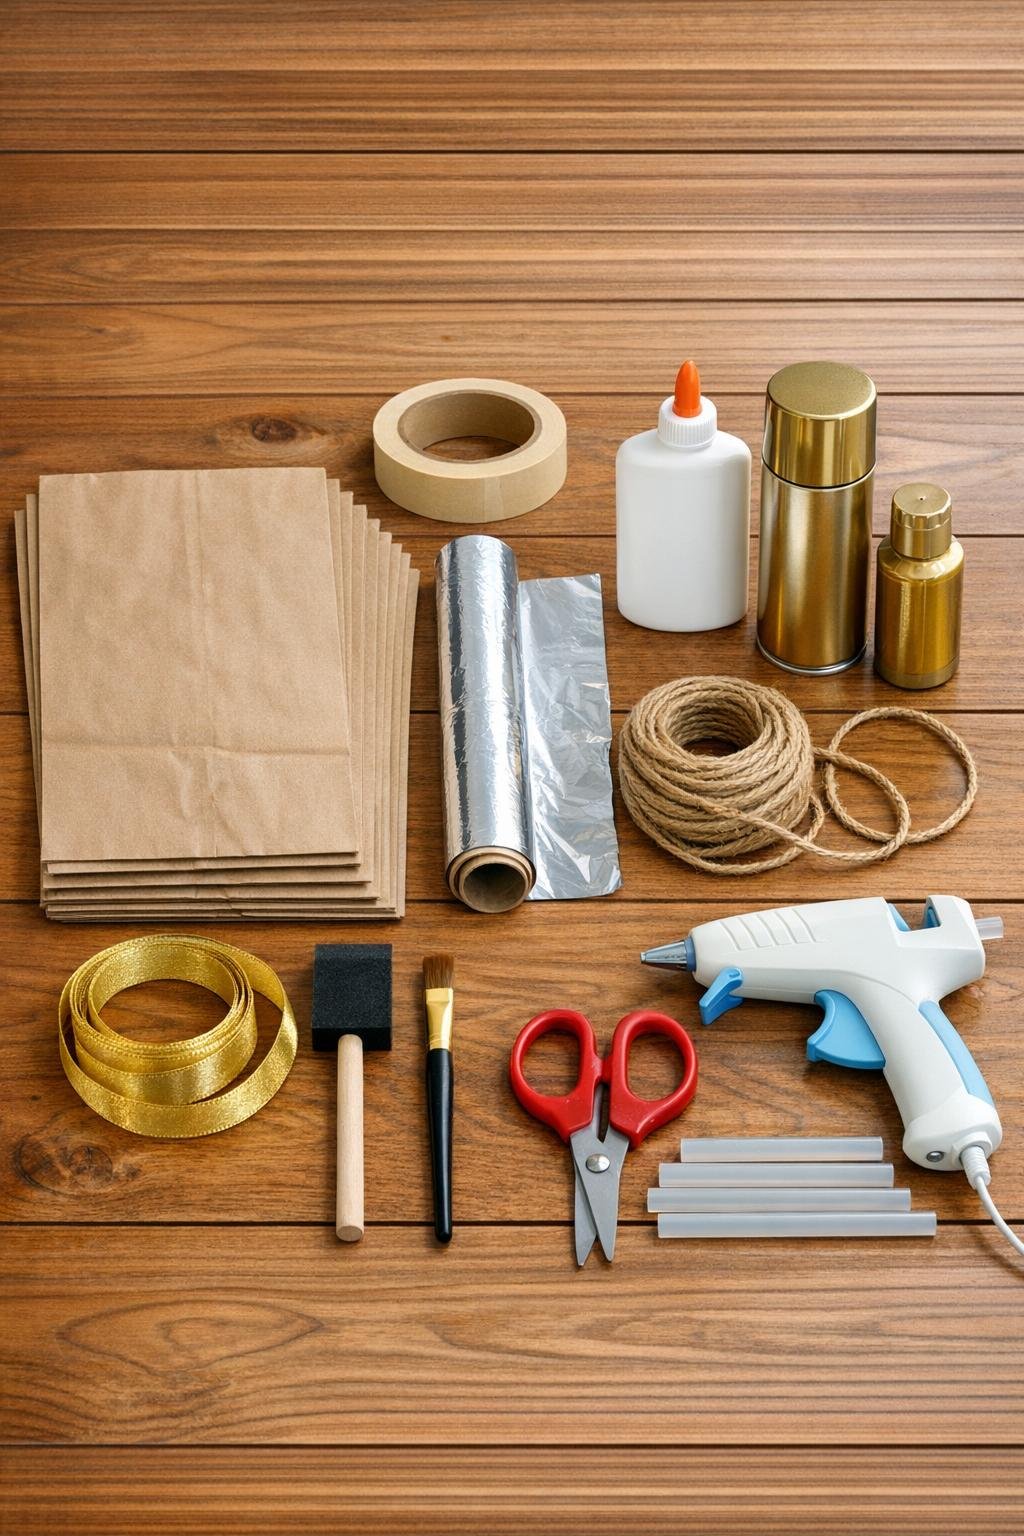
1. Crumple each brown lunch bag into a tight ball, making some slightly larger and some slightly smaller so the finished grouping looks collected rather than identical.
2. Open two or three of the crumpled balls back up just enough to wrap them around other balls, then tape around the middle and at a few loose edges until you have 3 to 5 oversized ornament forms between 8 and 12 inches across.
3. Tear aluminum foil into sheets about 12 to 18 inches long and press it around each paper ball, shiny side out, smoothing only lightly so the crinkled, hammered texture stays visible.
4. Tuck and tape the foil at the bottoms and sides until each ball feels firm and evenly rounded, then press any sharp corners flat with your hands.
5. Cut a 16-inch piece of twine for each ornament, tie it into a loop, and hot-glue the knotted end firmly to the top of the ball.
6. Tear one paper lunch bag into 2-inch strips and glue the strips over the twine knot like papier-mâché patches so the hanger is anchored into the ornament instead of just sitting on the surface.
7. Mix the white glue with 1/2 cup water, brush the mixture over the paper patches and any taped seams, and let everything dry completely until the surface feels set.
8. Cut short lengths of ribbon or folded foil into 2 x 3 inch rectangles, shape them into simple ornament caps, and hot-glue one to the top of each ball over the hanger area.
9. Move the pieces outdoors or to a well-ventilated area, place them on wax paper or a drop cloth, and spray each ornament with a full coat of gold spray paint from 8 to 10 inches away.
10. Let the first coat dry, then add a second light coat so the foil, paper patches, and cap all read as one continuous metallic surface.
11. Dry-brush metallic antique gold craft paint over the raised wrinkles and around the cap to deepen the finish and give the surface that rich, old-world ornament look.
12. Cut a generous ribbon bow for each ornament, glue it just under the cap or around the hanger base, and fluff the loops so the scale matches the size of the ball.
13. Hang the finished ornaments from sturdy porch hooks, a wreath hanger, a ceiling hook, or a covered-porch branch at staggered heights so they read as a dramatic cluster instead of isolated singles.

For the best shape: Don’t aim for perfect spheres right away. I get the most believable oversized ornament look by building a rough ball first, then using foil and tape to refine the silhouette little by little.
For a fuller display: Five ornaments in mixed sizes usually gives the nicest porch impact from 20 bags. I like making two large, two medium, and one slightly smaller piece so the arrangement feels lush and balanced.
For a more mercury-glass finish: After the gold spray paint dries, dab tiny irregular touches of darker antique gold into deeper creases and immediately soften them with a dry brush. That layered finish adds depth without making the project harder.
For weather awareness: These are best on a covered porch. Paper and foil hold up surprisingly well for a season when kept dry, but I wouldn’t leave them where rain or wet snow can soak them.
For hanging safely: If your ornaments are going near a front door, use lightweight hooks and keep them high enough that they won’t bump people’s shoulders. I also like to test the hanger loop with a gentle tug before painting.
For a different color story: Champagne gold, silver, bronze, or soft pearl all work beautifully with the same method. Just keep the finish tonal and metallic if you want that elegant store-bought look instead of a classroom-craft feel.
For an even more polished result: Add ribbon that is wider than you think you need. On oversized décor, skimpy bows can look accidental, while a generous bow makes the whole piece feel intentional and finished.