
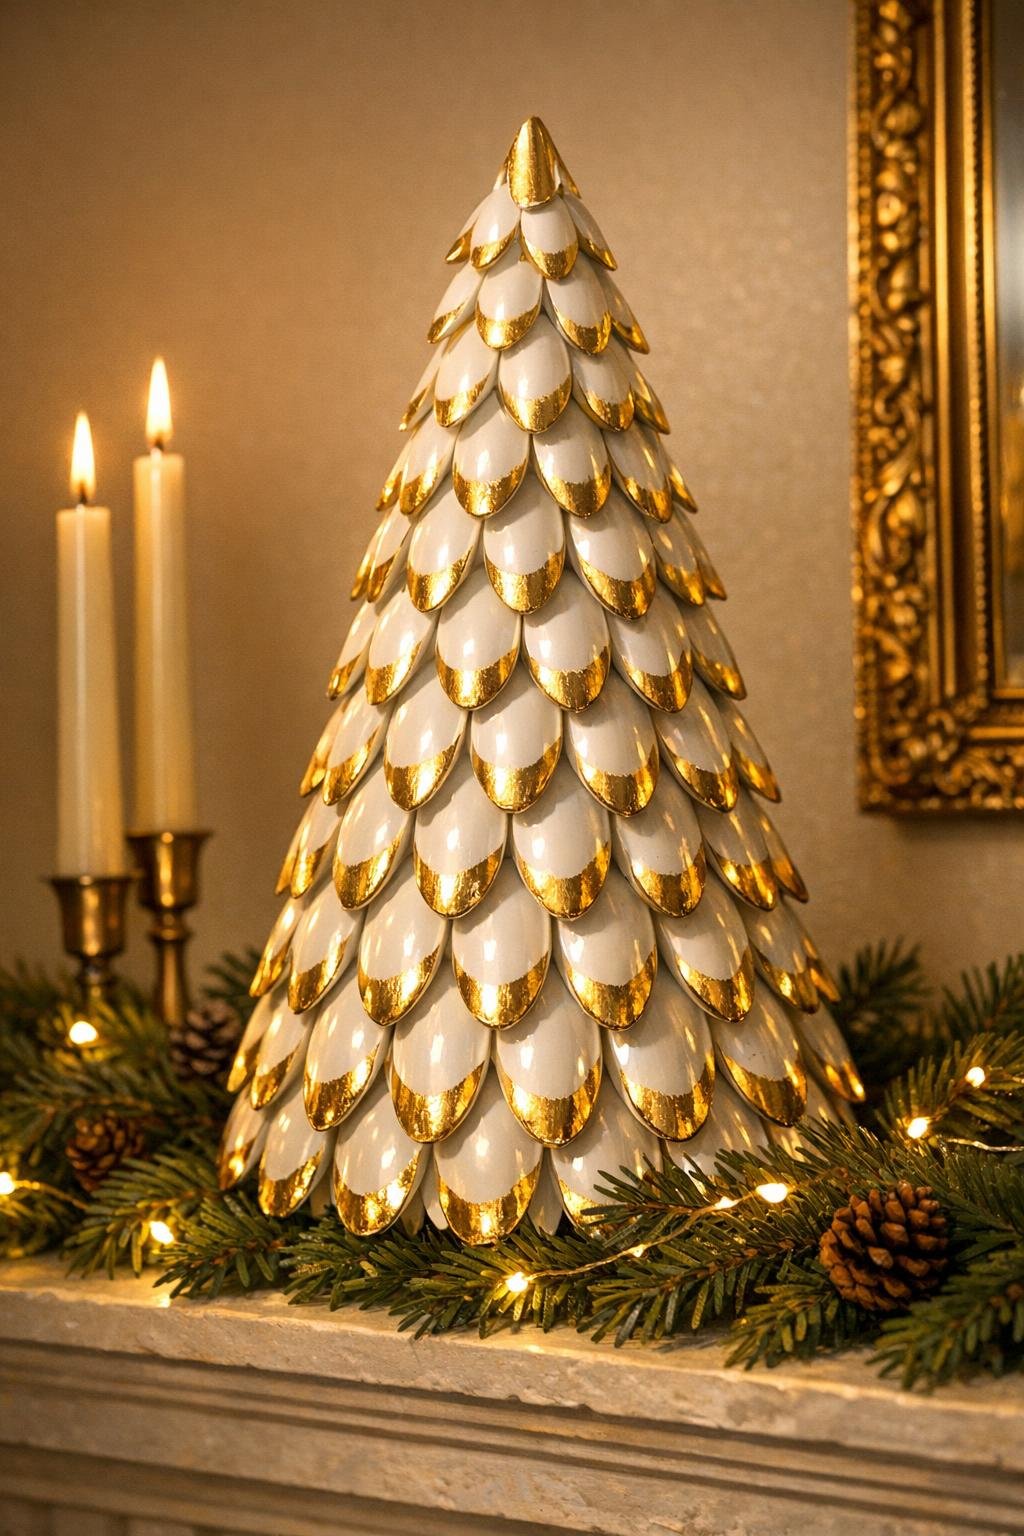
This project starts with one very simple move—dipping white plastic spoons in gold paint—but it turns into a dramatic mantel tree with rich, overlapping shine and a surprisingly high-end look. I love projects like this because they use everyday supplies from the dollar store and craft aisle, yet the finished piece has that polished holiday-display feel you’d expect from a boutique window or a styled magazine mantel.
If you want a statement centerpiece that reads elegant rather than crafty, this is a good one to make. The scale pattern gives you dense texture, the gold-tipped spoons catch light beautifully, and the finished 2-foot tree has enough volume to hold its own on a mantel, buffet, or entry table without being difficult to build.
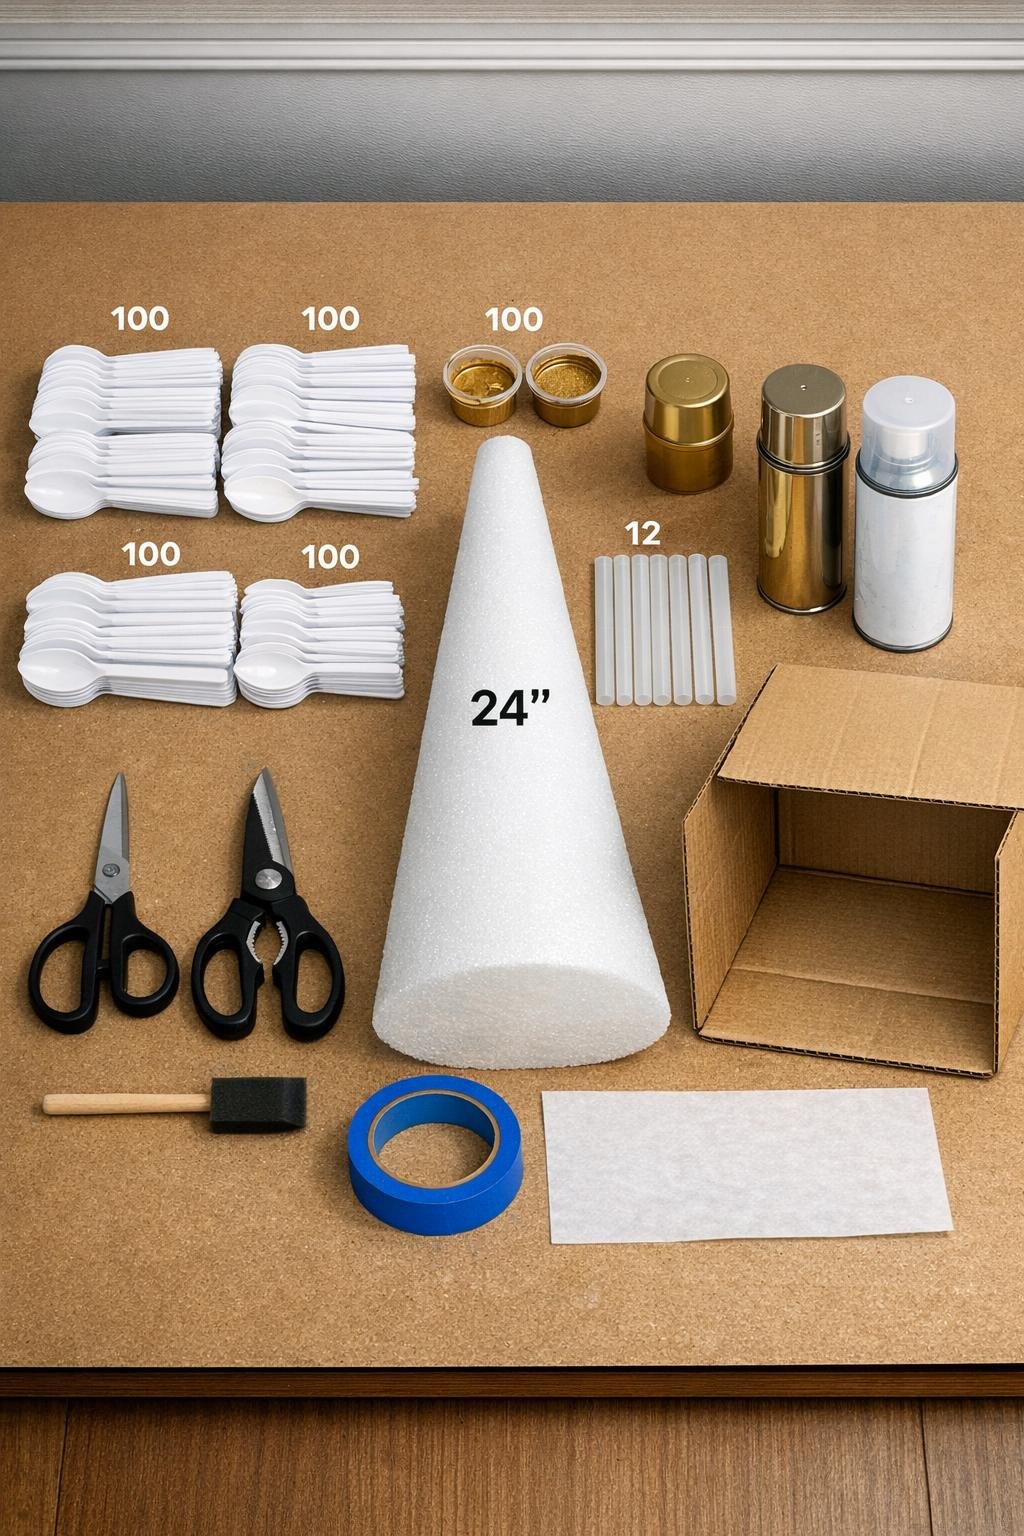
Materials
300 white plastic soup spoons or large white plastic teaspoons, 1 package
Instructions
1. Cover your work surface with a tablecloth or kraft paper, then line up the spoons in rows so you can work assembly-line style. Set out the gold acrylic paint in a cup deep enough to dip the bowl end of each spoon cleanly.
2. Dip the bowl of each white plastic spoon into the gold paint, coating the rounded end about halfway down the bowl so the handle stays white for now. Lay the spoons on parchment paper in tight rows and let them dry completely, then add a second dip if you want a richer metallic finish.
3. Once the paint is dry, cut the handles off all 300 spoons using heavy-duty kitchen shears, leaving just a short tab at the back of each bowl to give the glue more surface to grab. Sort the spoon bowls by size and shape, putting the widest, most even ones aside for the lowest rows.
4. Take the foam cone outside or into a well-ventilated spray area and coat the entire cone with metallic gold spray paint. Let it dry fully; this base color hides any tiny gaps between spoon scales and makes the finished tree look much more finished.
5. Starting at the bottom edge of the cone, hot-glue a ring of spoon bowls with the gold-dipped rounded ends facing up and outward like scales. Overlap each spoon slightly with the next one so the row looks full and continuous rather than spaced.
6. Build the second row directly above the first, staggering the spoons so each one covers the seam between two spoons below it. Keep the overlap generous; this is what gives the tree that lush, designer scale texture.
7. Continue gluing upward row by row, rotating the cone as you work so the spacing stays even all the way around. Press each spoon in place for a few seconds and keep the rows snug enough that very little of the cone shows between layers.
8. As the cone narrows, switch to the slightly smaller spoon bowls or trim a little off the sides of a few pieces if needed for a smooth fit. The rows should naturally tighten toward the top while still keeping that fish-scale pattern.
9. For the top 3 to 4 inches, glue the spoon bowls in tighter, slightly more vertical rows so they taper neatly into a point. If the very tip looks blunt, glue on one final spoon bowl folded slightly inward with warm glue to create a clean topper.
10. Step back and fill any obvious thin spots with extra spoon bowls, especially around the back and lower sides where gaps are easiest to miss. Touch up exposed white edges with a foam brush and a little gold paint.
11. If you want a softer glam finish, lightly dust a few upper rows with fine gold or champagne glitter while the touch-up paint is still tacky. Keep it subtle so the tree still reads metallic and elegant, not sparkly-crafty.
12. Spray the finished tree with a light coat of clear gloss sealer and let it dry completely. For a polished final detail, wrap a narrow velvet ribbon around the base and secure it with a tiny dot of hot glue at the back.
Variations & Tips
Silver version: Use metallic silver paint and silver spray paint instead of gold for a cooler, wintery look that pairs beautifully with white candles and frosted greenery.
Ombre finish: Dip some spoons deeper than others or use champagne gold near the top and richer antique gold near the bottom for a more dimensional, custom look.
Best spoon choice: Slightly deeper-bowled soup spoons usually create a more dramatic scale effect than very flat teaspoons. If you’re shopping at the dollar store, compare a couple of packs and choose the spoons with the roundest bowl.
Keep it sturdy: A foam cone is the easiest base for this size, but if your tree will be moved often, glue the cone to a small wood round before you start adding spoons so it feels extra stable on the mantel.
Glue smarter: Don’t run one long bead of glue on each spoon. A marble-sized dot near the center plus a short line near the bottom edge holds well and cools faster.
Hide imperfections: The gold spray-painted cone underneath is what makes this project look expensive. Even if a tiny gap peeks through, it blends into the tree instead of flashing bright white.
Make a set: If you want a fuller mantel display, make a trio using 24-inch, 18-inch, and 12-inch foam cones. Grouping different heights makes the metallic scale texture look even more dramatic.