
There’s something so satisfying about taking a handful of backyard magnolia leaves and turning them into something that looks straight out of a boutique florist shop. I love projects like this because they feel special and elevated, but the actual process is wonderfully repetitive and easy once you get set up. If you’ve got access to fresh magnolia leaves and about an hour of hands-on time, this is one of those high-payoff DIYs that really delivers.
I’m always looking for front-door decor that feels polished without costing a small fortune, and this is exactly that kind of project. The wax gives the leaves a rich, glossy finish that helps them hold their shape and color beautifully, and when you layer enough of them onto a wreath base, the result looks lush, full, and expensive in the best way.
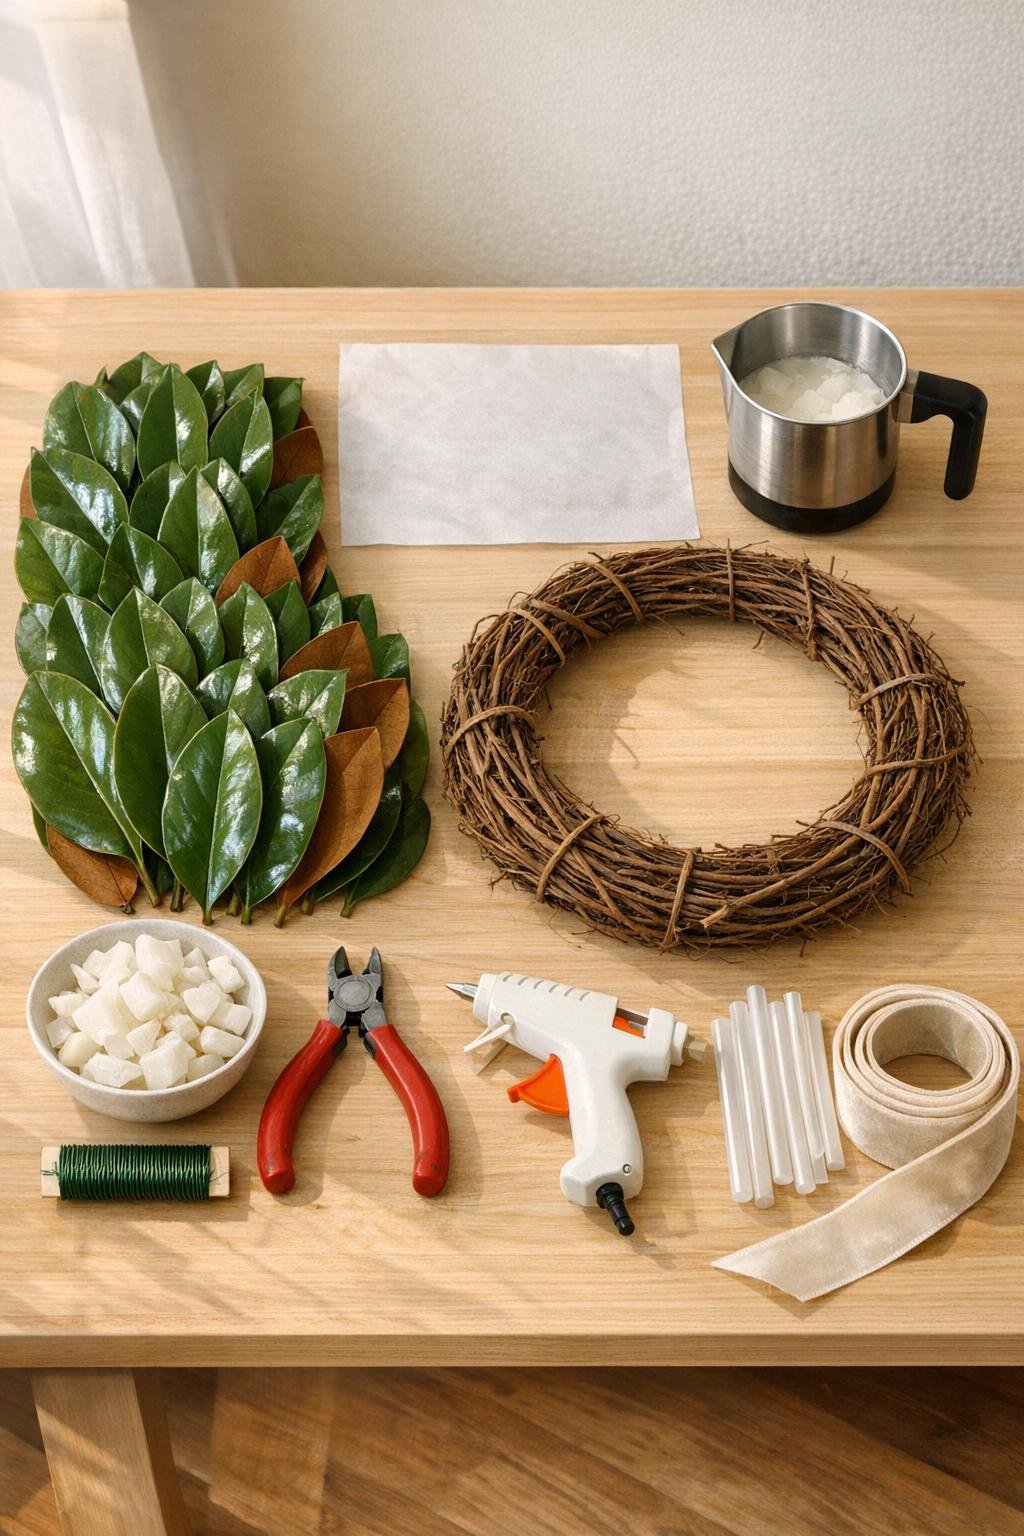
Materials
40 fresh magnolia leaves, 5 to 7 inches long, freshly cut and wiped clean
Instructions
1. Clip 40 magnolia leaves from the yard, choosing leaves that are fresh, flexible, and mostly the same medium-to-large size so the wreath looks full and even.
2. Wipe both sides of each leaf with a dry cloth or paper towel to remove dust and moisture, then let them sit for 10 minutes so the wax adheres smoothly.
3. Cover your work surface with parchment paper and set the grapevine wreath form, floral wire, glue gun, and ribbon nearby so you can assemble everything once the leaves are finished.
4. Melt the candle wax in a small pot or metal pitcher over very low heat until fully liquid and clear, then remove it from the heat and place it on a towel or trivet.
5. Hold each magnolia leaf by the stem and dip it fully into the melted wax, then lift it out slowly and let the excess drip back into the pot for a few seconds.
6. Lay each dipped leaf flat on the parchment paper to cool, alternating some face-up and some face-down so you preserve both the deep green tops and the velvety brown undersides for variety.
7. Repeat until all 40 leaves are coated, reheating the wax briefly over low heat if it starts to thicken before you finish.
8. Let the waxed leaves cool completely for 15 to 20 minutes until they feel firm, glossy, and no longer tacky when touched lightly near the stem.
9. Sort the leaves into three groups—largest, medium, and smallest—because layering by size is what gives the wreath that full florist-style shape.
10. Wire 8 of the largest leaves into small pairs by wrapping floral wire around the stems, crossing each pair slightly so the leaves fan outward.
11. Attach the largest leaf pairs around the wreath form, spacing them evenly and angling them slightly in the same direction to create the first full base layer.
12. Add the medium leaves one by one between those larger pairs, tucking the stems into the grapevine and securing each stem with a dot of hot glue or a short wrap of floral wire.
13. Fill the wreath densely with the remaining medium and small leaves, overlapping each one by about one-third so very little of the wreath form shows from the front.
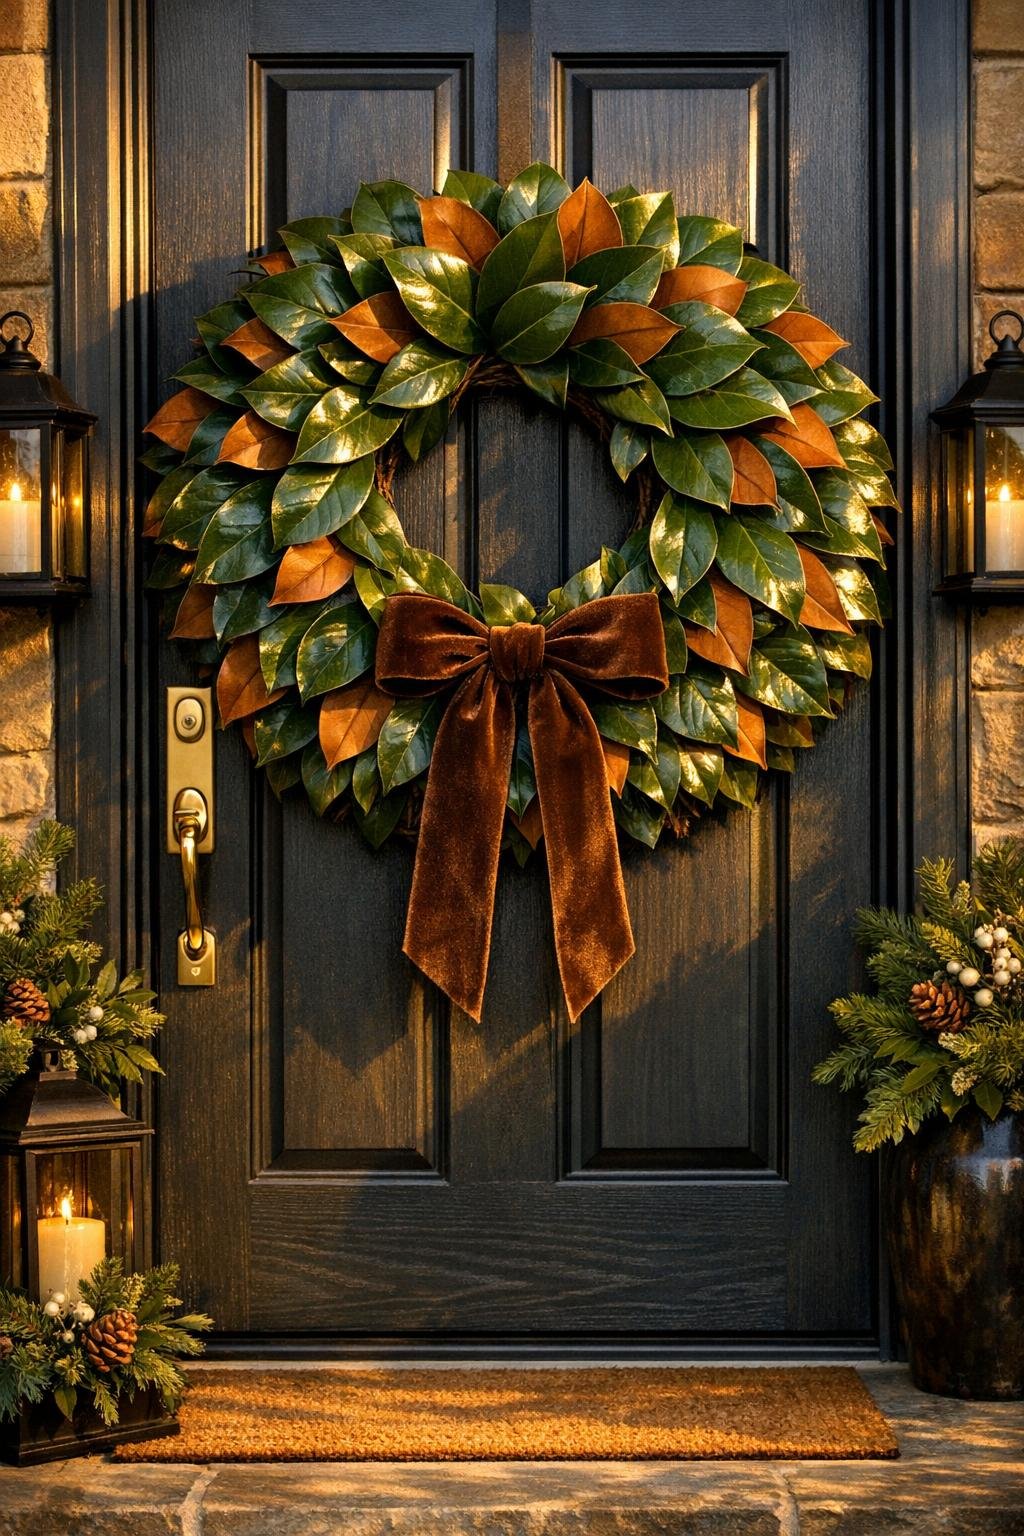
14. Turn a few leaves so their brown backs face forward here and there, which gives the wreath that classic magnolia look and makes the layering more dimensional.
15. Step back and check the overall shape, then add any extra leaves to thin spots until the wreath looks balanced, rounded, and generously covered all the way around.
16. Cut a 24-inch length of velvet ribbon, thread it through the top of the wreath, and knot or tie it securely for hanging.
17. Cut another 30-inch length of velvet ribbon and tie a soft, full bow at the top or lower side of the wreath, fluffing the loops so it looks plush and finished.
18. Hang the wreath on your door and gently adjust the leaf angles with your hands so the whole piece looks lush, symmetrical, and glossy from curb view.
Variations & Tips
Use a different base: If you can’t find a grapevine wreath, a 14-inch wire wreath frame also works well. Just glue and wire the leaves in overlapping bundles so you still get that thick, florist-style coverage.
Choose the best leaves: I’ve found that mature magnolia leaves with sturdy stems are much easier to work with than very young tender leaves. The firmer leaves hold their curve better after waxing.
Work safely with wax: Keep the heat low and never walk away from melting wax. I like to melt it slowly, then take it off the burner before dipping so I’m working with hot wax, not an actively heated pot.
Make it even fuller: If your leaves run small, use 50 instead of 40 and tighten the overlap. That extra layer makes a big difference, especially on a larger front door.
Ribbon color ideas: Deep olive, chocolate brown, black, burgundy, or cream velvet all look beautiful here. For the most classic Southern look, I personally love a wide brown or moss-green velvet ribbon.
Where to display it: This wreath is best on a covered front door or porch where it’s sheltered from direct rain and harsh sun. A little protection helps the waxed finish stay pretty longer.
Storage tip: At the end of the season, hang it on a wreath hanger or store it flat in a large shallow box lined with tissue paper so the waxed leaves don’t get crushed.