
There are a few dollar-store crafts I make fully expecting them to look homemade, and then there are the happy surprises that end up looking far more expensive than they have any right to. This is one of those projects. Starting with a pack of mini foil tart tins and a big bag of clear pony beads, you can make a full set of ornament-sized pieces that catch light in the prettiest way and give off that vintage pressed-glass feel on the tree.
I especially love this project during a busy week because it’s simple to prep in one sitting, and the payoff is huge. If you want holiday decor that feels elegant instead of crafty, but you also want to use easy-to-find supplies from Dollar Tree and the kitchen drawer, this is such a satisfying one.
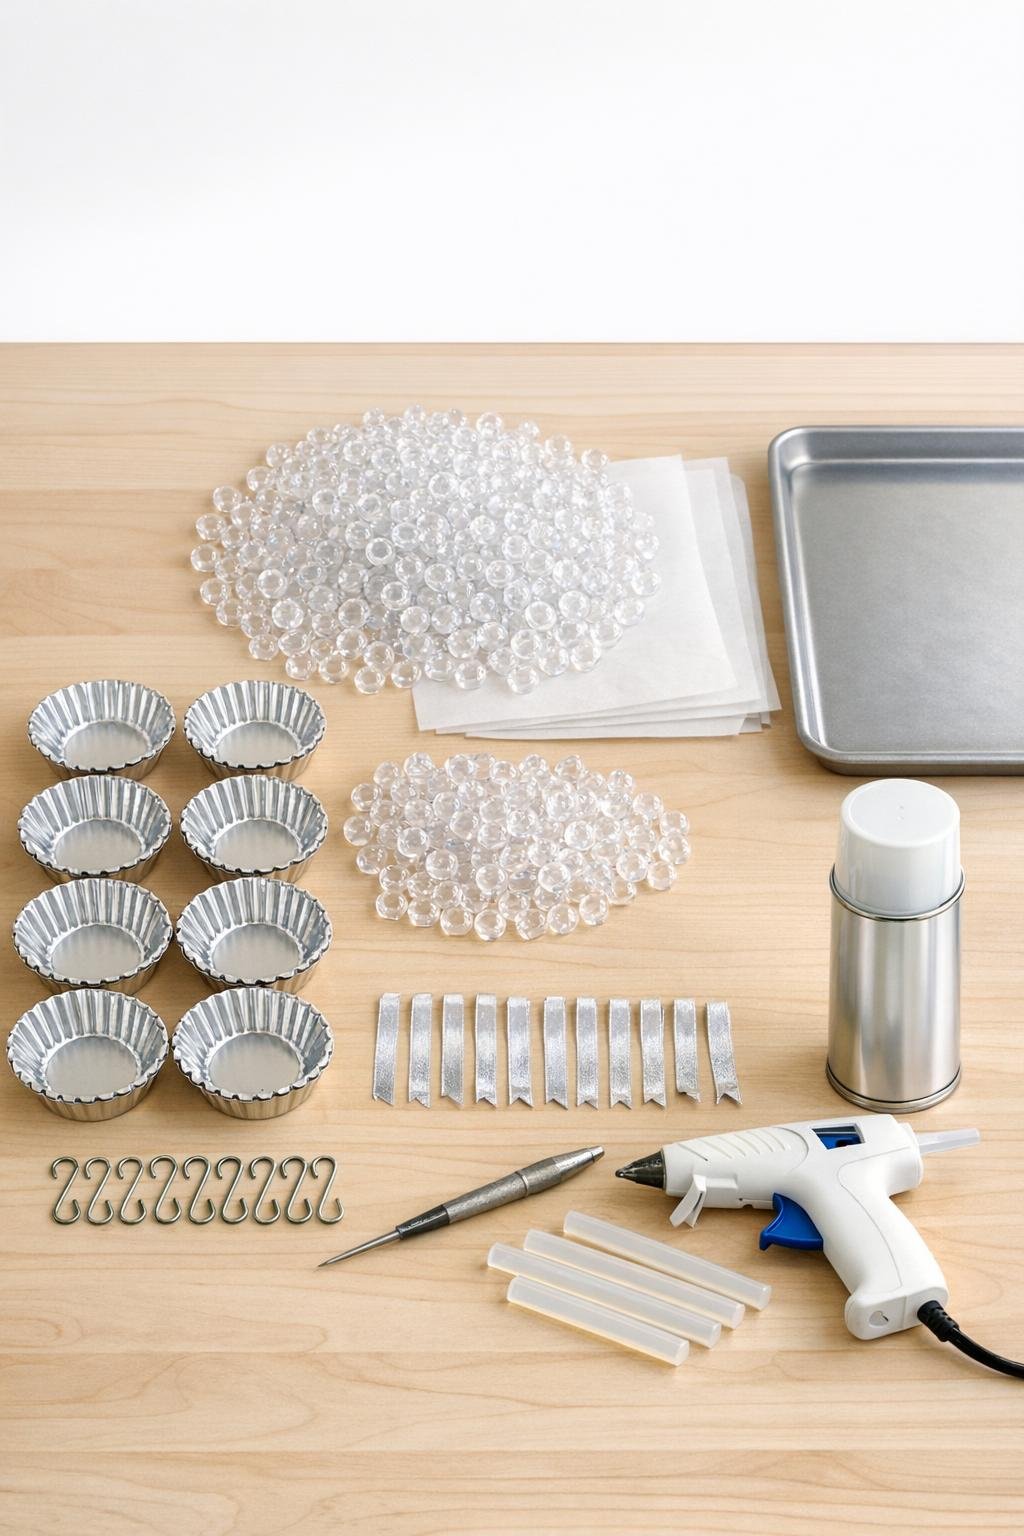
1. Preheat your oven to 400°F and line a metal baking sheet with parchment paper. Set the 12 mini foil tart tins on the pan in even rows so they sit flat and don’t tip when moved.
2. Fill each tart tin with clear pony beads until the bottom is covered and the tins are about half full, which is usually 28 to 36 beads per tin. Shake each tin gently so the beads settle into an even layer without mounding up in the center.
3. Bake for 16 to 22 minutes, watching closely after the 15-minute mark, until the beads fully melt together into smooth clear discs. The centers should look fused and glassy, with the fluted tin edges still defining that scalloped pressed look.
4. Remove the pan from the oven and let the melted pieces cool for 3 to 4 minutes, just until they hold their shape but are still warm enough to pierce. Use a skewer or awl to make one small hanging hole near the top edge of each disc, about 1/4 inch in from the rim.
5. Let the ornaments cool completely in the tins for 20 to 30 minutes. Once firm, gently peel back the foil tins or press from the bottom to release each scalloped disc.
6. If any edge feels sharp or has a thin plastic burr, trim it carefully with small scissors or a craft knife. Wipe off any crumbs or foil bits so the surfaces stay crystal clear.
7. Place the discs on wax paper or a cooling rack and lightly coat both sides with clear gloss spray sealer, letting the first side dry before turning. This extra finish is the little step that makes them look more polished and helps them catch tree lights beautifully.
8. Thread an 8-inch piece of narrow ribbon through each hole and knot it into a hanging loop. Add an ornament hook through the ribbon or knot on a pearl or crystal-look bead for a more finished, antique-style detail.
9. For a slightly frosted look, dust only the back of each ornament with the tiniest pinch of iridescent glitter before the final hanger is added. Keep it light so the front still reads as clear pressed crystal rather than glitter craft.
10. Hang the full set across the tree, spacing them where they can catch string lights and window light. They look best mixed through the outer branches instead of tucked deep inside, so the scalloped edges and clear shine really show.
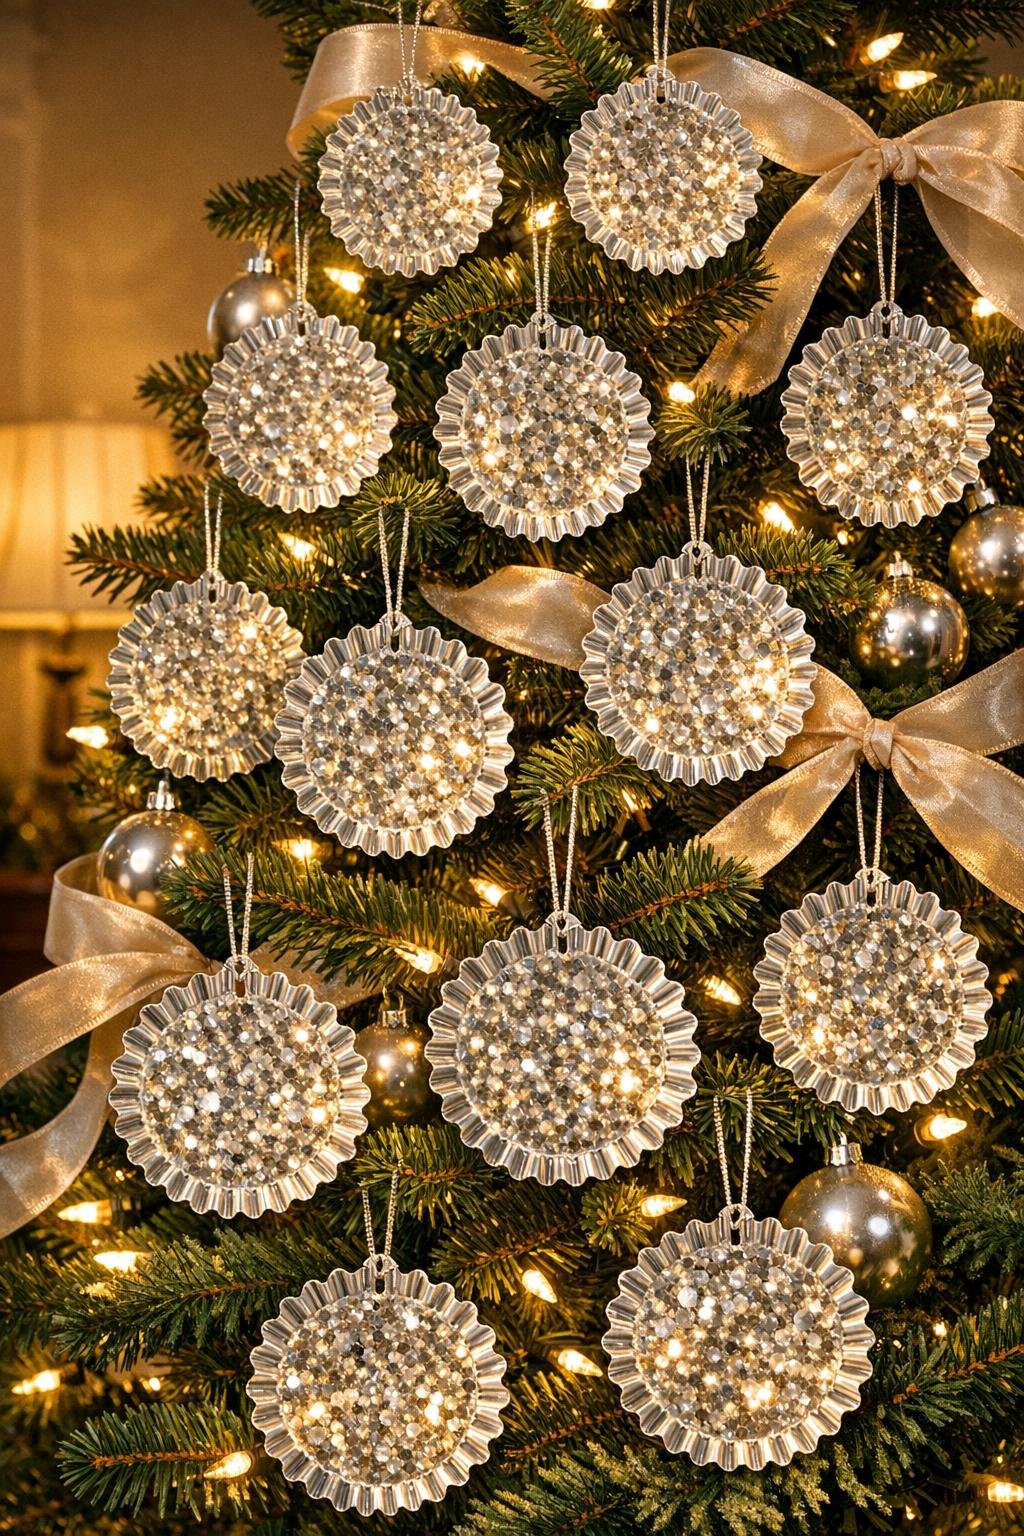
For the clearest finish: Use only plain clear pony beads with no glitter core or cloudy tint. I’ve found the more uniform the beads are before melting, the more convincing the finished pressed-glass look is.
Oven note: Every oven runs a little differently, so start checking early instead of walking away. When I first tested these, a couple extra minutes turned one batch slightly bubbly, and while they were still pretty, the smoother batch looked much more elegant.
If a disc sticks to the tin: Don’t force it right away. Let it cool fully, then peel the foil tin outward little by little; the disposable tins usually release cleanly if you sacrifice the tin instead of trying to save it.
For a more antique look: Swap the ribbon for thin silver cord or narrow velvet ribbon in ivory, pale gray, or soft blue. Those quieter colors keep the ornaments looking classic and not overly sweet.
To make them look fuller on the tree: Hang two or three deeper in the branches and the rest near the tips. That layering trick makes the set look generous and collected, which is especially nice if you’re decorating a larger tree.
Gift idea: Wrap a set of four in tissue inside a cookie box or bakery box. It’s one of those handmade gifts that looks surprisingly upscale, which is always my favorite kind of project when time is short.