
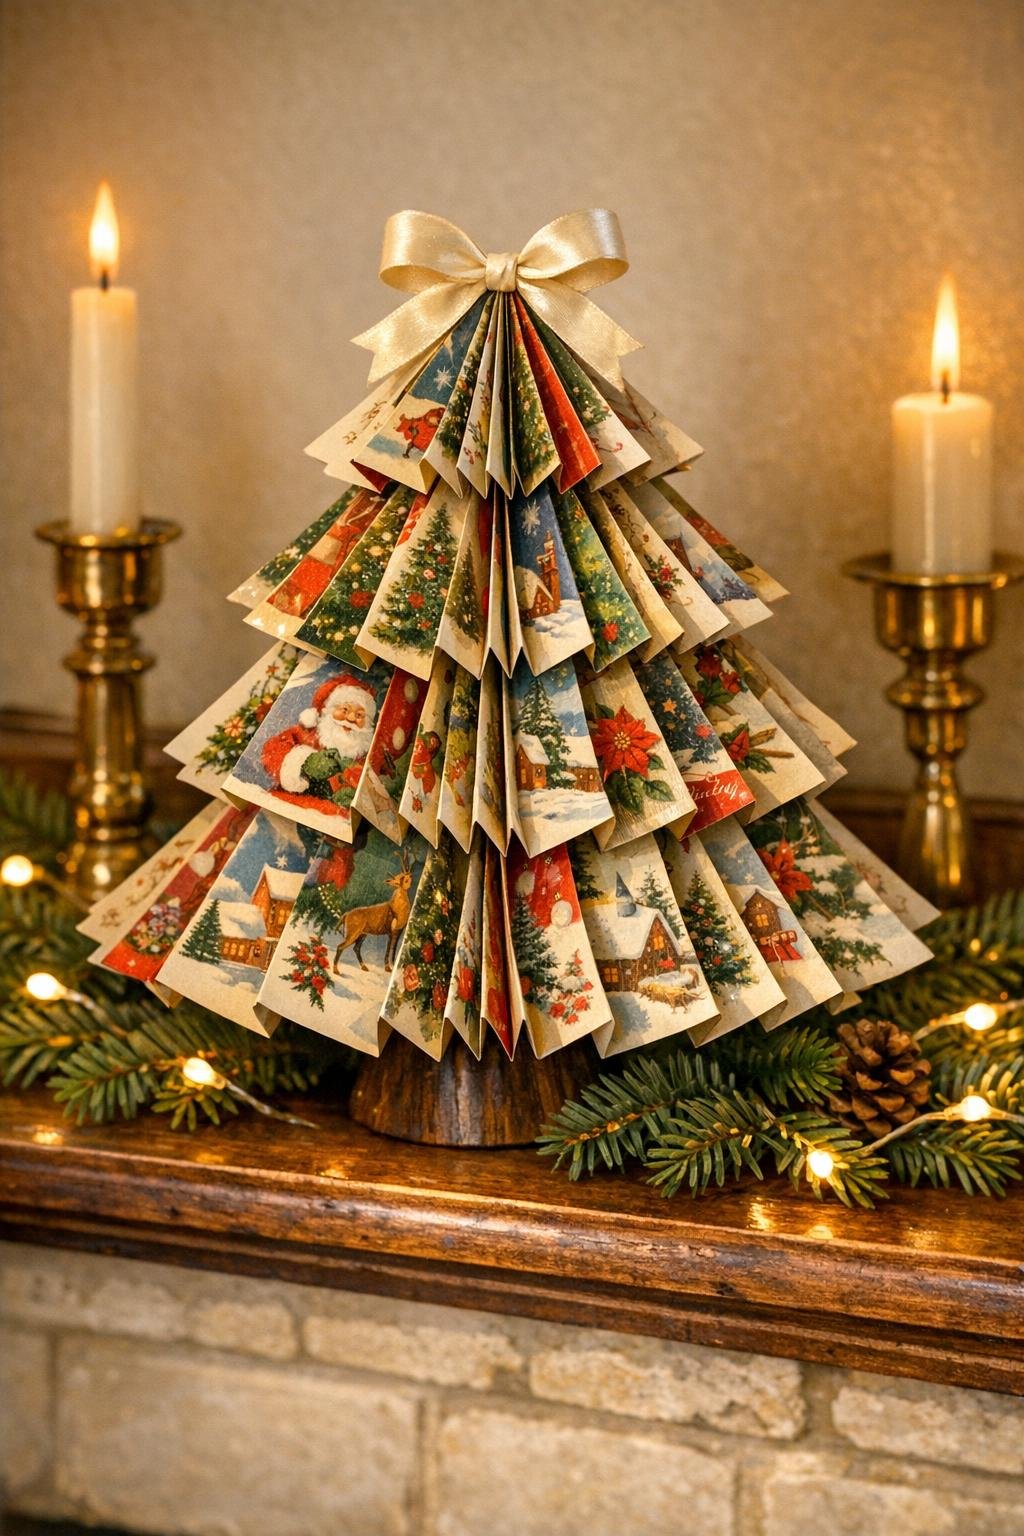
There’s something mighty satisfying about turning a little stack of old Christmas cards into a decoration that looks far more special than the effort it takes. I’ve always hated throwing away pretty cards, especially the ones with snowy churches, holly borders, and those old-fashioned poinsettias that remind me of the cards my mother tucked onto the mantel every December. This easy paper project gives them a second life, and the finished piece has that vintage, collected look that feels right at home with holiday candles and evergreen sprigs.
This is a lovely project for anyone who wants a Christmas craft that feels polished instead of childish. If you can fold, trim, and glue, you can make this. I like setting one on a mantel, buffet, or entry table where the card fronts catch the light and all those festive colors open up into a full, dimensional display.
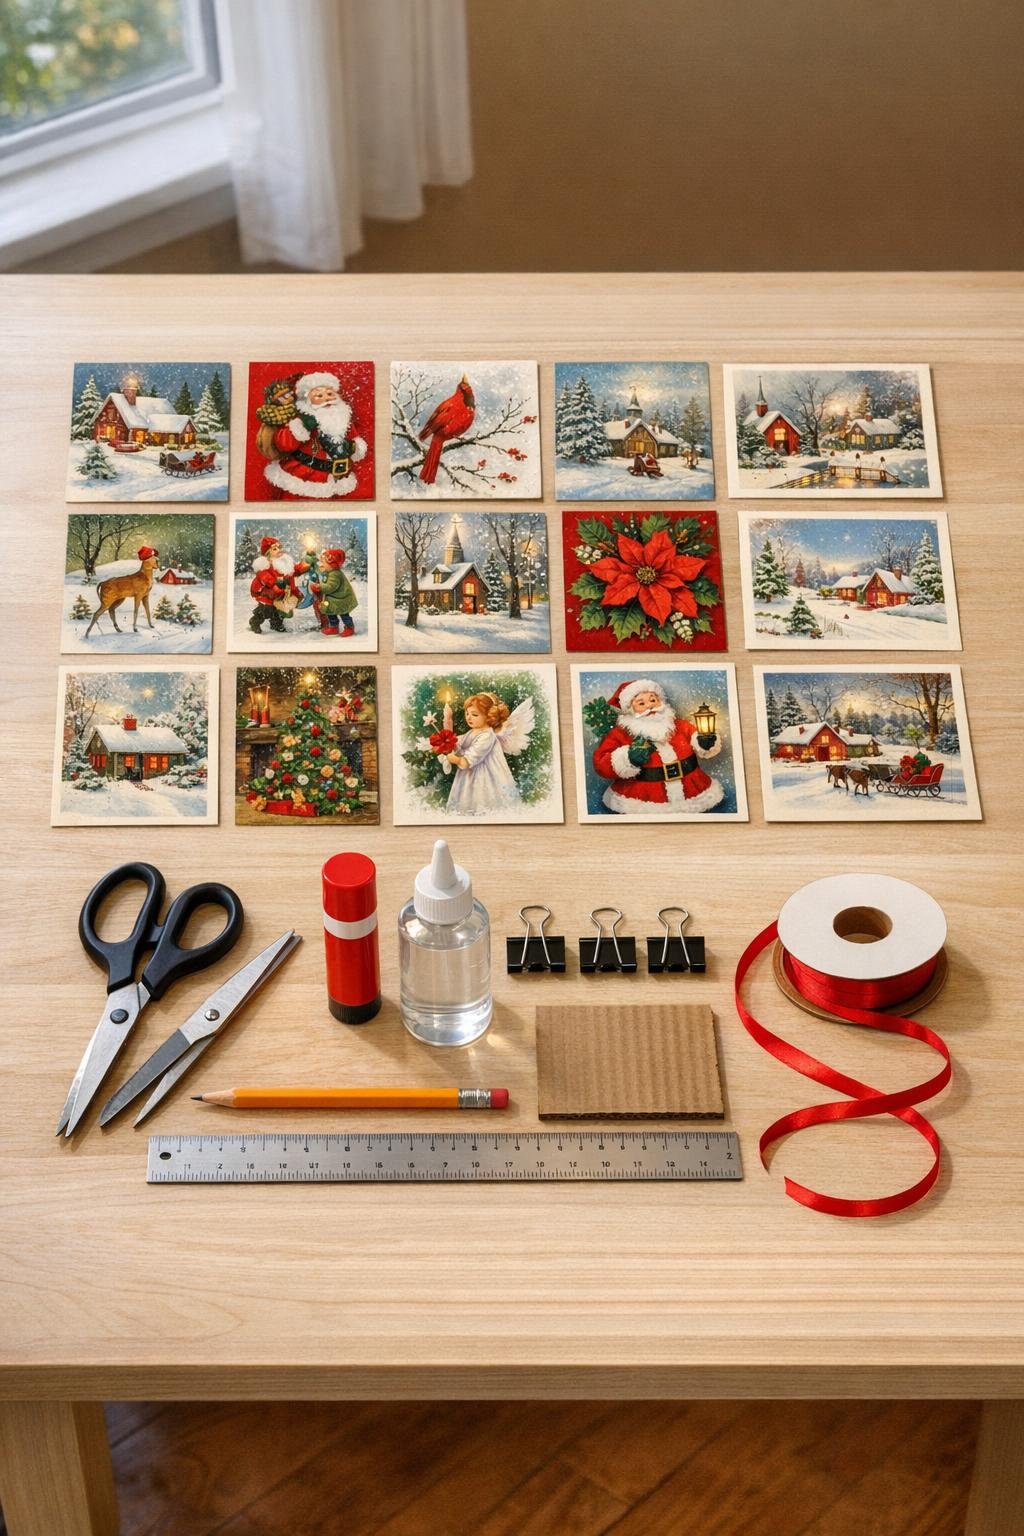
Materials
Instructions
1. Gather 16 old Christmas cards and choose the prettiest fronts, aiming for a balanced mix of reds, greens, golds, and winter scenes so the finished piece looks full and intentional.
2. Fold each card exactly in half with the picture on the outside, then run your fingernail or the edge of a ruler along the crease to make every fold crisp.
3. If any cards are larger or wider than the others, trim them so they all match the same finished size; 5 x 7 inches works beautifully for a generous tabletop tree.
4. Lay the folded cards in a stack and arrange the order of the designs before gluing, alternating light and dark images so the finished tree has nice visual movement all the way around.
5. Apply glue stick or a thin coat of tacky glue to the outside back half of one folded card, then press the outside back half of a second folded card directly onto it, spine to spine and edge to edge.
6. Continue gluing one folded card to the next in the same way until all 16 cards are attached into one thick stacked strip, keeping the creased spines neatly aligned as you work.
7. Clip the glued stack in a few places with binder clips or clothespins and let it sit for 15 to 20 minutes so the layers dry flat and hold their shape.
8. While the stack dries, trace and cut a 3-inch circle from lightweight cardboard; this gives the finished tree a sturdy little footing on the mantel without drawing attention to itself.
9. Remove the clips and gently fan the stack open into a full circle, bringing the first and last card together until the piece forms a round, dimensional tree shape.
10. Spread glue on the remaining open outer halves of the first and last cards, press them together carefully, and hold with clips until the circle stays closed on its own.
11. Glue the bottom opening of the paper tree to the cardboard circle, centering it so the tree stands straight and the base disappears underneath the folds.
12. Tie the narrow ribbon into a small neat bow and glue it near the top front, or add a paper star or tiny topper to give the piece that finished store-bought touch.
13. If you’d like a little extra sparkle, brush a very thin line of clear glitter glue or sealer along a few outer folds and let it dry completely before displaying.
14. Set the tree on a mantel, buffet, or entry table and gently adjust the folds with your fingers until the spacing looks even and the card designs show nicely from every side.
Variations & Tips
Use a color story: If you want a more elegant look, choose cards in just two or three colors, like red and gold or blue and silver, so the finished tree reads as collected and coordinated.
Mix vintage with new: Some of my favorite results come from combining old-fashioned greeting cards with a few newer ones that have rich color or metallic details; it keeps the tree from looking too matched-up.
Make it taller: Larger cards create a bigger, more dramatic tree, so if you have oversized boxed cards, use those for a statement piece on a buffet or piano top.
Hide the base neatly: If a bit of cardboard peeks out, cut a circle of felt or even plain brown paper and glue it underneath for a cleaner finish.
Go easy on the glue: Too much adhesive can wrinkle the card stock, so I use a thin, even coat and press firmly rather than slathering it on.
Pair it with simple decor: This little tree looks especially pretty next to greenery, candlelight, or a bowl of ornaments; it doesn’t need much fuss because the vintage card art does the work for you.