
There are some projects that feel a little like winter itself—simple, quiet, and surprisingly beautiful once the light comes through. This one starts with three plain round cake pans from the dollar store and a trick I wish I’d known years ago: freezing water inside them before punching the design. That solid block of ice supports the thin metal so it doesn’t crumple while you work, and it makes an ordinary household pan behave like proper punched tin.
I’m always fond of a project that looks far fancier than the materials suggest, especially in the cold months when a stairwell, hallway, or mantel needs a little glow. These lights are for anyone who wants that old-fashioned winter charm without needing specialty tools or expensive supplies. The finished look has that lovely starry sparkle I remember from Christmas displays in little Midwestern shops, but you can make it right at the kitchen table and workbench.
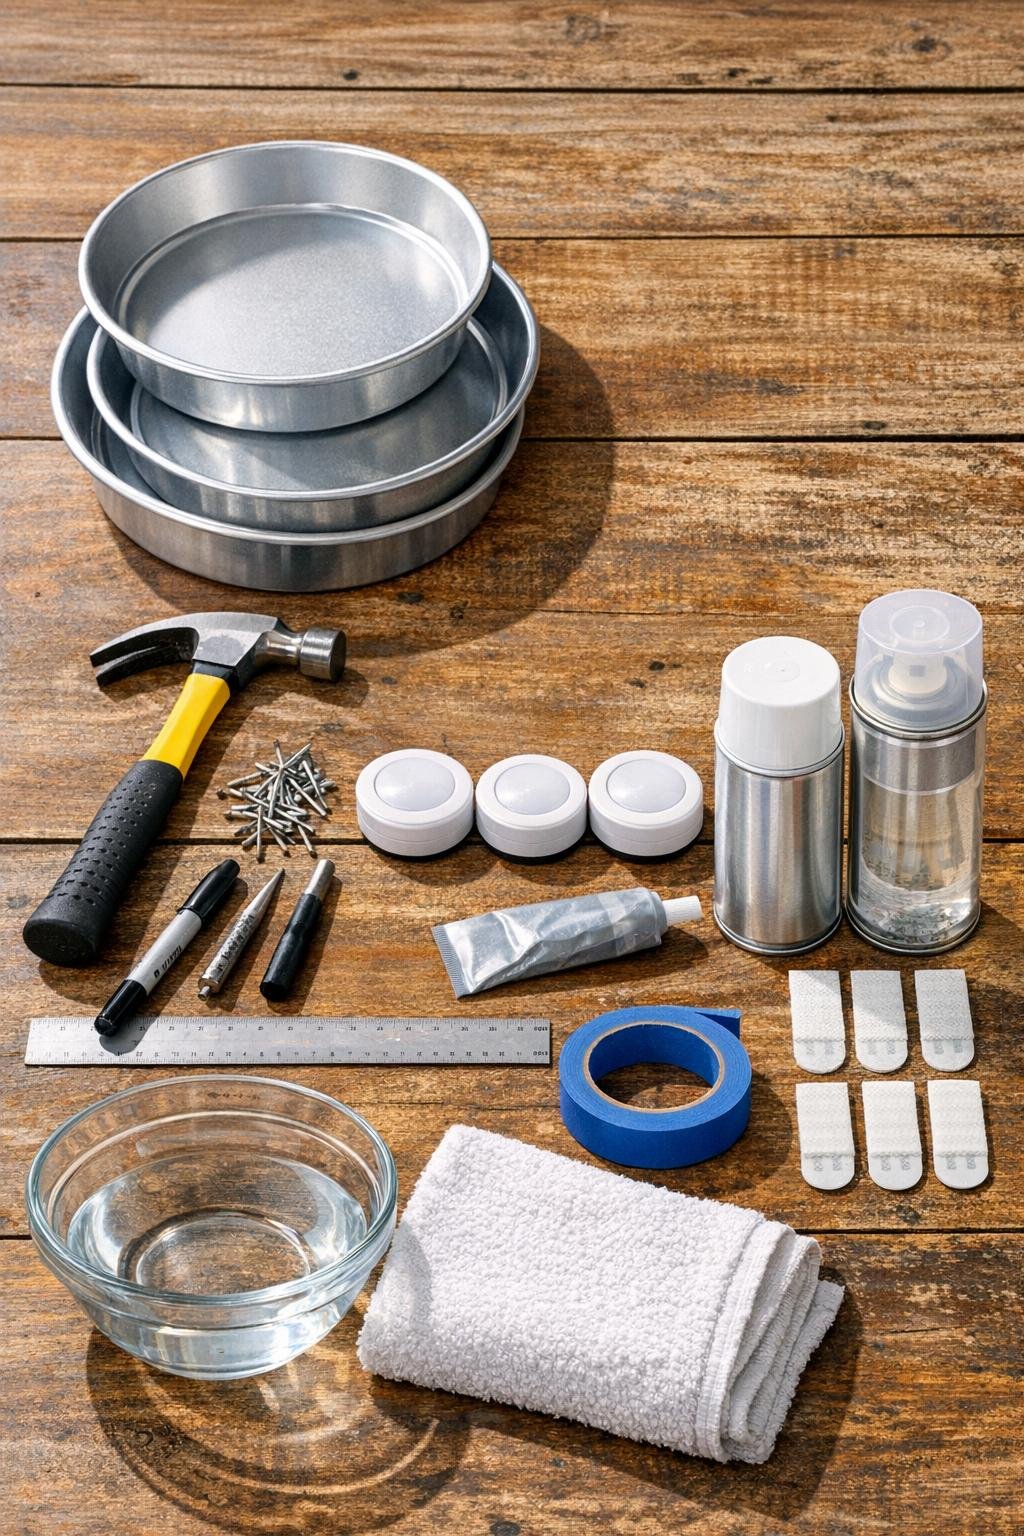
Materials
Instructions
1. Fill each cake pan with about 3 cups of water and freeze them on a flat shelf until solid, at least overnight. The ice needs to be completely firm all the way through so the pan bottom stays supported when you punch the design.
2. Set one frozen pan on a folded towel over a sturdy workbench or table, then tape your snowflake pattern to the underside of the pan or sketch a simple six-point design with a marker. Keep the center bold and the branches evenly spaced so the final glow looks balanced from across the room.
3. Start at the center of the snowflake and tap finishing nails straight through the pan bottom and into the ice, making one hole at a time. Space the holes about 1/4 inch apart on the main lines and 3/8 inch apart on the outer branches for a crisp, bright pattern instead of a muddled one.
4. Rotate the pan as you work and build out every branch of the snowflake until the design fills most of the round base. Leave at least a 3/4-inch border near the edge so the pan keeps its strength and still looks like a refined metal sconce instead of a flimsy craft.
5. Repeat the pattern on the other two frozen pans, changing the snowflake layout slightly on each one so the trio looks collected rather than identical. Aim for roughly 80 to 120 holes per pan for a full, starry spread of light.
6. Let the ice thaw enough to release, then pour it out and dry each pan completely. If any holes have tiny raised edges, flatten them gently from the inside with the back of the hammer head or a spoon.
7. Wipe the pans inside and out with rubbing alcohol to remove marker and oils, then let them dry for 5 minutes. This step helps the paint adhere evenly and gives the finished pieces that clean, polished look.
8. Spray the pans with two light coats of white or matte silver paint, covering the inside, outside, and punched edges. Let the first coat dry before adding the second so you keep the metal smooth and avoid drips inside the pattern holes.
9. Seal the painted pans with one light coat of clear matte sealer and allow them to cure fully according to the can directions. Once dry, the finish will read more like real décor and less like a disposable pan.
10. Center one LED puck light inside each pan and glue it in place, or use the puck light’s own adhesive if it is strong enough for metal. Keep the light directly behind the densest part of the snowflake so the pattern throws evenly onto the wall.
11. Add picture-hanging strips or a small hanger to the back rim of each pan, and place two clear rubber bumpers on the lower back edge if needed. That little spacing trick helps the light sit level and gives the glow enough room to spread.
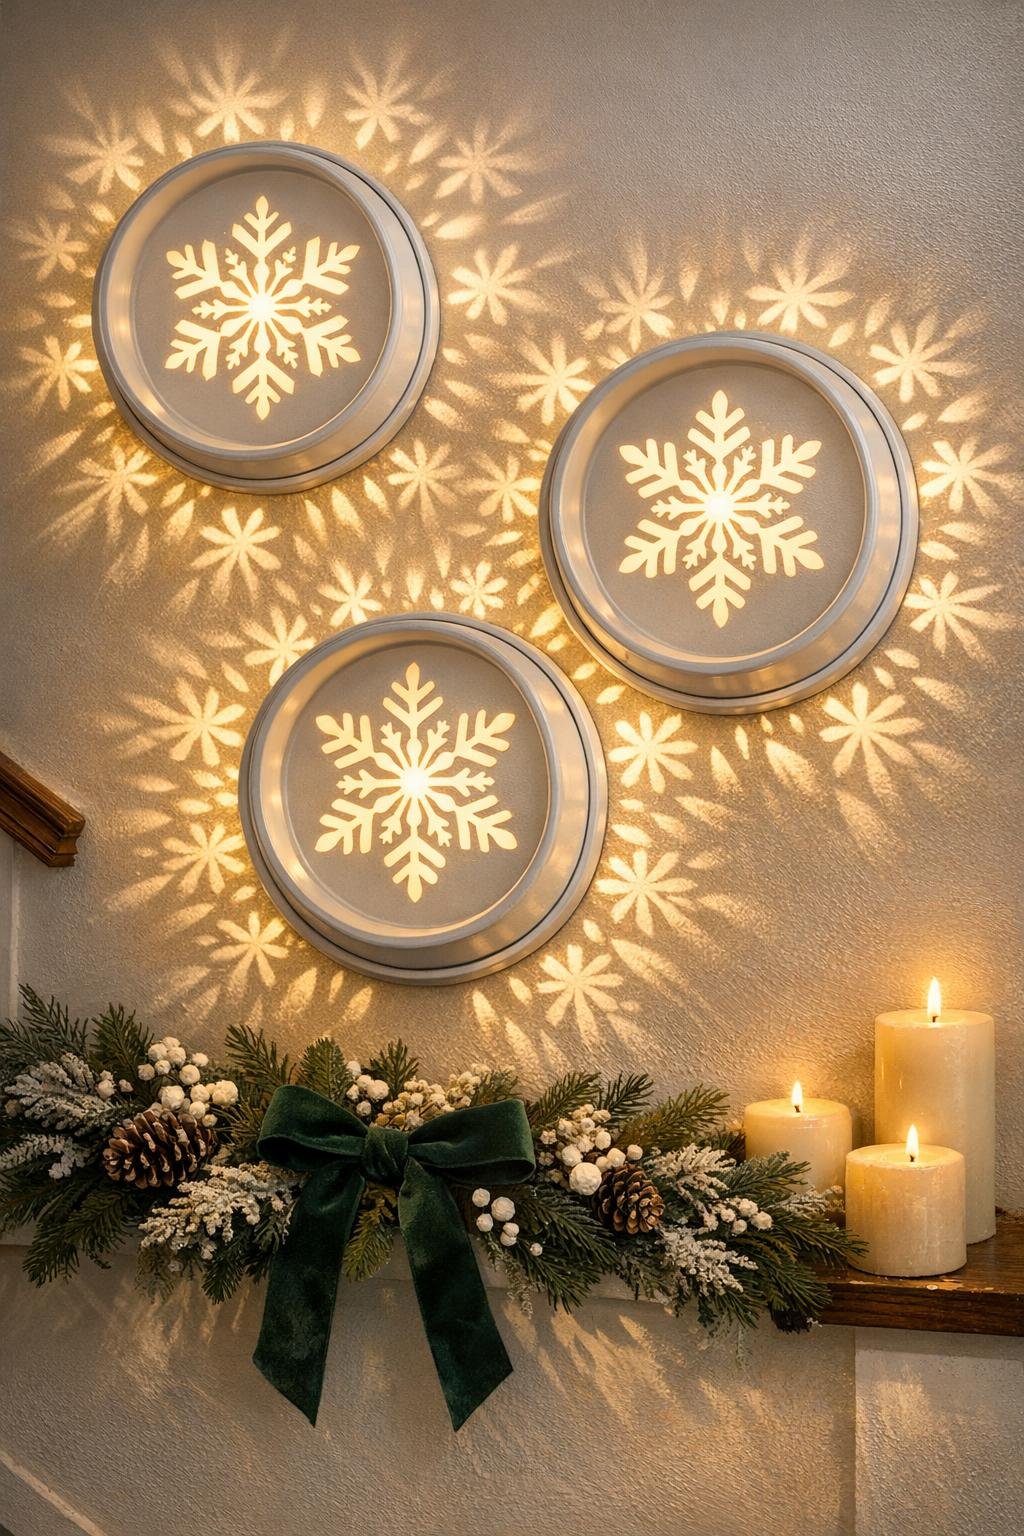
12. Mount the three lights in a vertical row in a stairwell, a grouped cluster over a mantel, or a gentle line across a hallway wall, spacing them about 6 to 8 inches apart. Turn on the puck lights and make any small angle adjustments until the snowflakes cast a crisp, twinkling pattern around each pan.
Variations & Tips
For a true tin look: Use matte silver paint instead of white if you want these to resemble antique punched-tin sconces. I like white for snowy winter walls, but silver has that old farmhouse charm too.
If the metal starts to dent: Refreeze the pan for an hour and continue punching once the ice is hard again. That frozen support is the whole secret, and it makes a world of difference.
For more dramatic light: Punch a few extra holes along the outer branches and add tiny dot clusters between the main snowflake arms. A fuller pattern gives you that magical scatter of light on the wall instead of just a small central glow.
For mantel styling: Hang the trio in a shallow arc above greenery, white stockings, or a line of bottlebrush trees. It keeps the display looking wintry and elegant without fighting with the light pattern.
For stairwell spacing: I’ve found these look best when the center light hangs slightly higher than the outer two, or in a straight vertical row following the rise of the stairs. That arrangement feels custom and intentional, almost like something from a little boutique inn.
Battery tip: Choose puck lights with a remote or timer if you can. It’s such a pleasant thing to have them come on at dusk, especially on long winter evenings when a small glow makes the whole house feel gentler.