
This bedroom candle alcove is one of those projects that looks custom and expensive, but it’s honestly very doable in an afternoon. You’re basically turning a deep shadow box frame into a little wall niche by mounting a small floating shelf inside it, then styling it with flameless candles so it gives that cozy boutique-hotel feel without any wiring or major carpentry.
I love projects like this because they make a big visual impact in a small space, which is exactly what I’m always after in a bedroom. Between work and real life, I don’t have endless weekends for complicated builds, so this is my kind of DIY: simple structure, polished finish, and enough detail to make people stop and ask where I bought it.
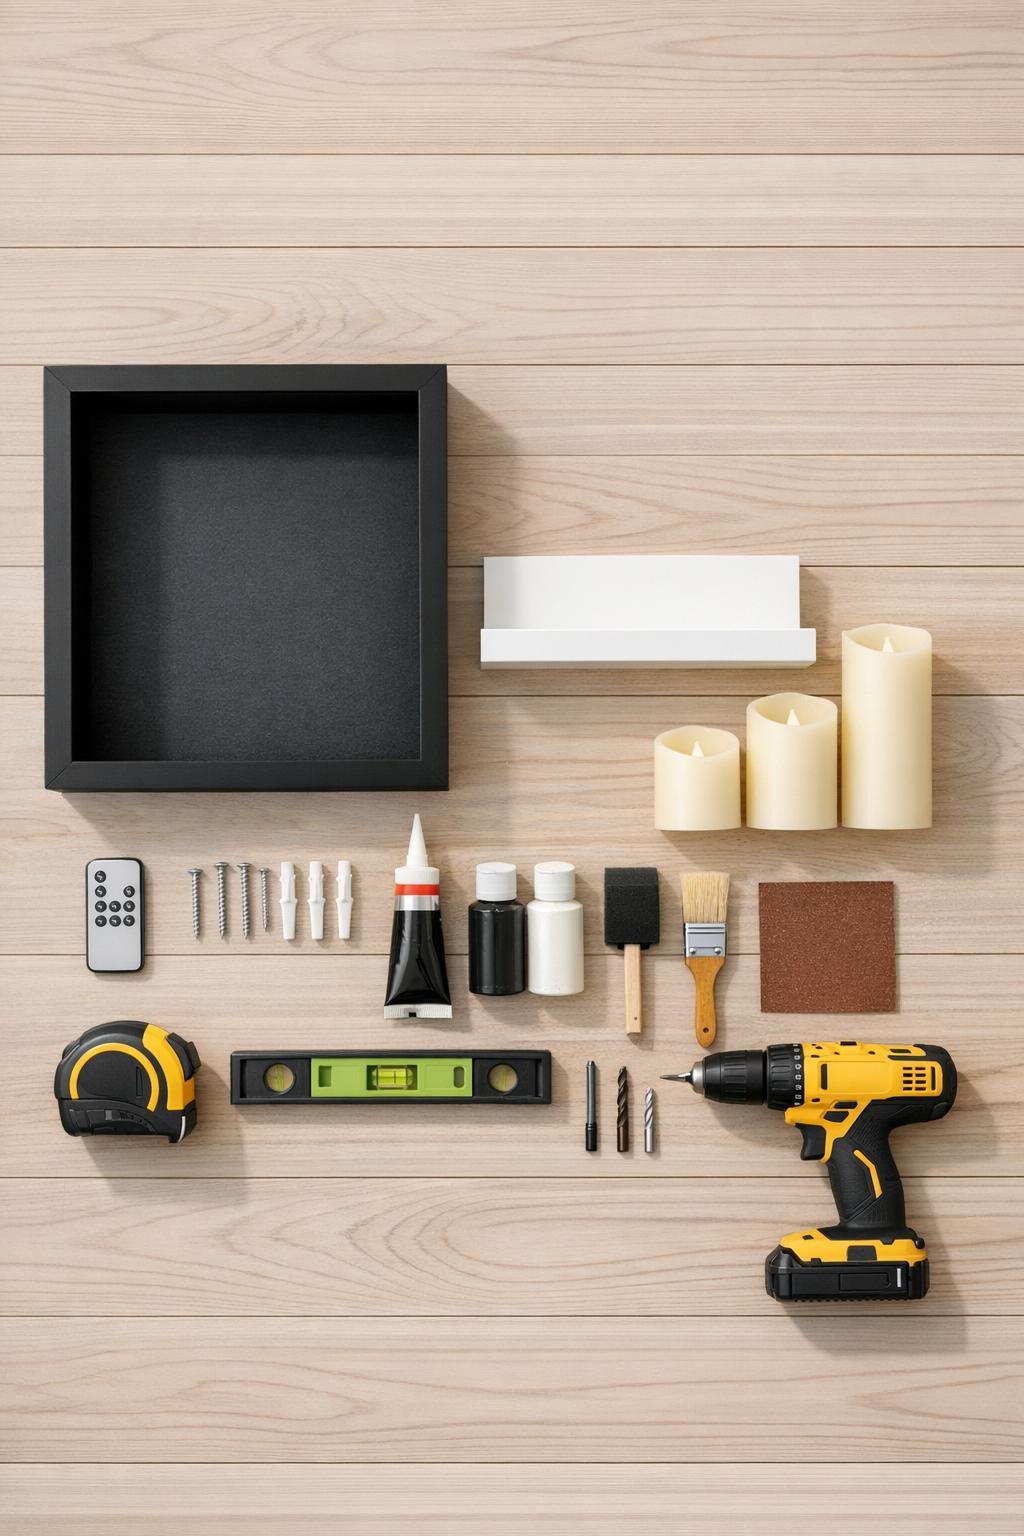
Materials
1 deep shadow box frame, 16 x 20 inches, 3 to 4 inches deep, black finish
Instructions
1. Remove the backing, glass, and any inserts from the deep picture frame so you’re left with the open shadow box structure. Wipe the inside clean and lightly sand any glossy spots where the shelf will attach.
2. Measure the inside width of the frame and test-fit the floating shelf so it sits snugly without forcing the frame sides outward. If needed, sand the shelf ends very slightly until it fits cleanly inside the frame.
3. Mark a level line across both inner sides of the frame about one-third of the way up from the bottom; this placement leaves enough room for candles above while still creating that alcove look. I usually set mine around 5 to 6 inches from the interior base on a 20-inch-tall frame.
4. Apply a thin bead of construction adhesive to both ends and the back edge of the shelf, then set it onto your level marks inside the frame. Hold it in place and check from the front to make sure it looks centered and straight.
5. Drive two #6 x 1-inch screws through the outer sides of the frame into the ends of the shelf, one screw per side, to lock the shelf in place. Keep the screws centered on the shelf thickness so they don’t poke through the top or bottom.
6. Let the adhesive cure according to the package directions, then touch up the screw heads and any scuffs with matching black paint on the frame and white paint on the shelf. This little cleanup step is what makes the whole thing look intentional instead of obviously homemade.
7. Add hanging hardware to the back of the frame if needed, then place felt pads on the lower back corners so it sits flat against the wall. Mount the alcove securely at bedroom eye level, usually 55 to 60 inches from the floor to the center.
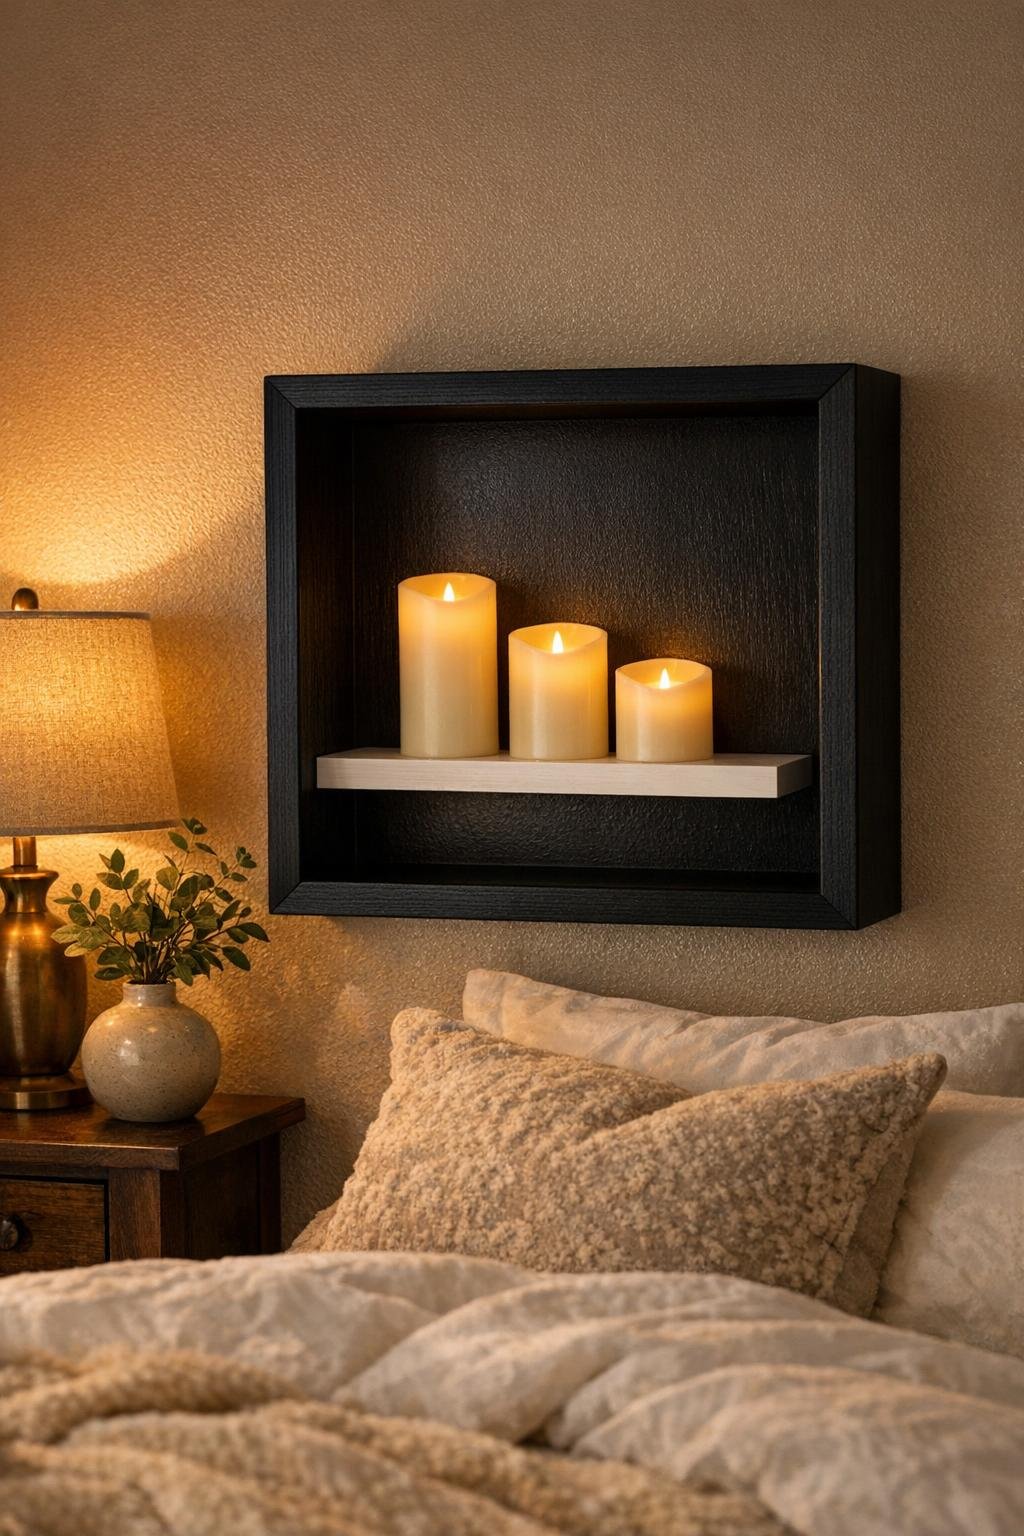
8. Arrange the three flameless pillar candles on the shelf with the tallest in back and the shorter ones slightly forward for layered depth. Leave a little negative space around them so the black frame still reads as a dramatic architectural border.
9. Style the bottom ledge or the area just below the shelf with restraint if you want a fuller look, but keep the candles as the focus. I like to stop here because the contrast of the white shelf, ivory candles, and black frame already feels polished and cozy.
Variations & Tips
Try a larger statement version: If you have a bigger blank wall, use a 20 x 24-inch or 24 x 30-inch deep frame and a 16-inch shelf so the alcove feels more dramatic from across the room.
Use battery candles only: I would not use real candles in an enclosed framed setup like this, especially in a bedroom. Flameless candles give you the same glow and are much easier to live with.
Add a paneled back: For more contrast, cut a piece of beadboard, wallpapered foam board, or painted hardboard to fit the frame backing area before mounting the shelf. It gives the alcove more depth without making the build harder.
Match your room finishes: A black frame with a white shelf is crisp and classic, but this also looks beautiful with an all-white setup, a wood-toned frame, or a brass-painted inner edge if your bedroom leans warmer.
Keep styling simple: When I’m decorating after a long workday, I have to remind myself not to overfill every surface. Three candles in staggered heights are enough to make this look collected and intentional.
Check weight before hanging: Deep frames can get surprisingly heavy once you add a shelf, screws, and candles, so always use anchors rated for the total weight and mount into a stud if you can.