
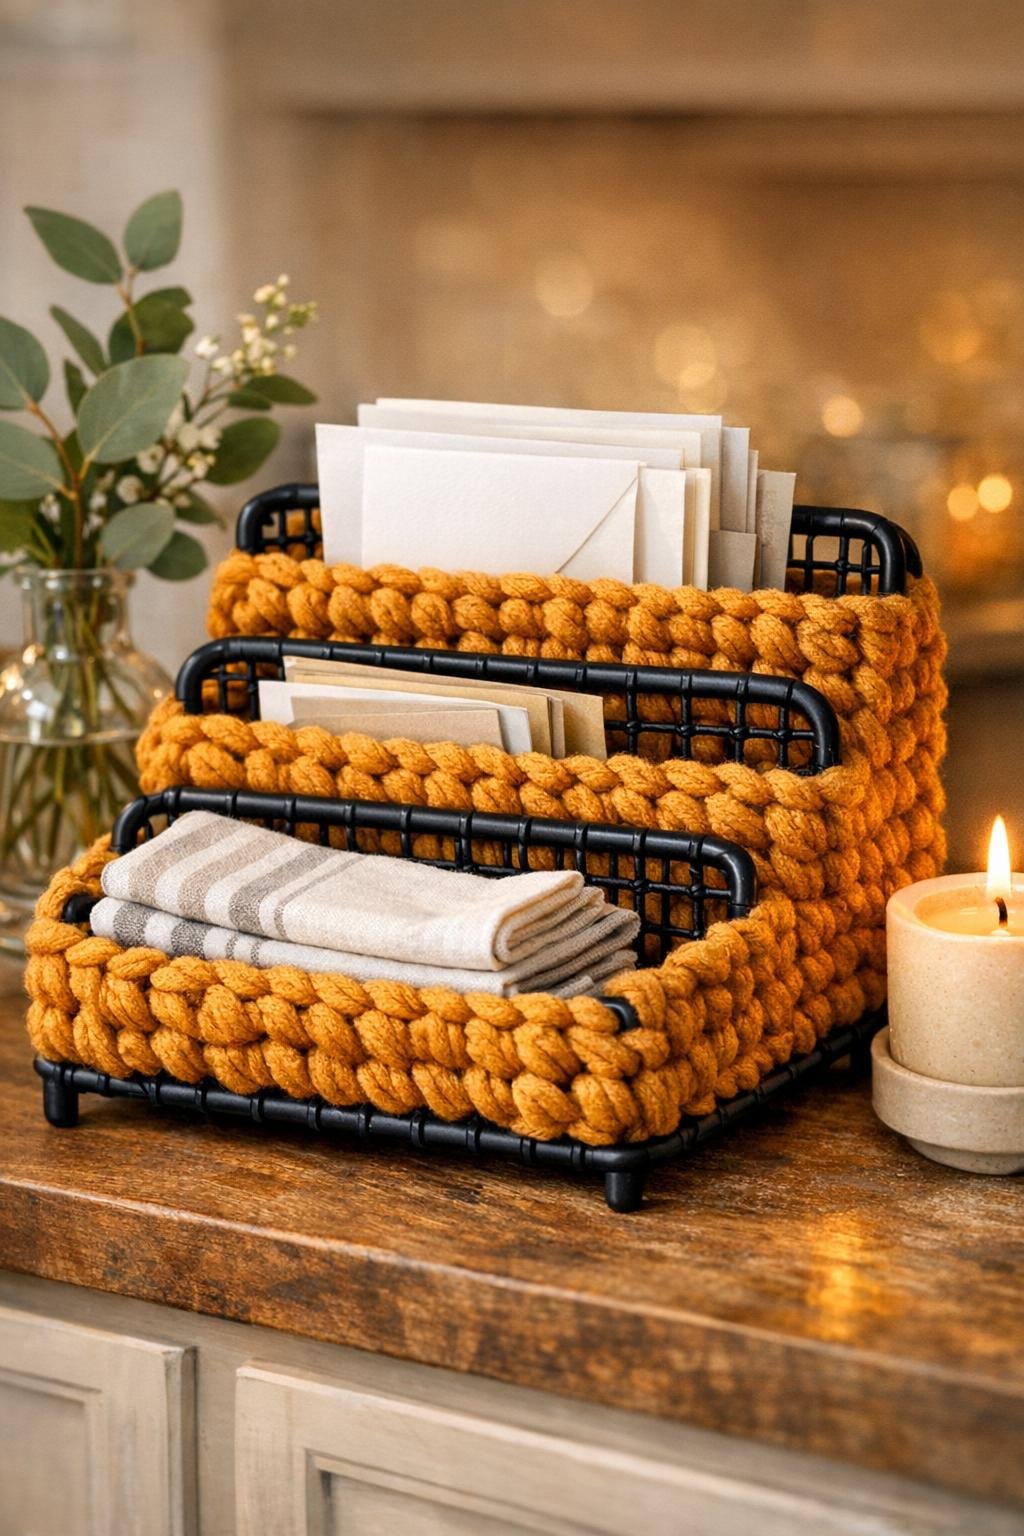
I love a thrift-store find that looks a little questionable until you get it home and suddenly see exactly what it could be. A wire letter sorter is one of those pieces for me. The shape is already useful, the grid gives you built-in structure, and when you crochet chunky yarn straight through the openings, it softens that office-supply look into something warm and handmade that actually feels right at home on a counter, entry table, or desk.
This is a wonderful project for anyone who wants the look of a crochet basket without having to build the entire structure from scratch. The wire frame does the heavy lifting, so you get a sturdy decorative basket quickly, and the chunky amber yarn gives it that cozy, polished finish. I especially like this one for holding napkins, mail, recipe cards, snack bags, or all those little bits that seem to gather in every family kitchen.
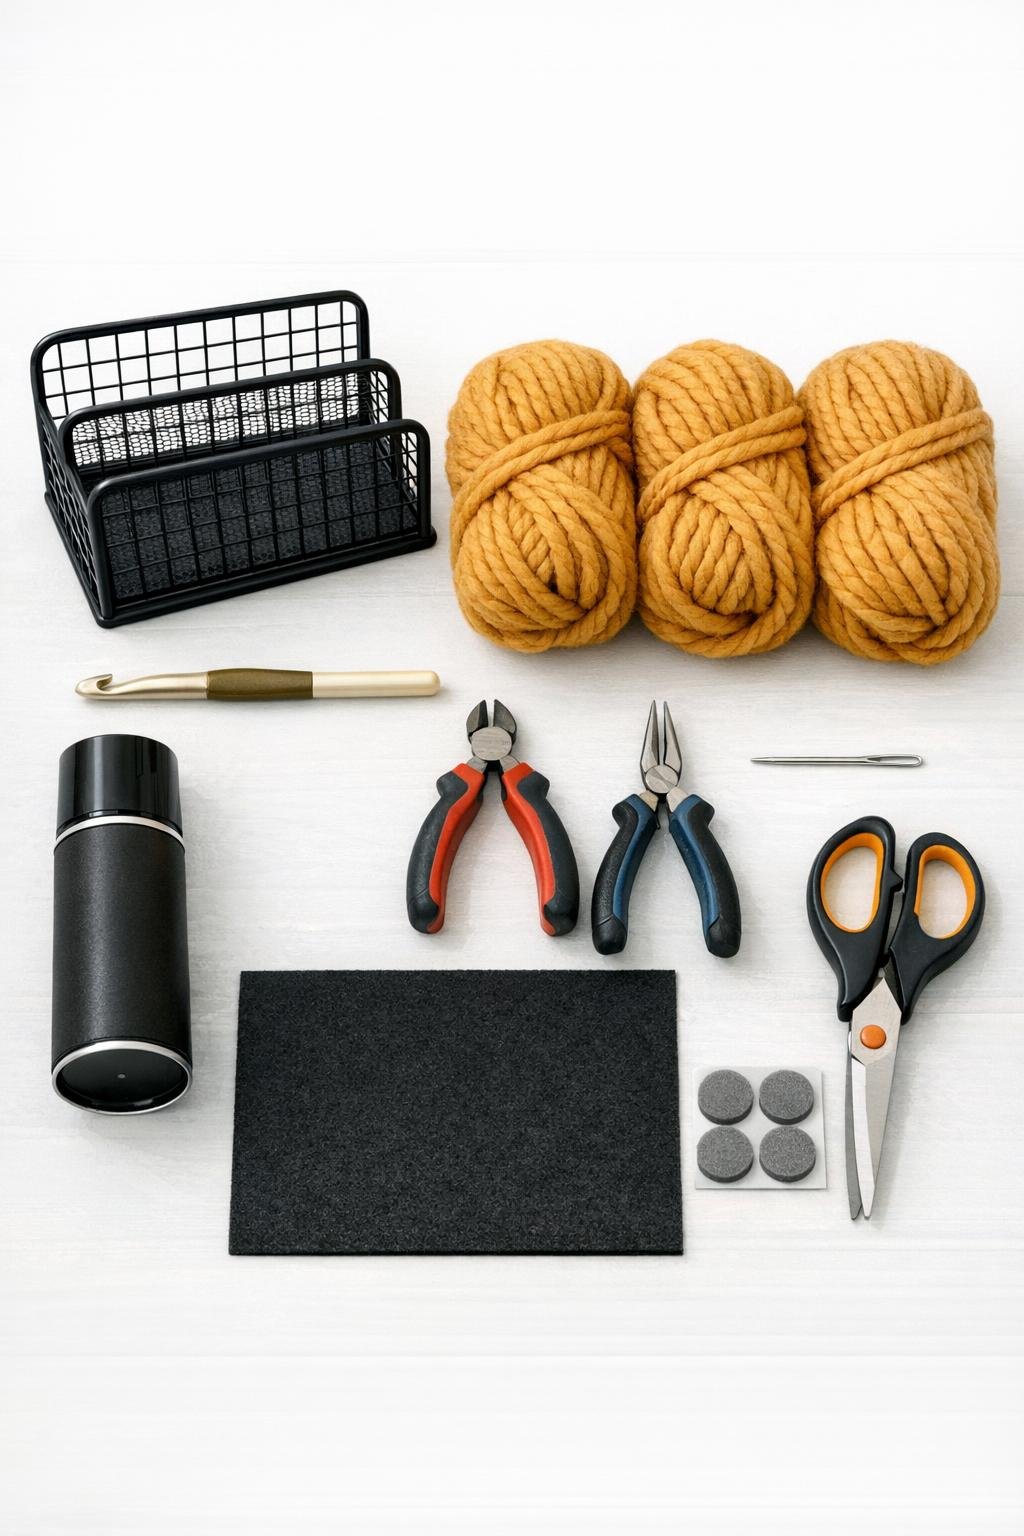
Materials
1 thrifted black wire letter sorter, approximately 12 inches wide x 7 inches deep x 6 inches tall with open grid sides
Instructions
1. Clean the wire letter sorter well with warm soapy water, dry it completely, and check every edge for bent or sharp wires.
2. Use pliers to straighten any warped grid sections and wire cutters to remove stray ends, then pinch cut spots smooth so the yarn will not snag.
3. If the finish is chipped or rusty, spray the sorter with a light coat of matte black paint and let it dry fully before you begin crocheting.
4. Start at the lower back corner by tying the yarn securely around one horizontal wire, leaving a 4-inch tail to weave in later.
5. Work single crochet-style loops through the grid openings by pulling yarn from front to back and back to front around each wire bar, covering the lower back panel one square at a time.
6. Keep your stitches snug and close together so the black wire peeks through only slightly; for fuller coverage, place two stitches in each larger grid opening.
7. Continue across the entire back panel, then rotate the sorter and crochet both side panels the same way, working from bottom to top for an even, basket-like texture.
8. Crochet around the front lower section if your letter sorter has an open front rail, wrapping the yarn around the visible bars to visually tie the whole piece together without blocking the opening.
9. Add extra rows along the top rim by wrapping and stitching over the top wire edge to create a soft finished border that feels comfortable in your hands.
10. When you reach the end of a skein, tie the new yarn to the old yarn on the inside of the frame with a tight double knot and weave both tails through several stitches with the yarn needle.
11. Cover any sparse spots by needle-weaving short lengths of yarn through exposed grid openings until the texture looks full and balanced on every visible side.
12. Cut the felt to fit the bottom interior of the sorter and tuck it in as a neat liner so smaller items do not slip through the wire base.
13. Press adhesive felt pads onto the feet or bottom corners to protect your table, then fill the basket lightly and shape the crocheted panels with your hands so everything sits evenly.
Variations & Tips
For a fuller look: Use the thickest yarn your hook can comfortably handle and pack the stitches tightly. I always step back after each panel and check for bare patches before moving on.
Color change option: Amber is especially pretty for a warm, cozy look, but cream, olive, rust, or charcoal also work beautifully. If you want stripes, change colors panel by panel instead of row by row to keep the project simple.
For picky organizers: In my house, everybody likes their own drop zone, so I love using each compartment for a different category like bills, school papers, recipe cards, or snack packets. It keeps the basket useful instead of just decorative.
Yarn substitution: T-shirt yarn or super bulky chenille can work, but choose something with enough body to cover the wire cleanly. Very fuzzy yarn hides mistakes, though it can make the stitch path harder to see.
Make it more polished: Thread a short length of matching yarn around the top edge one more time like a whipstitch if you want a cleaner border. That little finishing pass makes the whole piece look more intentional.
Best use tip: This basket is ideal for lightweight items rather than heavy storage. The wire frame is sturdy, but the crocheted finish stays nicest when it is not stretched by bulky or sharp objects.