
I love a project that starts with the simplest supplies and ends up looking far more expensive than it has any right to. This one begins with plain white foam balls from the dollar store and a big pile of silver thumbtacks, and with a little patient pressing, you get a full set of substantial, gleaming ornaments that look like hammered metal accents instead of craft-store basics.
If you enjoy easy, repetitive projects you can do while listening to music or letting soup simmer on the stove, this is a very satisfying make. It’s especially good for anyone decorating a tree, filling a holiday bowl, or dressing up a mantel with something elegant and polished without picking up paint, glitter, or complicated tools.
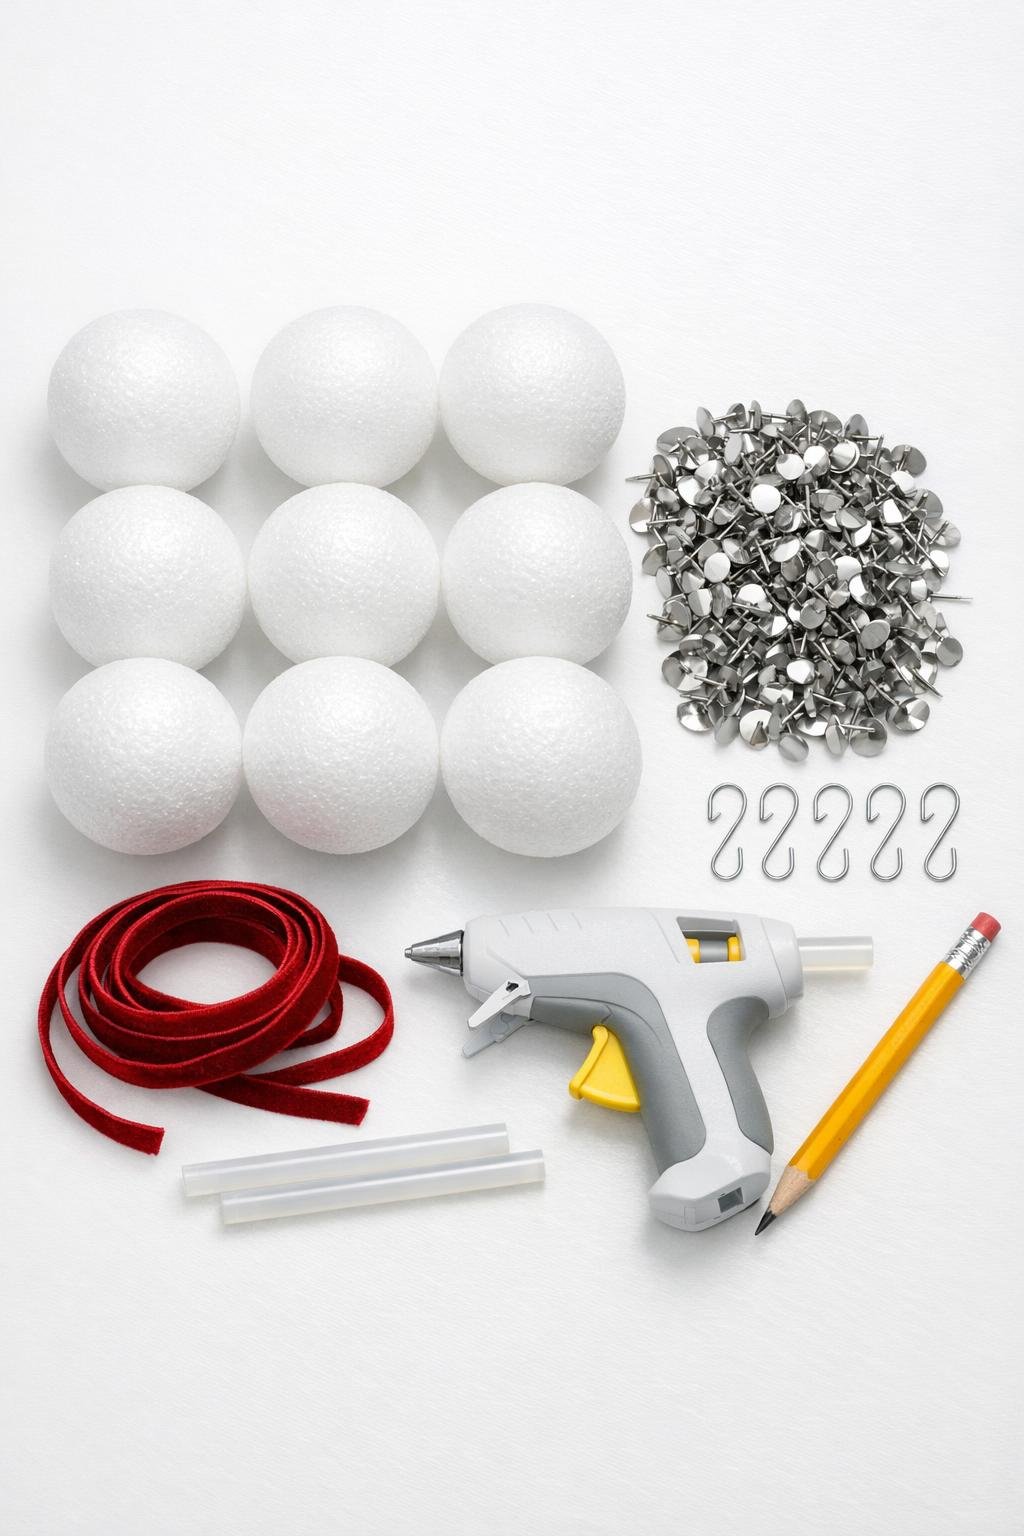
Materials
6 white smooth foam balls, 3 inches in diameter, from Dollar Tree or similar dollar store
Instructions
1. Set the six foam balls in a row and pour the 300 silver thumbtacks into a shallow bowl so they’re easy to grab. Count out about 50 tacks per ball if you want every ornament to look evenly covered and consistent in weight.
2. Use the pencil tip to make a shallow pilot hole at the top of each foam ball where the hanger will go later. This keeps you from crushing the foam when you add the cap or hook at the end.
3. Start on the first ball by pressing one thumbtack into the center point on the side, then add more tacks around it in a tight ring. Keep the heads close enough to nearly touch so the white foam disappears and the surface reads as silvery and solid.
4. Continue adding tacks in slightly staggered rows, rotating the ball as you go so the spacing stays even. I treat it like placing tart apple slices on a galette—small overlaps and consistent rhythm are what make the finished surface look lush instead of patchy.
5. Work all the way around the middle first, then fill toward the top and bottom, adjusting any spots where too much foam peeks through. Aim for about 50 tacks on each 3-inch ball, with the heads packed densely enough to mimic a hammered metal finish.
6. Repeat the same coverage on the remaining five balls, checking them together every so often so the pattern density matches across the set. If one ball looks sparse, add 2 or 3 extra tacks in the widest gaps rather than leaving obvious white pinpoints.
7. Add a pea-size dot of hot glue into the pilot hole at the top of one ball and insert a silver ornament cap or twist in a large silver ornament hook. Hold it steady for a few seconds so it sits straight and feels secure.
8. Cut six 18-inch lengths of velvet ribbon, fold each in half, and tie or loop one onto each ornament hanger. Trim the ribbon ends at an angle or into fishtails for a cleaner, more finished look.
9. Fluff and rotate each ornament in your hands, pressing in any tack heads that sit too high and replacing any that wobble. The finished balls should feel substantial, evenly silver, and polished from every angle.

Variations & Tips
Use matching tack heads: Flat silver thumbtacks with a slightly hammered or brushed finish give the most upscale look. Avoid bright office-style pushpins with colored plastic tops, because they read instantly as school supplies.
Choose the right foam size: Three-inch balls are the sweet spot here because they look generous and expensive once covered. Smaller balls are quicker, but they won’t have that heavy, Pottery Barn-style presence in a bowl or on a tree.
Make them tree-ready: If you plan to hang these on branches, use sturdy limbs and keep the ribbon loops a little shorter. They look especially pretty hung deeper inside the tree where the silver catches warm white lights.
Fill a bowl for instant decor: These are beautiful grouped in a pedestal bowl or wooden dough bowl with a little cedar or pine tucked around them. I like doing this when I want holiday decorating that feels elegant but takes all of five minutes to style.
Try a mixed-metal set: You can make two in silver, two in champagne gold, and two in pewter for a richer collected look. Keep the ribbon the same on all six so the set still feels intentional and refined.
Protect your hands: If the thumbtacks get hard to press in after a while, make the pilot holes slightly deeper with the pencil first. That tiny step saves your fingertips and keeps the foam balls round instead of dented.