
By the time the garden starts winding down, I’m always looking for one more useful little job to make next spring easier on myself. This simple raised bed soil amendment sifter is the kind of thrifty project I love most: it uses humble dollar store pieces, goes together in an afternoon, and earns its keep the first time you shake compost, old potting soil, or leaf mold through it. If you’ve got a couple of aluminum loaf pans and a few basic tools, you can turn them into a tidy stacked sifting set that looks surprisingly clever sitting by the garden beds.
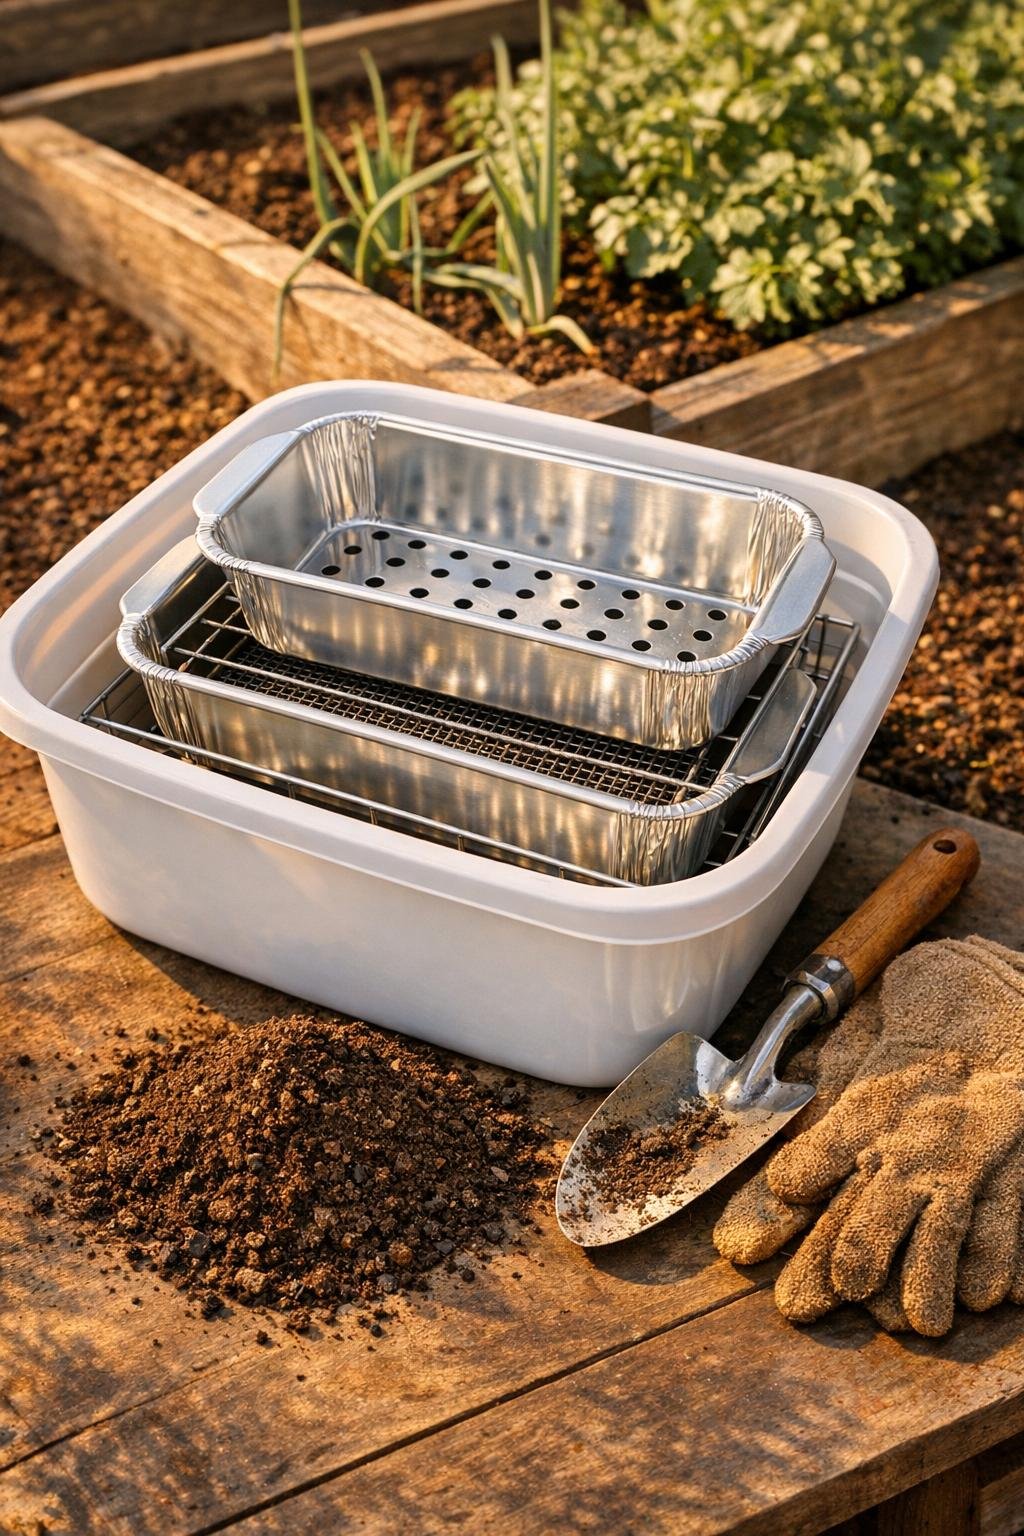
What I like about this version is that it’s generous without being fussy. The punched loaf pans nest into a plastic dish tub so you can sift right where you work, and a wire cooling rack gives you a coarse first pass for roots, sticks, and clumps. It reminds me of the old make-do contraptions folks around here used to build out in the shed—plain materials, smart purpose, and sturdy enough to use again next season.
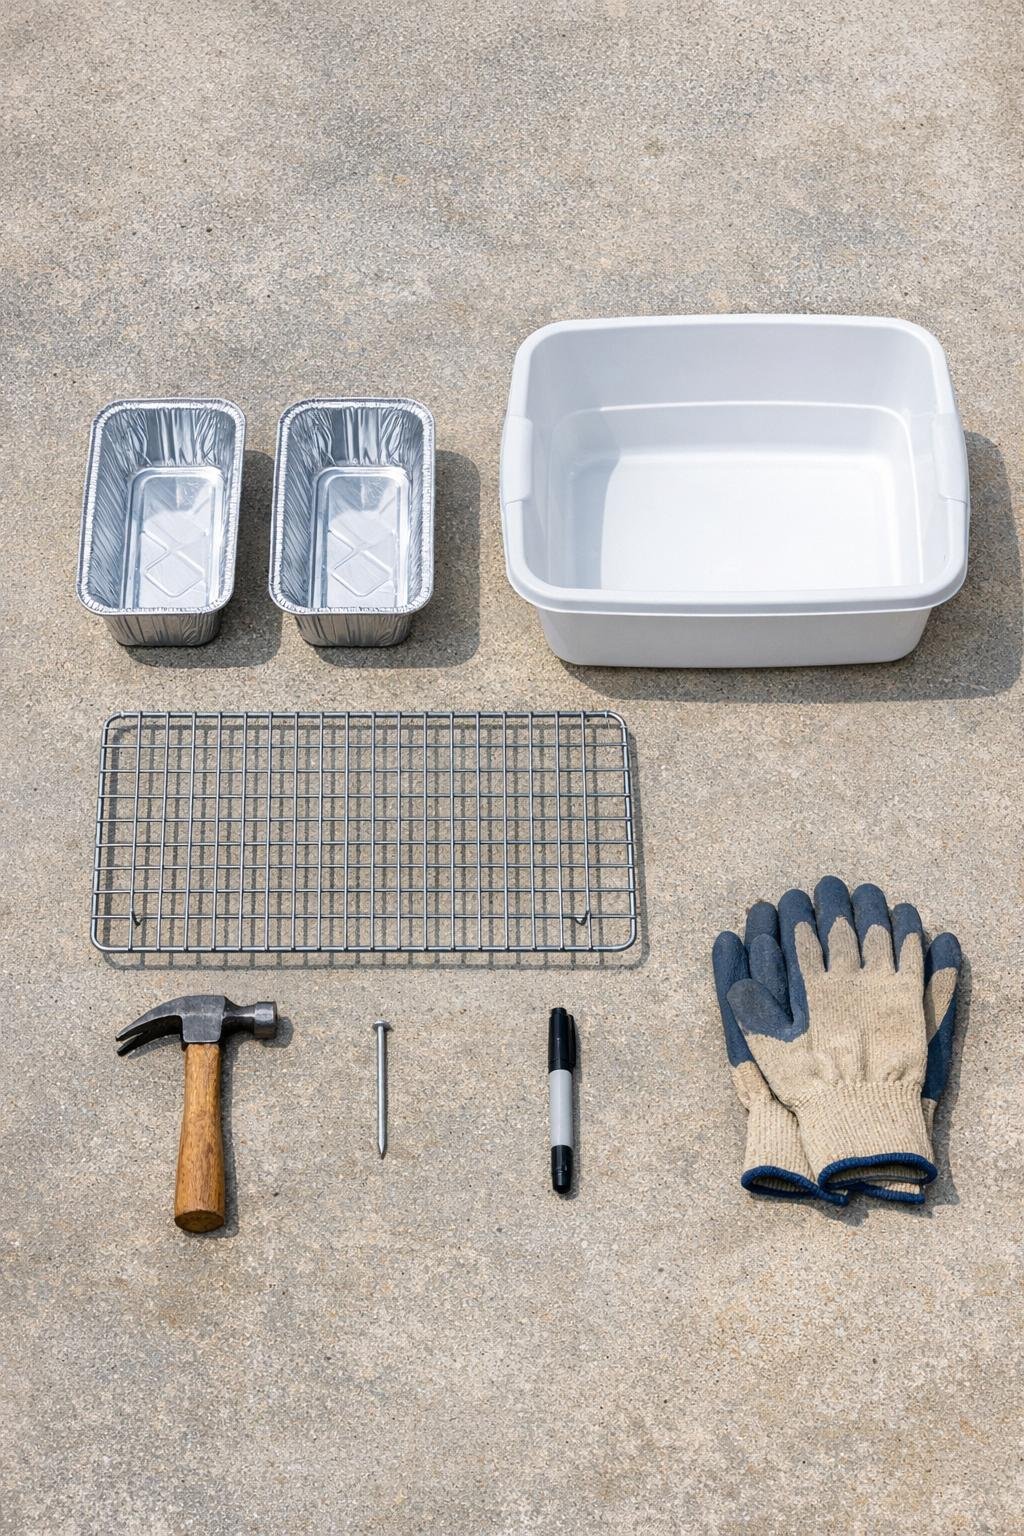
Materials
2 disposable aluminum loaf pans, standard 8 x 4 inch size
Instructions
1. Set the scrap wood on a concrete or sturdy outdoor surface, then place the first aluminum loaf pan on top with the bottom facing up. Use the marker to dot a grid of holes across the base, spacing them about 1/2 inch apart so the finished sieve gives you fine, useful garden texture instead of letting big clods drop through.
2. Put on gloves and use the nail and hammer to punch holes at each marked spot, working from the center outward so the pan keeps its shape. Make enough holes to cover nearly the whole flat bottom, leaving only a narrow border around the edges for strength.
3. Repeat with the second loaf pan, but space the holes a little wider, about 3/4 inch apart, to create a slightly coarser sifting pan. This gives you two grades of screening, which is handy when you want one batch for top-dressing and another for filling in around transplants.
4. Turn both pans right side up and gently press out any high spots so they sit flat and stack neatly. If any punched openings feel sharp, rub them quickly with sandpaper so the pans are safer on your hands and easier to clean out later.
5. Set the plastic dish tub on level ground and lay the wire cooling rack across the top so it spans the opening like a coarse screen. If it shifts, clip it in place with binder clips or spring clamps.
6. Nest the coarser-punched loaf pan inside the tub directly under one side of the rack, then set the finer-punched loaf pan beside it or stack it on top when not in use. The idea is to sift in stages: large debris stays on the rack, medium crumbs collect through the rack and can be shaken through the coarser pan, and your finest amendment passes through the fine-hole pan.
7. To use it, dump a scoop of dry soil, compost, or spent potting mix onto the cooling rack and rub it through with a gloved hand. Shake what falls through in small batches through the coarser loaf pan first, then through the finer one if you want a soft, top-dressing texture.
8. Empty the sorted material into buckets or straight into your raised bed, then tap out roots and clumps from the rack and pans when you’re done. Stack the two loaf pans inside the tub, tuck the rack on top, and the whole thing stores neatly on a potting bench or shed shelf.
Variations & Tips
For finer screening: Punch the holes in one loaf pan closer together and keep them small, especially if you want screened compost for seed starting mixes or for a neat top layer in containers.
For rougher bed cleanup: If your compost is chunky or your old potting soil is root-heavy, use the cooling rack alone first and save the loaf pans for a second pass. It’s quicker and easier on the hands.
Keep it dry: This setup works best with dry or barely damp material. Wet soil cakes in the holes, and then you spend more time poking it back out than actually sifting.
Protect the pans: Aluminum loaf pans will last longer if you store them indoors between uses. I slide mine into the tub and set the rack on top so nothing gets bent in the shed.
Make it more comfortable: If you do a lot of sifting, set the tub on a sturdy crate or upside-down bucket so you’re not bent over. At my age, I’ve learned that any project is better when you set it up kindly for your back.
Use the leftovers wisely: The coarse bits you screen out don’t need to go to waste. I toss roots, sticks, and clumps into the compost pile or use them as rough filler in the bottom of larger garden beds where they can keep breaking down.