
There are a few old garden tricks I never quit using, and this is one of them. When spring still has a bite to it but I’m itching to get deep-rooted crops settled into a raised bed, I make simple warming tubes from worn-out garden hose pieces and plain wooden stakes. They’re humble, yes, but they help bring a little warmth and air down where roots need it most, and that can make those early plantings much less sulky.
I like this project because it uses what many of us already have leaning behind the shed or tucked in a coffee can in the workshop. If you grow tomatoes, peppers, dahlias, or anything else that likes warm feet, this is an easy, thrifty little build that looks right at home in a practical kitchen garden. It’s especially good for gardeners who want a head start without fussing with electric heat mats or expensive bed-warming systems.
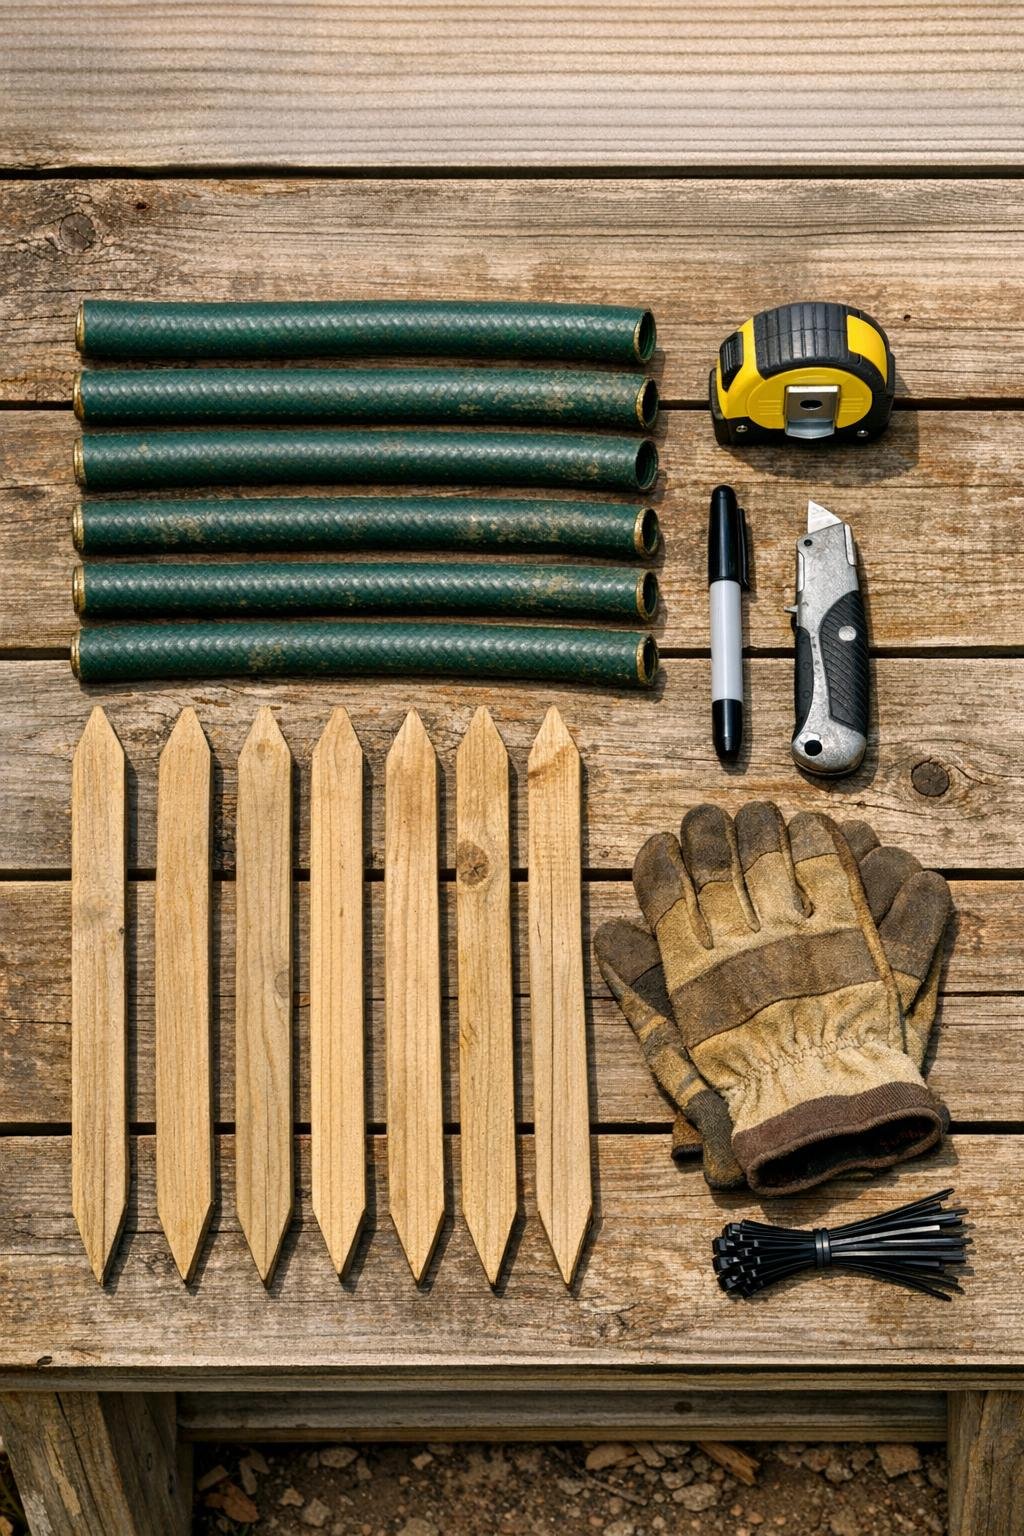
Materials
Old green garden hose, 6 pieces cut to 18 inches long
Instructions
1. Cut your old hose into six 18-inch sections, then rinse out any dirt and let them dry so they’re easier to handle cleanly.
2. Mark a straight line down the length of each hose section and carefully slice it open from end to end, creating a long slit that lets each piece spring open into a wider channel.
3. Cut six wooden stakes to 24 inches if needed, and sharpen one end of each just enough to push into raised-bed soil without splitting the wood.
4. Open one hose piece slightly and fit it over the flat face of a wooden stake so the slit runs along the front, leaving the rounded hose sides visible and the stake acting as a rigid spine.
5. Fasten each hose channel to its stake with two zip ties, one 3 inches from the top and one 3 inches from the bottom, pulling them snug so the hose stays open but secure.
6. Repeat with the remaining pieces to make six warming tubes, then trim off the zip tie tails for a tidy finish that won’t snag gloves or twine.
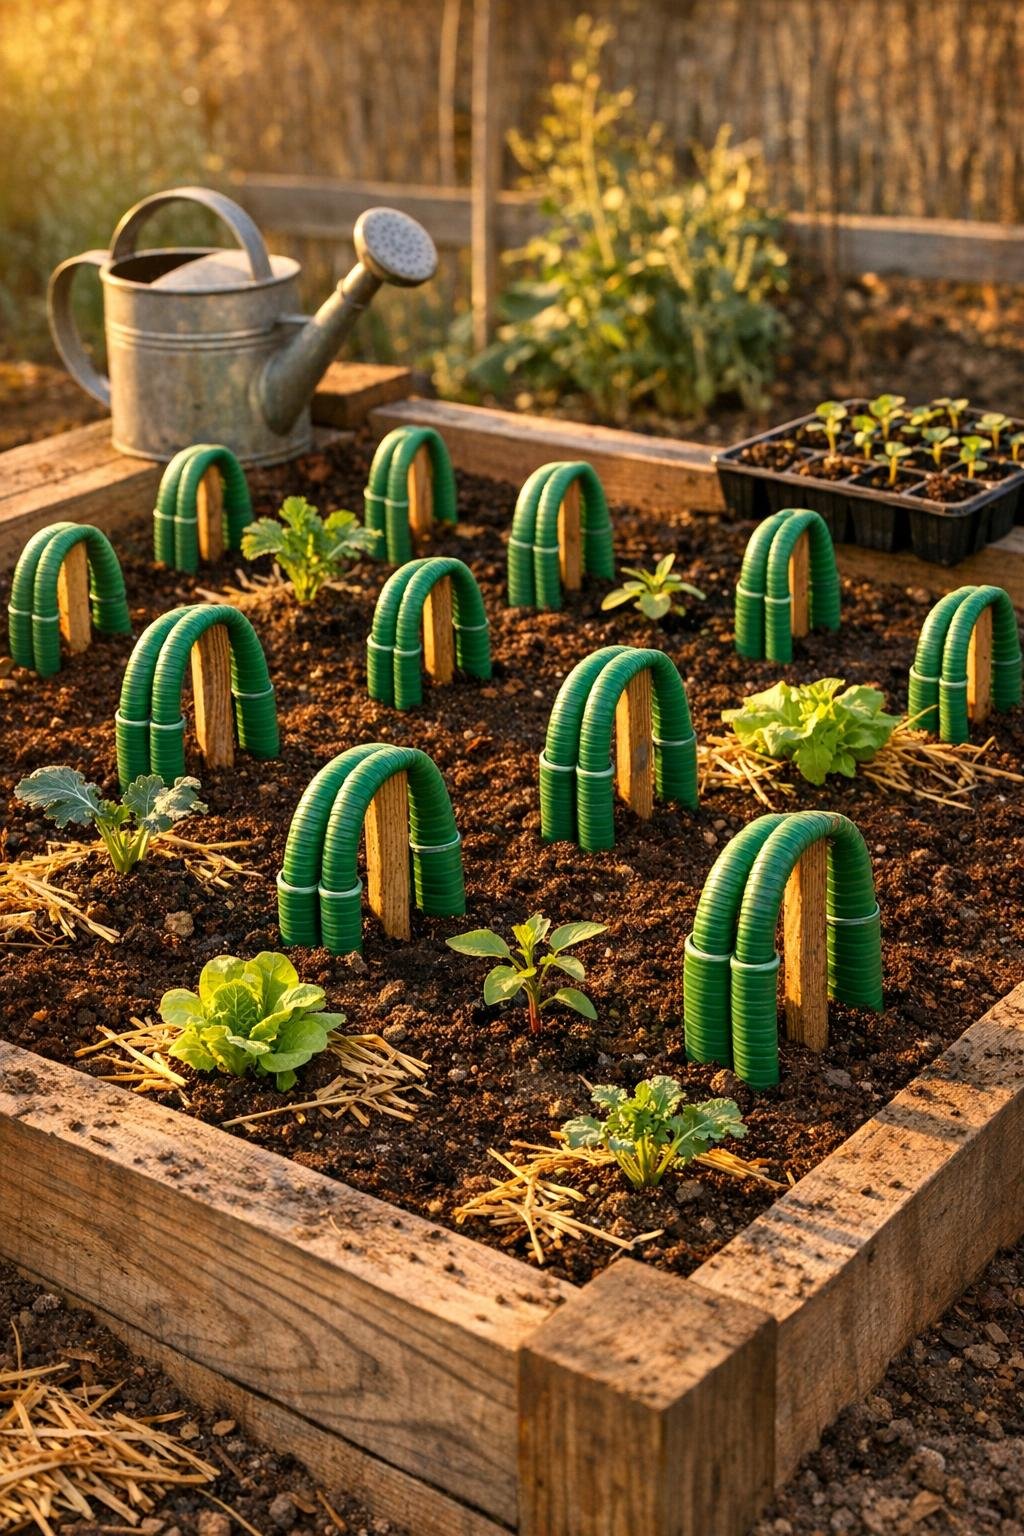
7. In your raised bed, place the tubes 8 to 10 inches deep around the future root zone, spacing them about 10 to 12 inches apart in two rows of three for one 3-by-4-foot planting area.
8. Push the sharpened stake ends into the soil until about 6 inches of each hose tube remains above the bed, with the slit side facing the morning sun if possible to catch warmth early in the day.
9. If your bed is windy or your soil is very loose, press a little coarse sand or pea gravel around the base of each tube and add a landscape staple nearby for extra hold.
10. Run a loose length of twine across the tops if you want them perfectly aligned, then water the bed lightly so the surrounding soil settles around the tubes and makes good contact.
11. Leave the tubes in place for 7 to 14 days before planting, or install them the same day you transplant warm-season crops so sunlight can warm the air pockets and the hose can conduct gentle heat downward.
12. After planting, keep the tubes in place for another 2 to 4 weeks, watering normally around them and removing them once nighttime temperatures and soil warmth are reliable.
Variations & Tips
For tomatoes and peppers: I like to cluster the tubes in a ring around each transplant area, about 4 to 5 inches away from the stem, so warmth reaches the roots without crowding the plant.
For larger beds: Make a dozen tubes at once and set them in repeating rows; that gives you fuller coverage and works much better than just placing one or two here and there.
For colder nights: Pair these warming tubes with a floating row cover or an overturned frost cloth hoop at night, and you’ll hold onto that precious daytime warmth longer.
Best hose to use: Older standard rubber or flexible vinyl hose works best because it slices open cleanly and keeps its curved shape; very brittle hose tends to crack instead of forming a nice channel.
Placement tip: In my own beds, I’ve found south- or east-facing placement helps these warm up fastest, especially when the bed edging itself also catches sun.
End-of-season storage: Pull the tubes, brush off the soil, and tie them in bundles of six; they’ll last for several springs if you tuck them into the shed out of direct sun.