
There are a few projects that look much fancier than they are, and this is one of my favorite kinds to make. With a bag of clear plastic spoons, a little patient layering, and a simple ornament base, you can create sparkling winter ornaments that catch the light in the prettiest way. They have that icy, hand-blown look, but they’re made from everyday supplies you can find at the dollar store or craft aisle.
I especially love this project for the stretch between fall and Christmas, when I want something elegant that still feels cozy and handmade. If you enjoy easy repetition and a polished end result, this one is very doable. I like making a whole batch at the kitchen table with a mug of coffee nearby, and they look lovely on a tree, tied onto gifts, or tucked into a winter centerpiece.
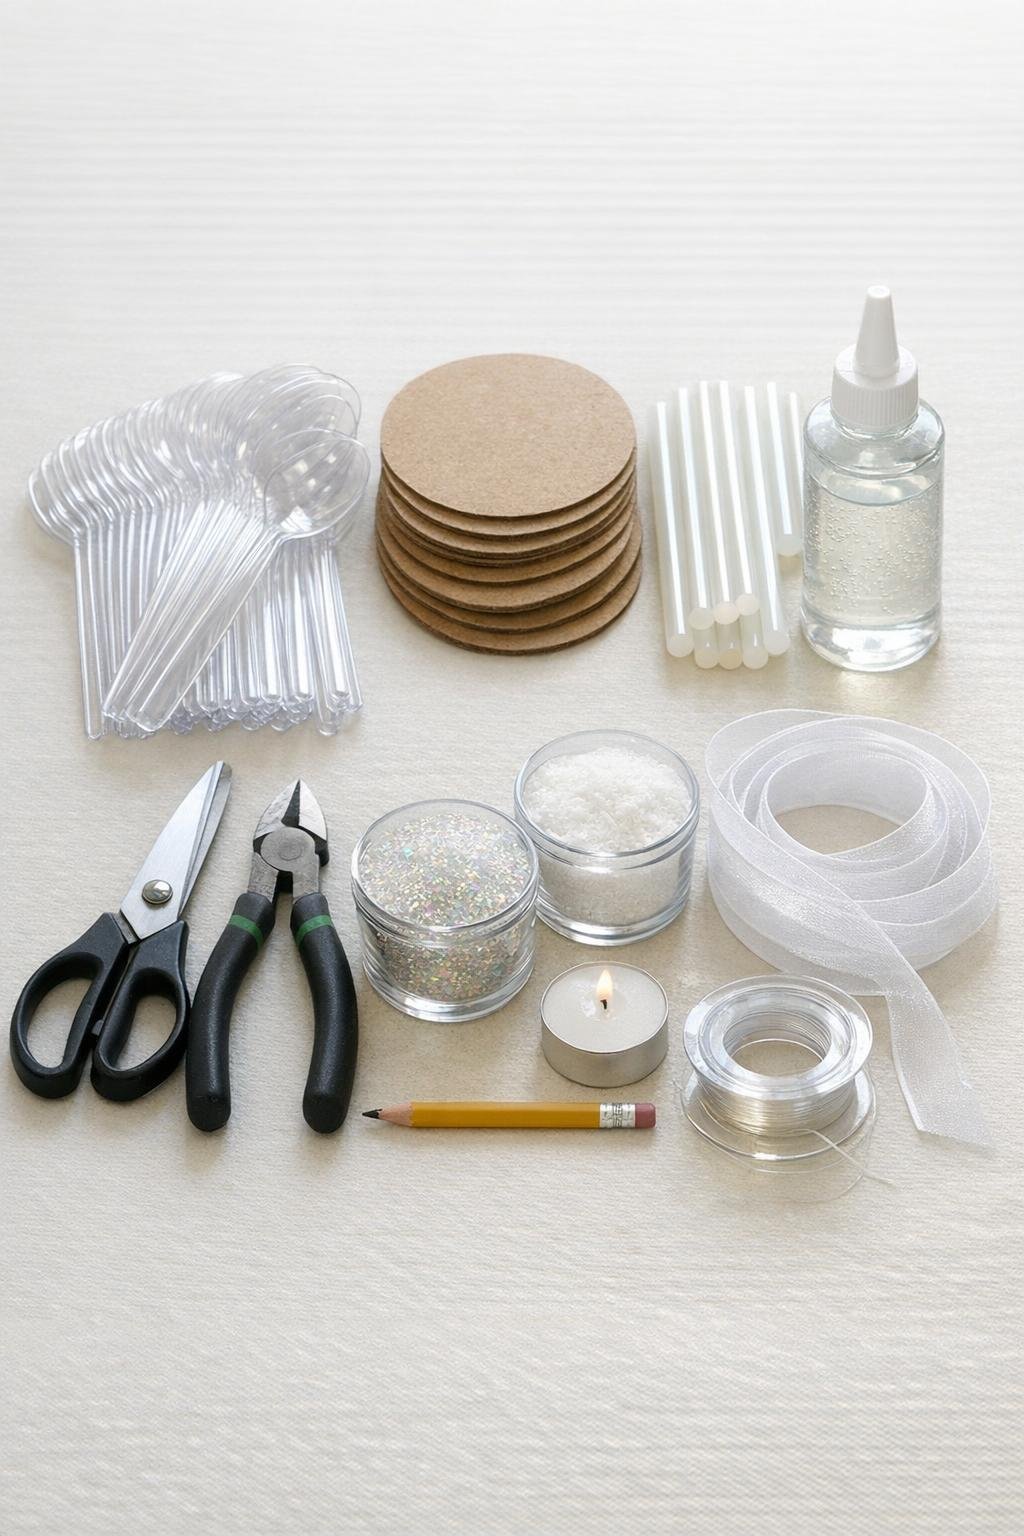
Materials
Instructions
1. Snip the handles off all 100 clear plastic spoons right where the bowl begins, keeping the spoon bowls as whole and smooth as possible. Set aside any pieces with cracked edges and aim for about 90 to 95 clean spoon bowls for the ornaments.
2. Cut five 3-inch circles from sturdy cardboard, then trace a 1-inch circle in the center of each as a guide so you know where to stop your first layers. Punch or poke a small hole near the top edge of each circle for hanging later.
3. If any spoon bowls look too flat, gently warm them for a second over a battery tea light opening or dip them briefly in very warm water, then press the sides inward slightly so they look more petal-like. Let them cool before gluing.
4. Hot-glue the first ring of spoon bowls around one cardboard circle with the rounded ends facing outward and the cut ends overlapping the center guide. Place 10 spoon bowls in this first layer, slightly overlapping each one like scales.
5. Add a second ring just inside the first, using 8 more spoon bowls and offsetting them so each piece lands between two from the row below. This staggered layering is what gives the ornament that full pinecone look, so keep the spacing snug.
6. Glue on a third ring with 6 spoon bowls, again overlapping and staggering them inward. Press each piece for a few seconds so it sits at a slightly lifted angle instead of lying completely flat.
7. Finish the center with 4 to 5 spoon bowls stood more upright, tucking their cut ends tightly together to create a neat clustered top. Add a dot of hot glue in the middle and hold the last pieces in place until the center feels secure.
8. Repeat the layering process for the remaining four ornaments, using about 18 to 20 spoon bowls per ornament. Choose the clearest, smoothest pieces for the top layers where the light will catch them most.
9. Brush a very light coat of clear-drying craft glue onto just the outer tips and ridges of the spoon layers. Sprinkle on the iridescent glitter first, then a touch of faux snow glitter so the surface sparkles without turning cloudy.
10. Thread fishing line through the hole at the top of each cardboard base and knot it into a hanging loop. Tie a sheer ribbon bow over the knot, then add a tiny dab of hot glue under the bow so it stays facing forward.
11. Let the ornaments dry flat for 20 to 30 minutes, then check for glue strings or rough plastic edges and trim them away. If you want extra sparkle, add one more tiny dusting of glitter only on the highest ridges.
12. Hang the finished ornaments on the tree, tie them onto wrapped gifts, or cluster them in a bowl with greenery for a winter centerpiece. They look best where they can catch lamp light or daylight and really show off the clear layered texture.

Variations & Tips
For a fuller ornament: Use a 3 1/2-inch cardboard circle and 22 to 24 spoon bowls per ornament. That slightly larger size gives you a more dramatic, boutique-style look.
For picky glitter preferences: If your family doesn’t love a lot of sparkle shedding around the house, skip the loose glitter and use only a thin coat of clear iridescent craft paint on the spoon tips. You still get shine, just with less mess.
For an extra icy finish: Mix the two glitters together before sprinkling so you get both shimmer and a frosty look in one layer. I like to keep the center mostly clear and save the frost for the outer edges.
To make them look more expensive: Keep the glue hidden and the layering tight. The neater the overlap and the cleaner the edges, the more these resemble glass ornaments instead of plastic spoons.
For gift toppers: Make smaller versions on 2 1/2-inch circles using 14 to 16 spoon bowls each. They are beautiful tied onto a wrapped loaf cake, cookie tin, or hostess gift.
Storage tip: Wrap each ornament in tissue paper and store them in a shallow box so the layered edges don’t get pressed. They’re lightweight, but they keep their shape best when stored flat and uncrowded.