
I love a project that looks far fancier than the supply list, and this one absolutely delivers. If you’ve ever stood in the dollar store aisle thinking, “There has to be something amazing I can do with these,” this is the kind of makeover that makes the whole craft feel worth it. We’re starting with clear plastic spoons and hot glue, then building them into a full-size wreath that catches light like frosted glass.
This is a great weekend project for anyone who wants a big holiday look without messing with fresh greenery, expensive ornaments, or tricky floral wiring. I’m always looking for décor I can make after work without turning my kitchen into a disaster zone, and this one has that sweet spot of repetitive, relaxing steps with a really dramatic payoff at the end.
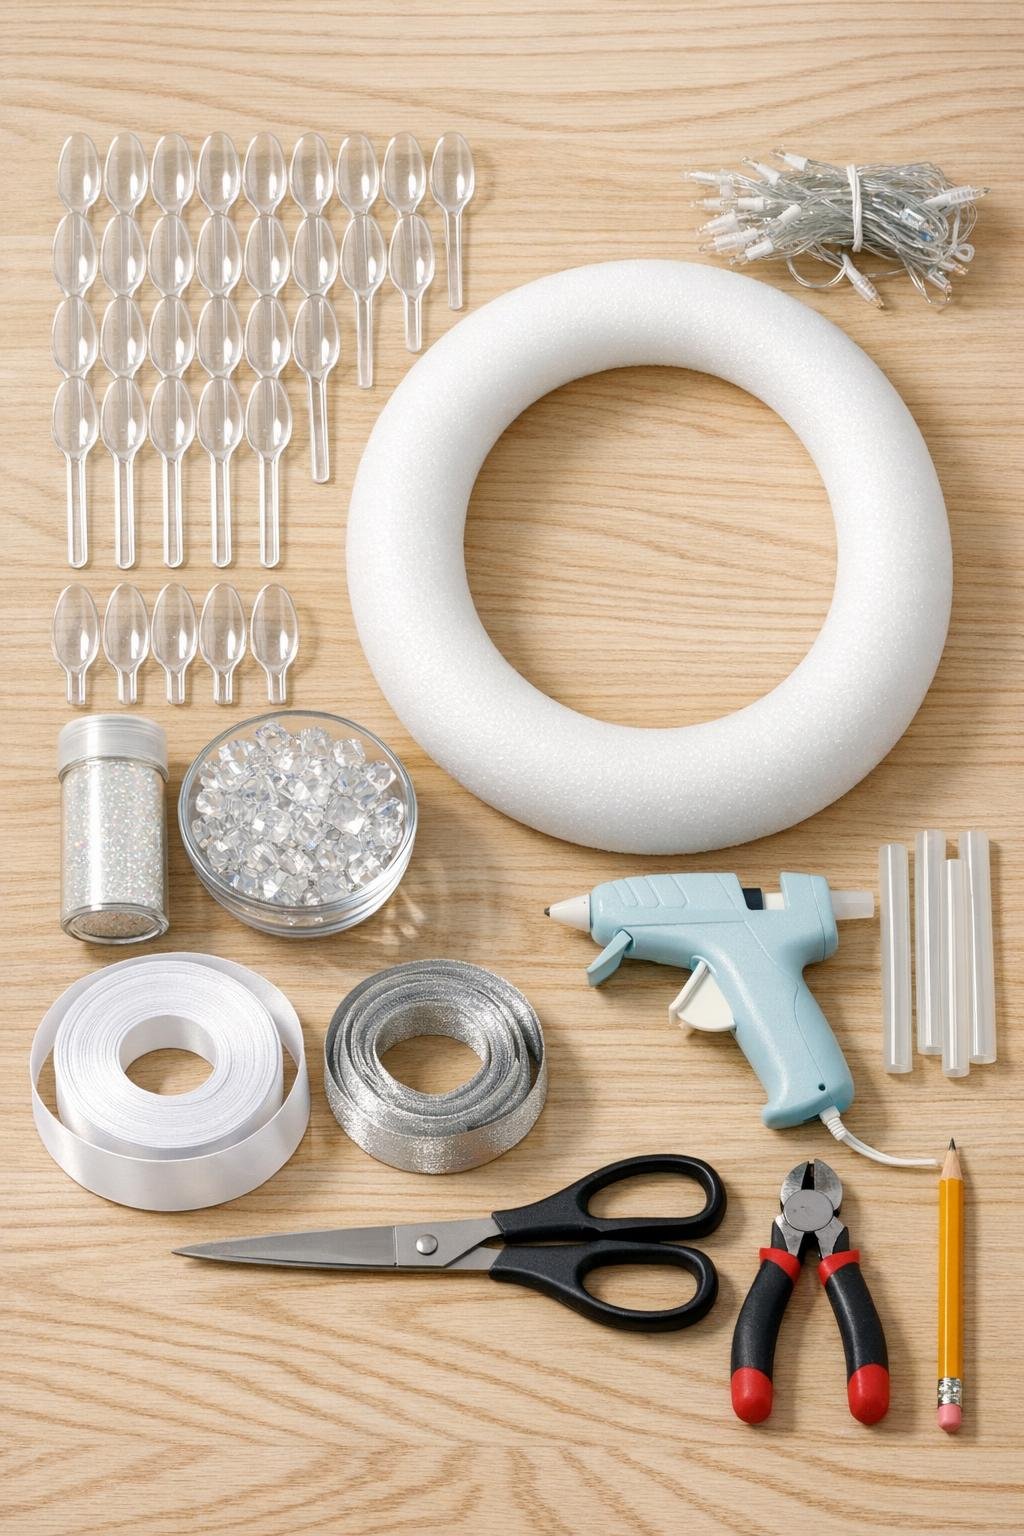
Materials
Instructions
1. Cover your counter with parchment paper or a silicone mat, then line up all 40 clear spoons in tight rows with the bowls facing up so you can work assembly-line style.
2. Fill the bowl of each spoon with a puddle of clear hot glue, stopping just before it spills over the rim, and let them cool completely until the glue turns firm and glassy.
3. Sprinkle iridescent glitter lightly over the glue-filled spoon bowls while the surface is still slightly tacky on a few of them, or brush on a whisper-thin coat of fresh glue and add glitter after cooling if needed; keep it subtle so the finish stays icy instead of sparkly-crafty.
4. Use wire cutters or heavy snips to cut the handles off all 40 spoons, leaving about 1/4 inch of handle attached behind each bowl so you have a small tab for gluing.
5. Wrap the foam wreath form with the white satin ribbon, overlapping slightly and gluing the ribbon every few inches on the back so no foam shows through any gaps.
6. Tuck the battery pack for the fairy lights at the back bottom of the wreath, then wrap the light strand around the form evenly, spacing the bulbs so they sit across the front, inner edge, and outer edge without bunching.
7. Trace three guide rings on the front of the wreath with pencil: one near the outer edge, one through the center, and one near the inner edge, so you can keep your spoon layers balanced as you glue.
8. Glue the first ring of spoon pieces around the outer edge, overlapping each one by about one-third so the rounded bowls all face the same direction and form a scalloped row.
9. Add a second ring just inside the first, staggering each spoon piece between two pieces below it so the pattern looks like layered crystal scales and the wreath gets full coverage.
10. Fill the center ring with another staggered row, tilting some pieces slightly inward and some slightly outward so the wreath catches light from multiple angles and looks more dimensional.
11. Glue the final row along the inner edge, overlapping tightly enough that the foam and light wire disappear, then add a few extra spoon pieces anywhere the shape needs more fullness.
12. Tuck and glue the light wire neatly on the back, then hot-glue clear acrylic gems into a few open pockets around the wreath for extra depth and that frozen, clustered look.
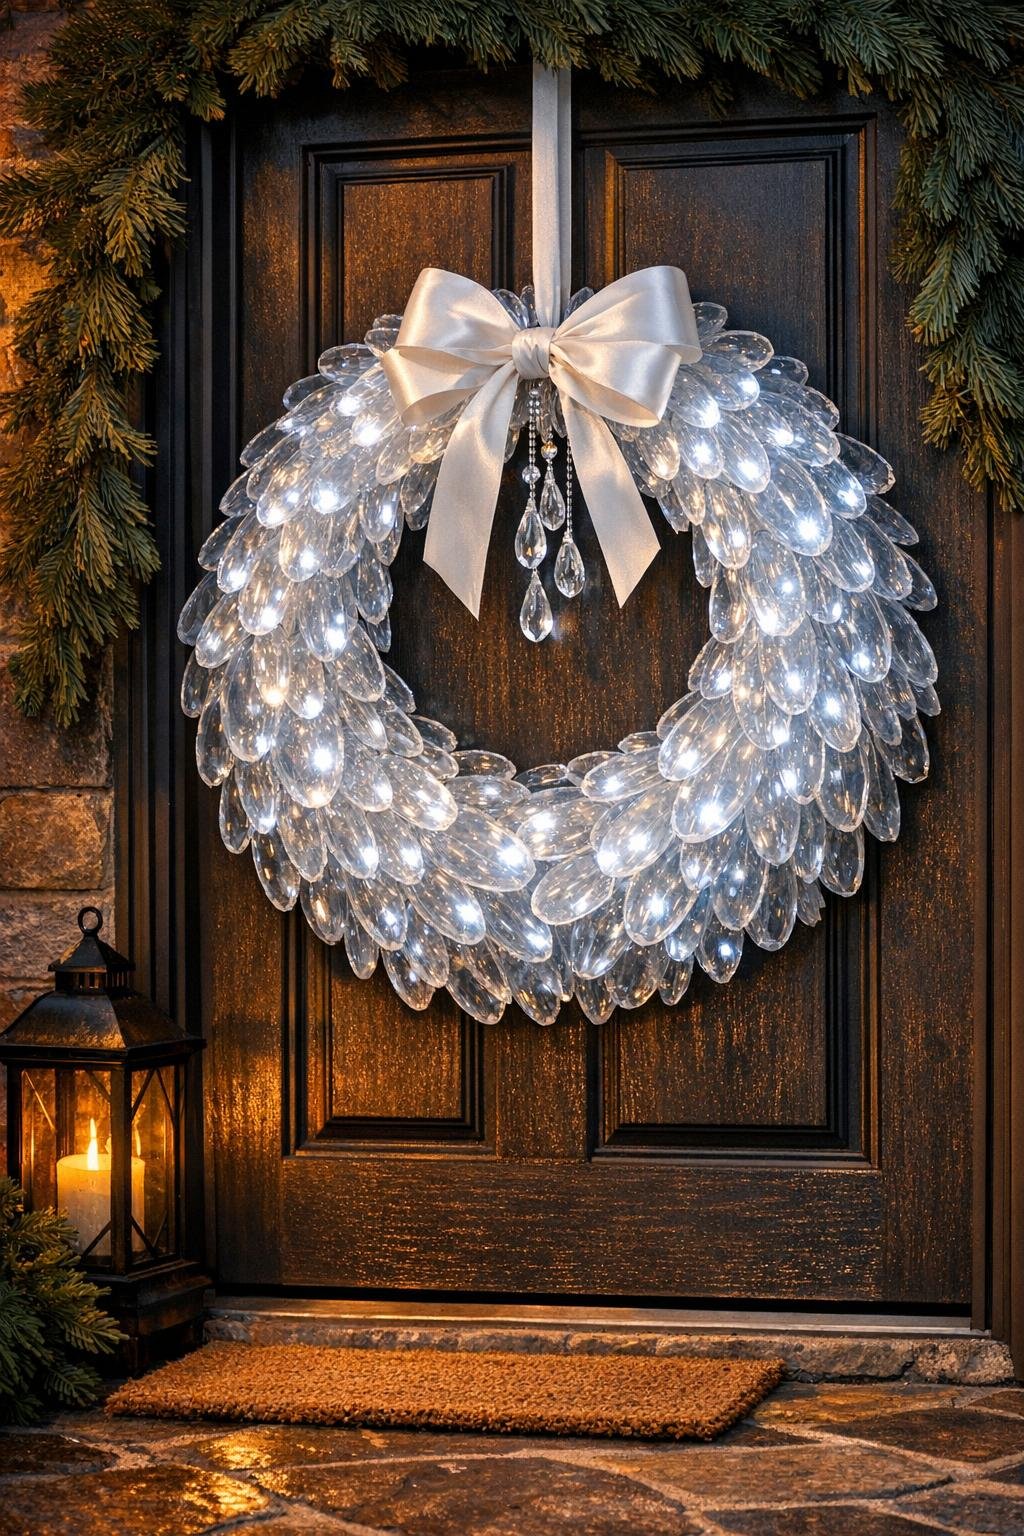
13. Make a simple loop from the silver ribbon for hanging and glue it securely to the back top of the wreath, then tie a soft white satin bow and attach it at the top or slightly off-center if you want a more polished front-door finish.
14. Turn on the fairy lights, check the wreath from a few feet away, and add one or two more spoon scales or gems wherever you want a denser, more balanced sparkle.
Variations & Tips
Cooler winter look: Skip the bow and keep everything clear, silver, and white if you want the wreath to read more like an ice sculpture than holiday décor.
Warmer glow: Use warm white fairy lights instead of cool white if your entryway already has brass, cream, or warmer wood tones; it still sparkles beautifully, just softer.
For a fuller wreath: If your wreath form is larger than 14 inches, buy 10 to 20 extra spoons so you can keep the overlap generous instead of stretching the spacing.
Glue gun tip: Low-temp glue is easier on thin plastic spoons and less likely to warp them, which makes a big difference in keeping the finished wreath looking crisp and store-bought.
Make-ahead tip: I like to fill and trim the spoons one evening, then assemble the wreath the next day while dinner is in the oven; breaking it up makes it feel very manageable on a busy weeknight.
Storage tip: Store the wreath in a deep gift box or wreath box with tissue tucked lightly around the edges so the spoon scales don’t get crushed between seasons.