
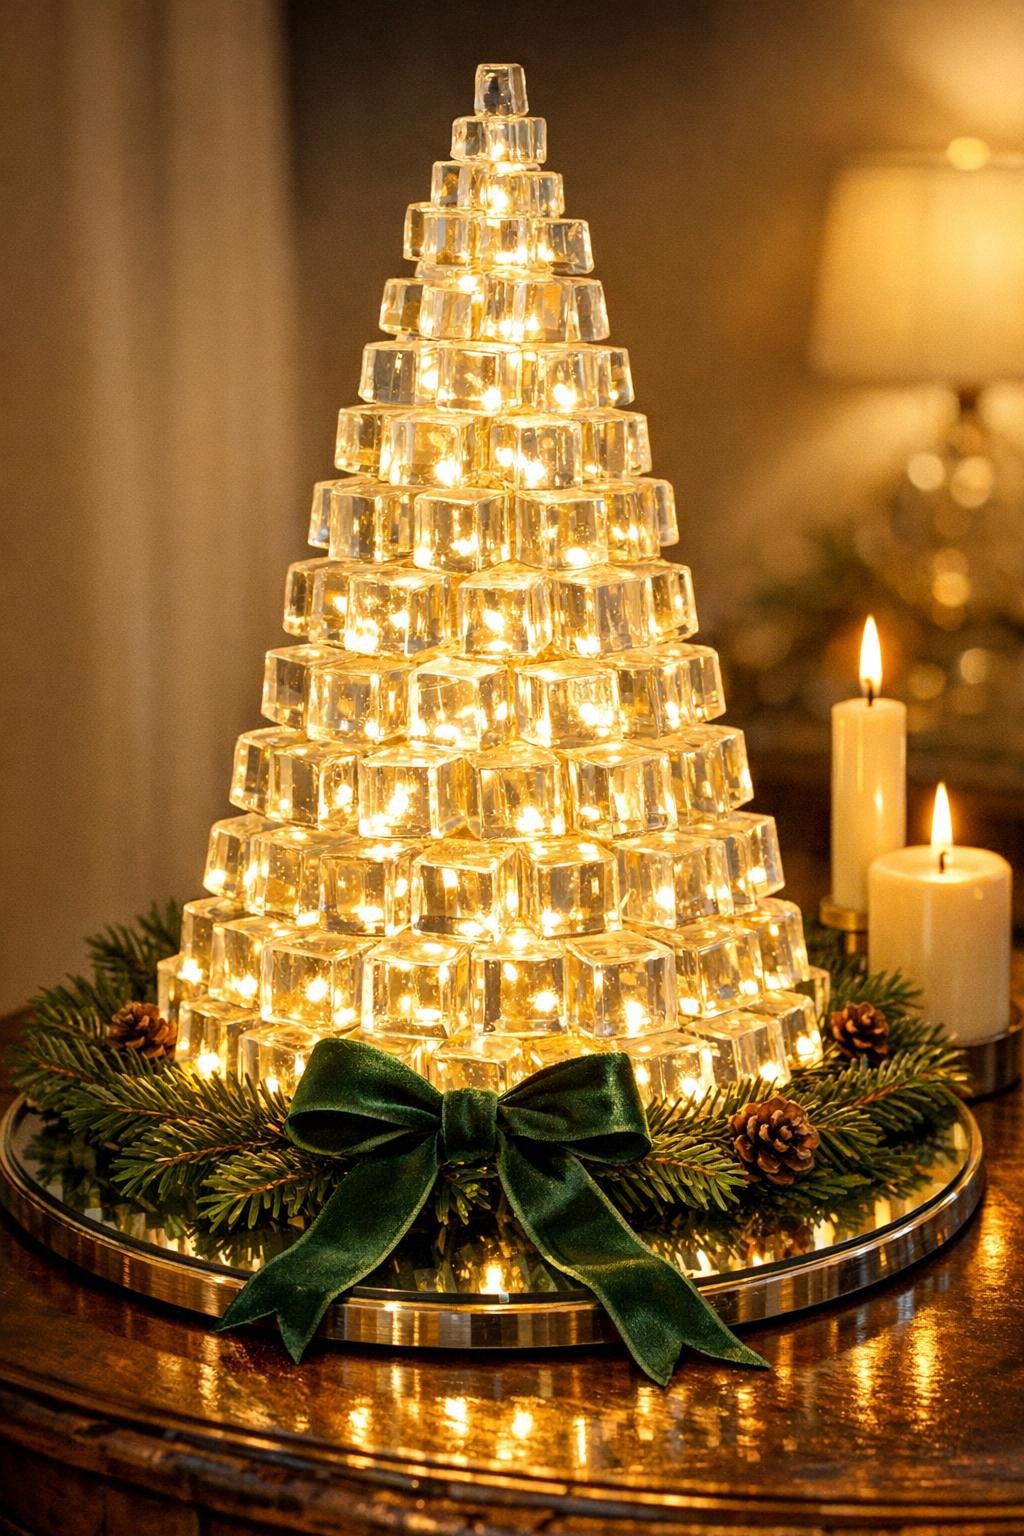
This is one of those projects that looks wildly expensive when it’s done, but the build is surprisingly straightforward once you break it into stages. I love crafts like that, especially around the holidays when I want something dramatic and glowy on an entry table or mantel without committing to a full weekend of complicated DIY.
If you’re comfortable with a hot glue gun and have a little patience for repeating a simple step, you can make this. The magic is in turning a bunch of plain clear glue pieces into a sculptural holiday piece that catches light like frosted ice, and the end result feels much more polished than the humble materials would suggest.

Materials
Instructions
1. Plug in your hot glue gun, lay the 6 ice cube trays on a protected work surface, and make sure the trays are clean and completely dry so the glue sets clear.
2. Fill each ice cube well with hot glue to about 3/4 full, moving slowly so the glue levels out instead of trapping big bubbles; you want roughly 90 chunky clear cubes total.
3. Let the trays cool completely for 20 to 30 minutes until the glue is firm and no longer warm in the center.
4. Flex the trays gently and pop out the glue cubes, setting aside the cleanest, squarest pieces for the outside front of the tree and the more imperfect ones for the back and inner layers.
5. If any cubes have long glue tails or uneven ridges, trim them with scissors and peel away strings so the finished tree looks crisp and glassy instead of messy.
6. Cut a strip of white cardstock long enough to wrap around the lower third of the foam cone, tape it into a loose collar, and slide it around the cone to create a shallow inner wall that helps hold the lights near the center.
7. Wind the fairy lights around the cone from top to bottom, concentrating most of the lights in the middle and lower half, and leave the battery pack extending out at the back base where it can hide easily.
8. Turn on the lights for a quick check, then turn them back off and begin hot-gluing the first ring of glue cubes around the cone base, keeping the flat sides outward and the cubes snug against one another.
9. Build the second and third rows in a staggered brick pattern, overlapping seams so the tree looks solid and the light will scatter evenly through the layers.
10. Continue gluing cubes upward row by row, narrowing slightly as you go and rotating the cone often so the shape stays balanced on all sides.
11. For the top section, use the smallest and clearest cubes, tilting them inward a bit so the tree finishes in a clean tapered point instead of a blunt flat top.
12. Fill any obvious gaps with small squeezes of hot glue or trimmed cube fragments, using just enough to secure pieces without clouding the clear finish.
13. Brush a very thin coat of clear craft glue over selected outer edges and dust lightly with iridescent glitter if you want a frosty carved-ice sparkle; keep it subtle for the most elegant look.
14. Let the whole tree rest for 15 minutes, then mist lightly with clear gloss sealer if desired to unify the shine and reduce the look of glue strings.
15. Set the finished tree on a mirror, white saucer, or acrylic plate, tuck the battery pack behind it, switch on the fairy lights, and make final adjustments so the brightest glow sits in the center of the tree.
Variations & Tips
Cool-white version: If you want a true icy look, swap the warm white fairy lights for cool white LEDs. It gives the tree a more frozen, sculptural feel, especially at night.
Make it fuller: If your trays make smaller cubes or you have gaps, make a seventh tray of glue cubes. A few extra pieces give you much more freedom to create a dense, expensive-looking surface.
Keep it elegant: Go very light on glitter. I’ve learned the hard way that “just a touch” looks chic, while too much can tip this from winter decor into classroom craft.
Safer assembly: I like to build the tree with the fairy lights wrapped on first but switched off while gluing. That keeps the wire placement right where I want it without warming the glue more than necessary.
Hide the battery pack: A small scrap of white felt, faux snow, or a bit of evergreen clipping behind the tree disguises the pack beautifully on a console or mantel.
Try a pair: If you have leftover materials, make a second smaller cone for a staggered display. A tall 18-inch tree with a shorter companion looks especially pretty on a buffet or holiday coffee station.
Storage tip: Wrap the tree loosely in tissue and store it upright in a gift bag or tall box after the season. Hot glue holds up well, but it stays prettiest when the cube edges aren’t crushed.