
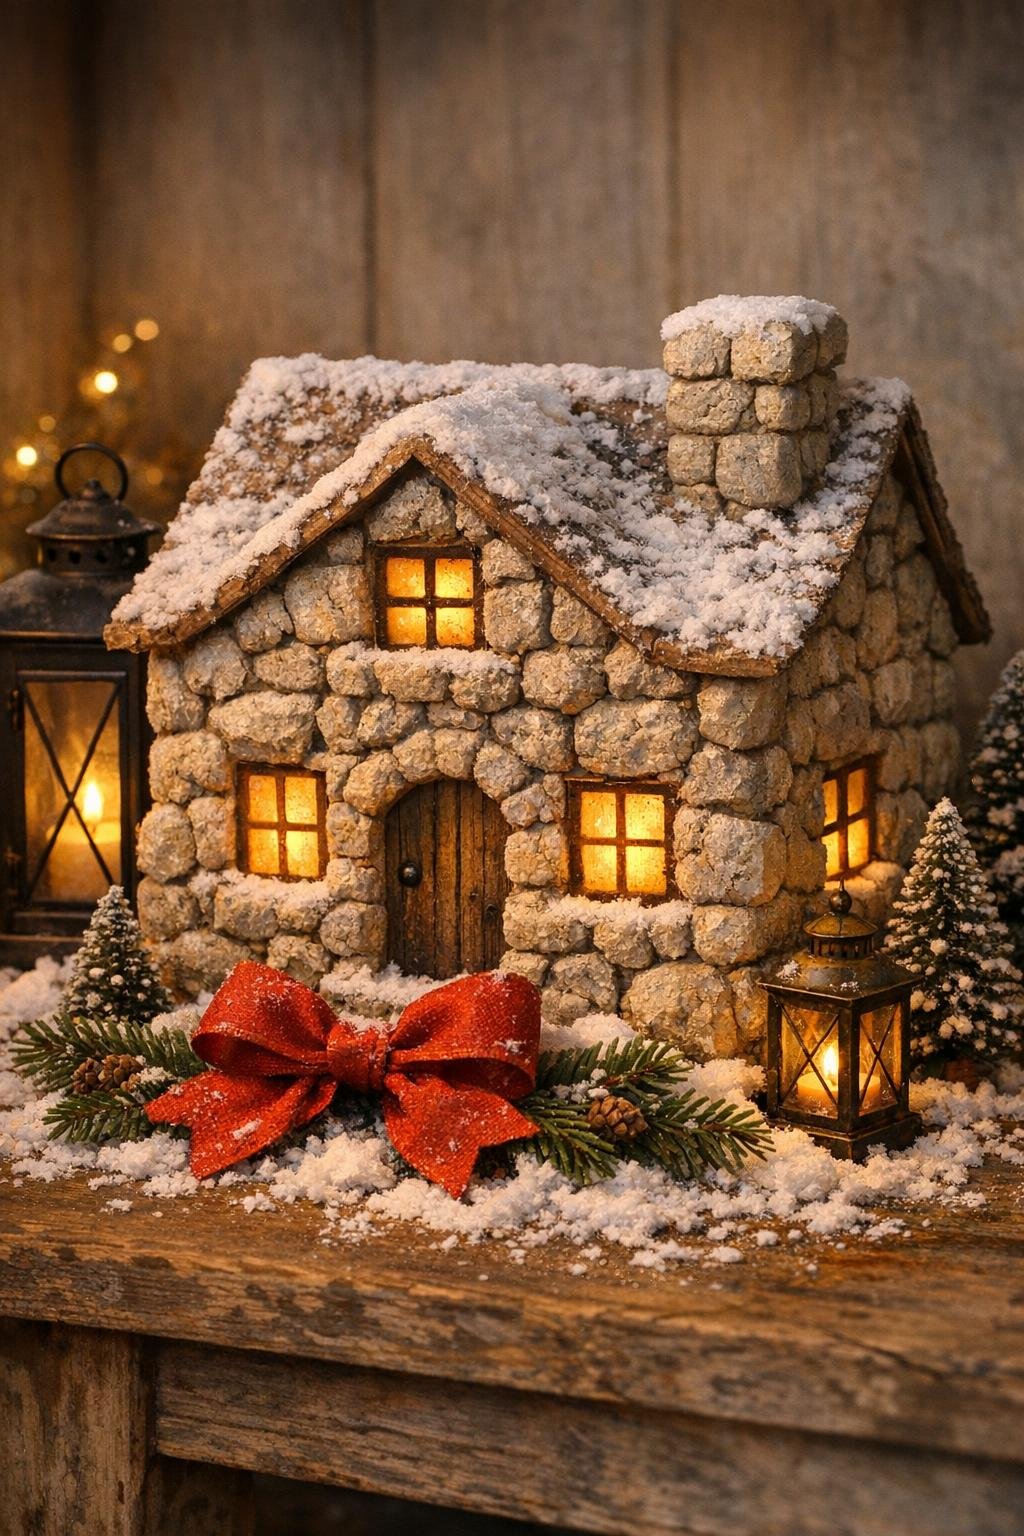
I love a project that starts with something headed for the recycle bin and ends up looking like it came from a holiday boutique. This one uses a plain cardboard shipping box and a can of expanding foam to build a substantial Christmas cottage with tons of texture, softly glowing windows, and that cozy old-world look that makes a porch, entry table, or fireplace hearth feel instantly festive.
If you’ve got a busy schedule like I do, this is the kind of seasonal DIY that feels worth the mess because the payoff is huge. The basic build is simple, the materials are mostly hardware-store and dollar-store staples, and the finishing steps are what make it look polished instead of crafty. I like making one large enough to hold its own next to a wreath, lanterns, or mini trees, and the lighted windows are the part that really makes it shine after dark.
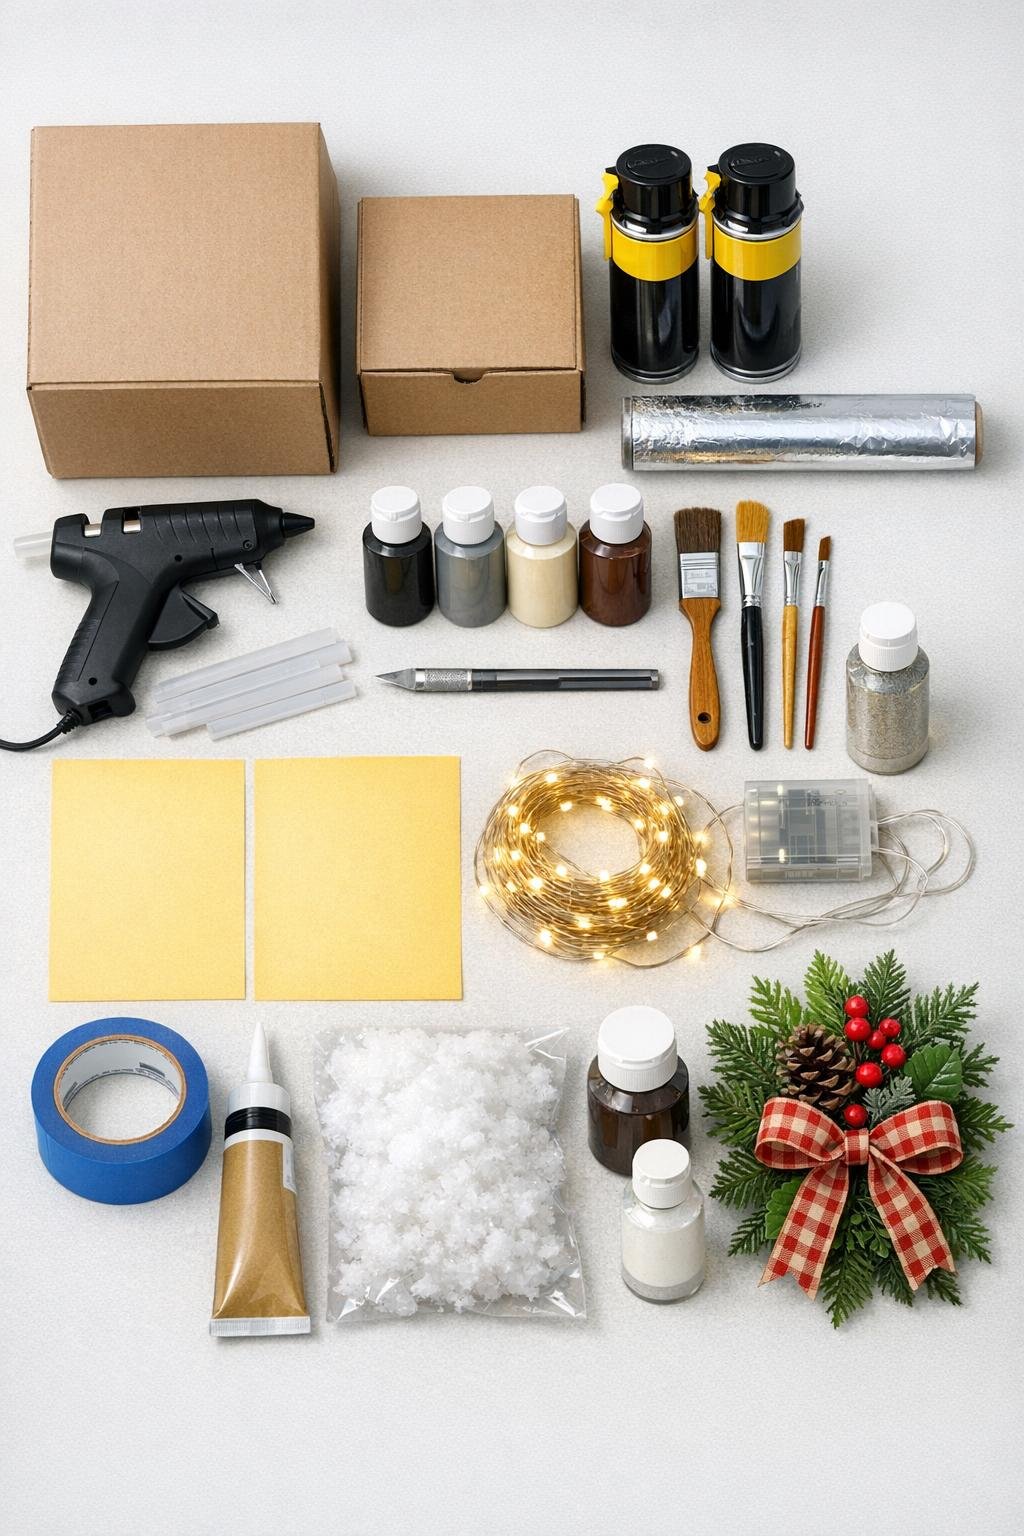
Materials
Instructions
1. Tape the main shipping box closed on all sides so it feels firm, then set it upright and decide which side will be the front of the cottage. Keep the box proportions chunky and house-like, because that sturdy shape is what sells the finished piece.
2. Cut a pitched roof from the smaller box by opening it up and trimming two matching roof panels, then hot glue or tape them together into a simple peak. Glue the roof onto the main box, leaving a slight overhang on all four sides.
3. Sketch two front windows, two side windows, and one door directly onto the box, making the windows tall and slightly uneven for an old-world look. Cut out the openings with a craft knife, but leave at least 1 inch of cardboard between openings so the box stays sturdy.
4. Crumple sheets of aluminum foil into long ridges and soft lumps, then tape them around the walls and roof to bulk out stone texture, thick window surrounds, and a slightly uneven cottage shape. Add extra foil around the base corners and above the door so the finished house looks substantial instead of flat.
5. Shape a small chimney from the scrap cardboard, glue it to one roof slope near the back, and wrap a little foil around it too. This tiny detail makes the silhouette look much more finished once the lights are on.
6. Working outdoors or on a tarp, squirt expanding foam over the walls, chimney, and roof in thick beads, letting some areas puff into chunky rounded “stones.” Leave the window and door openings clear, and don’t try to cover every inch perfectly because the foam expands a lot.
7. Let the foam cure fully according to the can directions, then use a craft knife to trim drips, flatten any awkward bulges, and refine the roofline. Carve shallow grooves between puffy sections so the walls read like individual stones instead of one solid blob.
8. Cut vellum pieces large enough to cover each window opening from the inside, then hot glue them behind the openings so they act like frosted glowing panes. If you want crossbars, glue thin strips of black-painted cardboard over the vellum after it’s attached.
9. Paint the entire cottage with a solid black base coat, pushing paint into every crack and low spot, and let it dry completely. I know it looks a little alarming at this stage, but this dark underlayer is what gives the stone finish depth.
10. Dry-brush dark brown over parts of the walls and roof, then layer medium gray, light gray, and a touch of ivory over the raised texture so the stones look aged and dimensional. Keep the darker tones in the grooves and around the window edges for that old-world cottage feel.
11. Paint the door black or dark brown, then lightly brush ivory on the edges and roof ridges to mimic worn highlights. Add a thin dusting of white to the roof peak, chimney top, and stone ledges where snow would naturally settle.
12. Seal the painted surface with a light coat of matte clear sealer and let it dry. This evens out the finish, protects the paint, and helps the piece look more like decor and less like exposed foam.
13. Coil the fairy lights inside the box, positioning several bulbs behind the windows and one near the door area, then tape the battery pack inside the back or under the roof overhang where you can still reach it. Test the glow before closing anything up so the light looks warm and even from all sides.
14. If the back of the box is too open, tape or glue on a simple cardboard panel with a small flap for battery access. A tidy back matters if you’re setting this on a hearth or entry bench where people will see it from the side.
15. Glue on faux snow along the roof edges, around the chimney base, and in little drifts around the bottom. Keep it concentrated in ledges and corners so it looks natural and elegant rather than sprinkled everywhere.
16. Finish the cottage with a small cluster of faux pine, a few red berries, and a ribbon bow near the door or along one roof corner, then switch on the lights. The greenery softens all that stone texture and gives the whole piece that dressed-for-Christmas look.
Variations & Tips
Make it larger: Use a taller appliance or bulk shipping box and double the windows for a statement porch piece. Just be sure to add plenty of foil bulk first so you don’t waste extra foam filling large flat areas.
Keep it elegant: Limit your palette to black, charcoal, gray, ivory, and a little brown. That restrained color mix is what makes this look like upscale winter decor instead of a playhouse prop.
Use lights safely: Stick with cool LED fairy lights only, especially inside cardboard. I always avoid plug-in hot bulbs for enclosed builds like this.
Save foam and money: Foil is your best friend here. The more shaping you do with taped foil first, the less spray foam you need, and the easier it is to get thick stone texture exactly where you want it.
Add more character: Tiny shutters, a little wreath over the door, or a crooked lamp post made from a painted dowel can all work beautifully. Keep those details simple and scaled right so the cottage still feels refined.
For porch display: If you’re putting it outside in a protected area, use extra sealer and keep it away from direct rain or snow. I treat this as covered-porch decor, not all-weather yard decor.
For a snowy sparkle: A pinch of fine glitter over the faux snow catches light beautifully at night. I use it sparingly, just on roof drifts and ledges, so it twinkles without turning flashy.
Storage tip: Remove the battery pack if you can, wrap the cottage loosely in tissue or a trash bag, and store it in a large bin. The foam texture holds up well, but it can get dented if heavy boxes are stacked on top.