
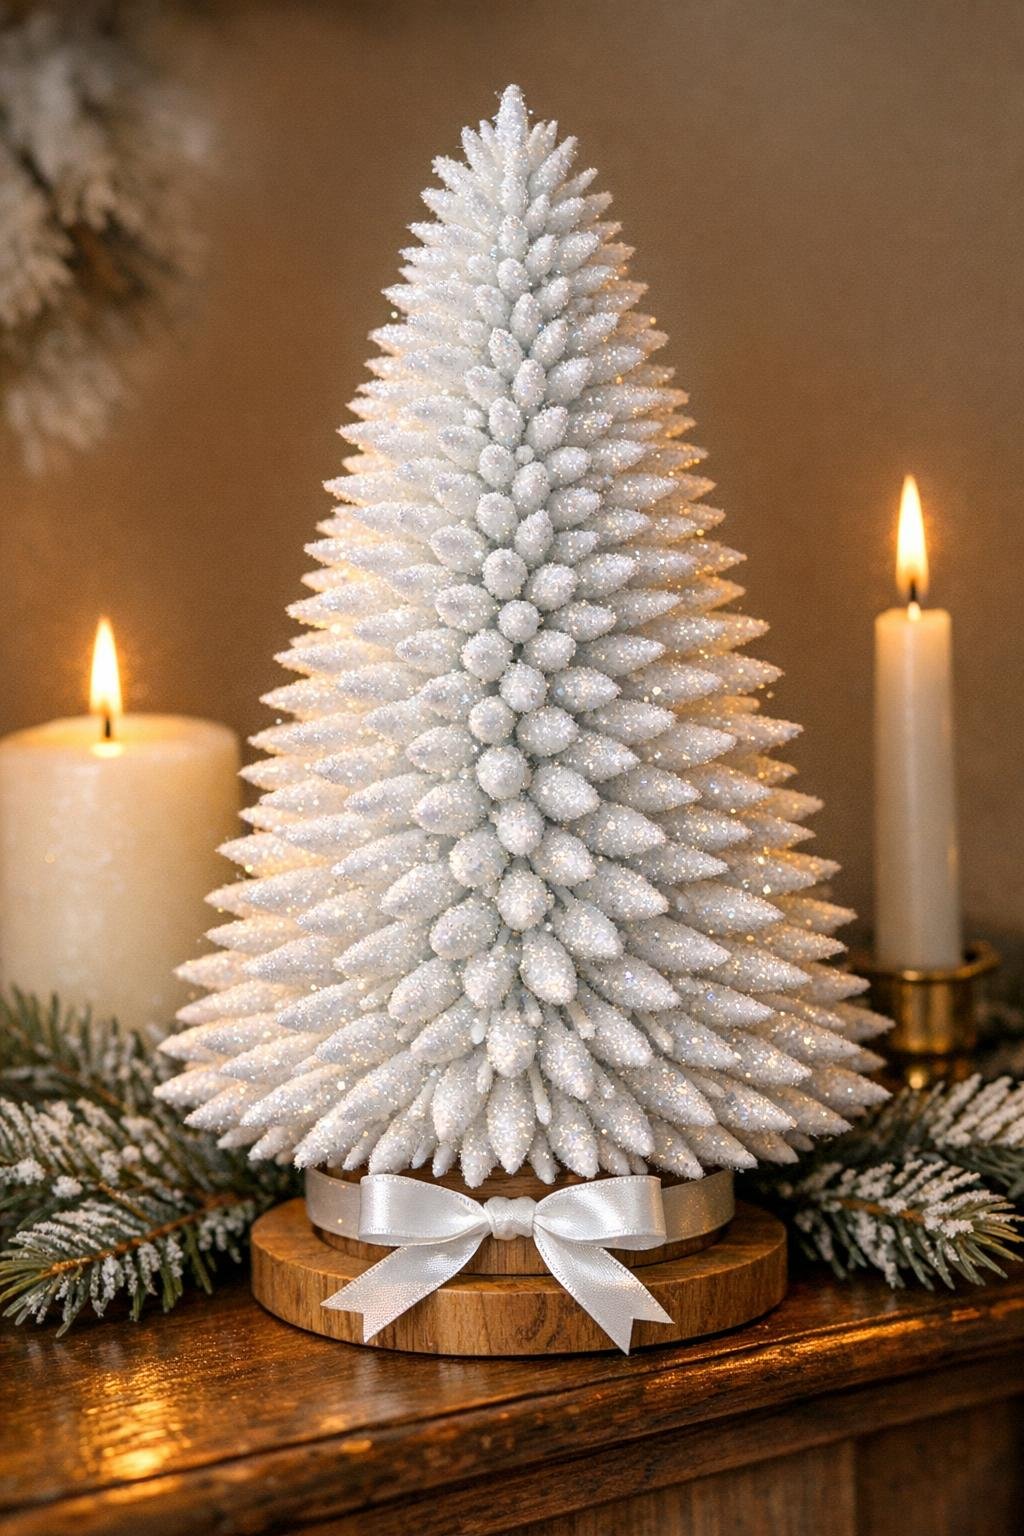
There are some projects that surprise you halfway through, and this is one of them. What starts as an ordinary white foam cone and a pile of dollar store cotton swabs slowly turns into a wintry little showpiece with the kind of sparkle that reminds me of the old department store holiday windows I used to admire as a girl. It’s inexpensive, yes, but it certainly doesn’t have to look inexpensive when it’s finished.
I like this project for anyone who wants a Christmas decoration with real presence but doesn’t want to fuss with anything complicated. If you can push swabs into foam and add a little glitter, you can make this. The secret is simple: use plenty of swabs, keep the coverage dense, and finish it with just enough shimmer to give it that frosted starburst look.
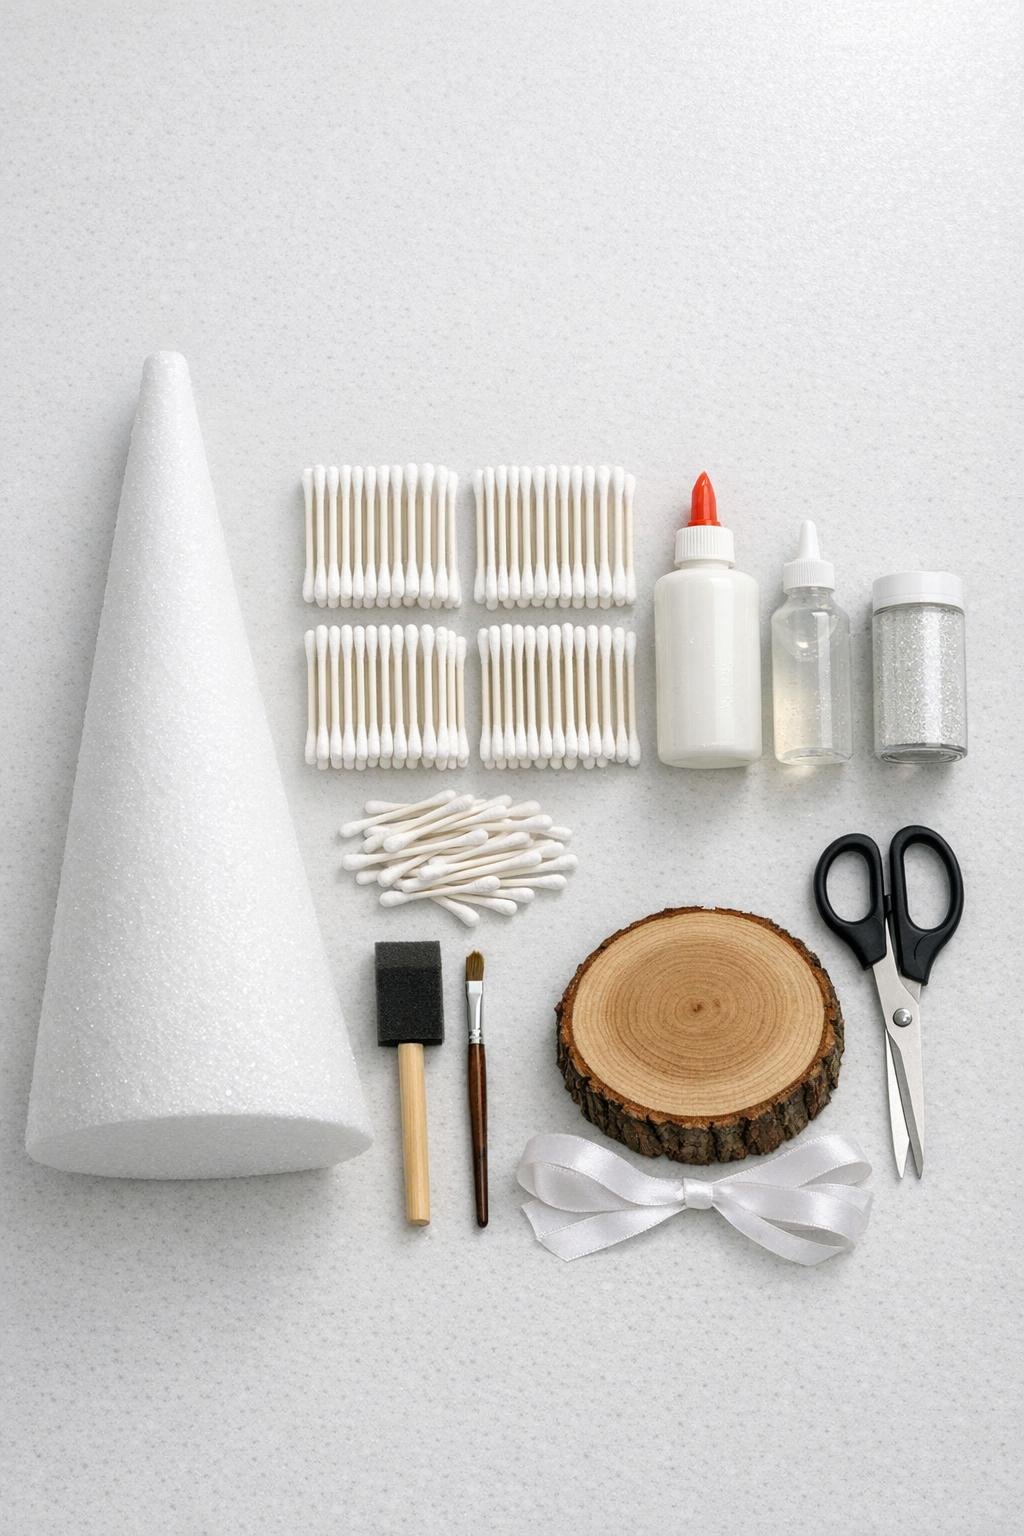
Materials
1 white foam cone, 12 inches tall x 5 inches wide at the base
Instructions
1. Cover your work surface with wax paper, then set the foam cone upright and sort your cotton swabs into a loose pile so they’re easy to grab as you work.
2. Start at the bottom of the cone and push cotton swabs straight into the foam, one at a time, leaving about 1/2 inch of each paper stem visible so the swab tips stand out like little icy spokes.
3. Continue working around the cone in rows, angling some swabs slightly up, down, and outward so the shape looks full and starburst-like rather than flat or striped.
4. Fill the cone all the way to the top, packing the swabs close enough that very little foam shows through; use all 400 swabs if needed for a generous, designer-looking shape.
5. Stand back and look for bare spots, then tuck extra swabs into any gaps, especially near the top point and around the lower edge where the cone tends to show most.
6. Pour a little white craft paint onto a plate and lightly dry-brush any visible foam between the swabs so the base disappears into the overall snowy finish.
7. Let the paint dry for 15 to 20 minutes, then brush clear-drying glue very lightly over the outer cotton tips and a few of the stems, working in small sections so the glue stays neat.
8. Sprinkle the fine iridescent glitter over the glued areas, turning the cone as you go for even coverage, then add a light dusting of crystal glitter for a frosty, glassy sparkle.
9. Press the bottom of the cone onto the wood slice or cardboard base with a ring of tacky glue, then let it sit until stable and fully attached.
10. Tie the white satin ribbon into a small, neat bow and pin or glue it at the base of the tree for a polished finishing touch that doesn’t compete with the snowy texture.
11. Check the tree from every side, fluffing the look by adjusting any obviously crooked swabs and adding a touch more glue and glitter anywhere that needs extra sparkle.
12. Let the whole piece dry completely for at least 1 hour before displaying it on a mantel, entry table, or holiday centerpiece where the light can catch every little frosted point.
Variations & Tips
For extra sparkle: Mix a pinch of very fine silver glitter into the iridescent glitter if you want a cooler, icier finish that catches lamplight beautifully.
If your cone is shorter: An 8- to 10-inch cone works just fine; just reduce the cotton swabs to about 250 to 325 and keep the same close, full coverage.
For a more elegant base: A small painted wood candlestick, a thrifted pedestal, or a stacked pair of glued wood rounds can make the tree look even more like boutique holiday décor.
Keep it refined: I would resist adding bright ornaments or too many colors here. This one shines because it stays wintry, white, and simple, like fresh hoarfrost on the fence posts out by the pasture.
Display idea: These look especially lovely grouped in threes at different heights. I’d make one tall, one medium, and one small and let them catch the evening light together.
Cleanup tip: Shake off excess glitter onto the wax paper, then funnel it right back into the container. That’s an old country habit of mine—waste not, want not, even at Christmas.