
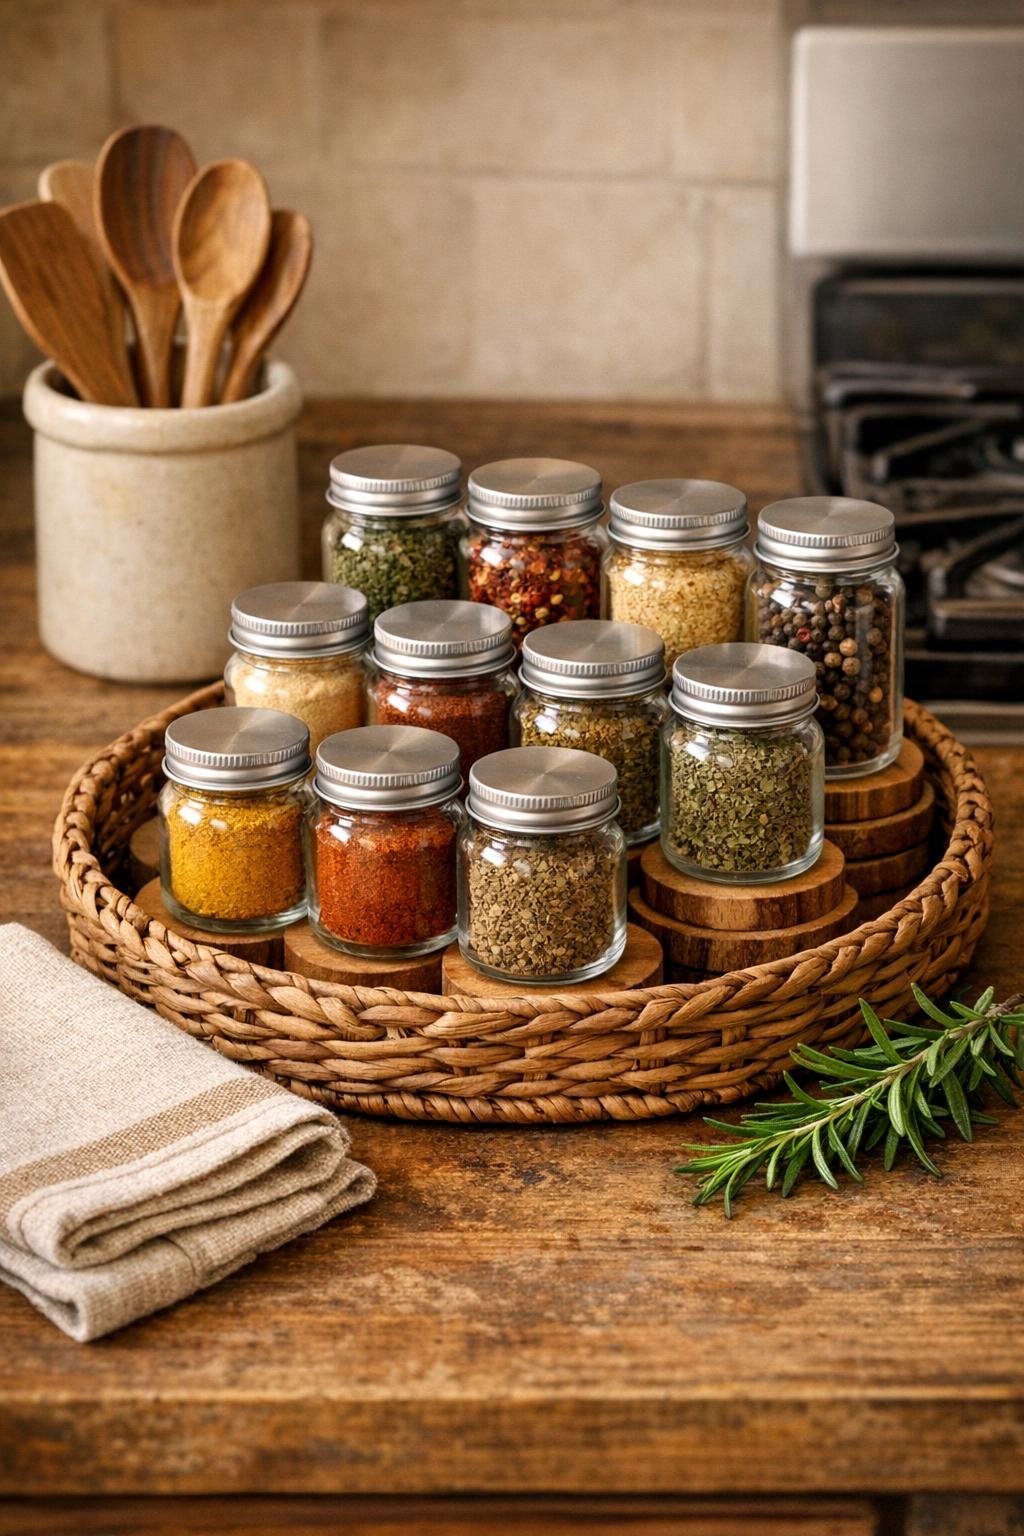
There’s something mighty satisfying about opening a cabinet or setting a tray on the counter and being able to see every spice at a glance. This little kitchen riser is one of those simple ideas that feels like it should have been in every farmhouse pantry all along: small wooden coasters stacked under glass spice jars inside a shallow wicker tray, giving you tidy rows with just enough height difference to make the back jars easy to spot.
I’m especially fond of projects like this because they don’t ask for fancy tools or a whole afternoon. If you’ve got a handful of coasters, some jars, and a tray, you can turn everyday pieces into something organized and handsome in no time. It’s a good project for anyone who wants a neater spice station, whether you keep it on the counter, in a pantry, or tucked inside a cabinet.
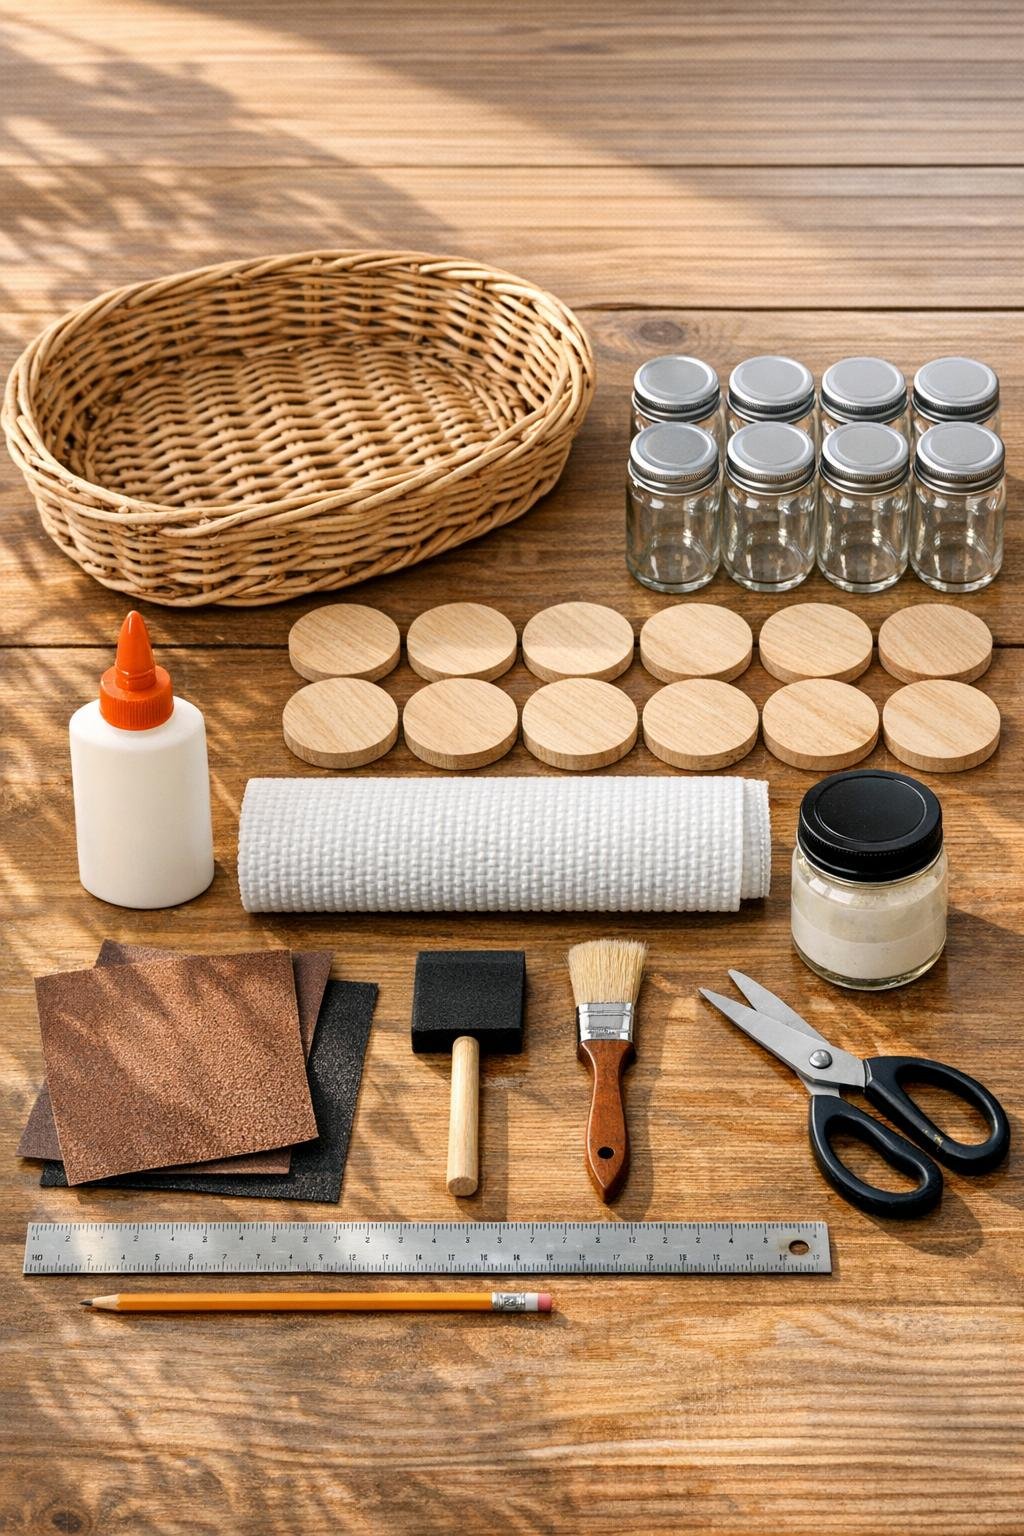
Materials
Instructions
1. Set your empty wicker tray on the counter and test-fit the glass spice jars inside it so you can decide your layout; two rows of four jars usually gives the fullest, neatest look in a shallow tray this size.
2. Arrange the wooden coasters under the jar positions to create a riser effect, using one coaster under each front-row jar and two stacked coasters under each back-row jar.
3. Trace the inside bottom of the tray onto the non-slip shelf liner, cut it out, and trim as needed so it lies flat without buckling.
4. Lightly sand the coaster surfaces and edges to remove any roughness, then wipe away dust with a damp cloth and let them dry completely.
5. Glue each back-row coaster pair together, keeping the edges aligned as evenly as you can, and let the stacks dry according to the glue directions.
6. Brush a thin coat of matte clear sealer over all coaster tops and sides, including the stacked pairs, to help them handle kitchen use and spice dust more easily.
7. Place the cut piece of non-slip shelf liner into the bottom of the wicker tray so the risers and jars won’t slide around every time the tray is moved.
8. Set the single coasters in the front row and the double-stacked coaster risers in the back row, spacing them evenly so each jar has its own spot and the tray looks balanced.
9. Fill the glass jars with your spices, keeping colors and textures in mind; I like to mix paprika, cinnamon, herbs, and pepper where they can all show off a bit.
10. Screw on the lids tightly and, if you like, add simple labels to the lids or lower jar fronts so the riser stays easy to use without covering the pretty look of the glass.
11. Place the filled jars on the coaster risers, with the front row on single coasters and the back row on the taller stacked coasters, then adjust spacing until every jar is visible from the front.
12. Slide the finished tray onto your countertop, pantry shelf, or inside a cabinet, and give it one final nudge so it sits square and tidy.
Variations & Tips
For a longer collection: If you use a rectangular tray around 18 inches long, increase to 12 jars with 18 coasters total, using 6 single coasters in front and 6 double-stacked risers in back.
For extra grip: A tiny dot of hot glue or museum putty under each coaster can keep the risers from shifting, especially if the tray will live inside a drawer or get moved often.
For a darker finish: You can stain the coasters before sealing them if you want a richer wood tone that matches darker cabinets or vintage kitchen pieces.
For matching jars: Uniform jar size makes the finished riser look much more polished, so I recommend buying one set rather than mixing odds and ends unless they are very close in height and width.
For easy cleaning: Choose jars with smooth sides and wipe the tray out every couple of weeks; the sealed coasters will shrug off the usual kitchen dust much better than bare wood.
For cabinet use: Measure the shelf height before you build, especially with the back row elevated, so your jars clear the shelf above without scraping the lids.
My favorite finishing touch: I like to group spices by use—baking in one section, savory cooking in the other—because it keeps the tray pretty to look at and genuinely useful, which is the best kind of kitchen project in my book.