
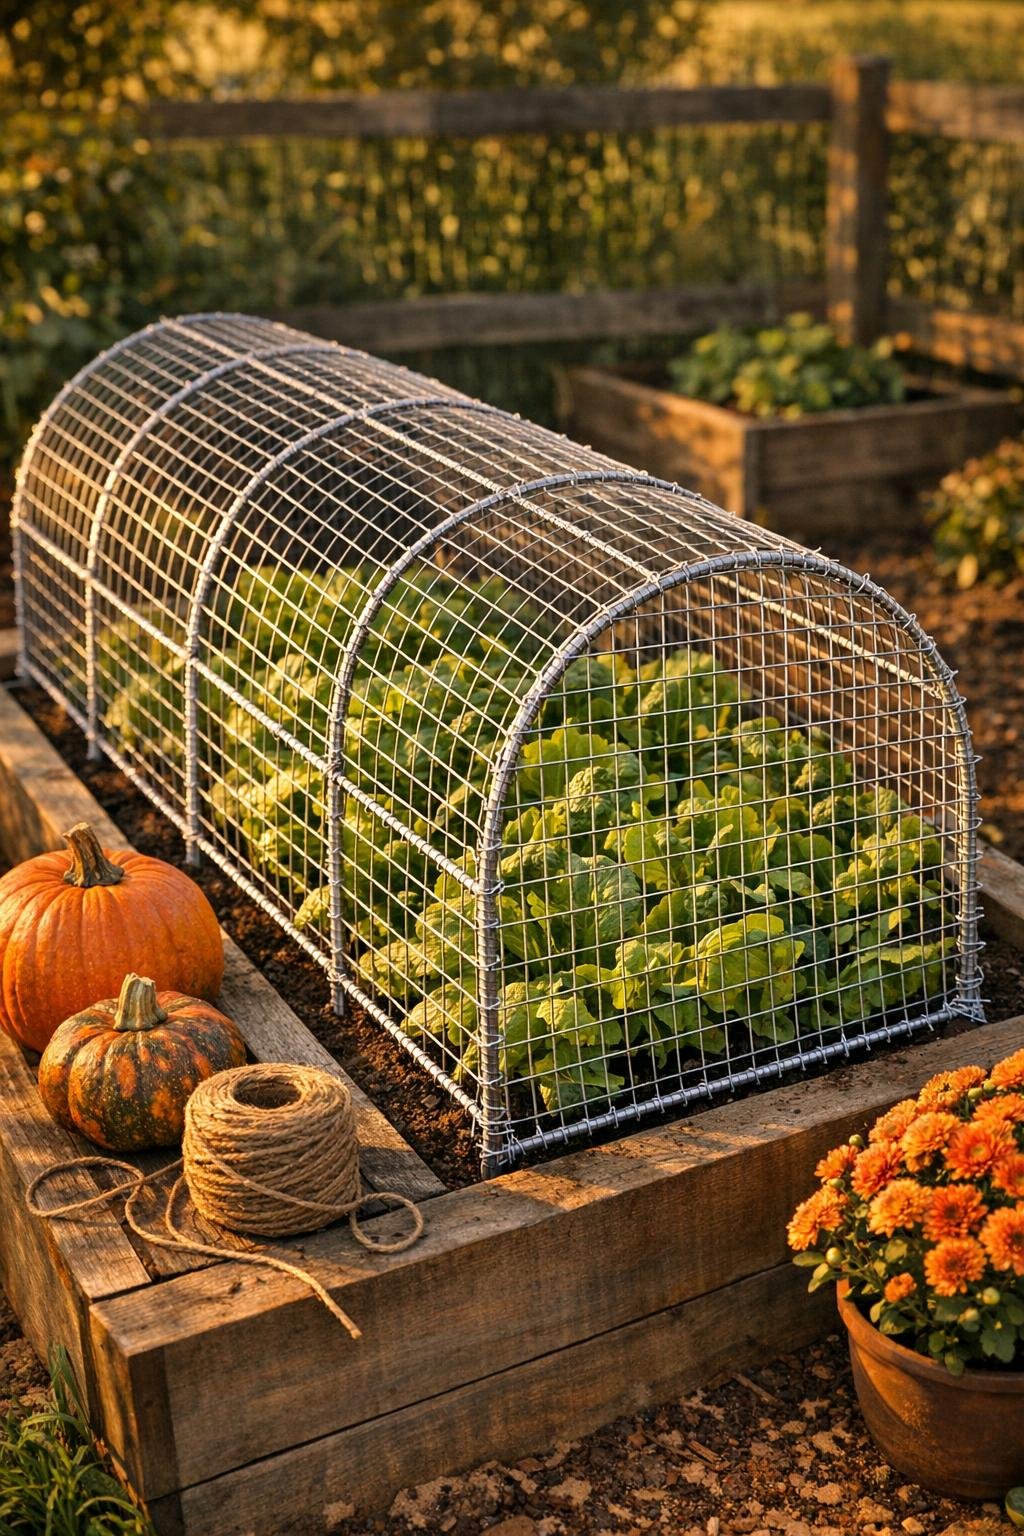
When the rabbits, squirrels, and chipmunks start treating a fresh garden bed like an all-you-can-eat buffet, I go back to one of those old practical fixes that gardeners have been using for ages. This little protective cage is made from wire hardware cloth cut into strips, plus two plain shed staples, and it gives seedlings and tender greens a strong fighting chance without turning the whole garden into a complicated construction project.
I especially like this method for raised beds, small in-ground planting rows, and newly seeded patches that need real protection right away. It’s sturdy, easy to lift off for weeding and harvesting, and it still lets in sun, rain, and air. Around here in the Midwest, where every critter seems to know exactly when lettuce is at its sweetest, this simple trick has saved more than one spring and fall planting for me.
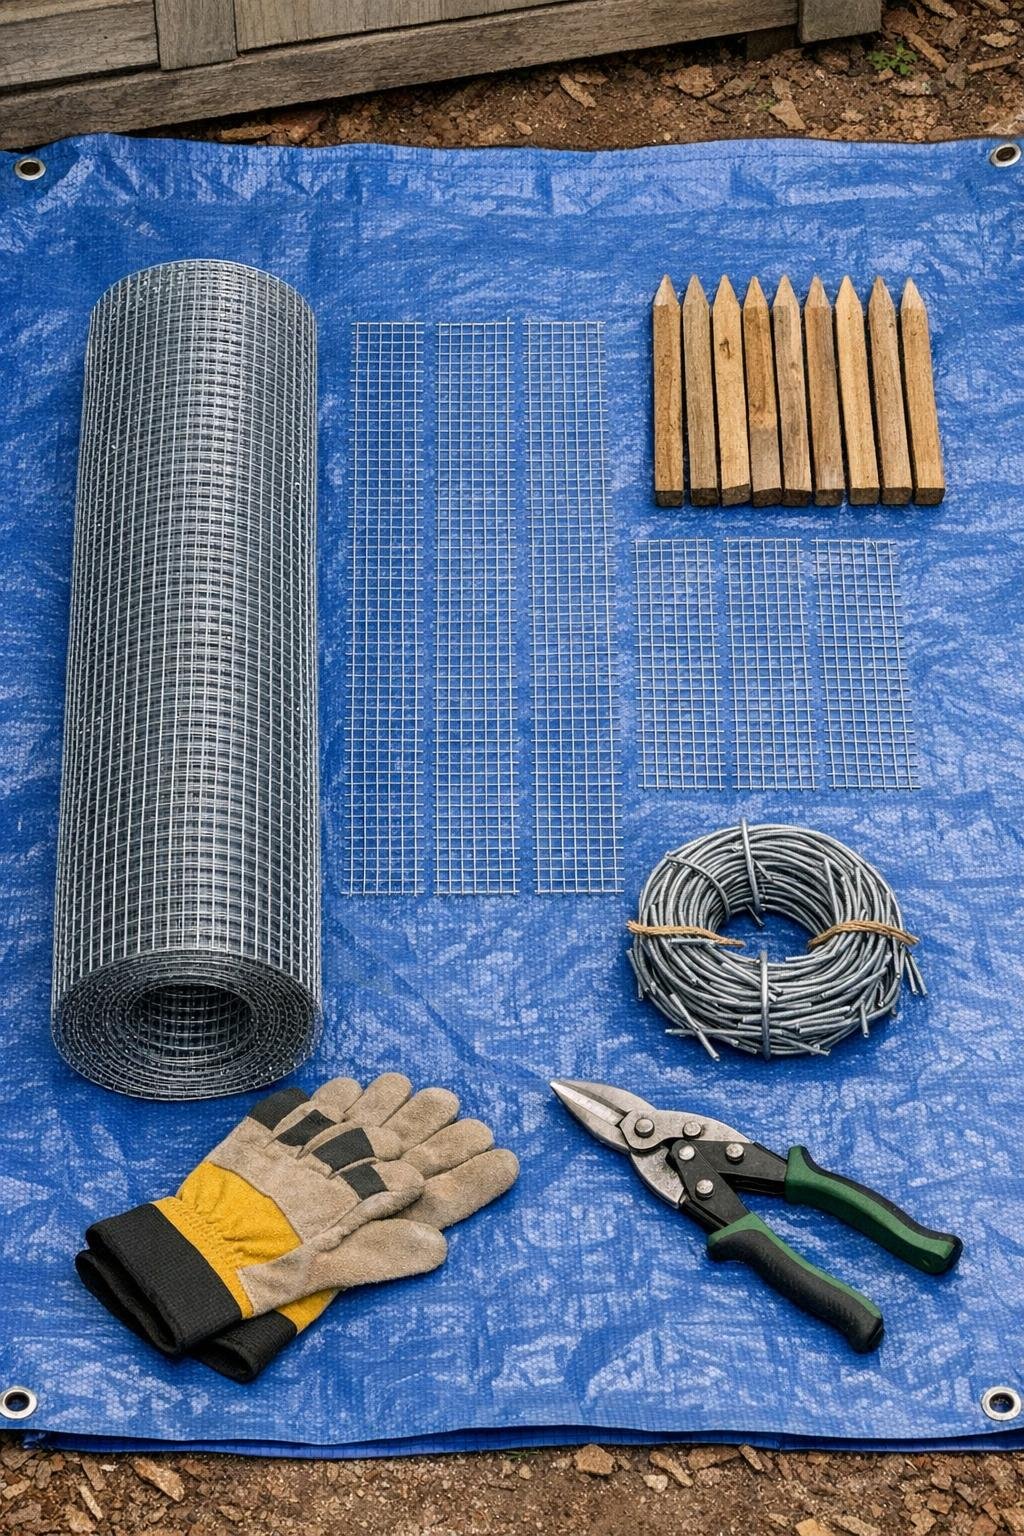
Materials
Instructions
1. Spread the blue tarp on a flat surface and unroll the hardware cloth onto it, keeping the mesh square and flat so your cuts stay straight.
2. Measure and cut eight 24-by-30-inch strips for the long side panels and curved top sections, then cut two 24-by-24-inch strips for the end panels using tin snips.
3. Bend four of the 24-by-30-inch strips into shallow arches by hand, curving them evenly so they will span the bed like hoop ribs.
4. Push a wooden stake into the soil at each corner of the garden bed and one at the midpoint of each long side, leaving about 14 inches above ground.
5. Set the four arched strips across the bed as ribs, spacing them evenly from one end to the other, and wire each end of every arch securely to the nearest stake.
6. Lay the remaining four 24-by-30-inch strips lengthwise over the arches, overlapping each seam by 2 inches, and fasten them together with short twists of tie wire every 6 to 8 inches.
7. Attach one 24-by-24-inch strip to each end of the tunnel, trimming small corners if needed so the end pieces sit neatly against the curved top.
8. Wire the end panels to the side mesh, then leave one lower corner on one end loosely wired so it can act as a simple lift-up access flap for watering, weeding, and harvest.
9. Press galvanized landscape staples over the bottom edges of the mesh every 12 inches along both sides and the ends to pin the cage snugly to the soil.
10. Check for gaps larger than 1/2 inch around the base, tighten any loose wire joins, and test the flap to make sure it opens easily and sits back down firmly when closed.
Variations & Tips
For taller crops: Use 36-inch-wide hardware cloth instead of 24-inch so the arches rise higher over kale, broccoli, or young cabbages.
For extra rabbit pressure: Add landscape staples every 6 to 8 inches instead of every 12 inches; those little noses will test every weak spot.
For easy access: If you harvest often, make one whole long side into a lift panel by wiring it along the top edge only and anchoring the bottom with just a few removable staples.
To protect new transplants: I like to drape a piece of lightweight row cover over the frame before wiring on the last top strip when cold nights are coming; it gives you critter protection and a little frost buffer in one go.
To prevent scratched hands: Fold any cut edge of the hardware cloth back by one mesh square with pliers before assembly; it makes the cage much safer to handle.
For small beds: On a 2-by-4-foot bed, use three arches instead of four and shorten the lengthwise strips to match the bed so the finished cage still looks full and fitted, not floppy.
Georgia’s garden note: My father used to say a garden doesn’t fail all at once—it gets nibbled away a bite at a time. A simple cover like this may not look fancy, but when you come out at dawn and find your greens still standing, it feels just about miraculous.