
If you have a dozen paper snow cone cups and a little freezer space, you can turn the simplest supplies into a winter centerpiece that feels genuinely special. This is one of those easy projects I love pulling out when I want something seasonal on the table without buying a bag of craft supplies I’ll only use once.
What makes this project so fun is that it starts with plain water and everyday kitchen items, then transforms into something sparkling and festive with almost no fuss. It’s a lovely choice for families, holiday gatherings, or just brightening up a cold week at home, and it’s easy enough that older kids can help with the filling and decorating.
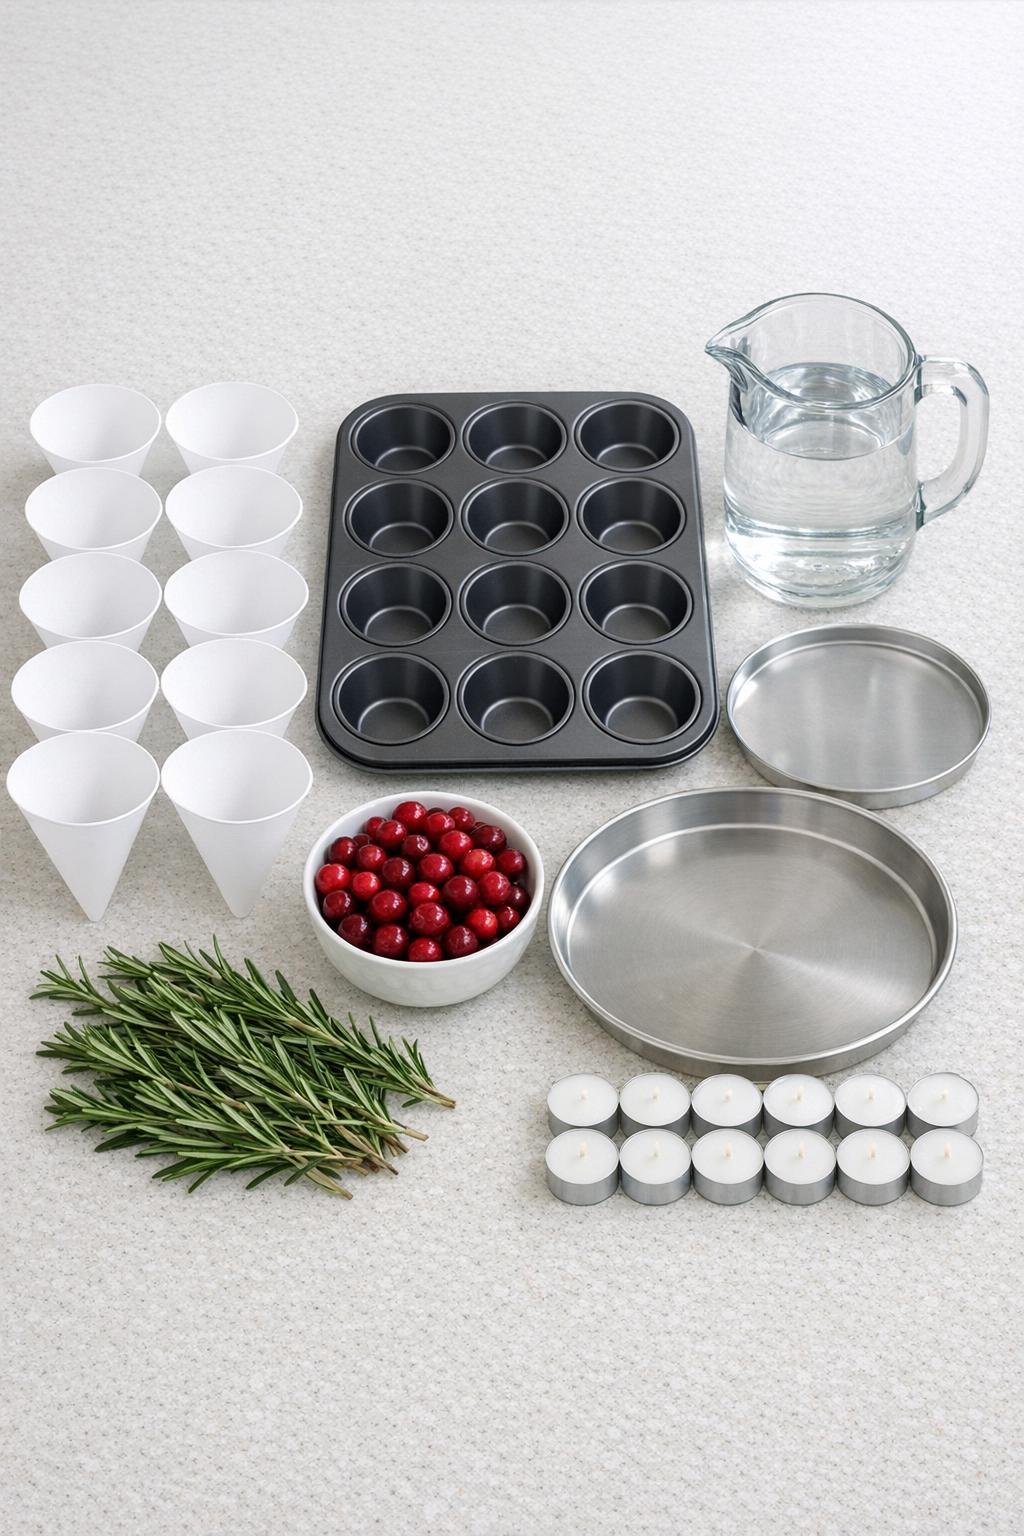
Materials
12 white paper snow cone cups, standard size
Instructions
1. Set 12 paper snow cone cups upright in the wells of a 12-cup muffin tin so they stay straight and supported while you fill them.
2. Add 1 small rosemary sprig and 2 or 3 cranberries to each cup, letting the greenery stand at a slight angle so it shows through the ice like a little tree.
3. Pour cold water into each cup until it comes about 1/4 inch below the rim, filling slowly so the rosemary stays upright and the cranberries don’t splash out.
4. Check the cups from the side and gently reposition any rosemary sprigs with a spoon handle so each one stands tall and centered for the prettiest frozen shape.
5. Carefully place the muffin tin on a flat freezer shelf and freeze for 8 hours or overnight, until the ice is completely solid all the way through.
6. Remove the tin from the freezer and let it sit at room temperature for 3 to 5 minutes, just long enough to take the chill off the paper cups without melting the ice much.
7. Peel the paper away from each frozen shape, tearing from the rim down toward the point; if a cup sticks, dip just the outside of the cup in a bowl of water for 2 or 3 seconds and try again.
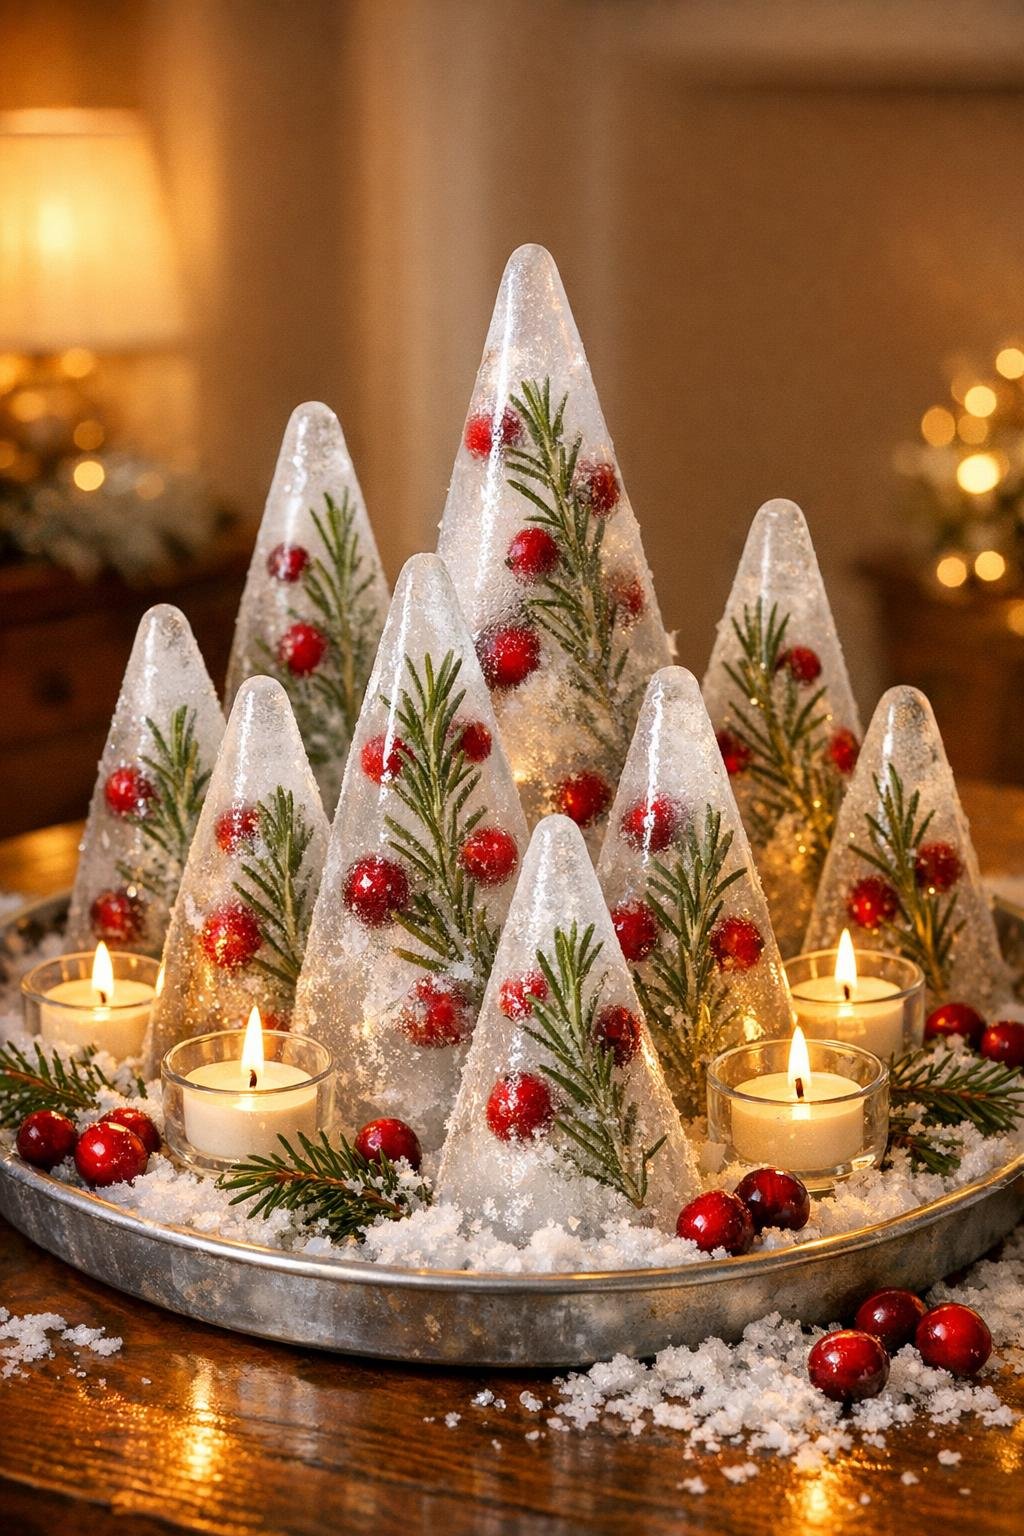
8. Arrange the frozen cones point-side up on a shallow tray, grouping them closely so they look like a full little winter woodland instead of single scattered pieces.
9. Tuck 12 tea lights in and around the ice cones, leaving enough space that each light is visible and the whole display glows evenly across the tray.
10. Set the tray out right before serving or entertaining so the icy shapes keep their crisp edges and the rosemary-and-cranberry details stay sharp and sparkling.
Variations & Tips
For clearer ice: If you want the cones to look more glassy than frosty, use boiled and fully cooled water before filling the cups. It’s a small extra step, but it really makes the rosemary and cranberries show up beautifully.
For picky little helpers: If your kids love helping but don’t have the patience for perfect placement, let them drop in the cranberries while you handle the rosemary arrangement. That keeps the project fun and still gives you a polished final look.
For longer-lasting display: Chill the tray in the freezer for 20 to 30 minutes before arranging the ice pieces on it. A cold tray slows melting and buys you more time on the table.
For a fuller forest: Cluster the cones tightly, with taller-looking ones in the center and smaller-looking ones around the edges. I always find that grouping them close together makes the display look richer and much more magical.
For safer glow: Battery tea lights are my favorite for this project, especially if children will be admiring it up close. You still get the pretty warm flicker without worrying about open flame near melting ice.
For a different holiday look: Swap the cranberries for tiny bits of evergreen, holly-colored berries that are food-safe for display, or even a few thin orange slices cut into small wedges. Keep the rosemary if you can, because it gives the prettiest tree-like shape inside the ice.
For serving time: This is best assembled at the last minute, right before guests arrive or dinner is served. I like to keep the frozen cones in the freezer and build the tray in just a few minutes when I’m setting out the food.