
There’s something so satisfying about taking the plainest little dollar store supply and coaxing it into something that feels special enough to bring out year after year. This project starts with ordinary metal funnels, but filling them with ice before punching the design makes the metal much easier to work with and helps it hold its shape while you hammer. It’s simple, inexpensive, and wonderfully forgiving.
I especially love projects like this during the colder months, when I want a hands-on afternoon craft that feels a little magical without being fussy. If you can hold a hammer and tap in a pattern, you can make these. They’re perfect for anyone who likes vintage-style holiday decor, soft candlelight, and easy family-friendly crafting with a big payoff at the end.
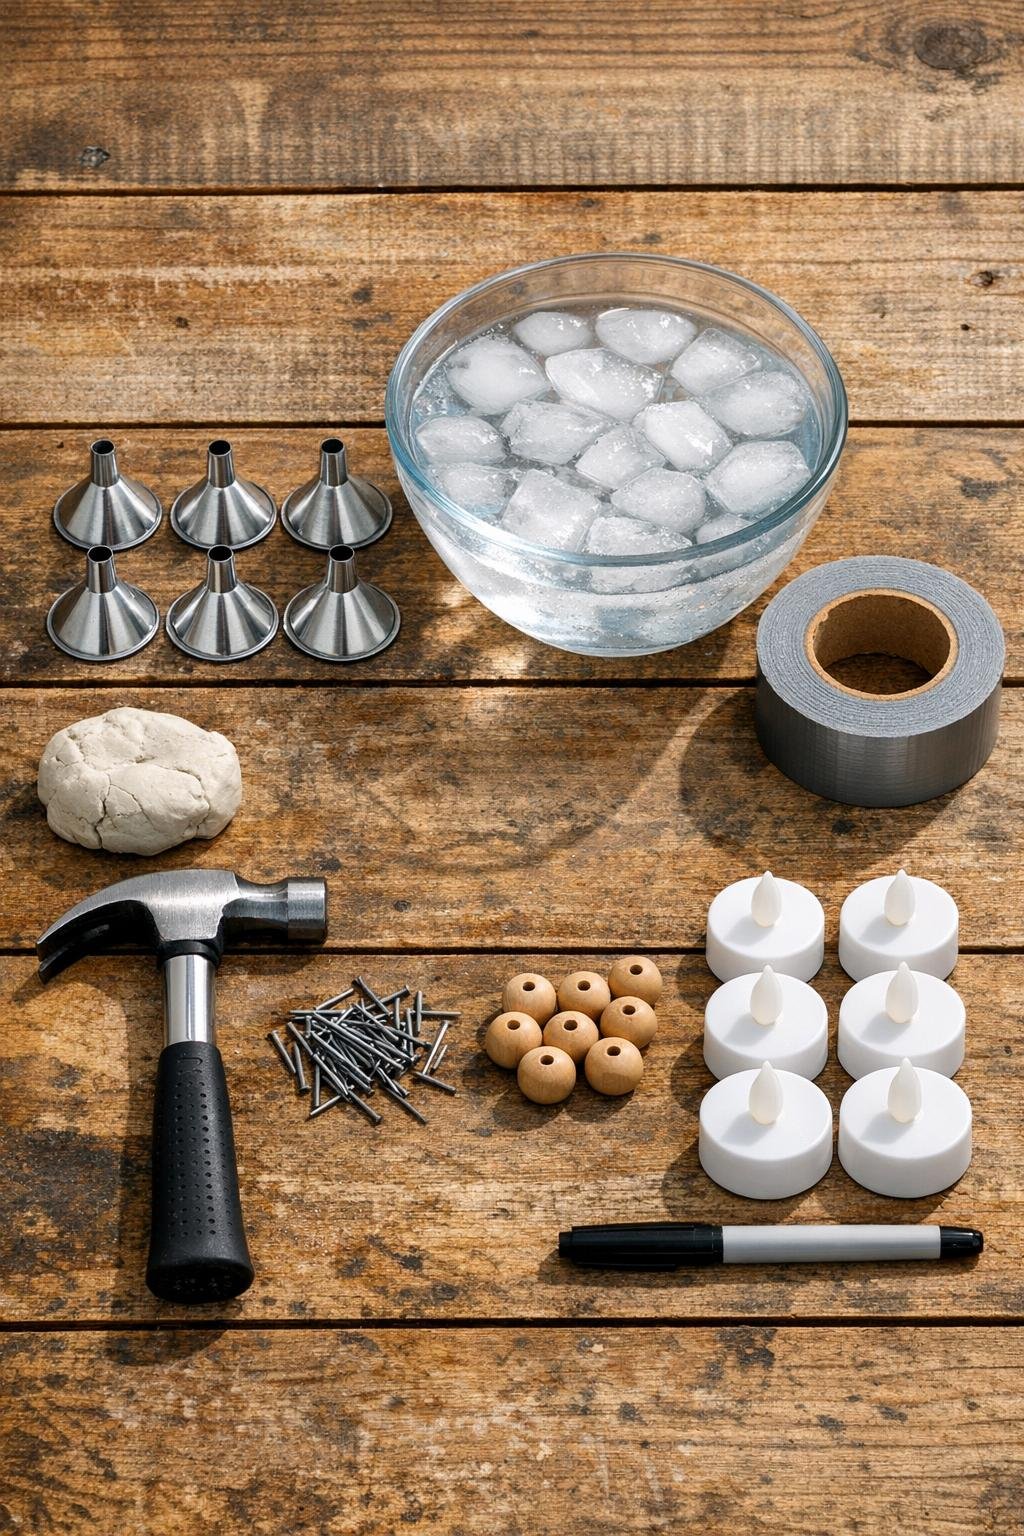
Materials
6 small dollar store metal funnels, about 4 to 5 inches wide each
Instructions
1. Plug each funnel spout with duct tape wrapped snugly over the tip, or press a small piece of clay firmly into each opening so water cannot leak out.
2. Set each funnel upright in its own cup or jar, then fill each one with water to just below the rim.
3. Freeze the filled funnels until solid, about 6 to 8 hours or overnight, so the metal is fully supported from the inside.
4. Place a towel or tray on your workbench, remove one funnel from the freezer at a time, and keep the others frozen until you need them.
5. Use the marker to lightly dot a simple punched pattern around the funnel body, spacing holes about 1/4 to 1/2 inch apart; stars, swirls, scallops, and bands of dots all work beautifully.
6. Set the funnel back in its cup, place the nail tip on one marked dot, and tap gently with the hammer until the nail pierces the metal; pull the nail back out after each hole.
7. Continue punching the full design, rotating the funnel as you work and keeping your taps light so the holes stay clean and the funnel shape stays round.
8. If the ice starts melting before you finish a funnel, return it to the freezer for 20 to 30 minutes, then continue punching once it is firm again.
9. Repeat the same process with the remaining five funnels, varying the patterns a little so the set looks collected and charming rather than too perfectly matched.
10. Let the finished funnels sit at room temperature until the ice releases, then remove the tape or clay and drain out any remaining water.
11. Dry each funnel thoroughly inside and out, and gently flatten any sharp burrs around the holes by pressing them inward with the side of the nail or tapping very lightly from the outside.
12. Press a wooden bead onto the narrow spout of each funnel to create a simple round head; if the bead fits loosely, secure it with a tiny bit of clay tucked inside the bead hole.
13. Place one LED tea light underneath each funnel so the light shines up through the punched holes and glows through the metal pattern.
14. If you’d like a more finished look, tie a small ribbon at the bead or give the outside a very light coat of clear matte sealer once the funnels are fully dry.

Variations & Tips
Pattern idea: I like making two funnels with starbursts, two with dotted bands, and two with little scalloped lines so the set looks rich and layered when they’re displayed together.
For picky perfectionists: If freehand spacing makes you nervous, wrap a strip of paper around the funnel, mark evenly spaced dots on the paper first, and use that as a simple guide.
Cold-metal tip: Work with one frozen funnel at a time and leave the rest in the freezer. That little bit of patience makes the punching cleaner and much easier.
Display idea: These look especially pretty grouped on a mantel, lined down the center of a table, or tucked into a windowsill where the tiny lights can glow in the evening.
Kid-friendly help: Younger helpers can mark patterns, hold beads, or switch on the LED tea lights while an adult handles the hammering.
Finish option: If your funnels are very shiny, a light mist of matte sealer softens the finish and gives them a sweet vintage look without hiding the metal.
Safety note: Use only LED tea lights here, never real flames, since the metal can get hot and the piece is meant to glow gently, not act as a candle holder for an open flame.