
I love a project that makes my kitchen work a little harder and look a little prettier at the same time, and this herb drying rack does both. You’re simply turning a shallow wooden crate into a wall-worthy drying station by gluing rows of clothespins inside, then clipping up fresh herb bundles so they can air-dry neatly instead of taking over the counters.
This is especially nice if you cook often and like keeping rosemary, sage, thyme, or mint on hand without spending much money. I’m always looking for simple ways to stretch garden herbs and grocery-store bundles, and this one feels wonderfully practical while still giving that cozy farmhouse touch in the kitchen.
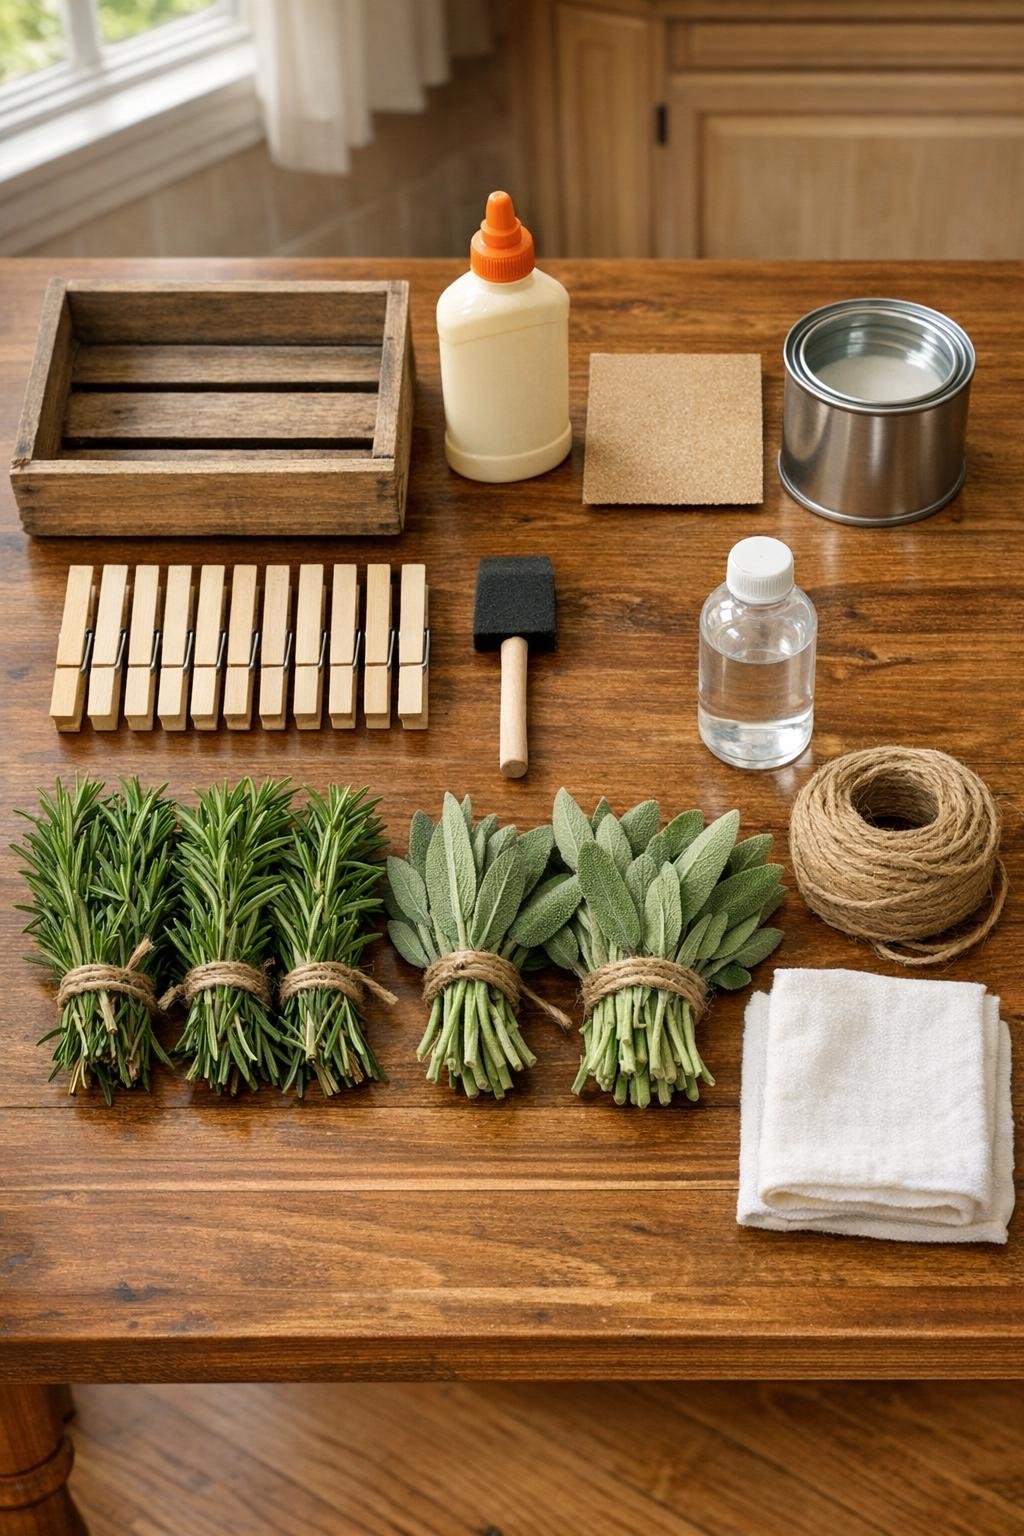
Materials
Instructions
1. Lightly sand the wooden crate inside and out so the surface feels smooth and clean away all dust with the cloth.
2. Brush on a thin coat of clear matte sealer over the crate, especially inside the slats and along the front edges, then let it dry fully.
3. Stand the crate upright in the orientation you want to hang or display it, then dry-fit the clothespins in evenly spaced horizontal rows inside the back panel to plan your layout.
4. Glue the back flat side of each clothespin onto the inside back of the crate, spacing them about 2 inches apart and making 3 tidy rows of 4 pins each.
5. Let the glue cure completely according to the glue directions so the pins can hold the weight of fresh herbs without shifting.
6. Gather the rosemary into 6 small bundles and tie each one near the stem ends with a piece of jute twine, keeping the bundles full but not so thick that air can’t move through them.
7. Gather the sage into 4 slightly flatter bundles and tie each one with twine, trimming any extra-long stems so the bunches look even and fit nicely inside the crate.
8. Clip the rosemary and sage bundles onto the clothespins by the tied stem ends, alternating the herbs across the rows for a full, balanced look and good airflow.
9. Turn any crowded bundles slightly sideways and fluff the leaves so the herbs are not pressed tightly together inside the crate.
10. Set or hang the crate in a dry spot with good air circulation, away from direct stove steam and splatters, and leave the herbs to dry until crisp, usually 7 to 14 days depending on your kitchen.
11. Once dry, remove the bundles, strip the leaves into jars for cooking, and refill the rack with a new batch whenever you bring home fresh herbs.
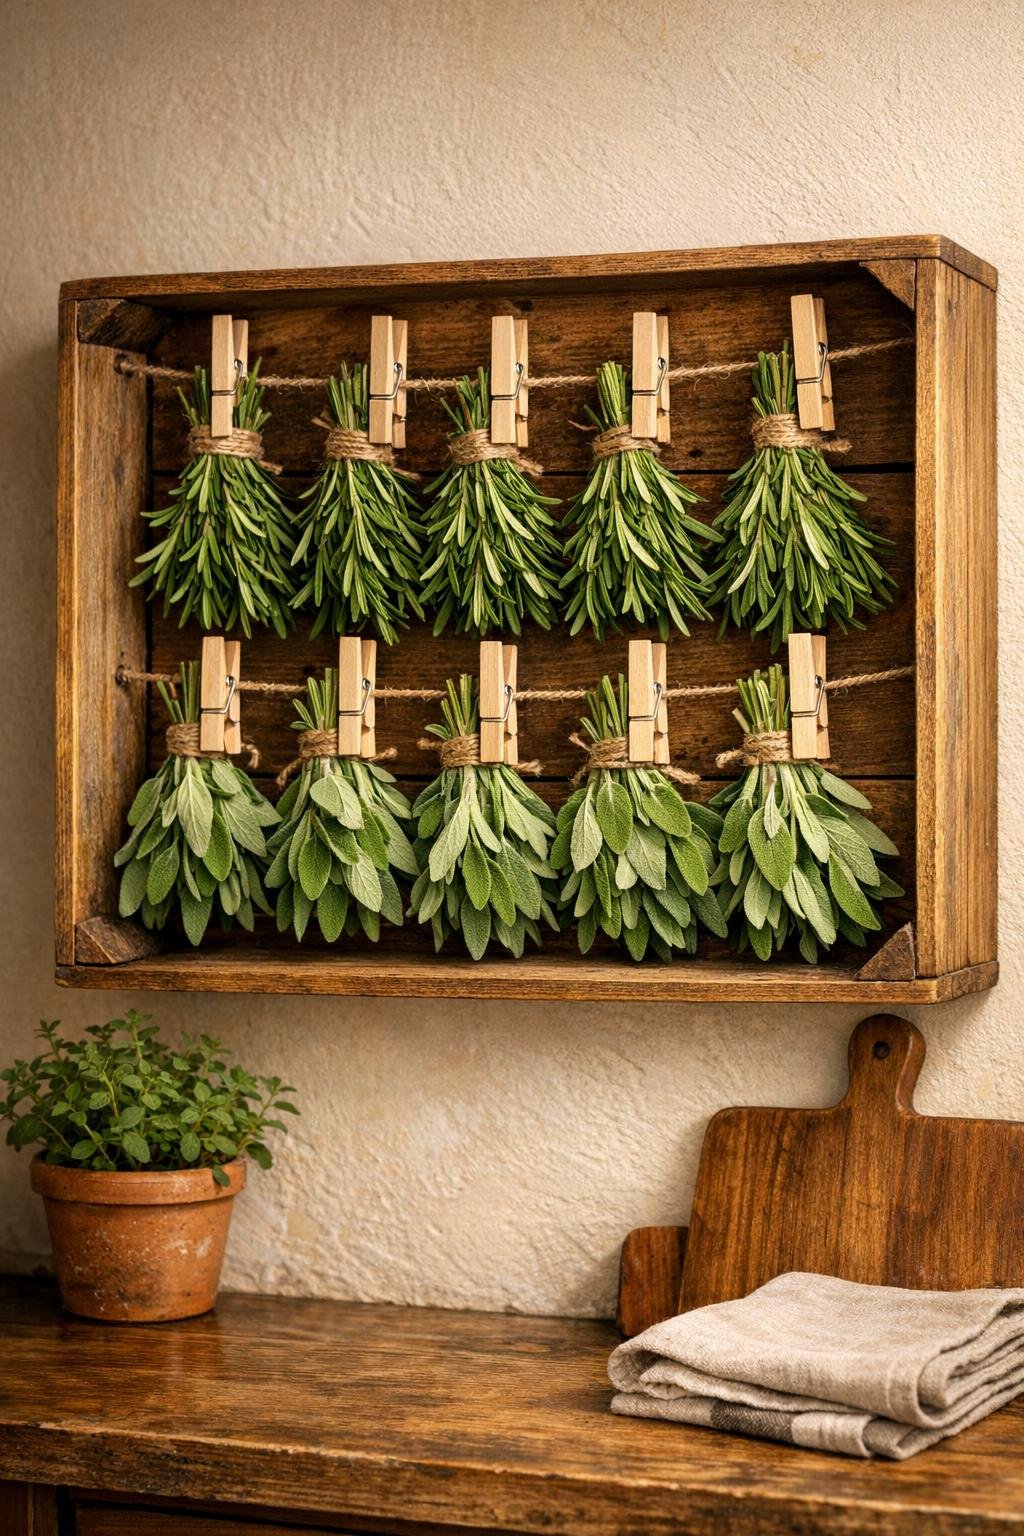
Variations & Tips
For picky noses: If your family is sensitive to stronger herbal scents, start with mostly rosemary and sage and skip more fragrant herbs like mint or oregano until you know how the kitchen smells while they dry.
Best bundle size: Smaller bundles dry more evenly than oversized bunches. I aim for bundles about 1 to 1 1/2 inches thick at the stems so they look lush but still get plenty of airflow.
Pretty finish option: If you want a softer kitchen look, whitewash the crate before sealing it, but keep the clothespins natural so the rack still has that warm handmade contrast.
Good herb choices: Rosemary, sage, thyme, oregano, lavender, and marjoram all dry beautifully this way. Tender herbs like basil usually darken and lose quality more quickly, so I save those for fresh cooking instead.
Where to place it: A pantry wall, breakfast nook, or kitchen side wall is usually better than right beside the stove. Dry air and steady circulation matter much more than heat.
Easy refresh: Wipe the crate out with a dry cloth between batches and check that the clothespins still feel secure. If one loosens over time, pop it off, scrape away old glue, and reglue it in place.
Gift idea: This makes a lovely housewarming or holiday gift if you tuck in the first clipped herb bundles and tie a little extra twine around the side. It feels thoughtful, useful, and charming without being fussy.