
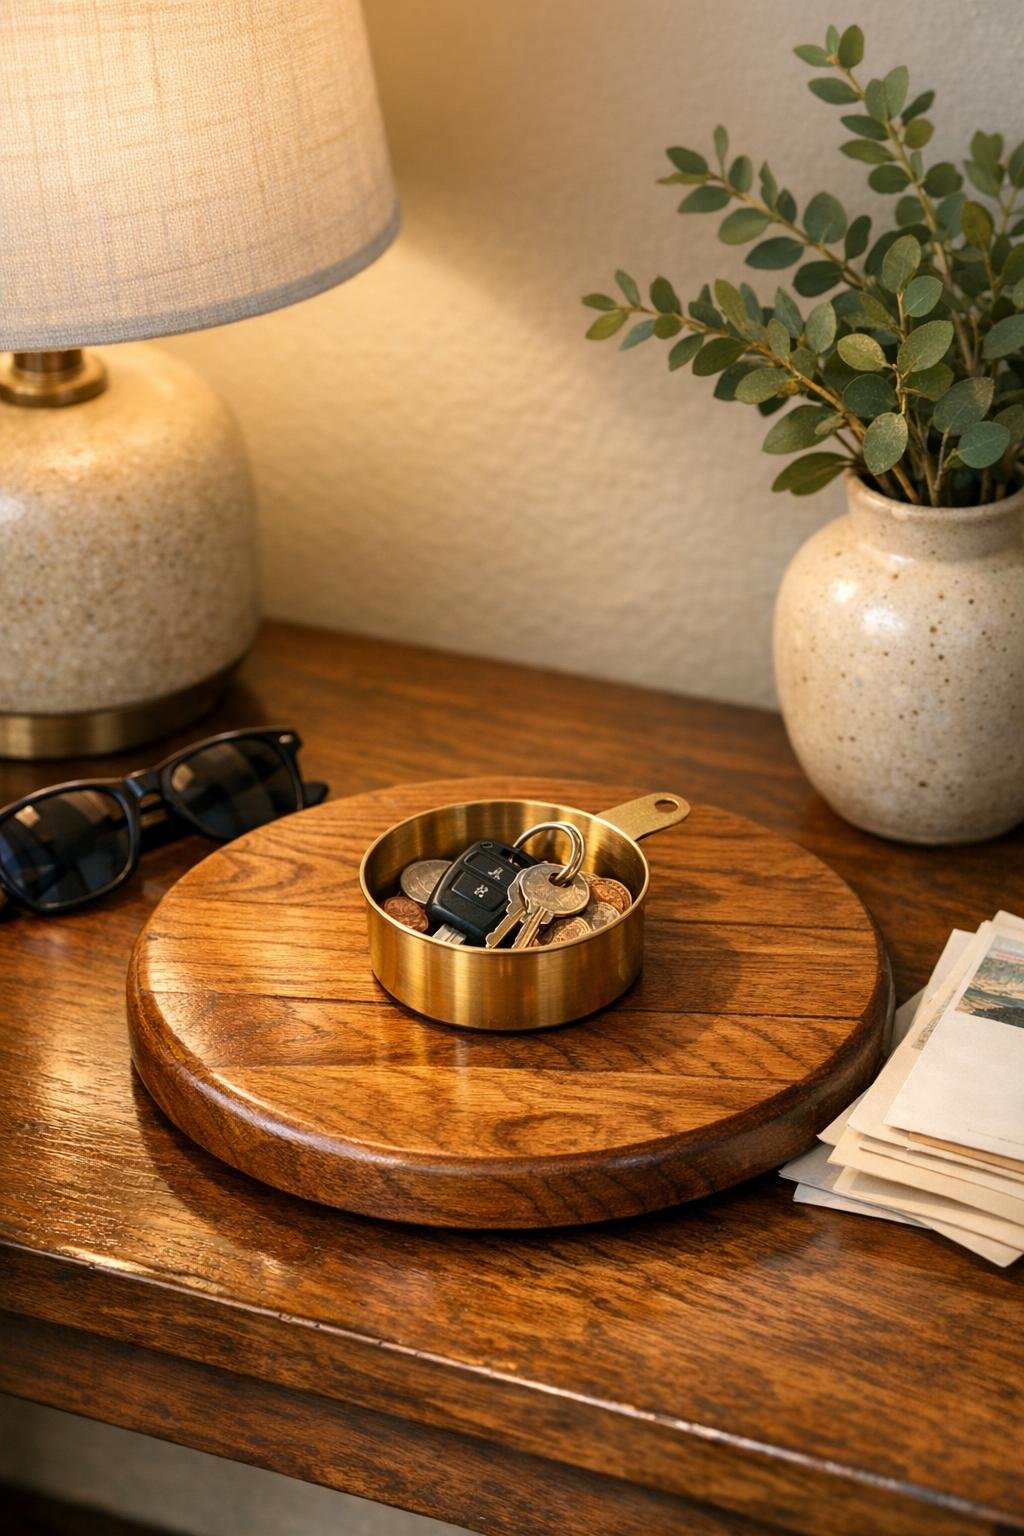
An entryway catchall earns its keep fast, and this one does two jobs at once: the round wooden lazy susan base gives you a broad place to drop sunglasses, mail, or a wallet, while the little brass cup in the center corrals keys, coins, and the small things that usually wander off. I love projects like this because they solve a daily annoyance without looking overly homemade.
This is a very approachable build for beginners, and it’s especially good if you want something useful in an afternoon. The combination of warm wood and brass has that classic, hardworking look I’m always drawn to in the kitchen, and it translates beautifully to an entry table too.
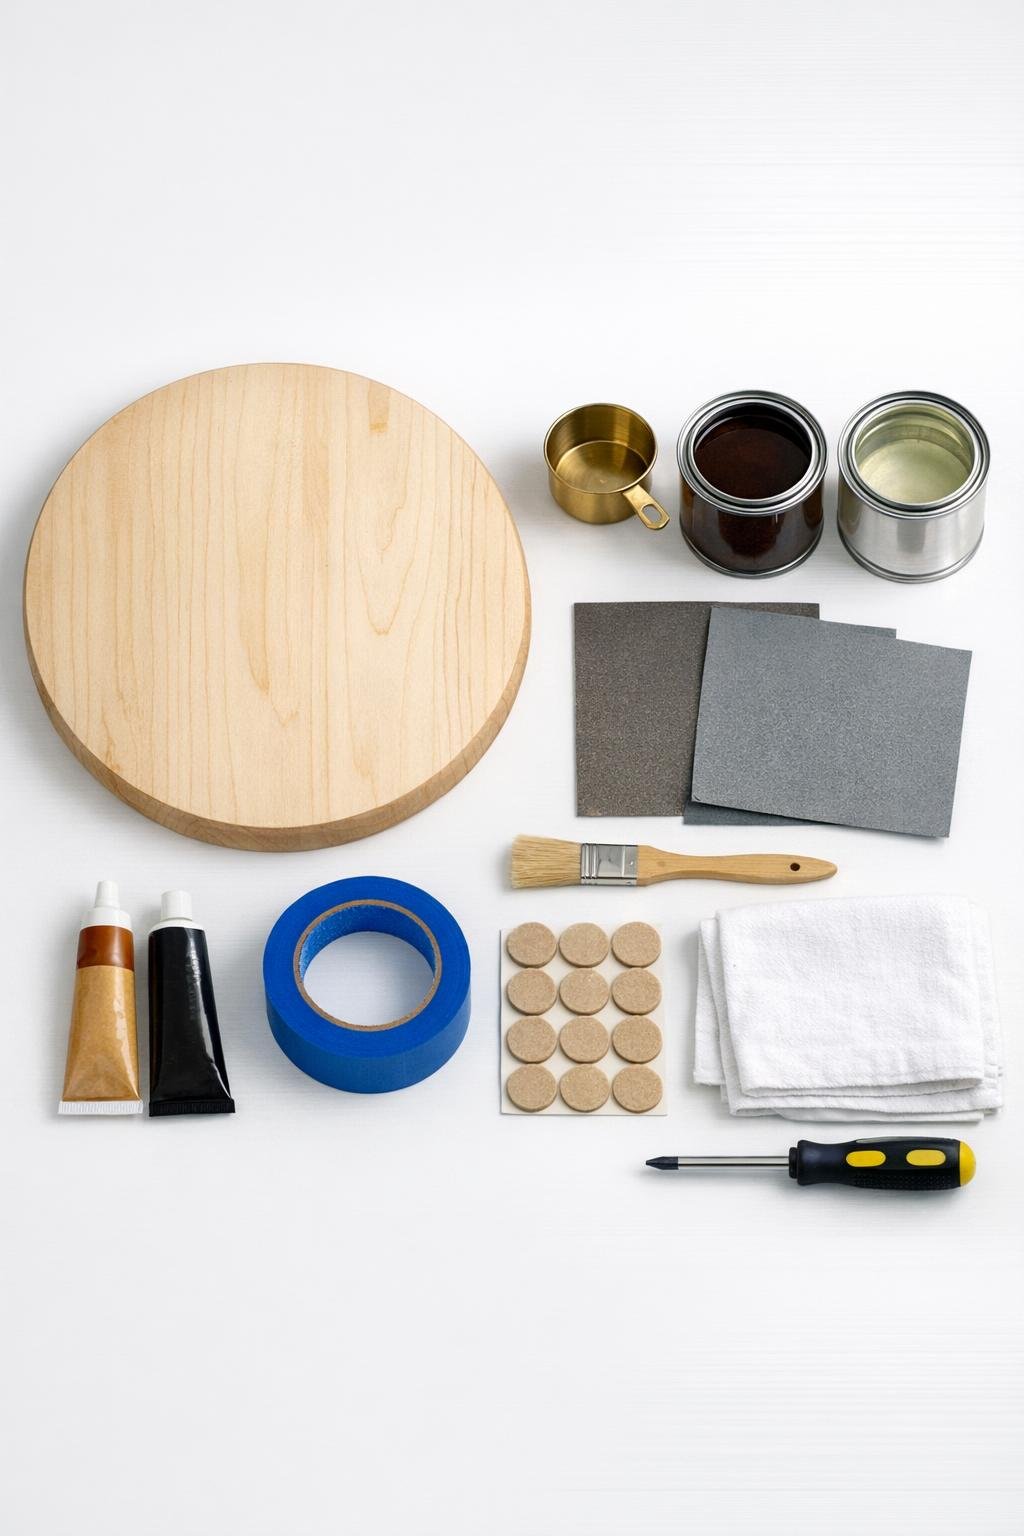
Materials
1 round wooden lazy susan, 10 to 12 inches in diameter
Instructions
1. Lightly sand the top and edges of the wooden lazy susan with 120-grit sandpaper, then smooth it again with 220-grit so the finish goes on evenly.
2. Wipe away all dust with a lint-free cloth, and clean the outside bottom of the brass measuring cup with rubbing alcohol so the adhesive has a clean surface to grip.
3. If you want a deeper wood tone, brush or wipe stain over the top, edge, and any visible bottom rim of the lazy susan, then let it soak in for a few minutes before wiping off the excess.
4. Apply a thin, even coat of clear topcoat to seal the wood, let it dry, and add a second coat for an entryway piece that will handle keys and daily wear.
5. Find the center of the lazy susan by measuring across or using the hardware ring underneath as a guide, then mark the center lightly with a pencil or a tiny piece of painter’s tape.
6. Test-fit the brass measuring cup in the center and check it from all sides so the spacing looks even; this little pause makes the finished piece look much more polished.
7. Run a bead of adhesive around the outside bottom edge of the measuring cup, then press it firmly into the center of the wooden disc and twist slightly to spread the glue.
8. Use painter’s tape across the cup to hold it steady if needed, and let the adhesive cure fully according to the package directions before putting anything in the bowl.
9. Turn the piece over and add felt pads to the underside so the lazy susan spins smoothly and won’t scuff your console table or entry bench.
10. Set the finished organizer in the entryway, using the outer wood tray for sunglasses, mail, and a small notepad, and the brass center cup for keys, coins, and earbuds.
Variations & Tips
Darker wood look: Walnut or dark oak stain gives this project a dressier feel, especially if your entryway has black metal, leather, or antique brass accents.
Natural finish option: If you love pale wood, skip the stain and use only a clear matte topcoat; it keeps the piece light and modern while still protecting it.
Cup sizing: A 1/4-cup brass measuring cup works for a smaller 8- to 10-inch base, but for a fuller, more useful catchall, I prefer a 1/2-cup cup on a 10- to 12-inch lazy susan.
Adhesive choice: Use an adhesive labeled for both metal and wood, and avoid hot glue here; it simply doesn’t hold up as well to temperature changes and daily handling.
Make it spin well: Before styling it, test the lazy susan hardware and tighten any loose screws underneath so the tray turns cleanly instead of wobbling.
Easy gift version: Pair the finished bowl with a house key tag, a tiny notepad, or a pretty pen for a thoughtful housewarming gift that feels genuinely useful.