
I’m the first person to admit I have a hard time tossing out anything that still has good bones, and old lampshades are high on that list. Once the fabric is stripped away, those metal frames are surprisingly useful, especially around the holidays when I want something big and festive without spending a fortune on store-bought décor.
This project is perfect if you like easy upcycles that still look impressive when they’re done. It uses a few basic supplies, comes together quickly, and gives you a tall, full holiday piece that looks custom once it’s wrapped, lit, and fluffed out.
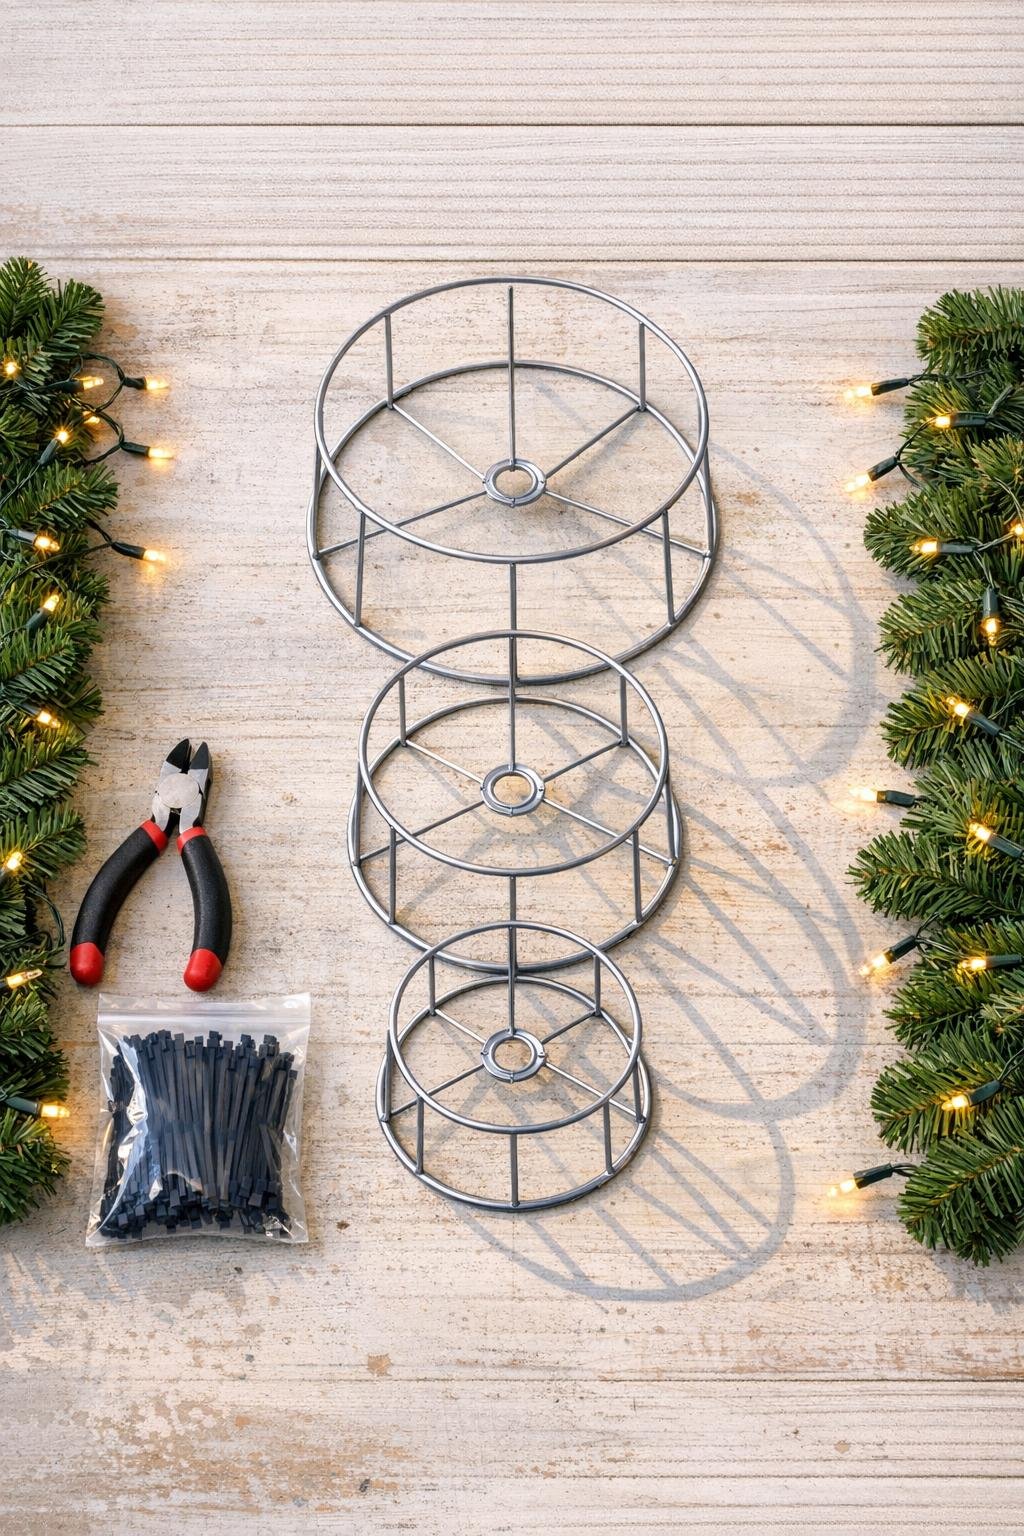
Materials
3 old wire lampshade frames in graduated sizes, about 8 inches, 12 inches, and 16 inches wide
Instructions
1. Remove all fabric, trim, and liners from the lampshade frames so you’re left with clean bare metal forms, and clip away any loose threads or bent bits with the wire cutters.
2. Turn the largest frame upside down to form the base, set the medium frame on top of it, then place the smallest frame on top to create a tapered tree shape.
3. Join the frames together at 4 evenly spaced points around the sides using zip ties, pulling each one tight so the stacked frame feels stable and straight.
4. Reinforce any wobbly spots by twisting short lengths of floral wire around the touching metal rings, then trim the zip tie tails close for a neat finish.
5. Starting at the bottom, wrap the first garland around the largest frame ring and work upward in a spiral, fastening it to the metal every 4 to 6 inches with floral wire or small zip ties.
6. Add the second garland in between the first passes to fill the frame densely, covering as much of the metal as possible while still keeping the cone shape crisp and recognizable.
7. Fluff and separate the garland branches with your hands so the whole piece looks full from every angle; this is the step that makes it look finished instead of scrappy.
8. Wrap the string lights from top to bottom, spacing them evenly and tucking the wire slightly inside the garland so you see the glow more than the cord.
9. Twist on the bow or star at the top, securing it directly to the smallest frame so it stays centered.
10. If you want extra polish, wire on the small ornaments, pinecones, or berry picks in clusters, concentrating more decoration near the front and lower half for a balanced look.
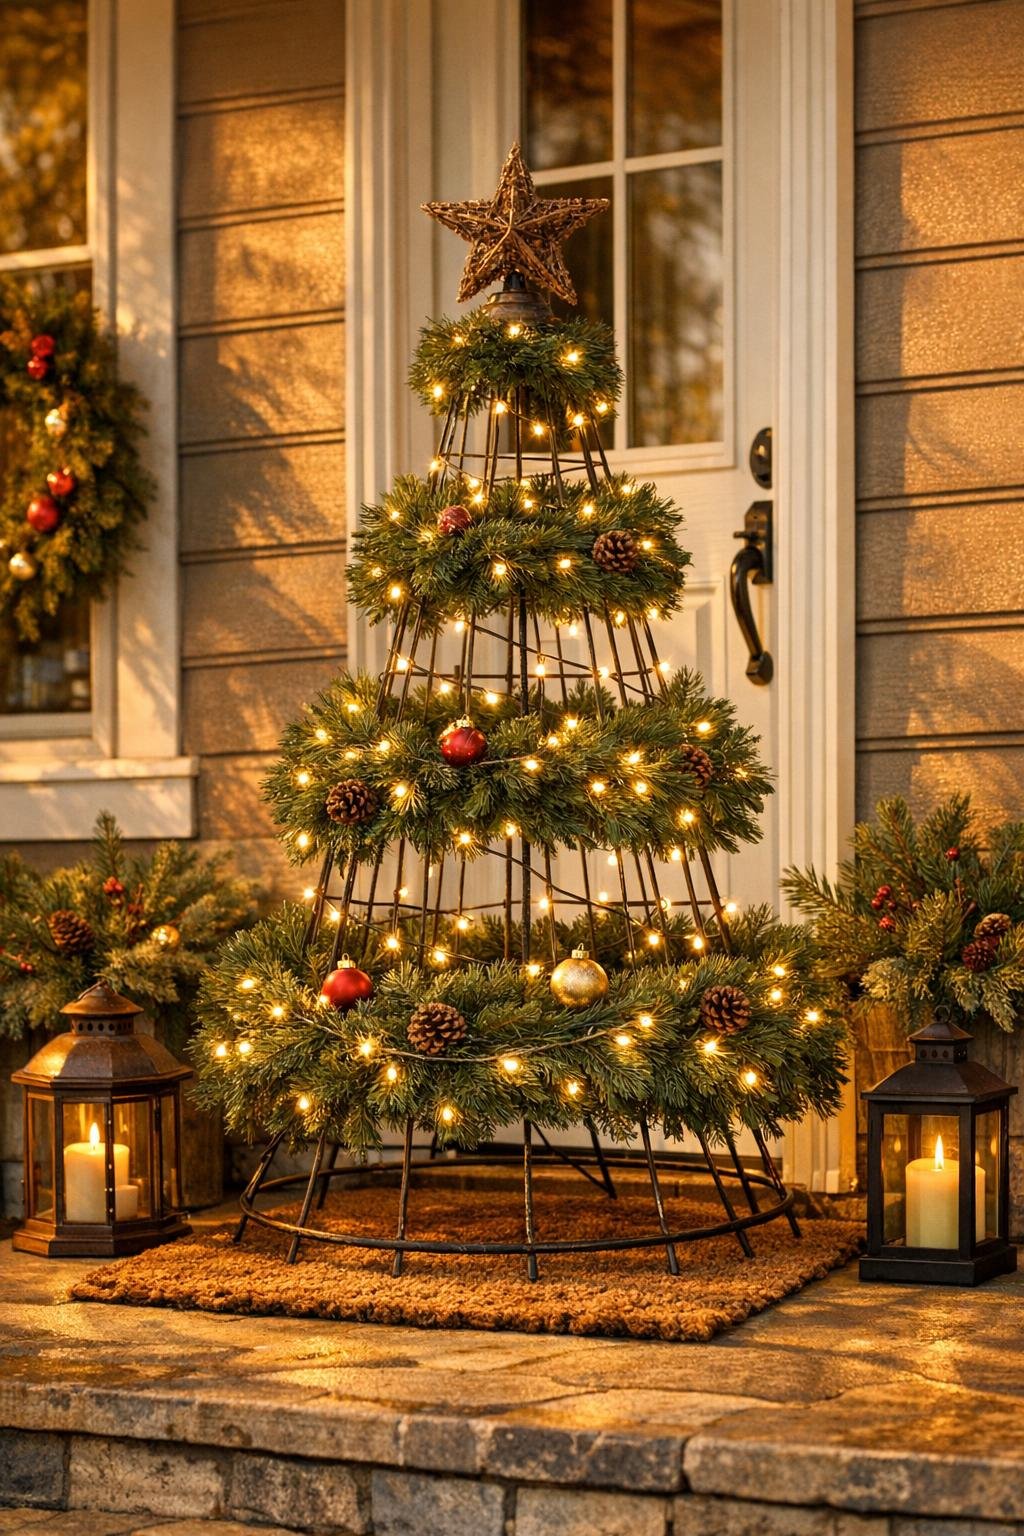
11. Set the finished piece on an entry table, porch corner, or hearth, then adjust the branches one last time to hide fasteners and make the outline clean and full.
Variations & Tips
For a taller tree: If your lampshade frames are shallow, add a fourth frame between the medium and small sizes to stretch the height without making the build harder.
For fuller coverage: Use one extra garland if your frames are wide or the greenery is thin; I always prefer a little too much because it hides the structure just enough while still letting the lampshade shape show through.
For outdoor display: Choose outdoor-rated garland and lights, and anchor the base to a heavy planter, wooden board, or porch crate with zip ties so Midwest winter wind doesn’t send it sliding.
For a cleaner finish: Keep all zip tie locks facing inward or toward the back before tightening them. That tiny detail makes a big difference once the lights are on.
For a more elegant look: Stick to one accent style, like all gold ornaments or all natural pinecones and berries, instead of mixing too many colors.
For easy storage: If you know you’ll want to save it for next year, leave the frame assembled and store it in a large trash bag or tree bag so you only need to fluff and plug it in next season.