
I’m a big fan of projects that rescue something headed for the curb and turn it into front-porch decor that looks far more expensive than it really is. This one starts with an old fake Christmas tree and a pair of thrifted containers, and with just a little cutting, anchoring, and shaping, you get a dramatic seasonal accent that fills out an entryway beautifully.
If you’ve got a worn artificial tree in the basement, garage, or attic, this is exactly the kind of weekend project that’s worth the small effort. It’s especially great for anyone who wants their porch to feel festive and polished without buying oversized store-bought arrangements every year. I love projects like this because they look high-end, but the process is refreshingly practical.
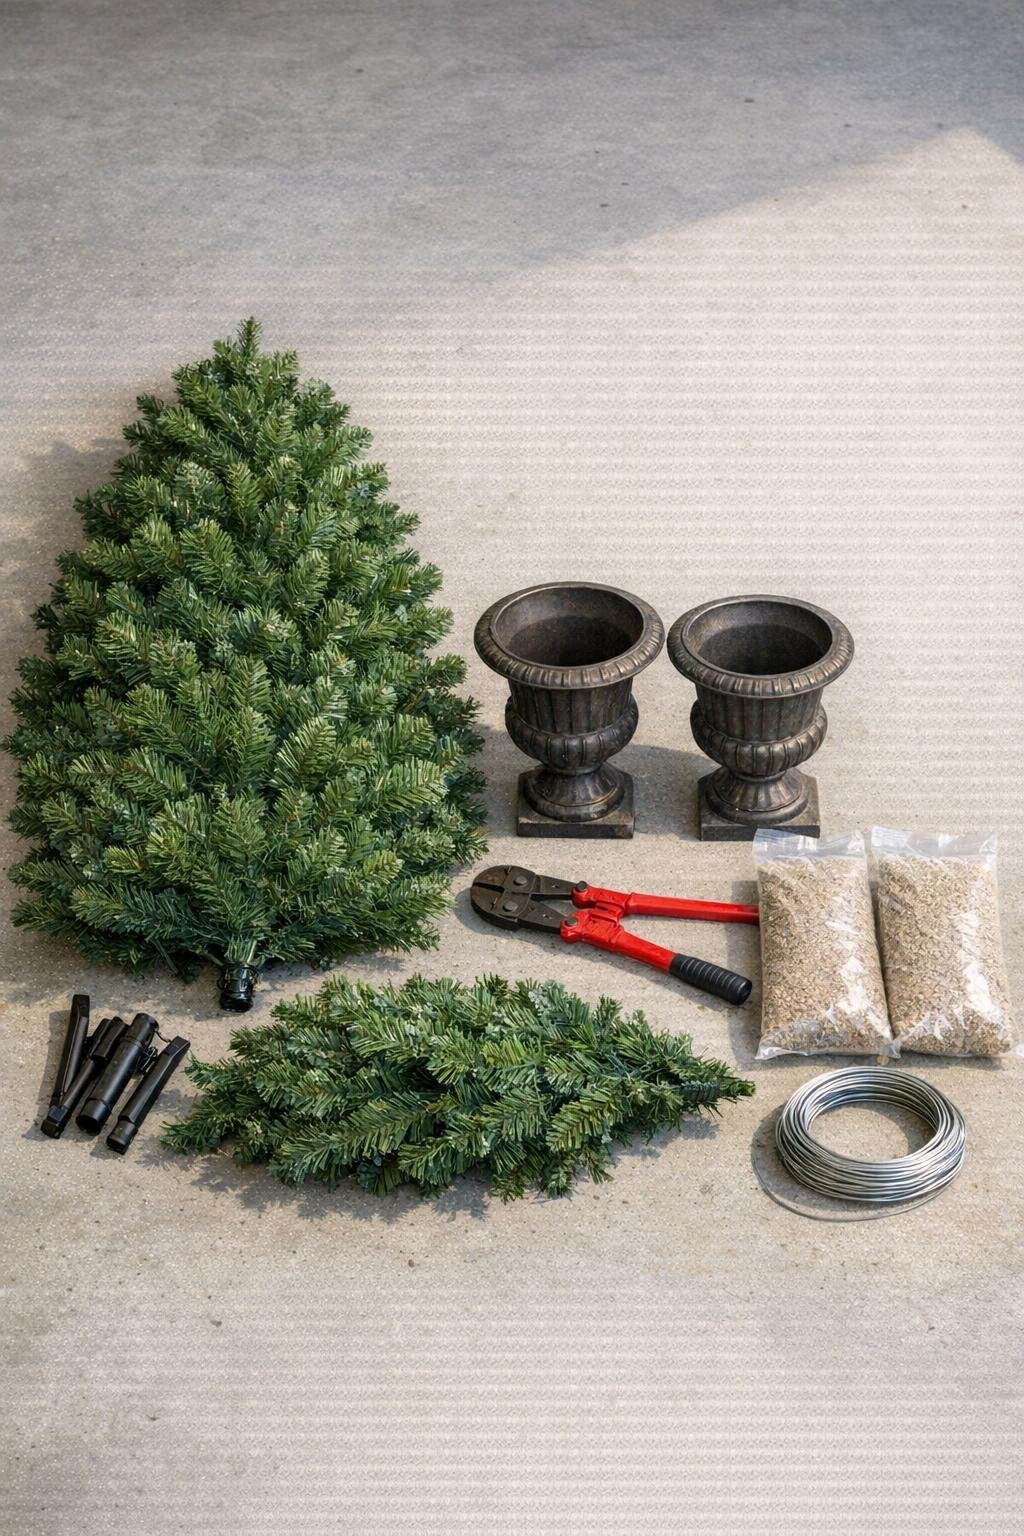
Materials
Instructions
1. Set your urns or buckets where you can work comfortably, and fill each one about three-quarters full with sand or gravel so they’ll have enough weight to stay put on a windy porch.
2. Put on gloves and separate the artificial tree so you can see the top section clearly; on most trees, this is the narrowest pointed section with a main center stem.
3. Use bolt cutters to cut off the top section of the tree, leaving a trunk stem about 8 to 12 inches long below the fullest upper branches so you have enough length to anchor it firmly.
4. Repeat with a second top section if you’re making a matching pair, or cut the remaining tree into extra branch picks you can use later to bulk out the base and make the finished arrangement look fuller.
5. Press one tree top stem deep into the sand or gravel in the first urn, then twist wire around the stem and secure it tightly to the urn handles, side holes, or a crosspiece of wire stretched across the container opening.
6. Test the tree top from a few feet back, and adjust the angle until it stands straight; then pack more sand or gravel around the stem to lock it in place.
7. Fluff every branch from the inside out, opening the lower branches widest and shaping the upper branches into a full tapered tree form so the topper looks lush instead of skinny.
8. Wire in the extra loose branches around the base and any thin spots, tucking them into the lower half first for dense coverage and a fuller silhouette.
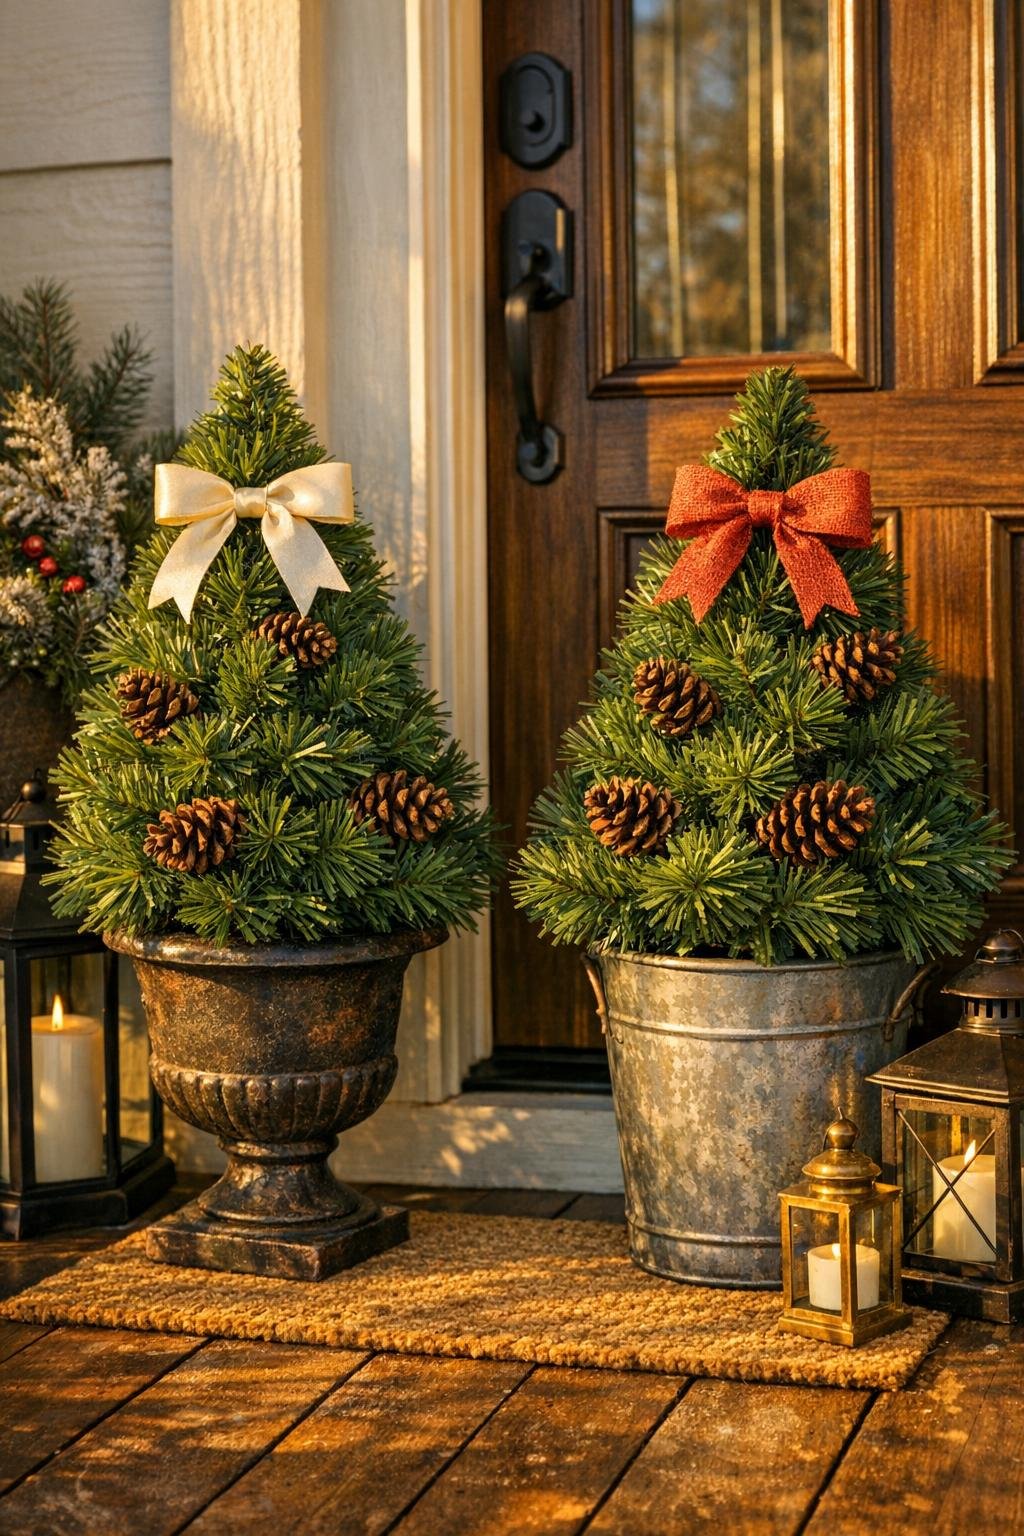
9. Repeat the anchoring and shaping process for the second urn, matching the height and fullness as closely as possible so the pair looks intentional on either side of a door.
10. Add simple finishing touches by wiring on pinecones or decorative picks and tying a weather-safe ribbon or bow near the front of each container or just below the greenery for a polished look.
11. Carry the finished pieces to the porch and give them one final fluff after placement, spreading the branches outward so they frame the containers and read full from the street.
Variations & Tips
For a fuller look: Don’t stop at the original top section if it looks thin. I always steal a few extra branches from the leftover tree and wire them into the lower half, because that’s what makes these look generous and porch-ready instead of obviously repurposed.
For lightweight containers: If your thrifted buckets are a little flimsy, nest them inside a sturdier pot or tuck the bucket into a larger planter. It keeps everything upright and helps on windy Midwest winter days, which I’ve learned not to underestimate.
For extra height: Choose taller urns or add a hidden filler block under the gravel, like a brick wrapped in a plastic bag, before setting the stem. You’ll use less fill and still get a taller finished display.
For a more finished base: Cover the visible sand or gravel with spare greenery clippings, moss, pinecones, or a looped ribbon. It takes about two minutes and makes the whole project look much more polished.
To make a matching set: Step back often while shaping both pieces side by side. I like to fluff one branch level at a time on each topper so they end up similar without feeling stiff or overly perfect.
To use what you have: If you only have one urn, make a single oversized topper for one side of the porch and balance the other side with a lantern or stacked planters. It still looks intentional and saves a trip to the store.
For storage: Leave the tree tops wired into the containers if you have room, or snip the securing wire and store each topper in a large bag or sheet. Next season, you’ll only need to drop them back in and fluff them, which is exactly the kind of shortcut I appreciate during busy holiday weeks.