
Old fence pickets are one of those humble materials I can never quite throw away. They weather beautifully, they’re easy to cut with basic tools, and they have just enough character to make a simple build look intentional instead of fussy. If you’ve got a half-dozen pickets leaning in the garage and a porch that needs a little winter charm, this is exactly the kind of project that gives you a lot of visual payoff without turning into an all-weekend ordeal.
I especially love projects like this because they rely on shape and proportion more than perfection. You don’t need fine woodworking skills, and you don’t need a shop full of tools. If you can measure, cut a few straight lines, and drive screws, you can turn worn pickets into a large, polished holiday porch piece that looks custom-made.
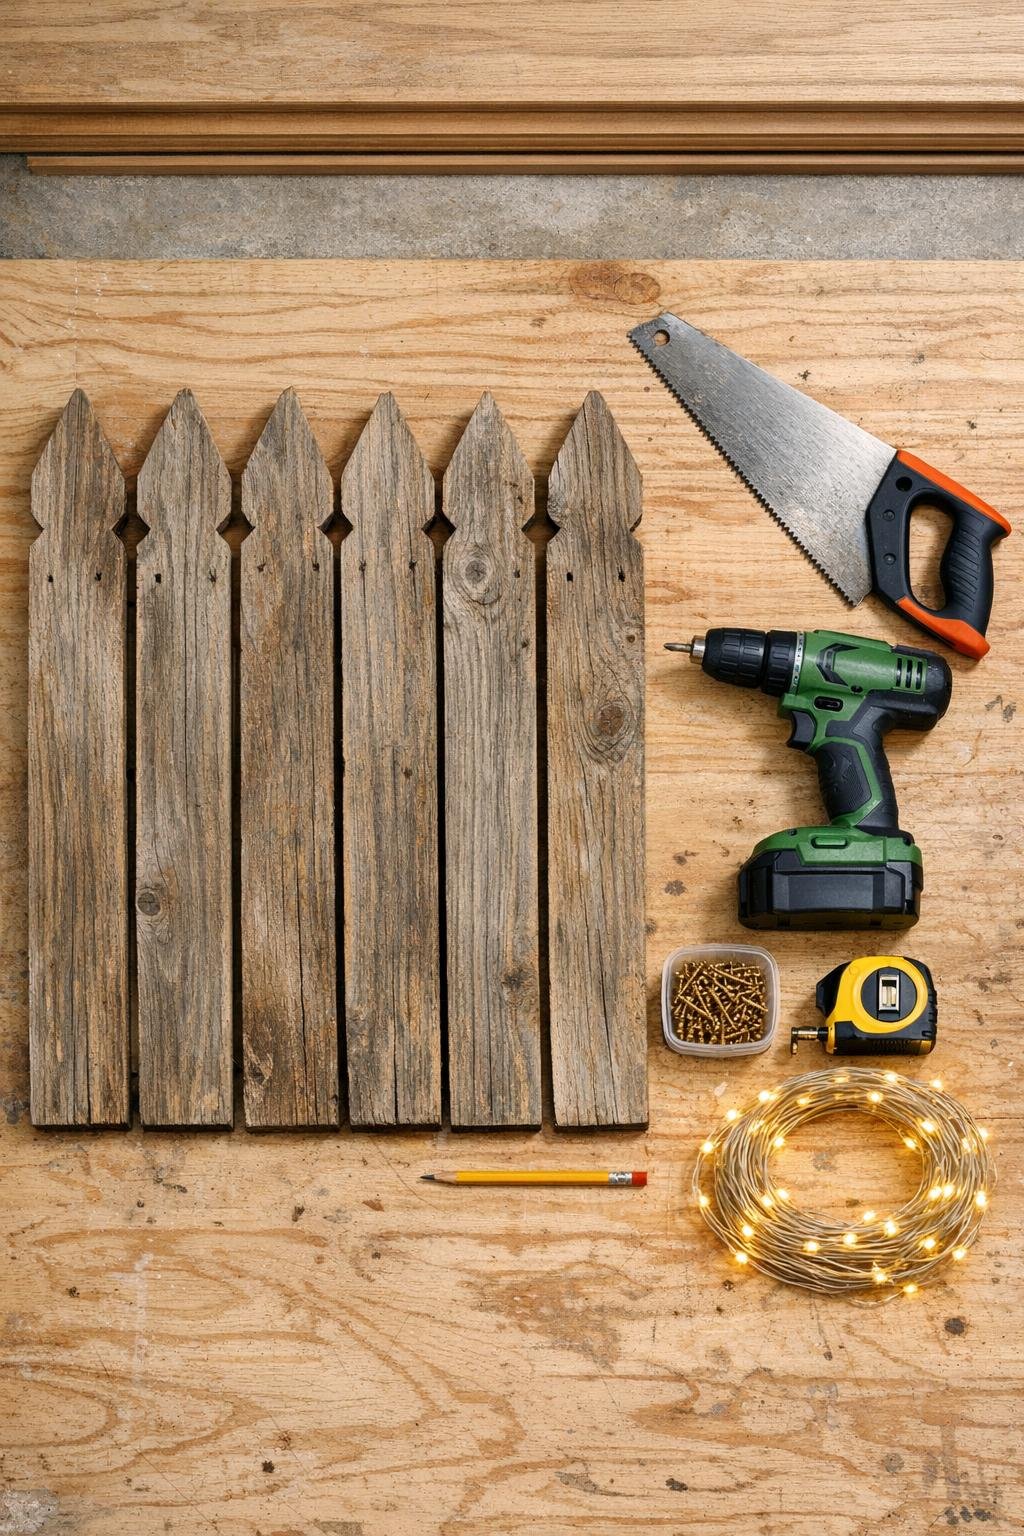
Materials
Instructions
1. Lay the six pickets side by side and choose the best faces to show frontward, keeping their pointed tops intact for the top section if possible. Brush off dirt and pull any loose staples or nails so the wood is safe to handle.
2. Mark the pickets into stepped lengths to form a clean tree silhouette: cut two pickets to 36 inches, two pickets to 30 inches, one picket to 24 inches, and one picket to 18 inches. Keep the pointed ends on the shortest boards so the top of the shape looks finished without extra trim.
3. Sand the front faces and edges with 80-grit, then smooth them with 150-grit, leaving a little weathered texture for character. If you want a cleaner porch look, soften the sharp cut corners with a few quick passes of sandpaper.
4. Arrange the boards horizontally on a flat surface from shortest at the top to longest at the bottom, centering each one so the ends step out evenly on both sides. Leave a 1/2-inch gap between each board for a little visual separation and room for lights.
5. Place the two back braces vertically on the rear side, one about 1 1/2 inches in from the left edge and one 1 1/2 inches in from the right edge, spanning from the top board to the bottom board. Predrill every connection, then screw each picket to both braces with two screws per board.
6. Stand the piece upright and check the shape from the front, adjusting anything that looks off-center before fully tightening the screws. This is the moment to decide whether you like the rustic wood as-is or want to add color.
7. For a painted or stained finish, apply one full coat to the front, sides, and visible edges, then let it dry completely. A deep green, creamy white, matte black, or medium walnut all look handsome against winter greenery and porch brick.
8. Add a coat of exterior clear sealer once the color is dry, especially if the tree will sit in a covered but chilly porch environment. Let it cure according to the product directions so the finish doesn’t feel tacky when you handle it.
9. Drill optional 1/4-inch holes near the outer corners and along the centerline if you want the lights tucked in neatly instead of wrapped loosely. Keep the holes at least 1 inch from edges so the old wood doesn’t split.
10. Weave or wrap the string lights from top to bottom, distributing them evenly across every step so the whole shape glows instead of just the middle. Tuck the battery pack behind the lowest board or run the plug neatly down the back brace.
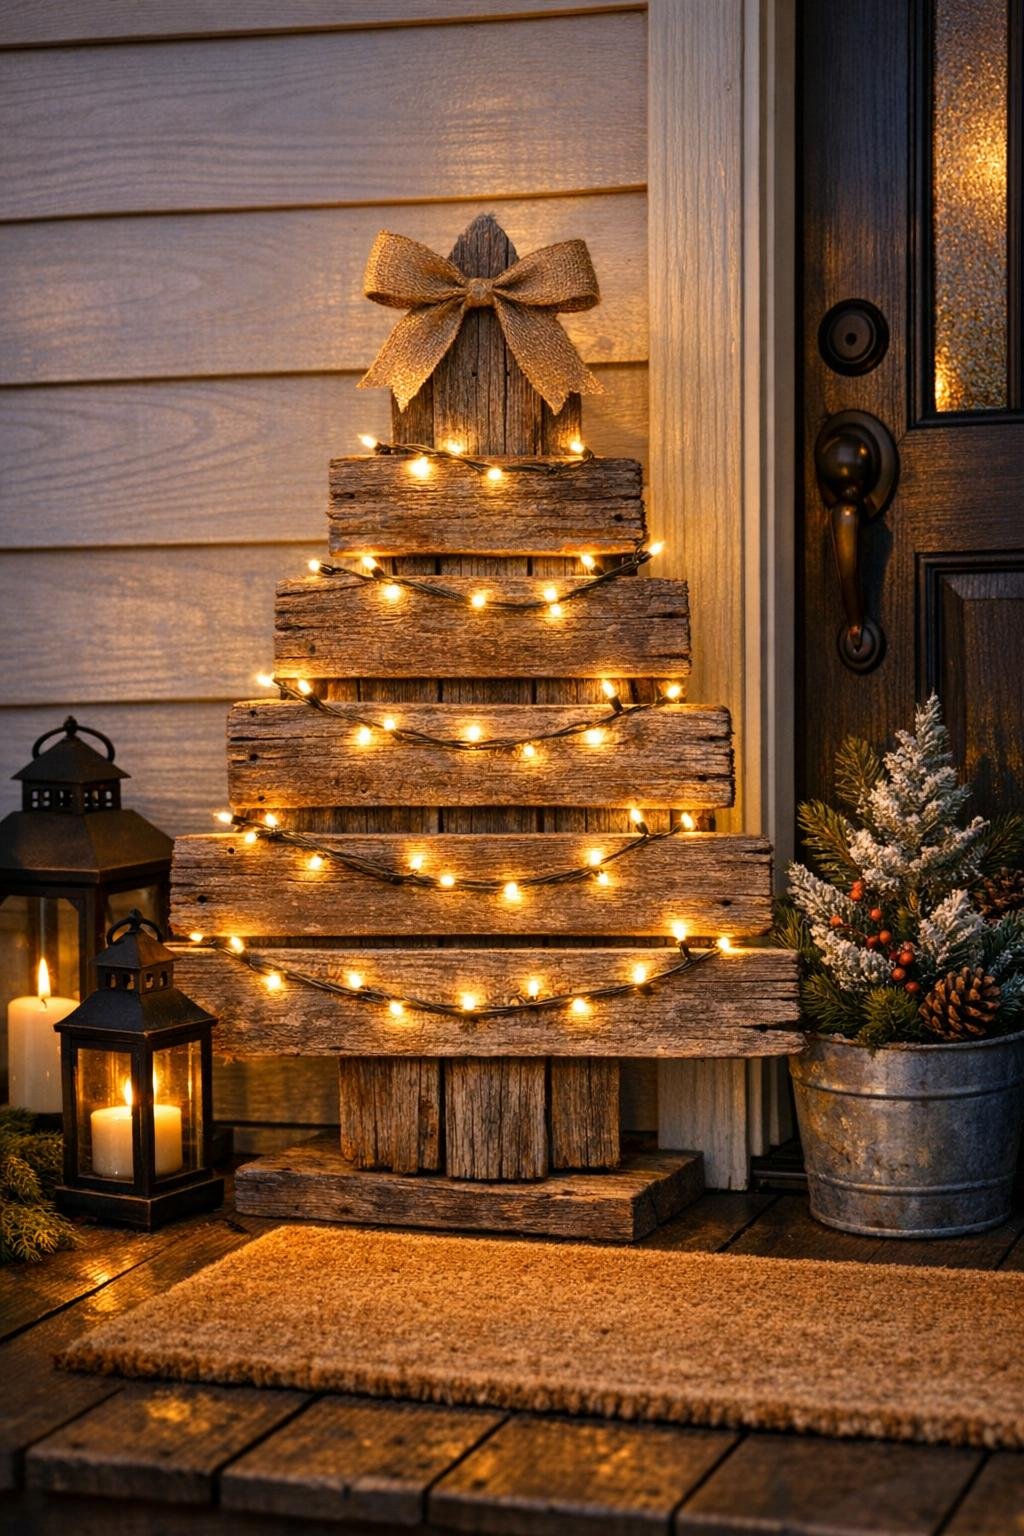
11. Add a simple finishing touch like a bow at the top point or a small cluster of faux greenery where the lights begin. Keep it restrained so the stepped wood shape stays the star of the piece.
12. Set the finished tree on the porch beside the door, a bench, or a planter, and anchor the base if your area gets winter wind. Turn on the lights at dusk and make any final tweaks so the spacing looks full and balanced from the curb.
Variations & Tips
Natural Rustic Finish: If your pickets have attractive gray weathering, skip the paint and just seal them. I love this option on brick porches because the aged wood looks collected and cozy instead of overly themed.
Color Choice: Dark paint makes the lights pop dramatically at night, while white or pale sage reads brighter during the day. If you stain it, use two light coats rather than one heavy coat so the grain stays visible.
Bigger Tree: For a taller statement piece, start with longer pickets and keep the same stepped idea, increasing each board length by 6 inches. That gives you the same easy build with more porch presence.
No Extra Brace Wood: If you do not have scrap wood for braces, cut narrow strips from one additional picket and use those on the back. I often save the less-pretty portions of old boards exactly for this kind of structural job.
Light Placement: Wrap lights wider than you think you need at the bottom, because lower boards visually absorb more space. When I decorate porches, I always step back to the sidewalk once before calling it finished; balance matters more than adding extra decor.
Weather Tip: Use only outdoor-rated lights and finishes if the piece will be exposed to moisture. Even on a covered porch, winter dampness has a way of finding unfinished wood edges.
Stability: If the tree is freestanding and tall, screw a short perpendicular foot to the back of the lowest brace on each side. It’s a tiny addition, but it makes the piece feel much more secure on breezy days.