
I love a project that starts with something headed for the trash and ends up looking like it came from a cute holiday boutique. If you’ve got an old lampshade frame tucked in a closet or sitting in the donate pile, this is one of those ridiculously satisfying little makeovers that feels clever, easy, and surprisingly high-impact.
This project is perfect if you want festive decor without a big supply list or a whole afternoon of crafting. I’m always looking for holiday projects I can knock out after work while dinner is in the oven, and this one checks every box: affordable, forgiving, and dramatic enough to fill an empty corner, console, or porch spot with real Christmas charm.
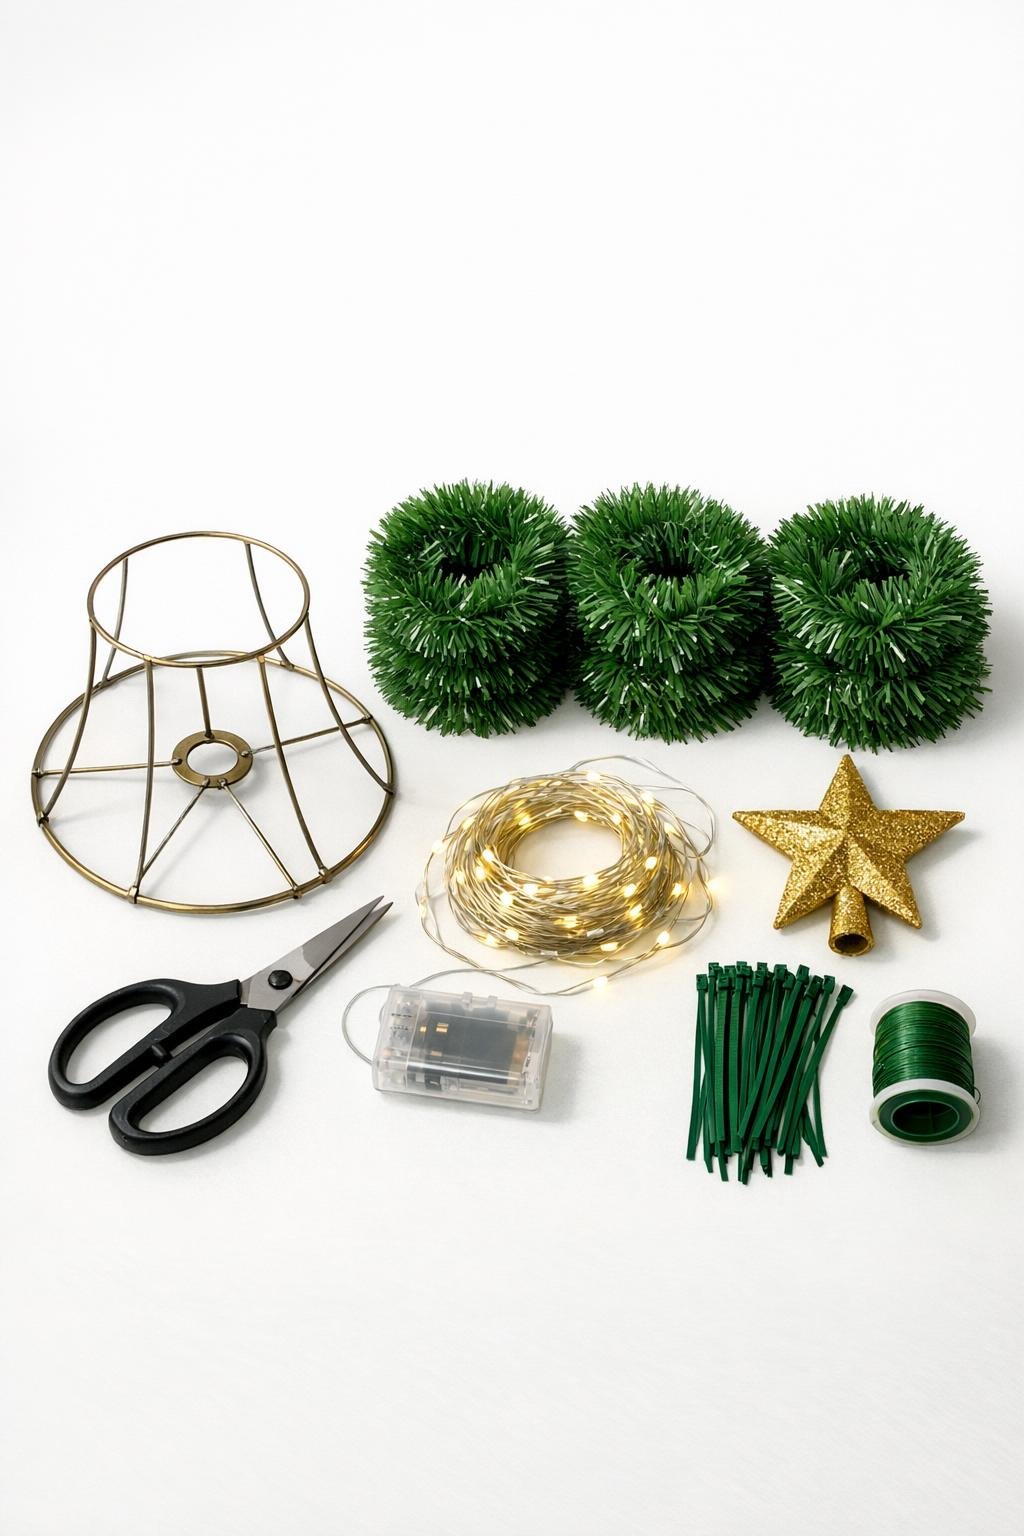
Materials
Instructions
1. Strip the old lampshade down to the bare wire frame by removing all fabric, trim, and inner lining, then snip away any stubborn threads so the metal shape is completely clean.
2. Check that the frame sits evenly with the wider ring on the bottom and the narrower ring on top, then gently bend any warped spokes back into a centered cone shape.
3. Attach the end of the first garland to the bottom ring with a zip tie or a short twist of floral wire, placing the fastener on the back side so it stays hidden.
4. Wrap the garland around the frame in a spiral, angling upward as you go and tucking it around each wire spoke so the frame starts filling in from bottom to top.
5. Add the second and third garland rolls wherever the frame still looks thin, layering extra wraps between the first rows until the tree looks lush and the metal nearly disappears from the front.
6. Secure loose spots every few inches with green floral wire or zip ties, especially at the bottom ring, the middle, and just below the top, so the shape stays full and doesn’t slide.
7. Tuck the battery pack for the fairy lights low on the back side of the frame, fastening it firmly to a vertical spoke with floral wire so it’s easy to switch on but hidden from the front.
8. Weave the fairy lights around the garland from bottom to top, spacing them evenly and pushing a few bulbs deeper into the greenery so the whole piece glows instead of looking like one bright line.
9. Fasten the star topper to the small top ring with floral wire, centering it carefully and tightening it enough that it stands straight without wobbling.
10. Fluff the garland all over with your hands, pulling tips outward to cover ties and fill gaps, then trim any stray plastic sprigs or wire ends for a polished finish.
11. Turn on the lights and make small adjustments to the spiral wraps, the star, and the greenery until the whole piece looks balanced, full, and neatly tapered from top to bottom.

Variations & Tips
Make it fuller: If your garland is on the skinny side, use a fourth roll and double up around the bottom third. That extra bulk makes the piece look much more expensive.
Add color: Tuck in a thin ribbon, mini ornaments, or berry picks after the lights are on. I’d keep the extras light so you don’t crush the easy shape that makes this project work.
Hide the back: If the back will be visible, wrap an extra short piece of garland around the battery pack area to camouflage it without blocking the switch.
Use what you have: A slightly crooked thrifted frame is totally fine. Once the garland goes on and you fluff it, little imperfections disappear fast.
Try different sizes: Small lampshade frames are great for tabletops, while larger ones make a really cute floor piece by a fireplace or front entry. I’ve found the medium sizes are the sweet spot for quick crafting after a busy workday.
Store it smarter: Leave the garland attached after the holidays and wrap the whole piece in a large trash bag or sheet. Next year, you’ll just fluff, add batteries, and be done in five minutes.