
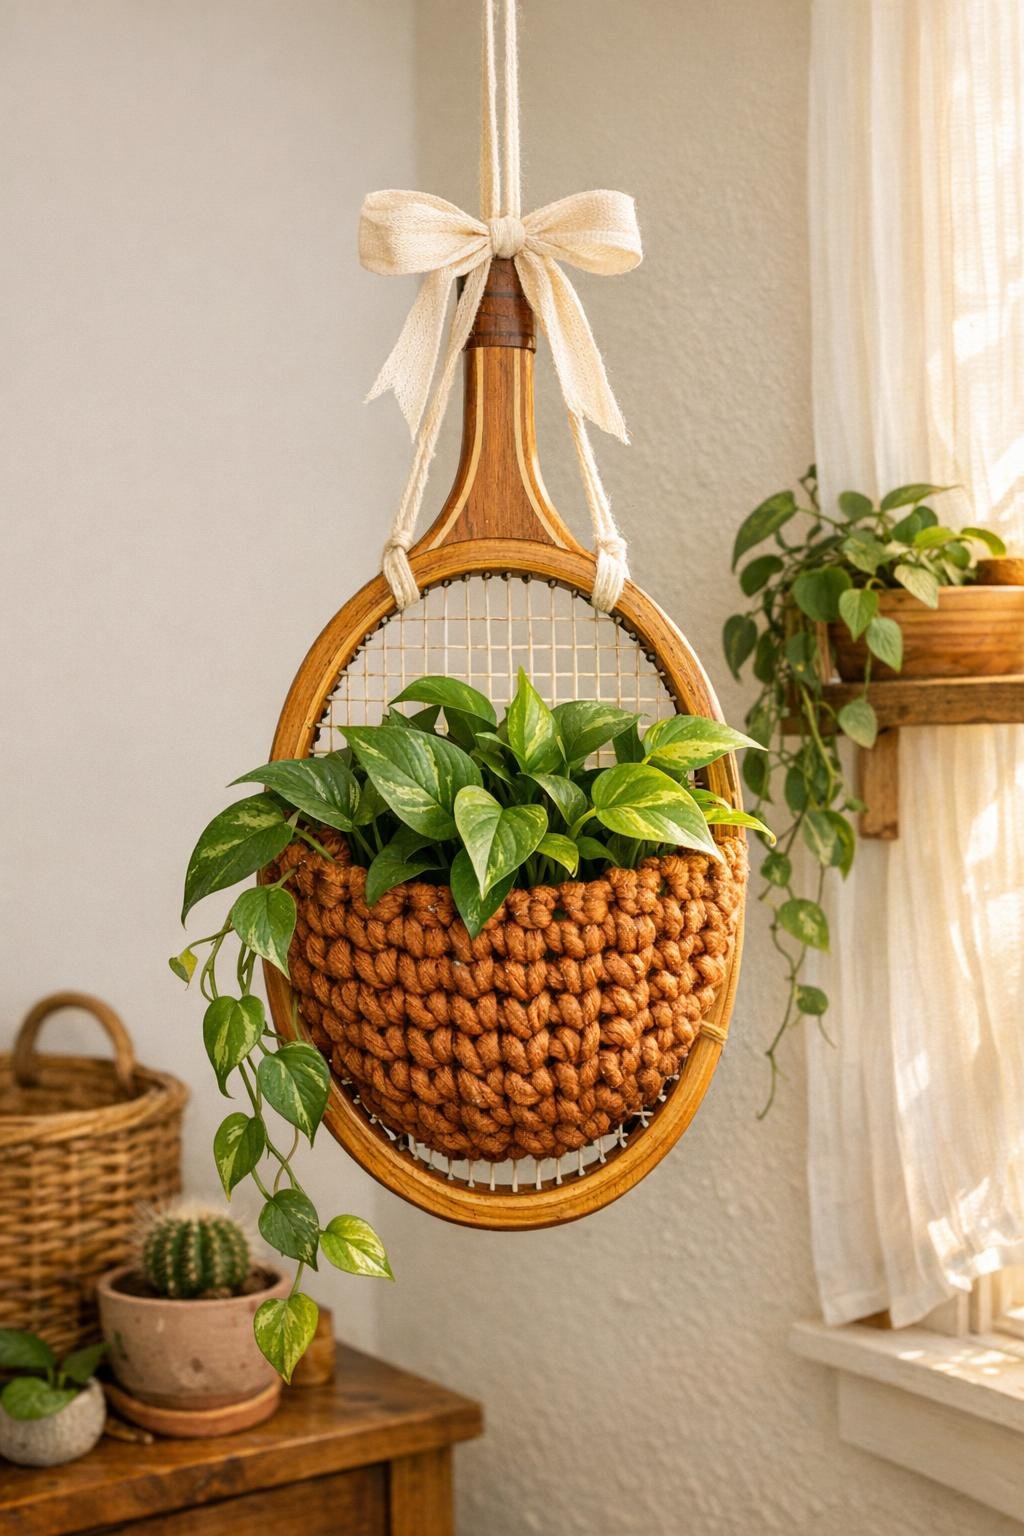
I love a thrift-store find that looks a little questionable at first and then turns out to have real potential. An old wooden tennis racket has such a pretty shape already, and once you crochet chunky copper yarn right through the string grid, the head becomes this warm, textured hanging planter that feels equal parts vintage and handmade. It’s one of those projects that looks surprisingly clever, but the actual process is very doable if you know a few basic crochet moves.
This is a great weekend project for anyone who likes easy upcycling with a polished finish. I’m a big fan of crafts that give you a lot of visual payoff without turning into a huge production, especially after a long workweek, and this one checks all my boxes: thrifted base, cozy texture, and a finished piece that looks amazing with a trailing plant in a sunny corner.
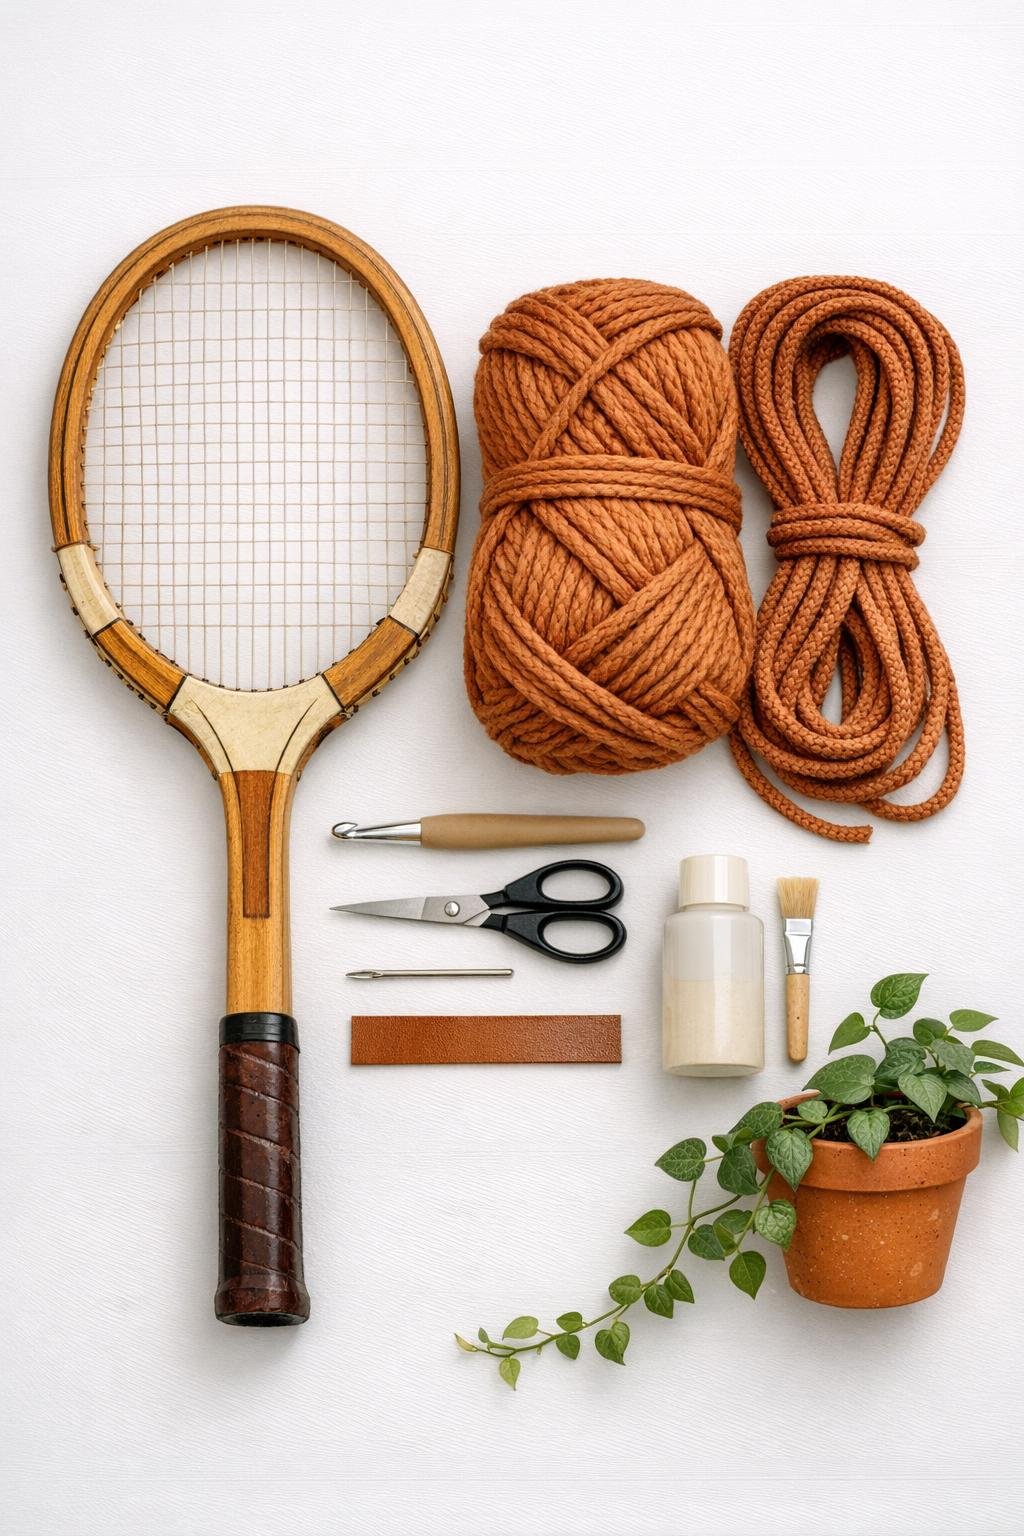
Materials
1 vintage wooden tennis racket with intact head and strings, about 27 inches long
Instructions
1. Wipe the racket clean, trim away any broken strings, and make sure the remaining string grid is firm enough to crochet through without shifting.
2. Brush a thin coat of clear matte sealer over the wooden racket frame and handle, then let it dry completely so the vintage finish is protected before you start stitching.
3. Tie the chunky copper yarn onto an outer string near the lower side of the racket head, then work single crochet stitches through each string opening around the inside edge to create a full anchor round.
4. Continue crocheting in rounds directly through the string openings, adding one extra stitch every third or fourth opening so the fabric expands and covers the racket head with a dense, even base.
5. When the center is nearly covered, switch to half double crochet and work 2 to 3 more rounds without increases to begin forming a shallow pocket that will hold the pot.
6. Test-fit your 4- or 5-inch pot into the crocheted area, then crochet one final round with slight decreases at opposite sides so the pocket cradles the pot snugly instead of letting it slide forward.
7. Cut the yarn with an 8-inch tail, weave the tail securely through nearby stitches with a tapestry needle, and tighten any loose spots where the crochet meets the string grid.
8. Crochet or braid three 24-inch lengths of matching yarn or cord, knot them together, and attach them evenly to the top left, top right, and base of the racket head to create a balanced hanging support.
9. Gather the three hanger lengths 8 inches above the racket head, tie a secure overhand knot, and add the cotton or jute cord above that knot for a longer ceiling or wall hook drop.
10. Wrap the leather strip around the top of the handle or neck if you want extra support, then stitch or fasten it in place to create a reinforced hanging point that still looks finished and intentional.
11. Set the potted plant into the crocheted pocket, tuck preserved moss around the rim to hide the nursery pot edge, and adjust the vines so they drape naturally over one side of the racket head and handle.
12. Tie on the ribbon if you want a soft finishing touch, then hang the planter and check that the pot sits level before trimming any final loose ends.
Variations & Tips
Plant choice: Use a lightweight trailing plant rather than anything top-heavy. Pothos is my favorite because it’s forgiving, and honestly, I need that kind of energy from my houseplants.
Color variation: Copper yarn gives this project a warm vintage look, but mustard, olive, cream, or dusty blush also work beautifully if you want it to match your room.
String condition: If the original racket strings are too loose or broken in several spots, weave in a little matching cord first to rebuild the grid before you crochet through it.
Wall display option: If you’d rather not hang it from the ceiling, mount a sturdy wall hook and let the racket hang vertically like art with the plant spilling forward.
Pot safety: Keep the insert pot in its nursery container instead of planting directly into the crochet pocket. It makes watering much easier, which is exactly the kind of low-effort maintenance I appreciate on busy weekdays.
Polished finish: A little moss at the rim and one neat ribbon bow make this look much more styled without adding real work. Those tiny finishing details are usually what take a thrift flip from “cute idea” to “where did you buy that?”