
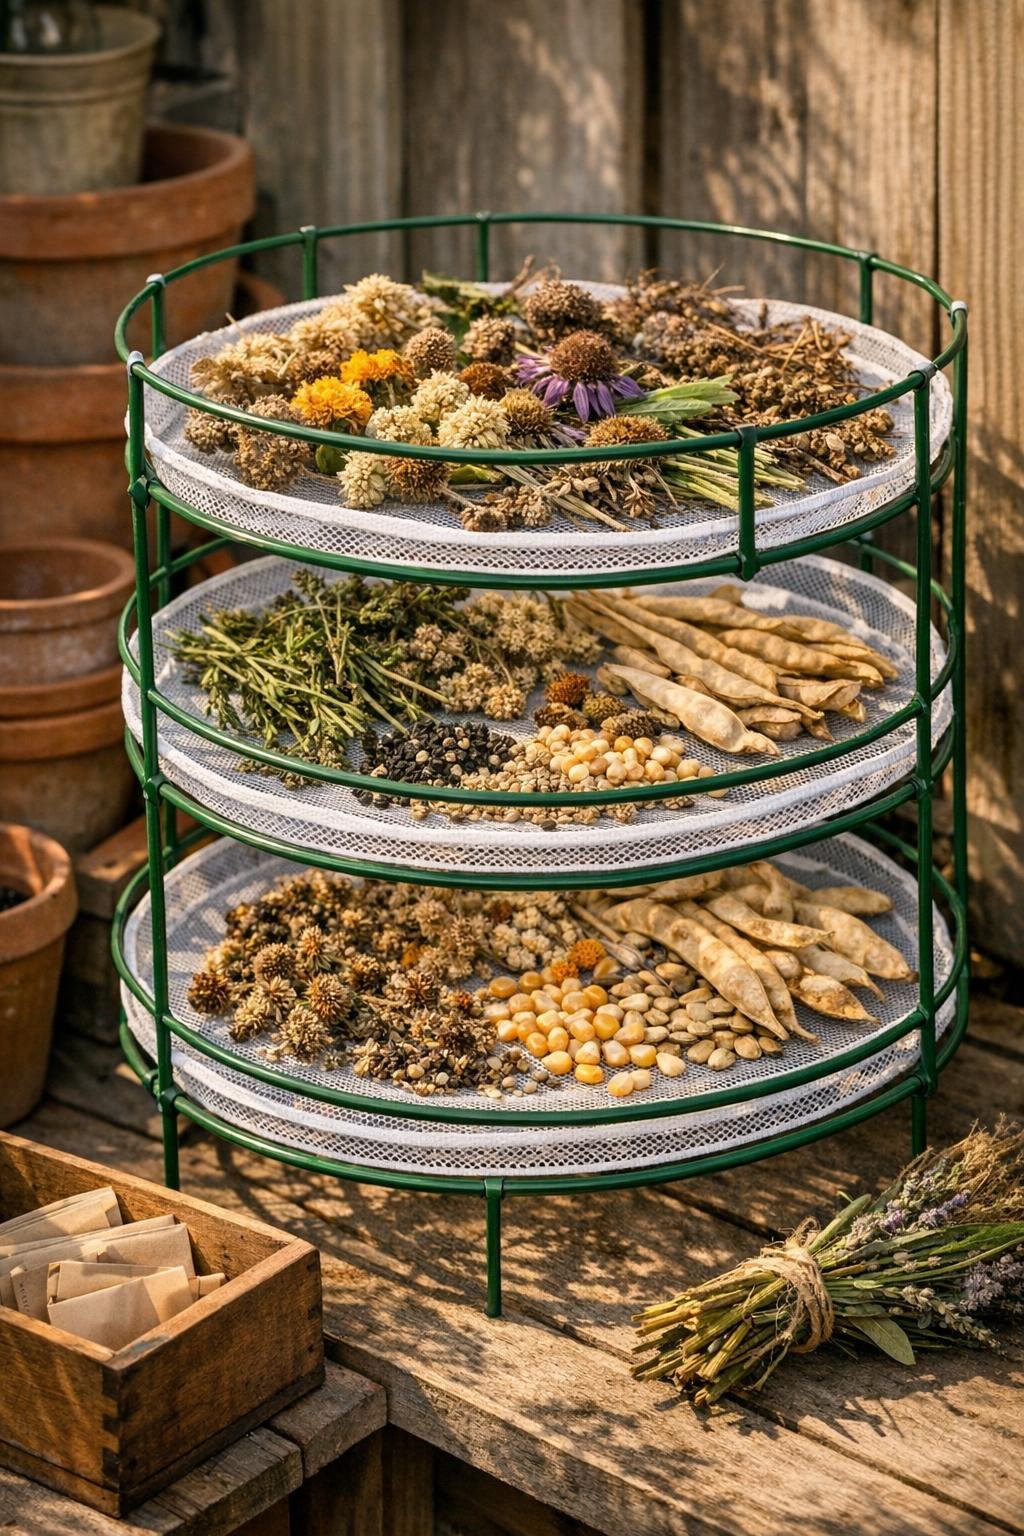
Every fall, I end up with little bowls, paper towels, and stray seed heads taking over my kitchen counters while I finish saving seeds for next year. This simple drying rack solves that mess with one of my favorite kinds of garden projects: the sort that uses ordinary items in a smarter way. By stacking tomato cages on their sides and pairing them with two inexpensive dollar-store basics, you can make a roomy, multi-level seed-saving station that gives herbs, flower heads, bean pods, and vegetable seeds plenty of airflow.
What I like most is that it looks practical rather than precious, and it handles a big end-of-season harvest without much fuss. If you save seeds from zinnias, marigolds, dill, basil, peppers, tomatoes, beans, or lettuce, this is an easy build that keeps everything visible, separated, and drying evenly.
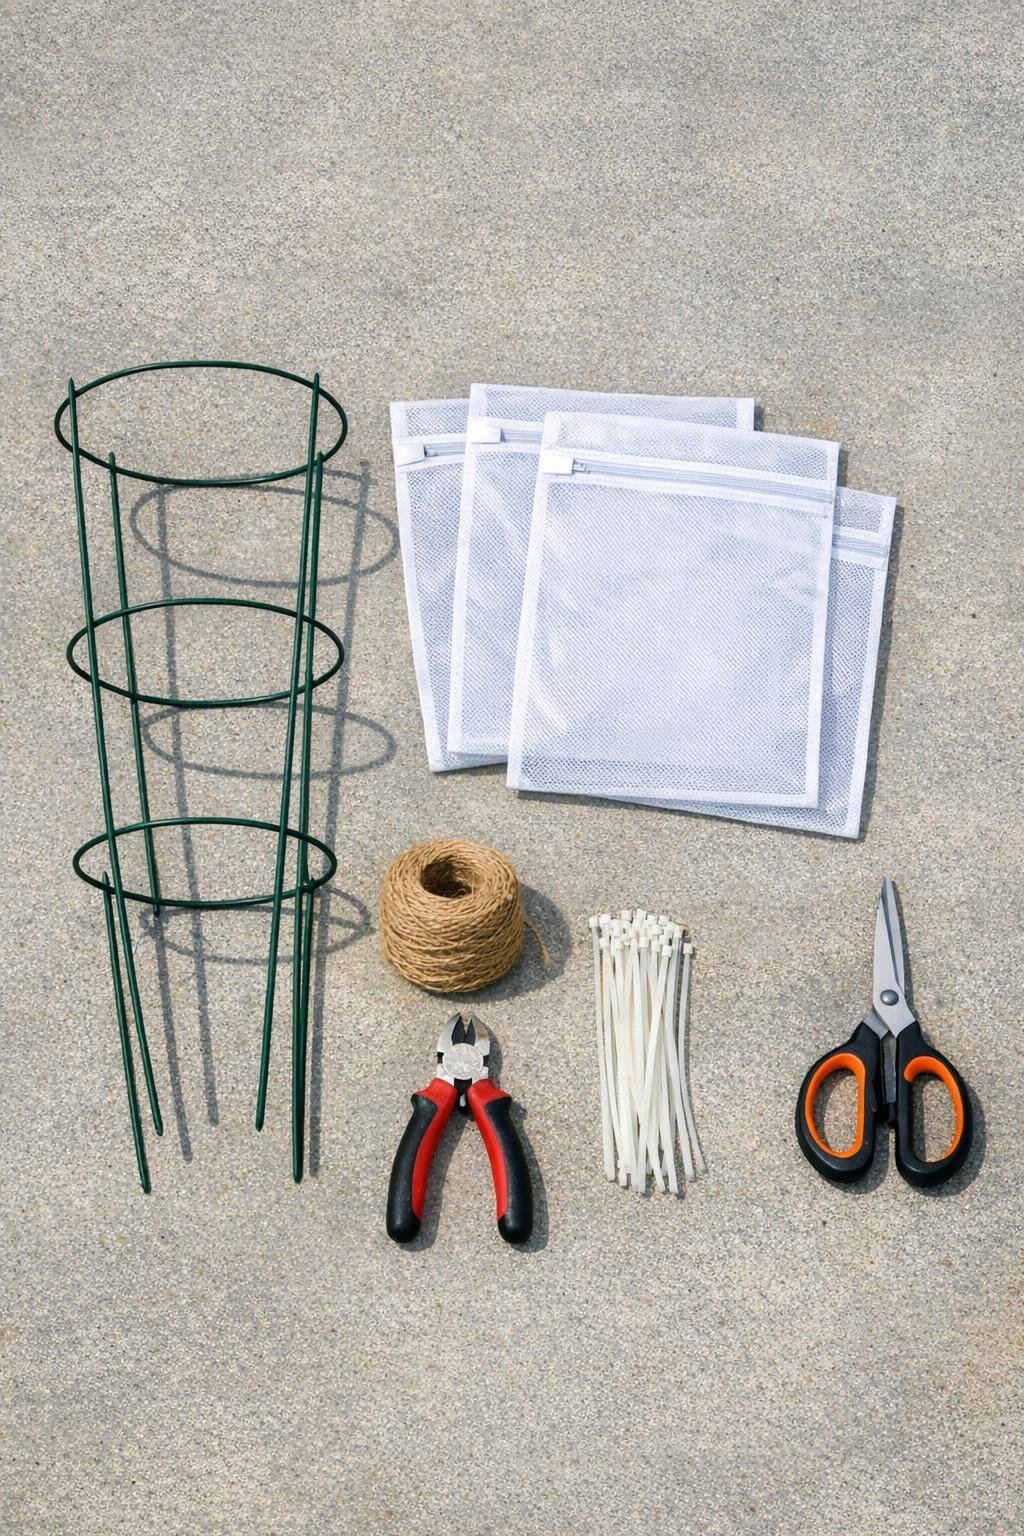
Materials
2 standard green metal tomato cages, 33 to 42 inches tall each
Instructions
1. Set both tomato cages on their sides on a flat surface and rotate them until the wide circular openings line up neatly, creating a long, drum-like frame with multiple wire rings.
2. Overlap the cages by one wire ring so the frame feels continuous, then secure the joined section with 6 zip ties spaced evenly around the circle.
3. Use wire cutters to snip off any protruding stake ends that stick out awkwardly, or bend them inward with your hands so the rack has a smoother outer edge.
4. Tie the frame together more firmly by wrapping jute twine in an X pattern between several ring intersections from end to end; this keeps the stacked cages from shifting when you move the rack.
5. Zip each mesh laundry bag open and position one bag across the top half of the frame, letting the mesh sag slightly between the wire rings like a shallow hammock.
6. Attach the first mesh bag to the wire frame with 6 zip ties, one near each corner and one at the midpoint of each long side, pulling them snug so the bag forms a stable drying shelf.
7. Repeat with the second and third mesh bags, spacing them along the length of the stacked cages so you have three separate drying levels or zones for different seed types.
8. Run a length of twine through the top wire rings at both ends to create hanging loops, or tie a longer carry loop across the center if you plan to hang the rack from a hook, shelf bracket, or potting-bench rail.
9. Add a few crosswise strands of twine above each mesh shelf if you want extra support for lightweight seed heads such as dill umbels, basil stalks, or marigold blooms.
10. Clip clothespins onto the wire rings and use masking-tape labels on index cards to mark each section with the plant variety and the date collected.
11. Spread seed heads, pods, or rinsed and blotted seeds in thin layers across the mesh shelves, keeping juicy seeds like tomato and pepper seeds on their own shelf and dry pods on separate sections for better airflow.
12. Place or hang the rack in a dry, breezy, shaded spot for several days to two weeks, turning or shaking the materials lightly every day or two until the seeds feel fully dry and crisp.
Variations & Tips
For smaller seeds: Line part of a mesh shelf with a piece of parchment paper or a brown coffee filter so tiny seeds like lettuce or basil do not slip or cling.
For tomato seeds: Always dry them in a very thin single layer after rinsing and blotting, and give them their own section so they do not glue themselves into a clump.
For windy porches: Add two more twine tie points underneath the frame so the rack hangs level and does not spin too much while the seeds dry.
For bigger harvests: Use a third tomato cage and one or two more mesh bags to extend the rack; I like this when I am saving lots of zinnias and beans at the same time.
For easy cleanup: Shake the empty mesh bags outdoors first, then wipe the wire frame with a damp cloth before storing it for next season.
Best drying location: Choose shade with good airflow rather than direct sun; strong sun can fade seed heads and create uneven drying, a bit like overcooking herbs when all you wanted was to preserve them.
Storage tip: Once the seeds are fully dry, move them into paper packets or small jars right away and store them in a cool, dark spot with the variety and year clearly marked.