
There’s something mighty satisfying about taking the plainest little household item and turning it into something that stops folks in their tracks. That’s exactly the kind of project this is: simple, inexpensive, and easy enough for an afternoon at the kitchen table, but with a payoff that feels far more special than the supply list would suggest. If you enjoy porch decorating, winter crafts, or just a good dollar-store transformation, this one is a real treat.
I’ve always had a soft spot for projects that glow after dark. Out here in the Midwest, when the evenings come early and the porch could use a little cheer, a handmade lighted piece can make the whole front of the house feel welcoming. This is a good project for beginners, for families crafting together, or for anyone who wants a festive decoration without hauling out power tools or fancy equipment.
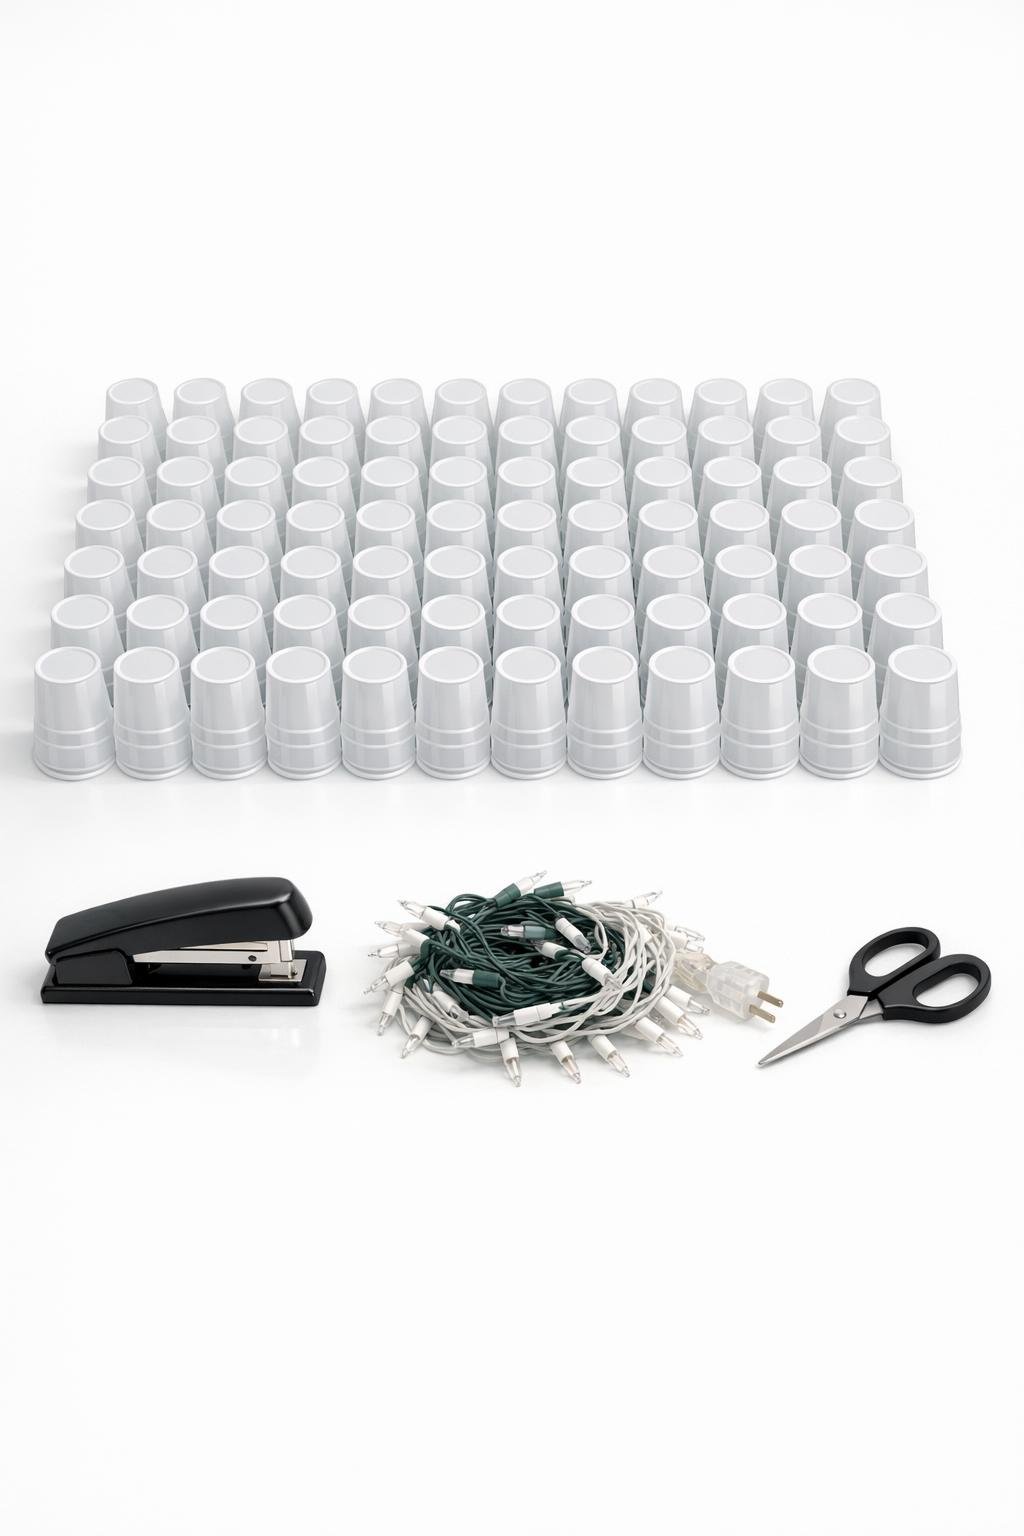
Materials
100 white plastic dollar store cups, 16-ounce size
Instructions
1. Set out all 100 cups on a table and make sure none are cracked or badly misshapen; save the smoothest cups for the top third where the shape shows most.
2. Staple 10 cups side by side by overlapping just the rims, making one long strip; add one staple at each rim connection so the cups stay flexible but secure.
3. Repeat to make a second strip of 10 cups, then staple the two strips together along their touching rims to create a wide panel of 20 cups.
4. Keep building matching 20-cup panels until you have 5 panels total, each made from 2 strips of 10 cups stapled side by side.
5. Stand one panel upright and gently curve it inward; staple the short ends together to begin forming a cone, then add the second panel to it, matching cup rims edge to edge.
6. Add the remaining panels one at a time, stapling every touching rim from top to bottom until you have a full tree shape with a wide bottom and a narrower top.
7. Reinforce the seams by adding extra staples anywhere the cone feels loose, especially around the bottom edge where the piece will be moved and set down.
8. Trim a small X in the bottom of about 15 to 20 cups, spacing them all around the tree; make each cut just large enough for one mini light bulb to poke through.
9. Starting at the bottom inside edge, weave the mini light string up through the inside of the cup cone, poking bulbs through the X-cut cups as you go so the glow spreads across the whole piece.
10. Tuck the extra bulbs inside cups without cuts so the light still bounces around the plastic, and keep the plug end near the back bottom for easy setup on the porch.
11. Plug the lights in and check for dark spots; if one area looks dim, move a bulb into a nearby cup opening or cut one or two more X openings to balance the glow.
12. Set the finished piece on a covered porch or beside the front door, making sure it sits level and stays dry, then run the cord neatly to your outlet or extension cord.
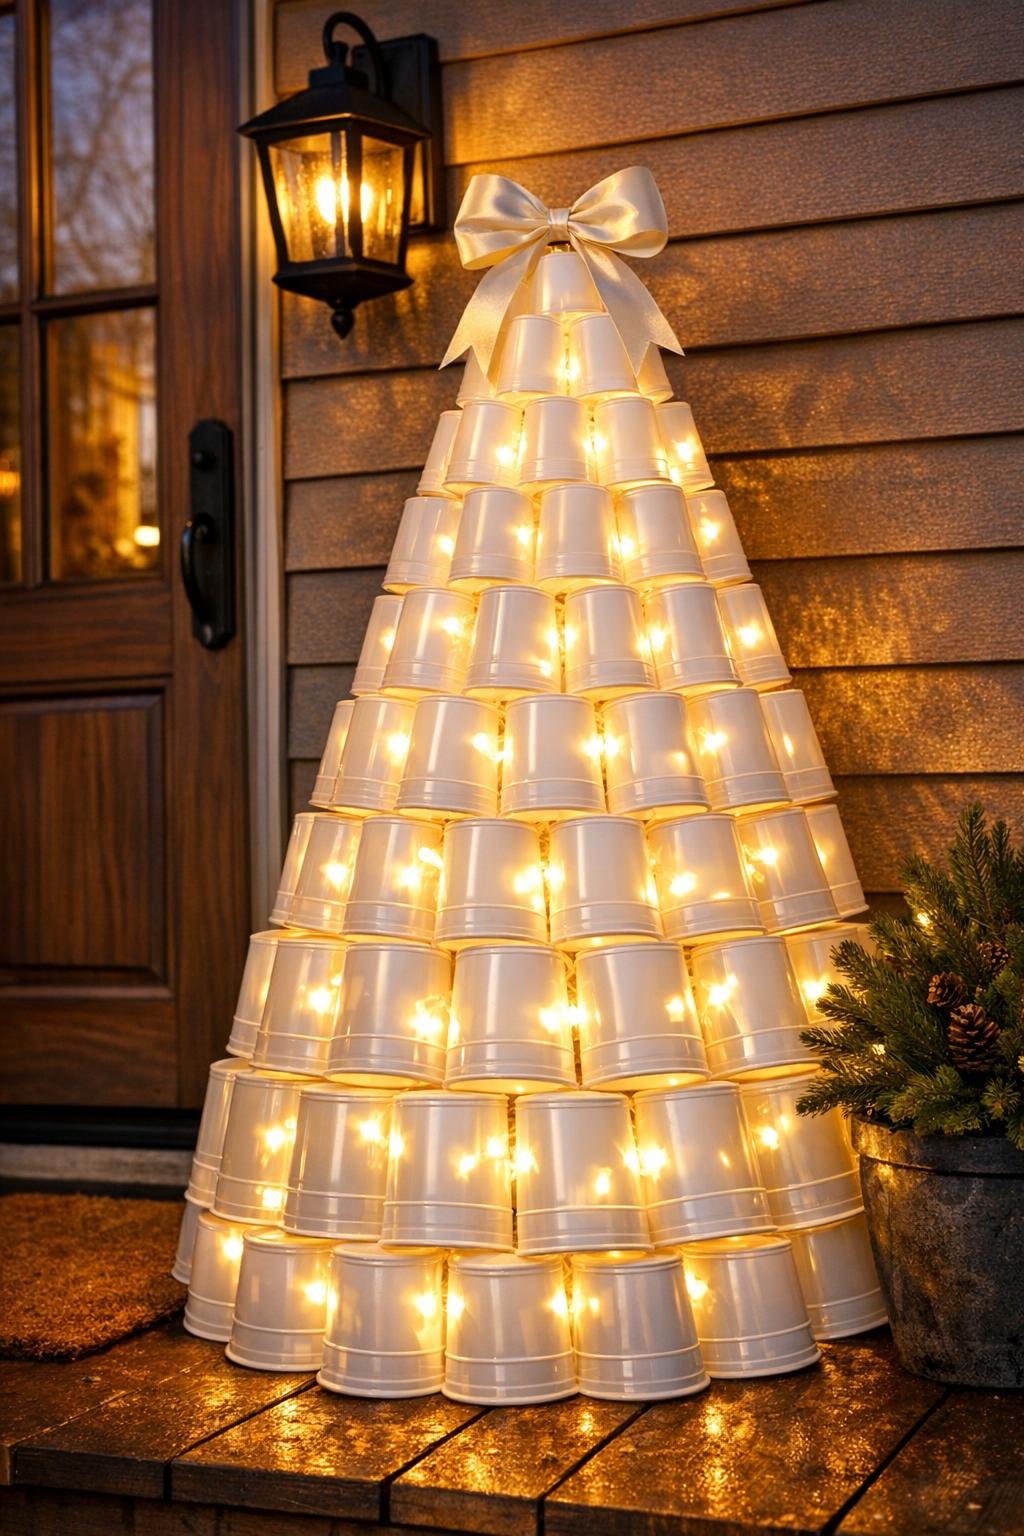
Variations & Tips
For a fuller glow: If your light string has 100 bulbs, don’t worry about matching one bulb to every cup. A scattered arrangement usually looks prettier, because the whole form lights up instead of reading like a dotted pattern.
For easier stapling: Slightly overlap only the rims, not the cup sides. That keeps the plastic from buckling and makes the cone shape much easier to form.
For outdoor use: Keep this on a covered porch or sheltered entryway. The cups themselves handle cool weather just fine, but the stapled seams and light string will last longer if they stay out of rain and snow.
For a tidier shape: If the bottom looks uneven, press the tree gently onto a flat surface and adjust the lowest cups before adding more reinforcement staples. A level base makes the finished piece look much more polished.
For a different look: Use warm white lights for a cozy old-fashioned glow or cool white lights for a crisp icy effect. Both are pretty, but warm white always reminds me of the porch lights that used to shine across the farmyards at Christmastime.
For storage: Unplug the light string and nest a little tissue paper inside the cone before putting it away so the shape holds. Store it upright in a large box so the rims don’t get crushed.