
If you love the look of a big winter planter but hate dragging out the hose or finding everything bone-dry after one windy week, this little setup is such a smart fix. We’re turning a small galvanized trash can into a self-wicking winter planter using two easy dollar store helpers, so you get a container that holds moisture down below while your soil above stays evenly hydrated for weeks.
I’m especially fond of projects like this at the end of the season, when I want my porch to still look pulled together but I do not want another high-maintenance chore on my list. If you’re a busy gardener, a beginner container planter, or just someone who wants a fuller, prettier cold-weather pot without fussing over it every other day, this is absolutely doable.
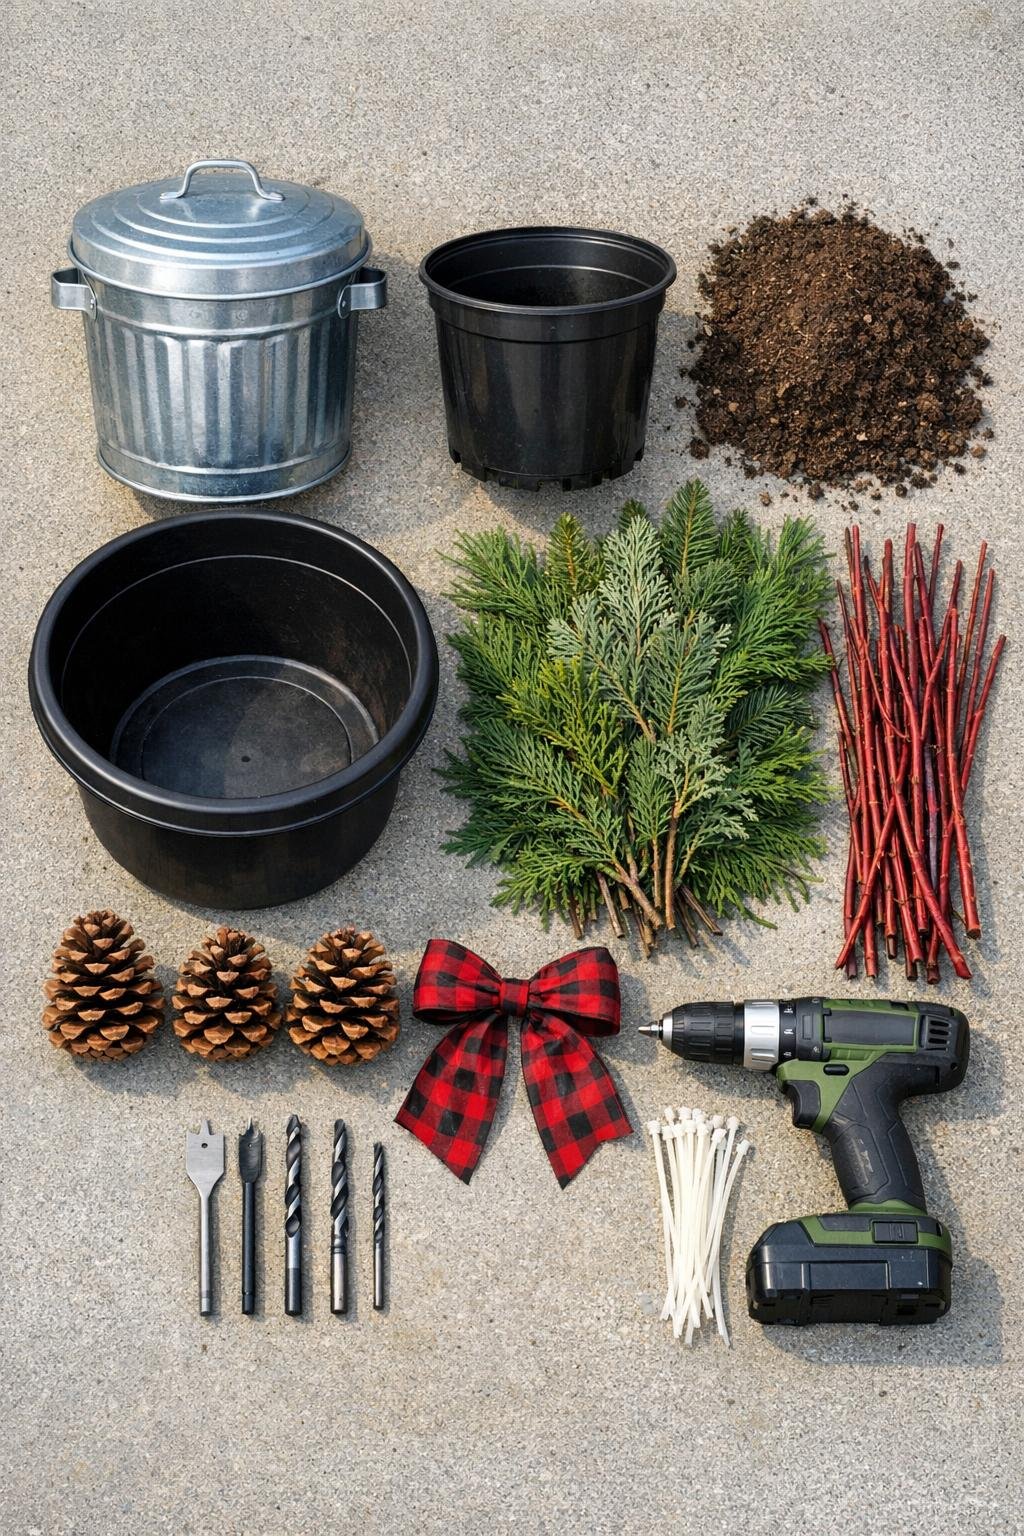
Materials
Instructions
1. Turn the galvanized trash can upside down and drill 6 to 8 drainage holes in a loose ring near the outer edge of the bottom, leaving the center area solid. This keeps excess water from sitting too high while preserving a lower reservoir zone in the middle.
2. Drill 8 to 10 holes around the lower sides of the plastic mixing bowl, about 1 inch up from its base, then drill several holes in the very bottom of the nursery pot. The bowl becomes the hidden water reservoir, and the nursery pot acts as the wicking column that pulls moisture upward into the soil.
3. Set the mixing bowl inside the trash can and place the nursery pot upright in the center of the bowl. If needed, trim or press-fit the pieces so the nursery pot sits snugly and reaches just above the bowl’s rim.
4. Thread 2 zip ties through opposite side holes in the bowl and around the nursery pot if the center pot feels loose. This keeps the wicking column centered while you add soil.
5. Fill the nursery pot completely with damp potting mix, packing it firmly so it makes good contact from bottom to top. This is the heart of the self-watering system, so don’t leave it fluffy or hollow.
6. Tuck the landscape fabric or a coffee filter over the open parts of the bowl around the nursery pot, then add a thin layer of mulch or gravel to steady everything. The fabric keeps potting mix from dropping into the reservoir while still allowing water movement.
7. Add potting mix all around the bowl assembly until the can is about three-quarters full, pressing gently every few inches to remove big air pockets. Leave 4 to 5 inches at the top so you have room for a nice full winter arrangement.
8. Pour water slowly into the soil until it is evenly damp, then add about 1 gallon of water directly down one side so the lower reservoir fills. You want the mix moist but not muddy before arranging your branches.
9. Insert the tallest red twig dogwood stems first in the center and back area, pushing them deep so they anchor solidly. Fan them into a wide upright spray for height and winter color.
10. Add the evergreen cuttings all around the outer edge, angling them outward so they spill generously over the rim and completely hide the soil. Use the longest pieces first to build a dramatic skirt, then fill gaps with shorter stems.
11. Tuck in magnolia or eucalyptus stems between the evergreens for contrast, then nestle pinecones in clusters of two or three near the front and sides. Wire or tie on the ribbon bow near the upper rim for a finished look.
12. Give the planter one final deep watering from the top, wipe the can clean, and place it in its final spot where you can easily top off the reservoir every couple of weeks during dry spells. Once the weather turns consistently cold, the arrangement should stay handsome with very little maintenance.

Variations & Tips
For colder climates: Use slightly damp soil rather than soaking wet soil once hard freezes arrive. The reservoir still helps, but you do not want standing water expanding aggressively if your winters are severe.
If you want a holiday look: Add faux berry picks, waterproof ornaments, or a second bow after the greenery is in place. I like keeping the base natural first, then dressing it up seasonally depending on whether I’m decorating for Thanksgiving, Christmas, or just winter.
For a fuller arrangement: Double up your outer ring of evergreen cuttings and overlap the tips like shingles. That one little trick makes a budget planter look much more lush and intentional.
If your dollar store bowl is flimsy: Slide it inside a second identical bowl before placing it in the trash can. The extra layer helps it hold shape under wet soil.
Watering tip: Check the planter every 10 to 14 days during dry, breezy weather by feeling 2 inches down into the soil. If the top feels dusty but the lower soil is cool and damp, the wicking system is doing exactly what it should.
Spring reuse: Save the inner bowl and nursery pot assembly when winter is over. I love projects that earn their storage space, and this insert can be rebuilt with fresh soil for herbs, annuals, or even a summer porch planter later on.