
I love a project that looks custom and high-end but is secretly simple enough to pull together in an evening, and this blanket ladder is exactly that. By pairing plain wooden broom handles with wrapped leather straps, you get that warm, clean bedroom look that always seems to show up in expensive home catalogs, but without the price tag or the power tools.
This is a great DIY if you want stylish storage for throw blankets, quilts, or even oversized scarves and you do not want to commit to drilling into the wall. Since the ladder simply leans in place, it is renter-friendly, easy to move, and perfect for filling that awkward empty corner by the bed or dresser. I especially love projects like this because they make a room feel finished fast, which is pretty much my favorite kind of decorating win on a busy weeknight.
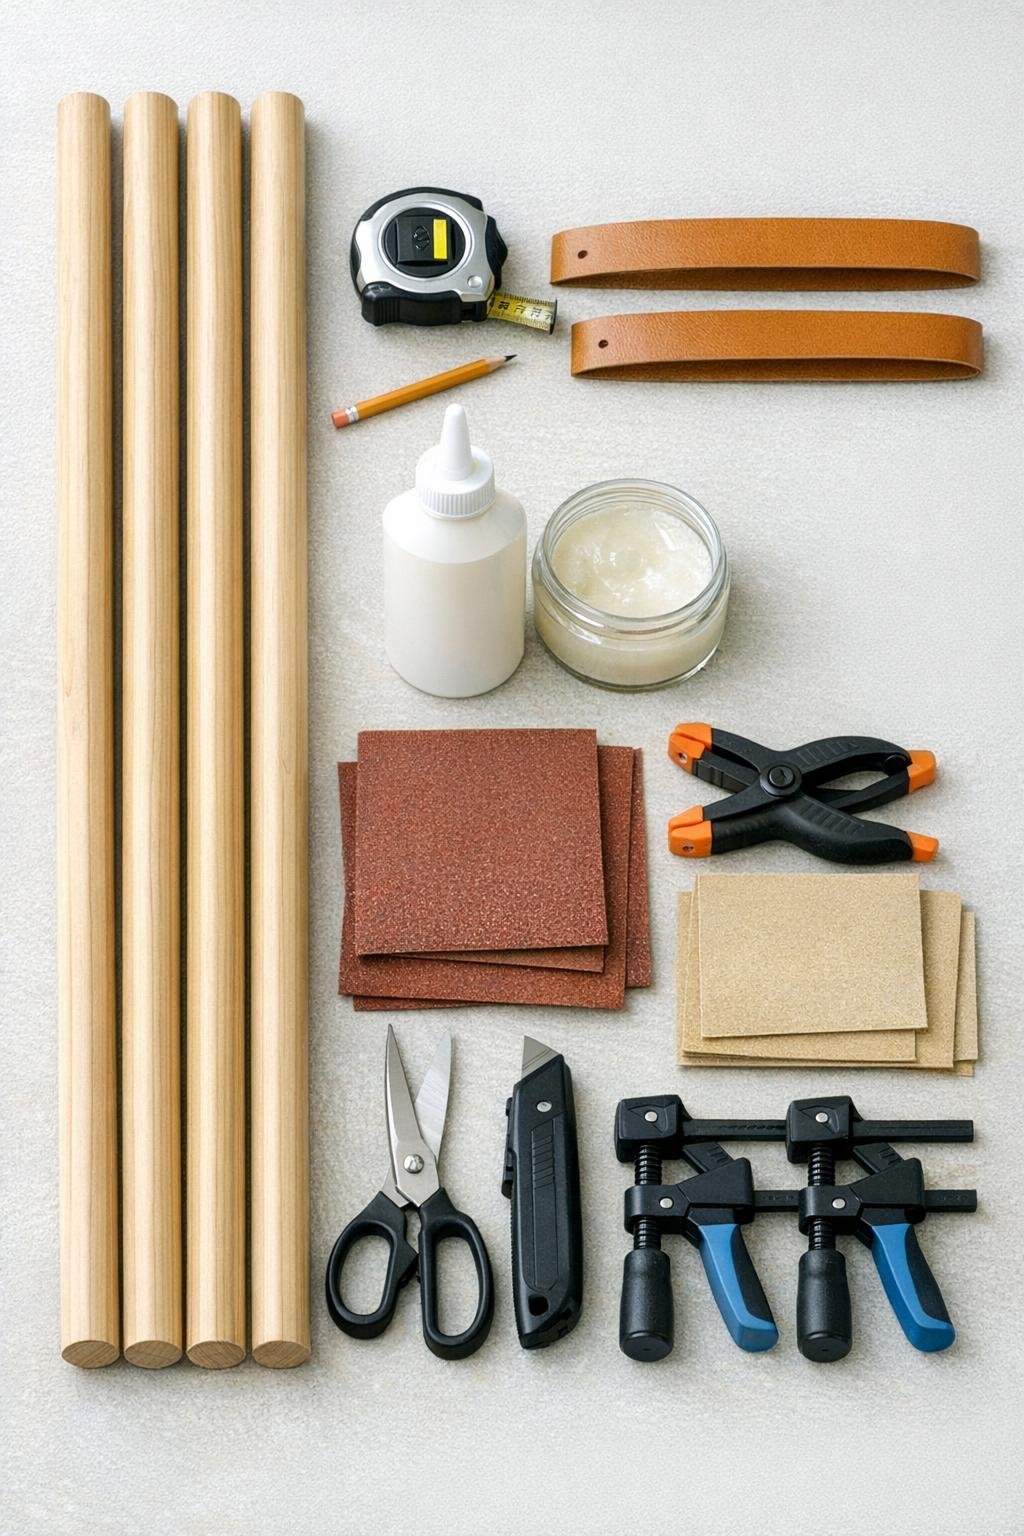
Materials
Instructions
1. Lay the four broom handles side by side and choose the two straightest pieces for the ladder sides and the two nicest-looking pieces for the rungs. Wipe all the wood clean and lightly sand each handle with 120-grit followed by 220-grit paper for a smooth finished look.
2. Apply a thin coat of clear matte sealer or finishing wax to all four broom handles, then let them dry completely. This small step makes the wood look richer and more polished, and it helps the ladder feel intentional instead of improvised.
3. Mark the side handles for rung placement, measuring from the bottom up at 12 inches for the first rung and 28 inches for the second rung. Keep the marks even on both side pieces so the rungs sit level when the ladder leans against the wall.
4. Cut the two leather straps into eight pieces, each 18 inches long. These wrapped connectors hold the rungs in place and also create the pretty leather detail that makes everyone ask where the ladder came from.
5. Set the two side handles parallel on the floor, spacing them 18 inches apart, and place one rung across the 12-inch marks and the other across the 28-inch marks. Use painter’s tape to temporarily hold the layout so you can check that everything looks straight before wrapping.
6. Wrap one leather piece tightly around the first joint where a rung meets a side rail, adding a little wood glue between the leather layers as you go. Overlap the end neatly on the back side of the joint and clamp it until the glue sets enough to hold.
7. Repeat the leather wrapping on the remaining three joints, pulling each strip snug so the rungs stay secure and the wraps look uniform. Make sure the overlaps all face the back so the front of the ladder stays clean and finished.
8. Let the wrapped joints dry fully, then stand the ladder up and lean it gently against a wall to test the angle. If needed, shift the rungs slightly before the glue fully cures so the ladder sits evenly and looks balanced.
9. Add small felt pads to the bottom ends and the top contact points if you want extra wall and floor protection. This is especially worth doing in a bedroom, where painted walls and wood floors seem to show every little scuff.
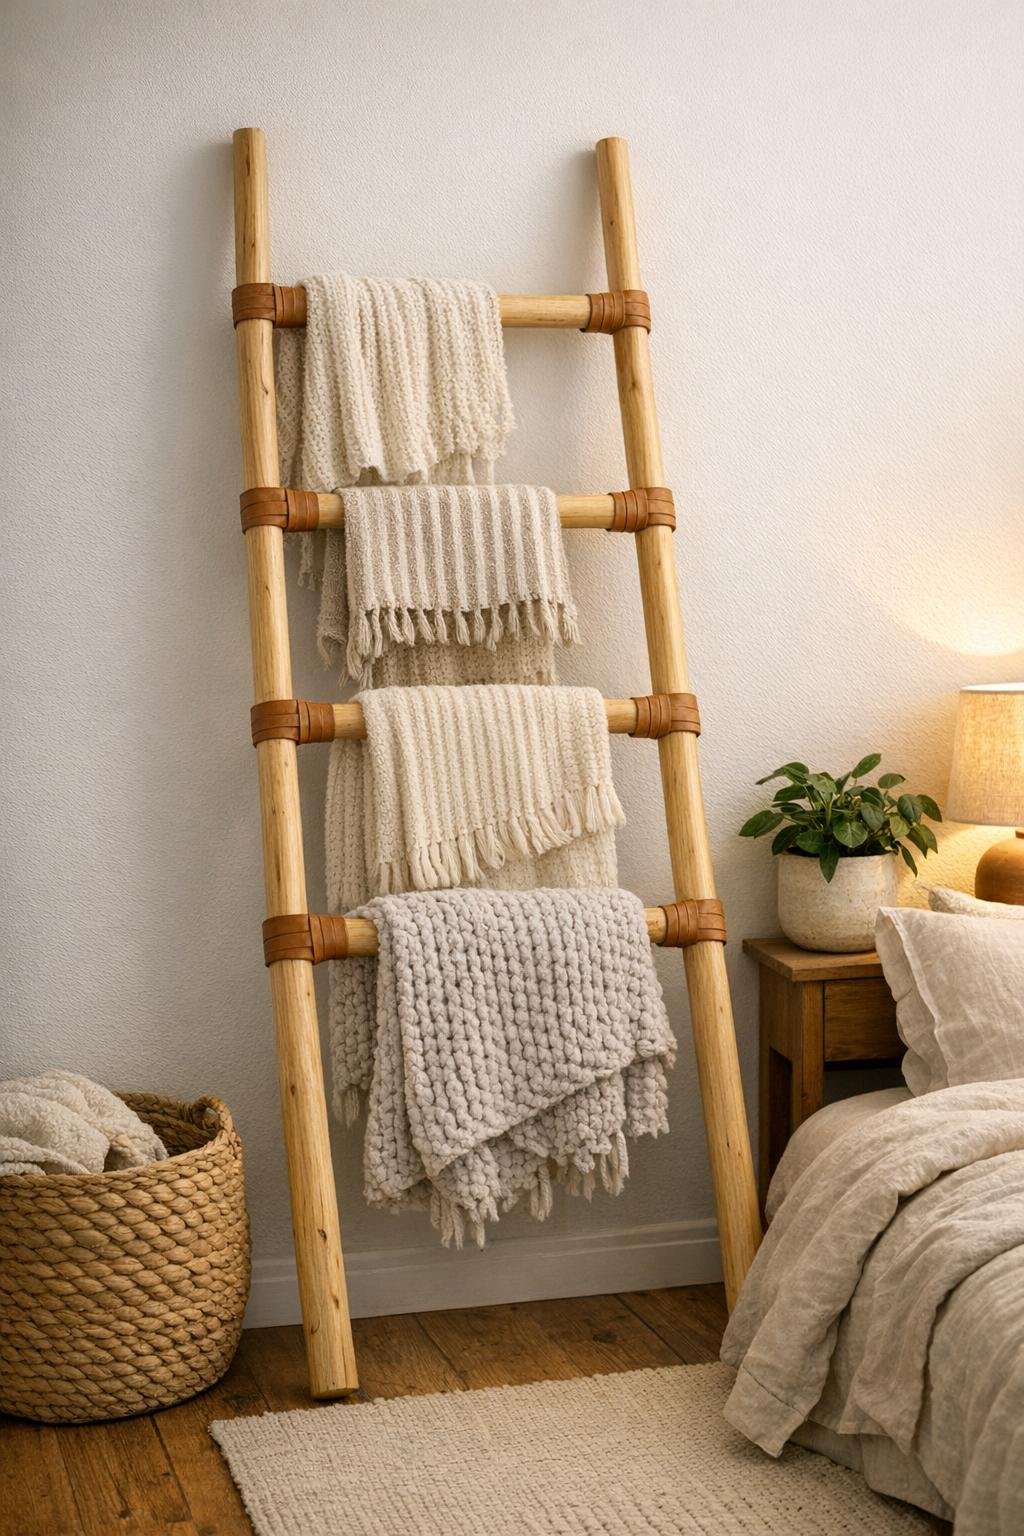
10. Drape two to four folded throw blankets over the rungs, keeping the heavier blanket on the lower rung and lighter throws on the upper rung for a full styled look. Step back and adjust the spacing so the leather wraps stay visible because that detail is what gives the piece its charm.
Variations & Tips
Darker wood look: If you want a moodier bedroom feel, stain the broom handles in walnut or medium oak before sealing them. I still love the natural version most, but darker wood with tan leather is gorgeous in a room with black hardware.
No-sew, no-drill simplicity: This project is intentionally easy and decorative, so it works best for throws and quilts rather than heavy daily climbing or weight-bearing use. Think of it as stylish blanket storage, not a functional ladder.
Strap upgrade: If your leather is soft, use slightly longer pieces and wrap each joint an extra time for a chunkier, more high-end look. That extra layer makes the ladder feel more substantial without adding any real difficulty.
Perfect spacing: For larger blankets, widen the side rails to 20 inches before wrapping the joints. I like 18 inches for a standard bedroom corner, but a little extra width gives bulkier throws more room to drape nicely.
Bedroom styling tip: Mix textures on the ladder, like one knit throw, one gauzy blanket, and one quilted layer. As someone who is always trying to make a room look pulled together before company comes over, I can tell you that texture does a lot of the heavy lifting.
Wall-safe finish: Felt pads are a tiny detail, but they make the ladder feel complete and prevent that annoying scrape mark at the top corners. I never skip them anymore after learning that lesson the hard way while rearranging a guest room.