
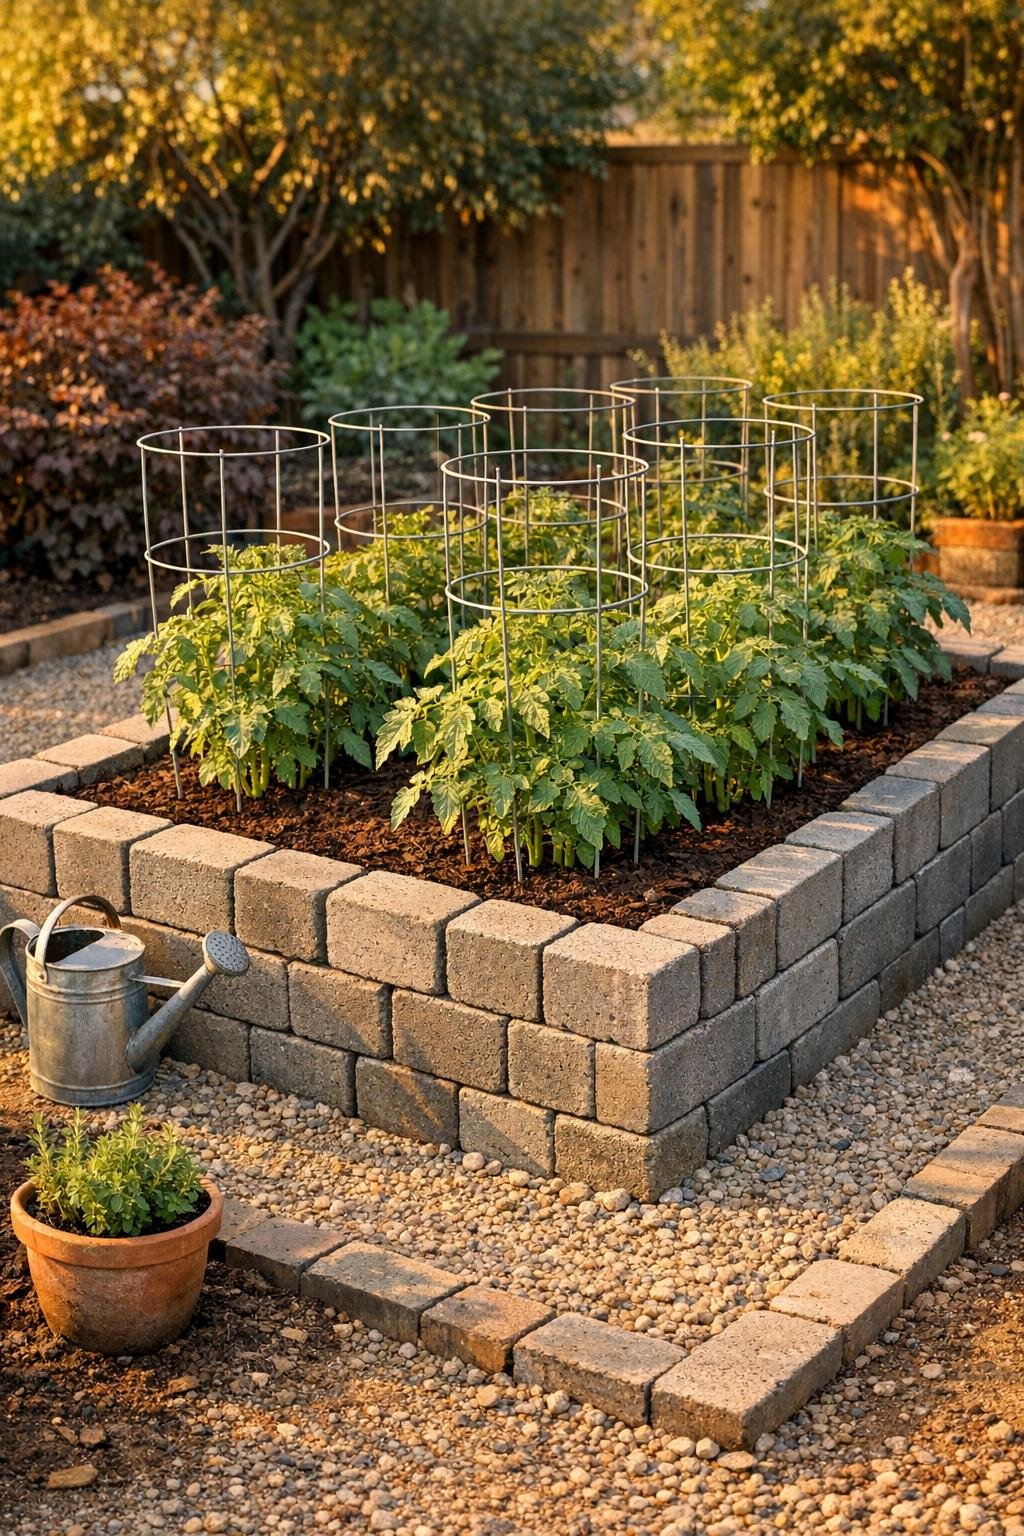
When spring is teasing us with warm afternoons and then dipping right back into chilly nights, I get so impatient to plant tomatoes. This little root-zone warmer is one of those practical garden tricks that looks surprisingly polished once it’s in place, and it’s made with just two main items: standard cinder blocks and tomato cages. The blocks hold warmth around the bed, and the cages give you an instant structure for covering young plants when frost threatens.
I like this project for busy gardeners because it’s fast, sturdy, and it pulls double duty. You’re not building something fussy that only works for one week of the year—you’re creating a neat-looking raised bed edge that helps warm the soil early, then supports your tomatoes as the season gets going. If you’ve got a raised bed, a couple of cages in the garage, and a weekend afternoon, you can absolutely put this together.
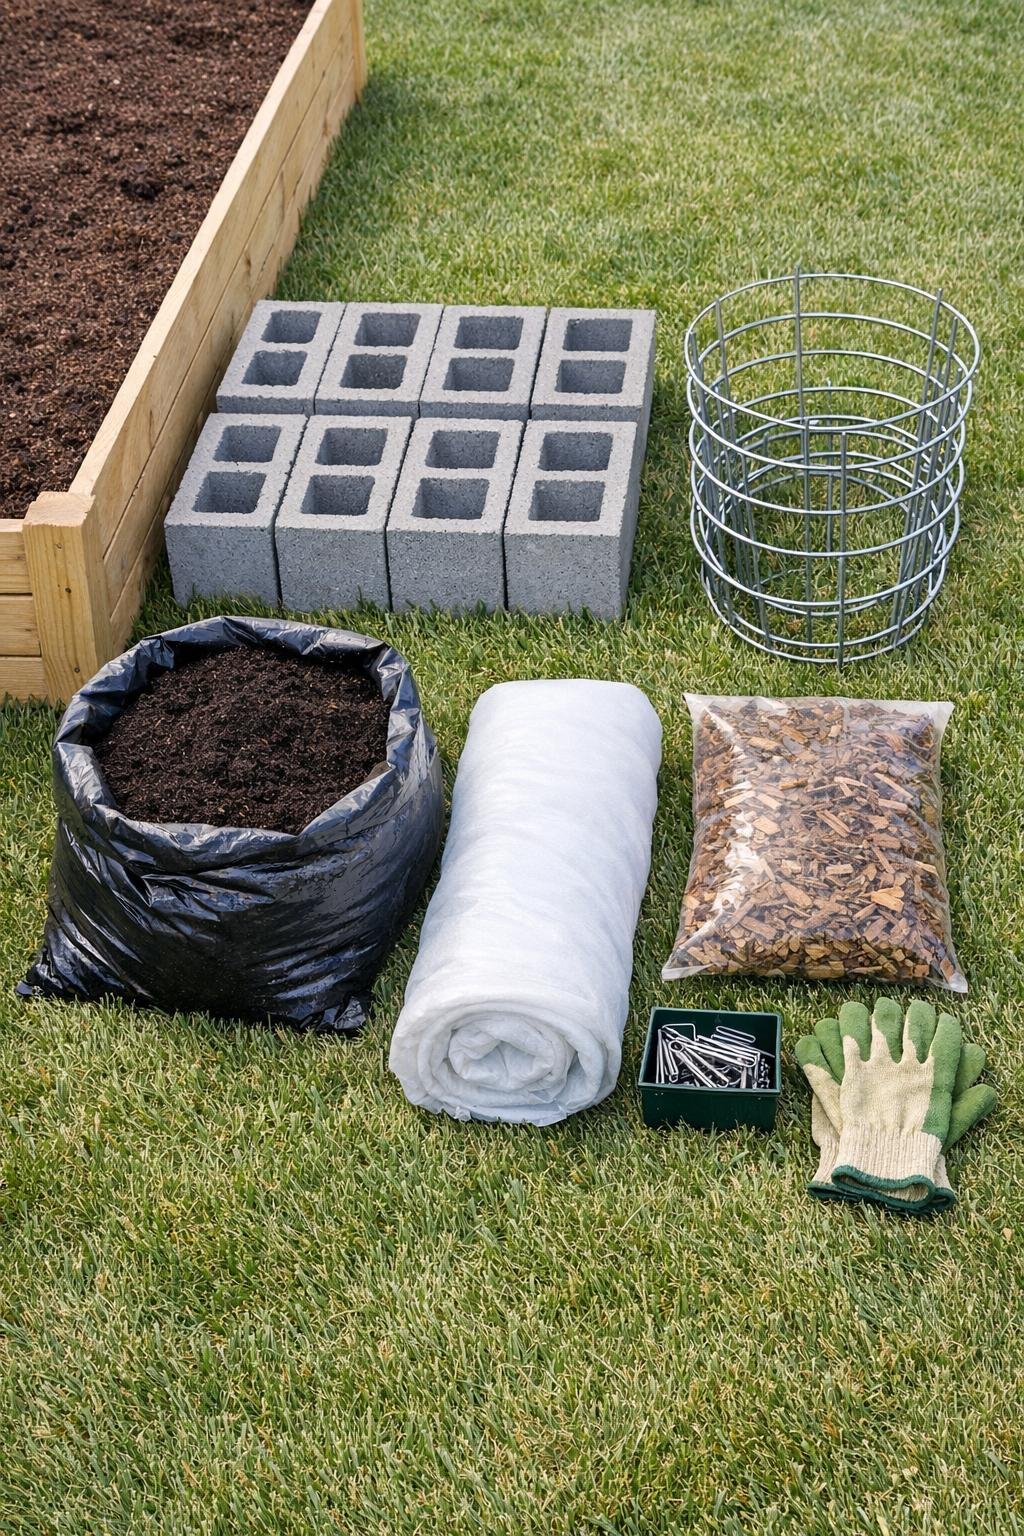
Materials
Instructions
1. Clear the outside edge of your raised bed so you have a flat, firm strip of ground all the way around, and smooth the soil level where the blocks will sit.
2. Stack the cinder blocks on their sides tightly around the raised bed with the hollow openings facing sideways, keeping the top edges as even as possible so the border looks intentional and stable.
3. Press each block snug against the bed and against the next block so there are no big gaps; if your ground is uneven, scrape away or add a little soil underneath until each block sits flat.
4. Fill any low spots inside the raised bed with fresh potting mix so your soil surface is level and slightly mounded where each tomato will go.
5. Plant the tomato seedlings 18 to 24 inches apart in the bed, burying them deeply so only the top set of healthy leaves sits above the soil.
6. Set one tomato cage over each seedling, pressing the cage legs 4 to 6 inches into the soil so each cage stands upright and centered over the plant.
7. Spread a 2-inch layer of mulch across the soil surface, keeping it a couple of inches away from each stem to prevent rot while still insulating the root zone.
8. On nights when frost is forecast, drape the frost cloth over the tops of the tomato cages so it creates a tent, then anchor the edges with landscape staples or by tucking the fabric along the inside edge of the blocks.
9. Pull the frost cloth off in the morning once temperatures rise, and let the cinder blocks continue absorbing daytime warmth to help keep the root zone a bit cozier overnight.
10. As the season warms, leave the blocks in place as a clean, heat-holding border and use the tomato cages normally for support, tying in stems as the plants grow.
Variations & Tips
For colder nights: Double the frost cloth over the cages if you’re expecting a sharper temperature drop, but remove the extra layer first thing in the morning so plants don’t overheat in the sun.
For a cleaner look: Keep all the block openings facing the same direction and line them up evenly. That one little detail makes the whole setup look more like a planned garden feature and less like leftover supplies from the side yard.
For extra warmth: Fill the hollow centers of a few blocks with spare mulch or soil. I’ve found this helps soften temperature swings a bit, especially in those weird Midwest weeks when it’s 70 one day and 35 the next.
For windy yards: Use additional landscape staples or clothespins clipped to the cages to keep the frost cloth from billowing loose overnight.
For watering: Water deeply at planting time and then check moisture under the mulch instead of judging by the dry-looking top layer. The blocks and mulch together help hold in warmth, but they also slow surface drying.
For larger beds: Repeat the same setup in sections instead of trying to cover one giant bed with a single sheet. Smaller protected zones are easier to manage when you’re rushing outside at dusk before a cold snap.
For season-long use: Don’t dismantle the project after frost season. The cages are already in place for support, and the cinder blocks continue acting as a durable border that helps define the bed and gives the whole space a finished look.