
If you love the look of a tidy, welcoming living room, this little project is one of those finishing touches that makes the whole space feel thoughtful. I’m showing you how to make a blanket basket tag by sliding a small chalkboard label into a brown leather luggage tag and clipping it right onto a natural wicker basket handle. It’s quick, inexpensive, and gives an everyday storage basket that styled-home look people always notice.
I especially love projects like this because they’re easy enough to finish in one sitting, but they make a room feel more personal and pulled together. If you have a basket of throws in the living room, guest room, or reading corner, this is a simple way to label it beautifully without changing the basket itself.
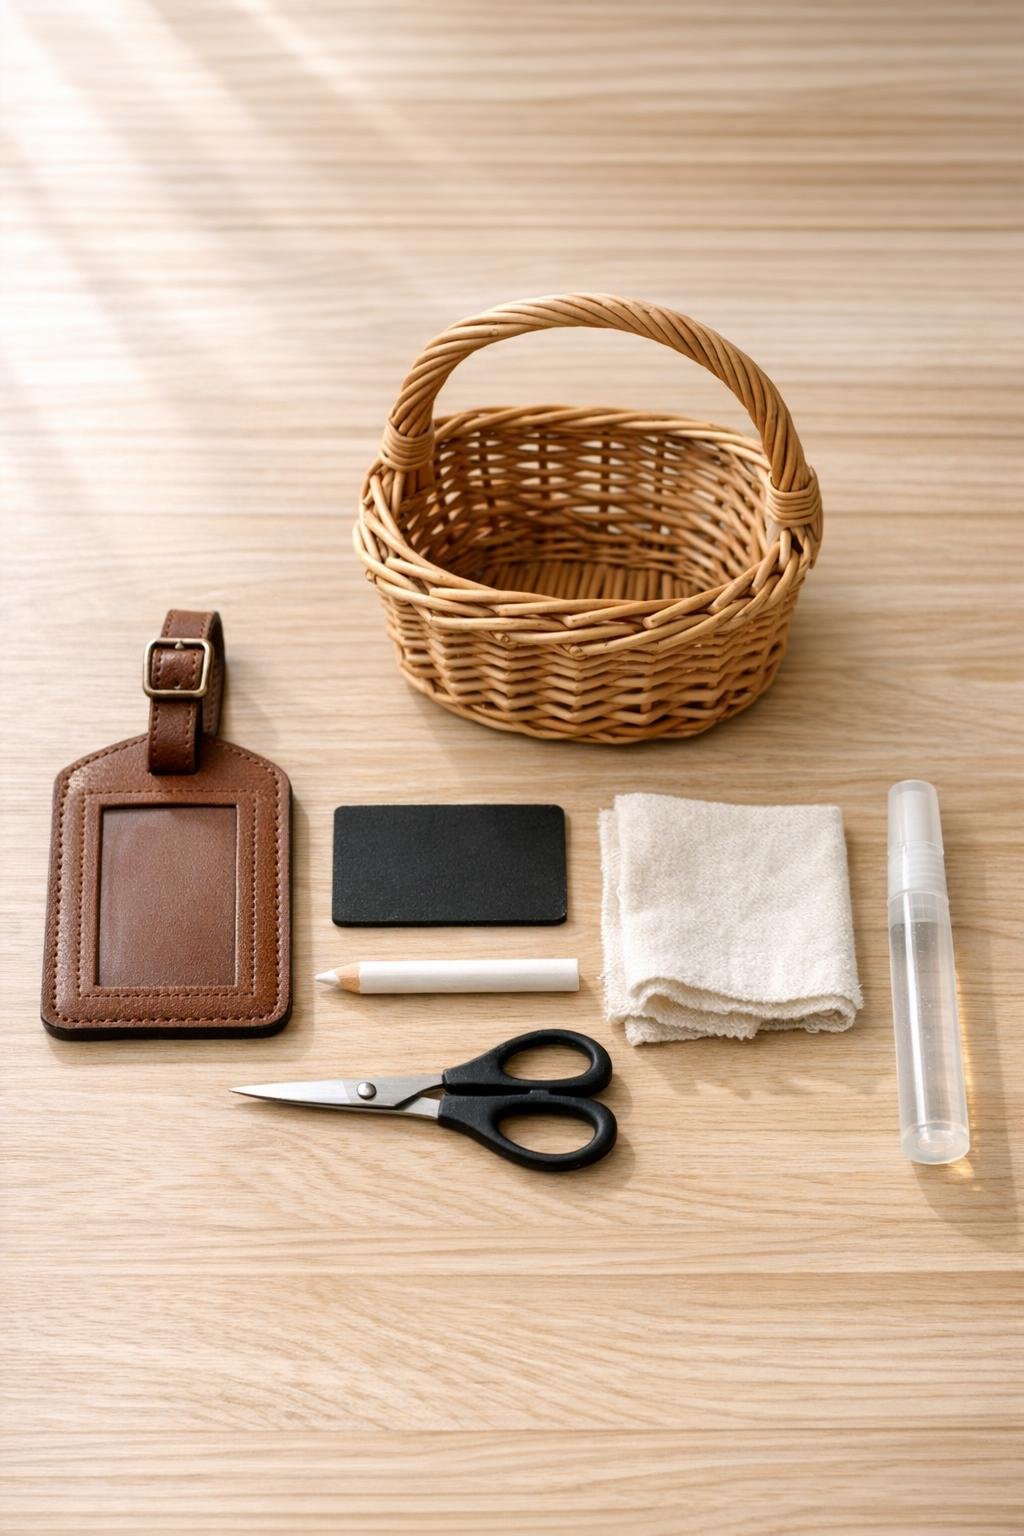
Materials
Instructions
1. Measure the opening of the leather luggage tag and cut the chalkboard label insert to fit, leaving about 1/8 inch of clearance on each side so it slides in smoothly.
2. Wipe the chalkboard surface with a dry cloth to remove any dust, then lightly season it by rubbing chalk over the surface and buffing it off if you’re using a traditional chalkboard piece.
3. Write your label on the insert with the white chalk pencil; “Blankets” is the classic choice, but “Cozy Throws” or “Movie Night” also looks charming in a family room.
4. Let the writing dry fully if you used a liquid chalk marker, then add a very light coat of clear matte sealer if you want the lettering to stay smudge-resistant.
5. Slide the finished chalkboard insert into the leather luggage tag window, centering it so the border looks even and polished from the front.
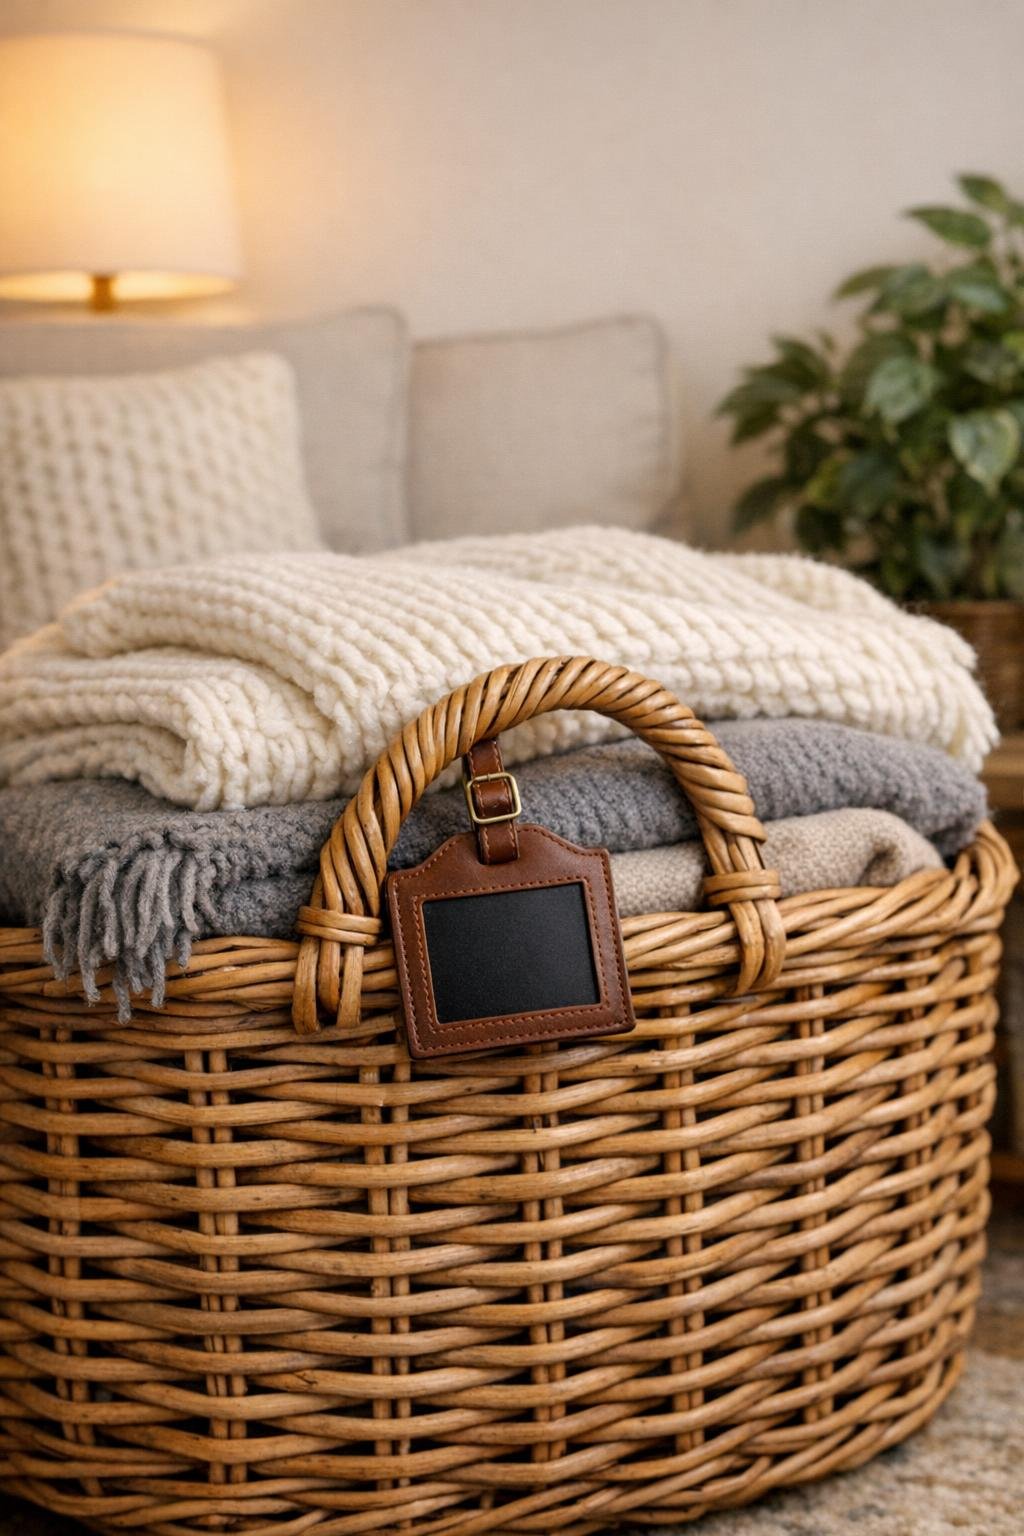
6. Thread the luggage tag strap around the wicker basket handle and fasten it securely so the tag hangs forward and can be read easily when the basket is in the room.
7. Fill the basket generously with folded throw blankets, fluff the top layer so it looks inviting, and turn the tag slightly to the front for that finished living-room styling touch.
Variations & Tips
For picky decorators: If everyone in your house likes a different style, keep the basket neutral and just swap the insert. It’s the easiest way to change the look for the season without buying a new basket or tag.
Seasonal version: I like making extra inserts that say “Winter Throws,” “Guest Blankets,” or “Fireplace Cozy Corner.” Tuck the extras in a drawer and switch them out whenever you refresh the room.
No-chalk option: If you want a cleaner, less handmade look, use a printed cardstock label cut to the same size instead of chalkboard. It still slides into the leather tag beautifully.
Basket styling tip: A fuller basket always looks better in a living room, so use 3 to 5 throw blankets for that generous, cozy look. I usually mix one chunky knit, one fleece, and one woven throw for texture.
Kid-friendly tip: If little hands are always grabbing blankets, seal the lettering so it doesn’t rub off. That one tiny extra step saves you from rewriting the label later.
Gift idea: This makes a sweet housewarming touch if you’re giving a basket with a throw blanket. It feels custom and thoughtful, which is often the part people remember most.