
Every fall, my yard and driveway seem to collect pine cones faster than I can rake them up. For years I treated them like yard waste, but once I started using them in little projects around the house, I realized they’re one of the best free decorating supplies you can find. They’re sturdy, naturally pretty, and easy to dress up for every season.
I pulled together 12 of my favorite ways to reuse pine cones, starting with ideas I keep out year-round and ending with the fall and winter ones that come out when the weather turns chilly. These are simple, affordable projects I’d actually make at home, and several of them are fun to do with kids helping nearby.
1. Bleached pine cones
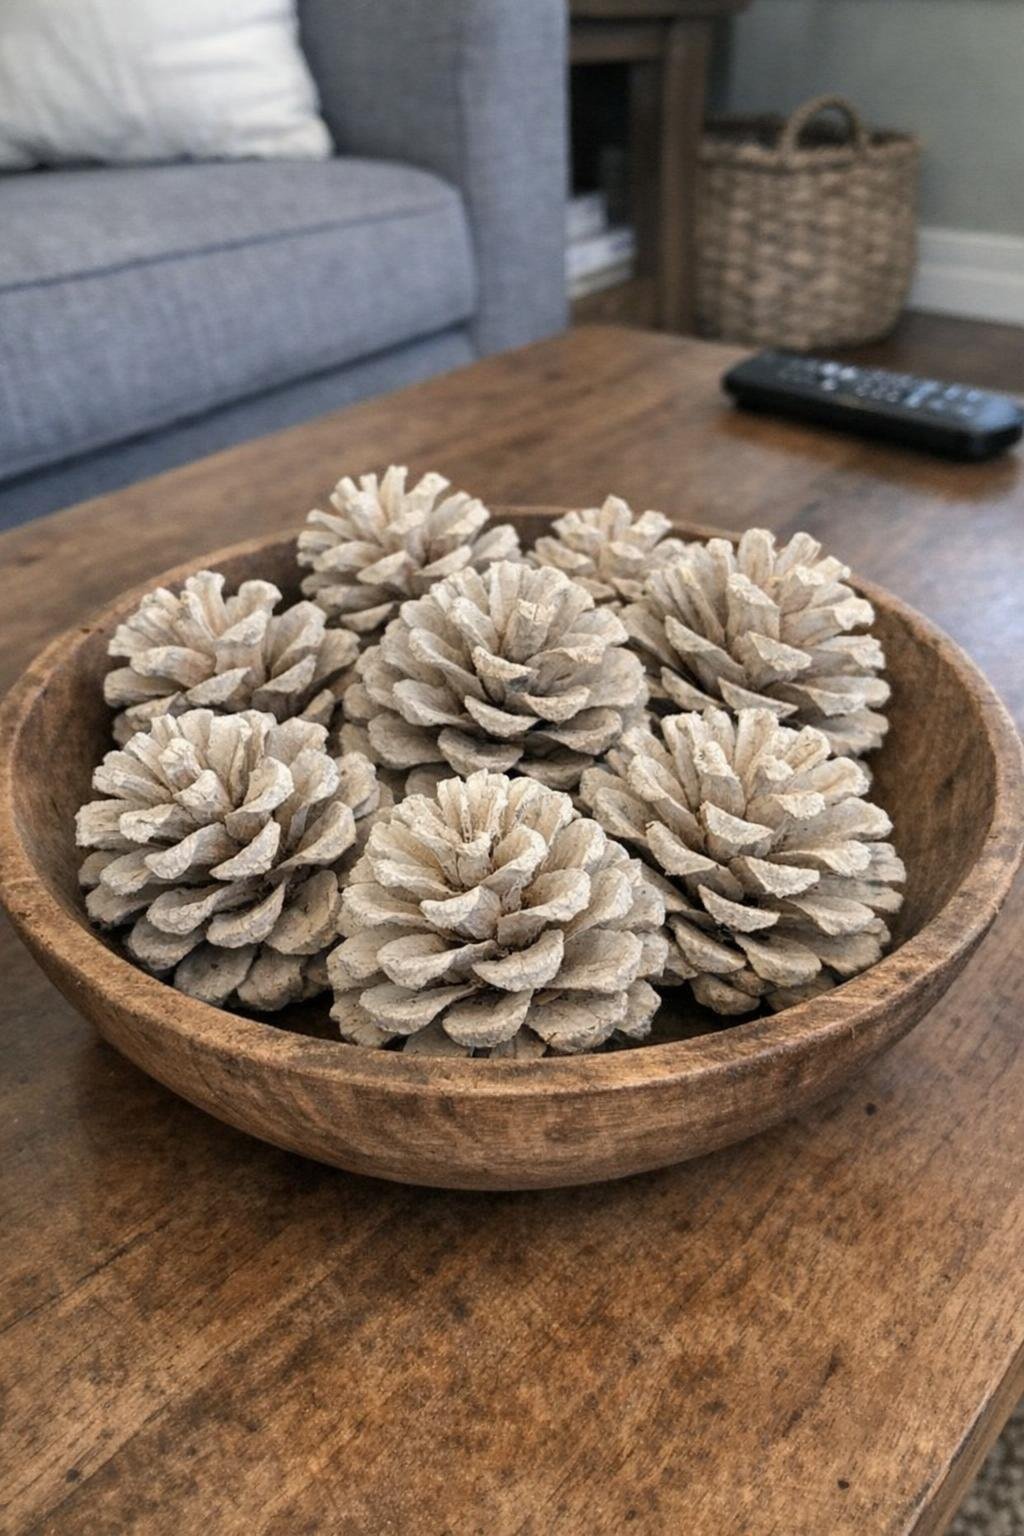
If you want pine cones to look soft, pale, and a little driftwood-like, bleaching them is such a neat trick. I soak them overnight in a bucket filled with 1 part bleach to 2 parts water, using a brick or old plate to keep them submerged. The next day, I rinse them well and set them outside in the sun on an old towel for a full day or two until they dry and open back up.
Once dry, I pile 12 to 20 of them into a wooden bowl, a dough bowl, or a shallow tray on my coffee table. They work beautifully with white candles, dried eucalyptus, or smooth river stones, and the whole look feels calm enough to leave out well past the holidays.
2. Cinnamon-scented pine cones
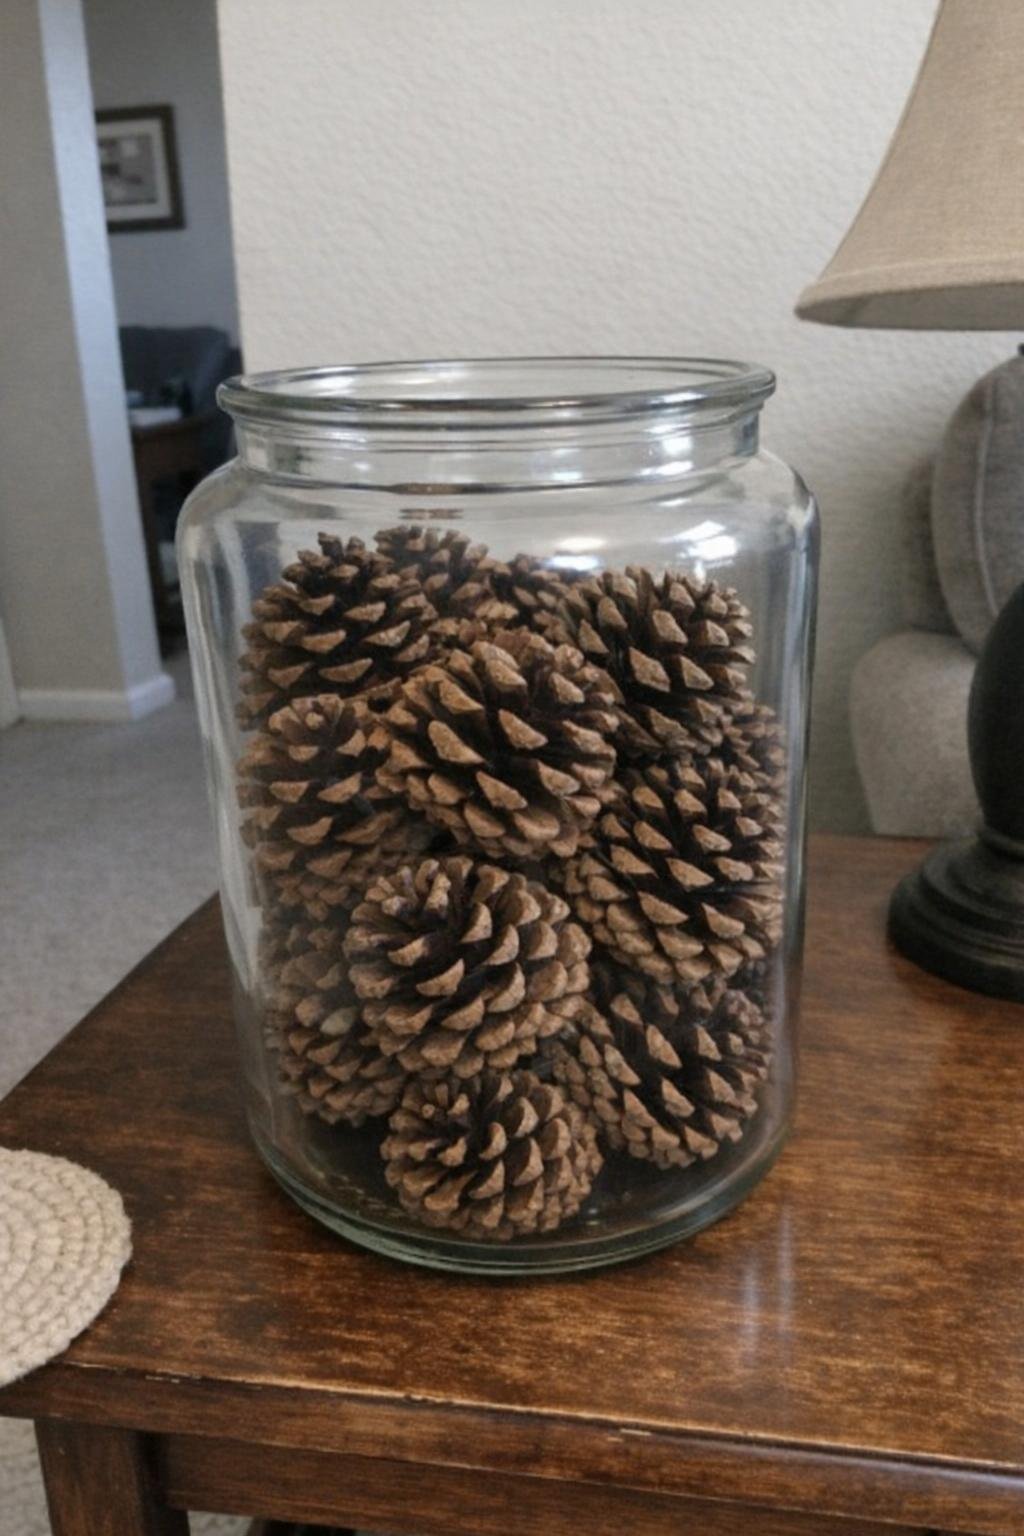
This is one of the easiest ways to make the whole house feel cozy without spending much. Add 8 to 10 drops of cinnamon essential oil, or a mix of cinnamon and orange oil, to a dozen dry pine cones. Seal them in a large zip-top bag or lidded container for about two weeks so the scent really soaks in.
After that, I pour them into a clear glass jar or apothecary-style container near the entry table or in the guest bathroom. If you want a stronger scent, refresh them with 2 or 3 more drops every week or so. For families with scent-sensitive folks, orange oil alone tends to be a little softer and less spicy.
3. Pine cone fire starters
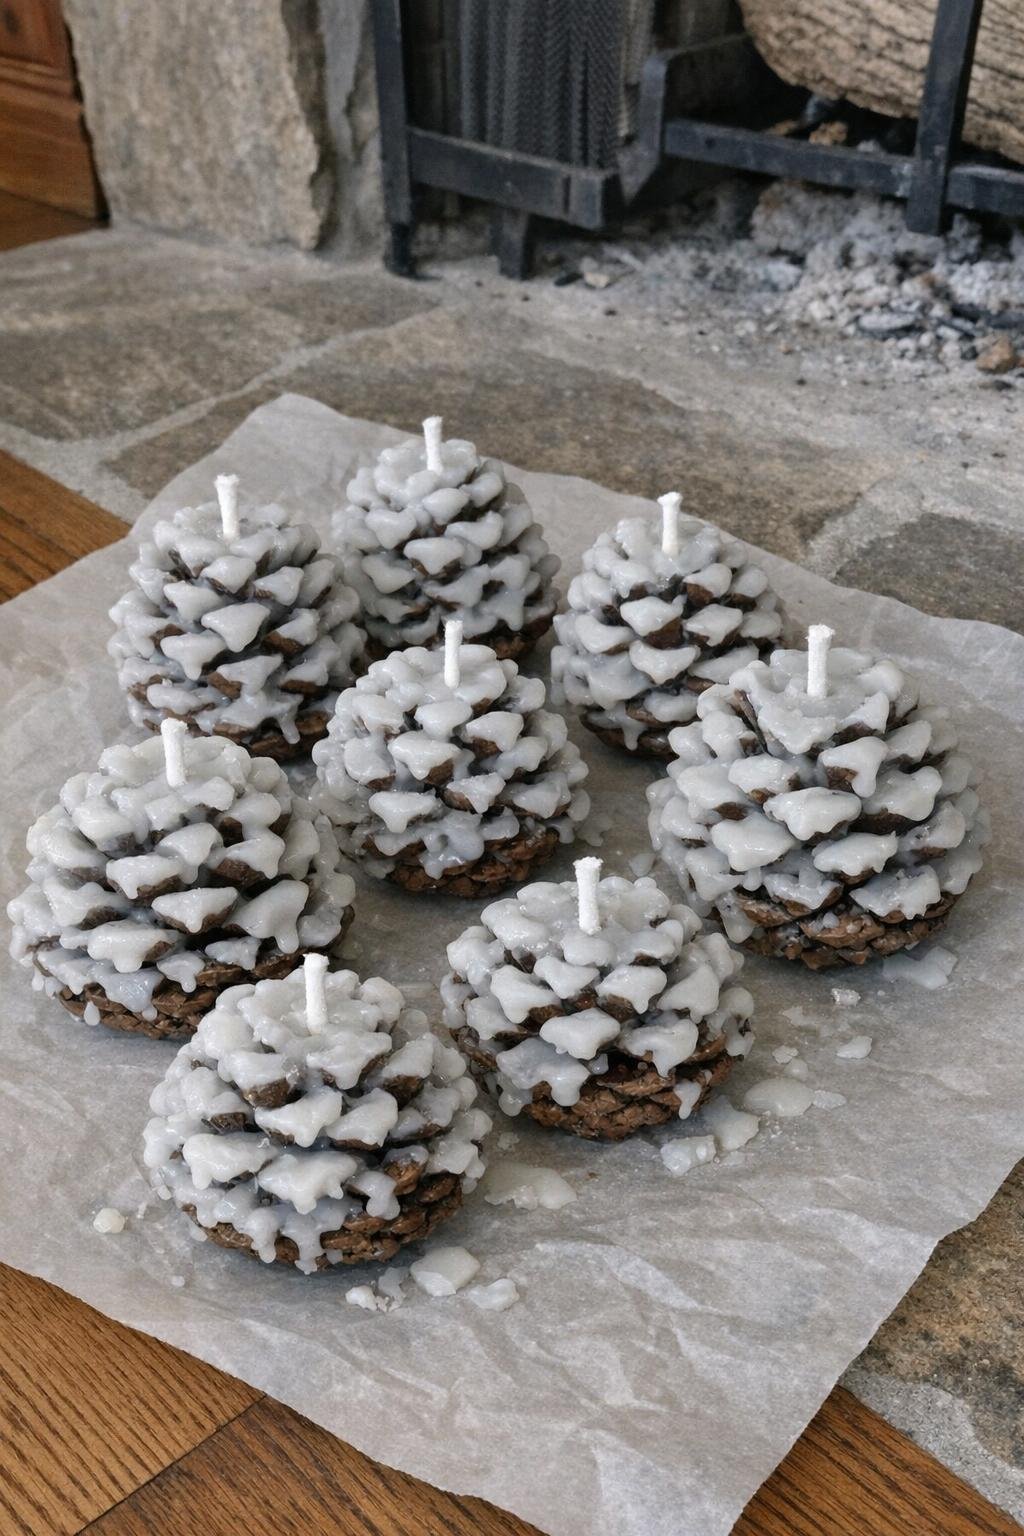
If you use a fireplace, fire pit, or take camping trips, pine cone fire starters are genuinely useful. Melt old candle stubs or inexpensive plain wax in a double boiler, then dip each dry pine cone about three-quarters of the way in. Before the wax hardens, tuck a 2-inch cotton wick into the top so it sticks up just enough to light easily.
Let them cool on parchment paper for 30 minutes, then store them in a metal tin or basket near the hearth. One wax-dipped cone is usually enough to help get kindling going. I like these because they’re practical, and they also look pretty sitting beside stacked firewood.
4. Pine cone bird feeder
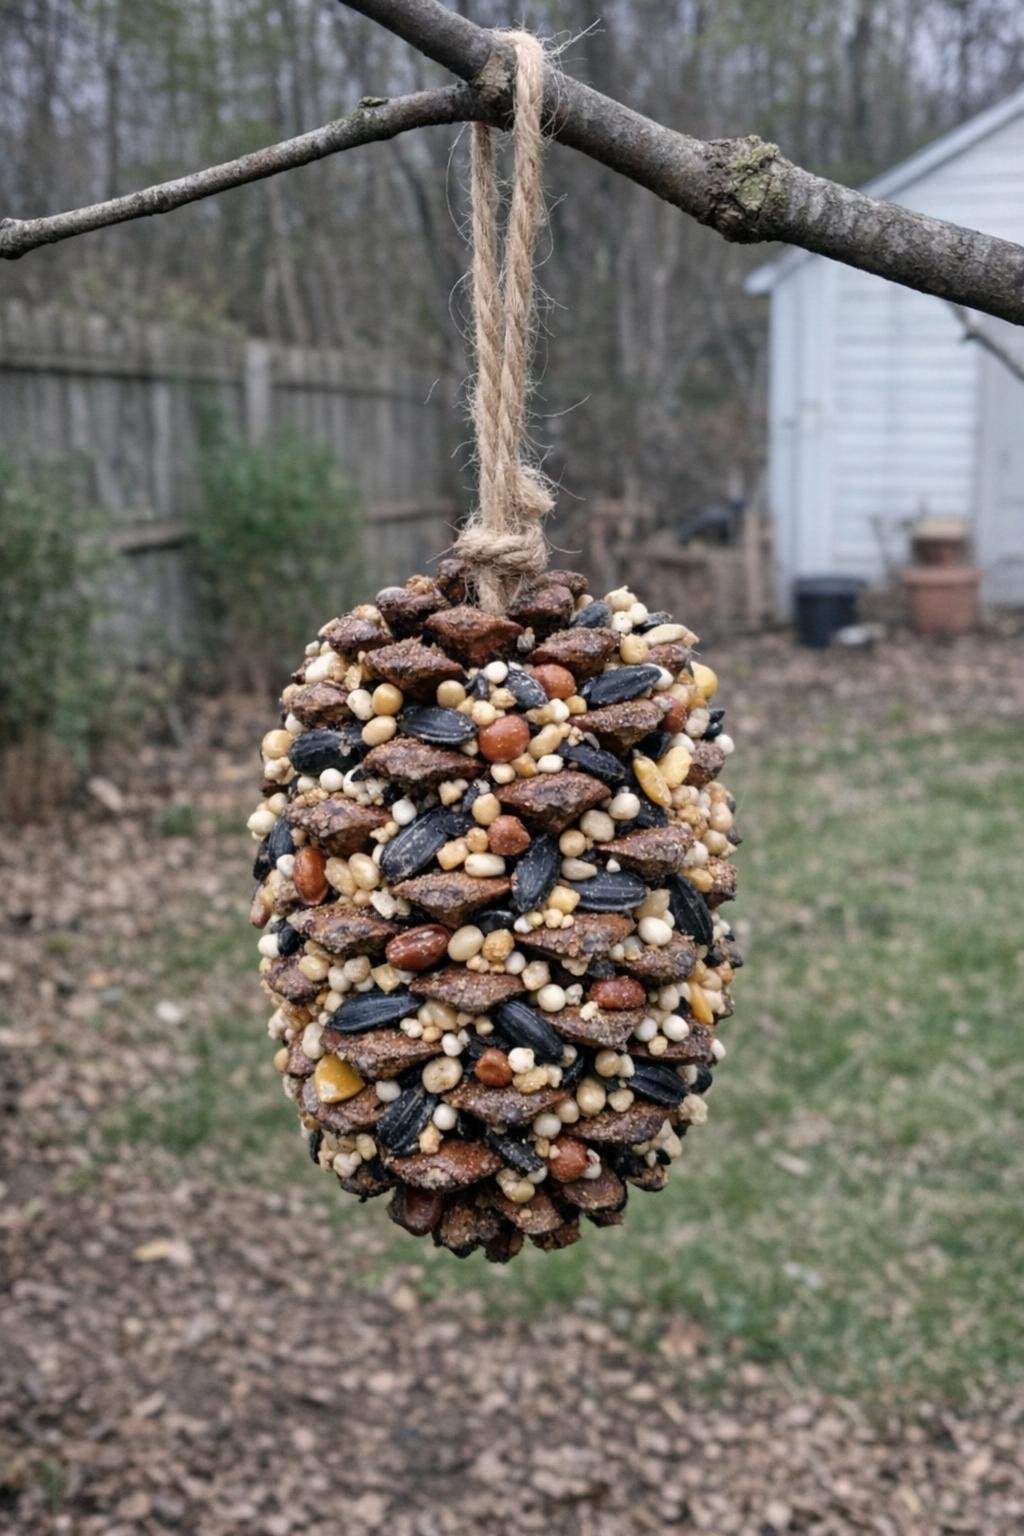
This one is a classic for good reason, especially if you have kids who love watching backyard birds. Tie an 8- to 10-inch piece of twine around the top of a large pine cone, then press peanut butter into the scales with a spoon or butter knife. Roll it in a shallow pan of birdseed until the seeds stick all over.
Hang it from a low branch where you can see it from a kitchen window, ideally 5 to 6 feet off the ground. If peanut allergies are a concern, sunflower seed butter works just fine. It’s a quick project, but it turns one ordinary cone into something useful for your yard within 10 minutes.
5. Pine cone place-card holders
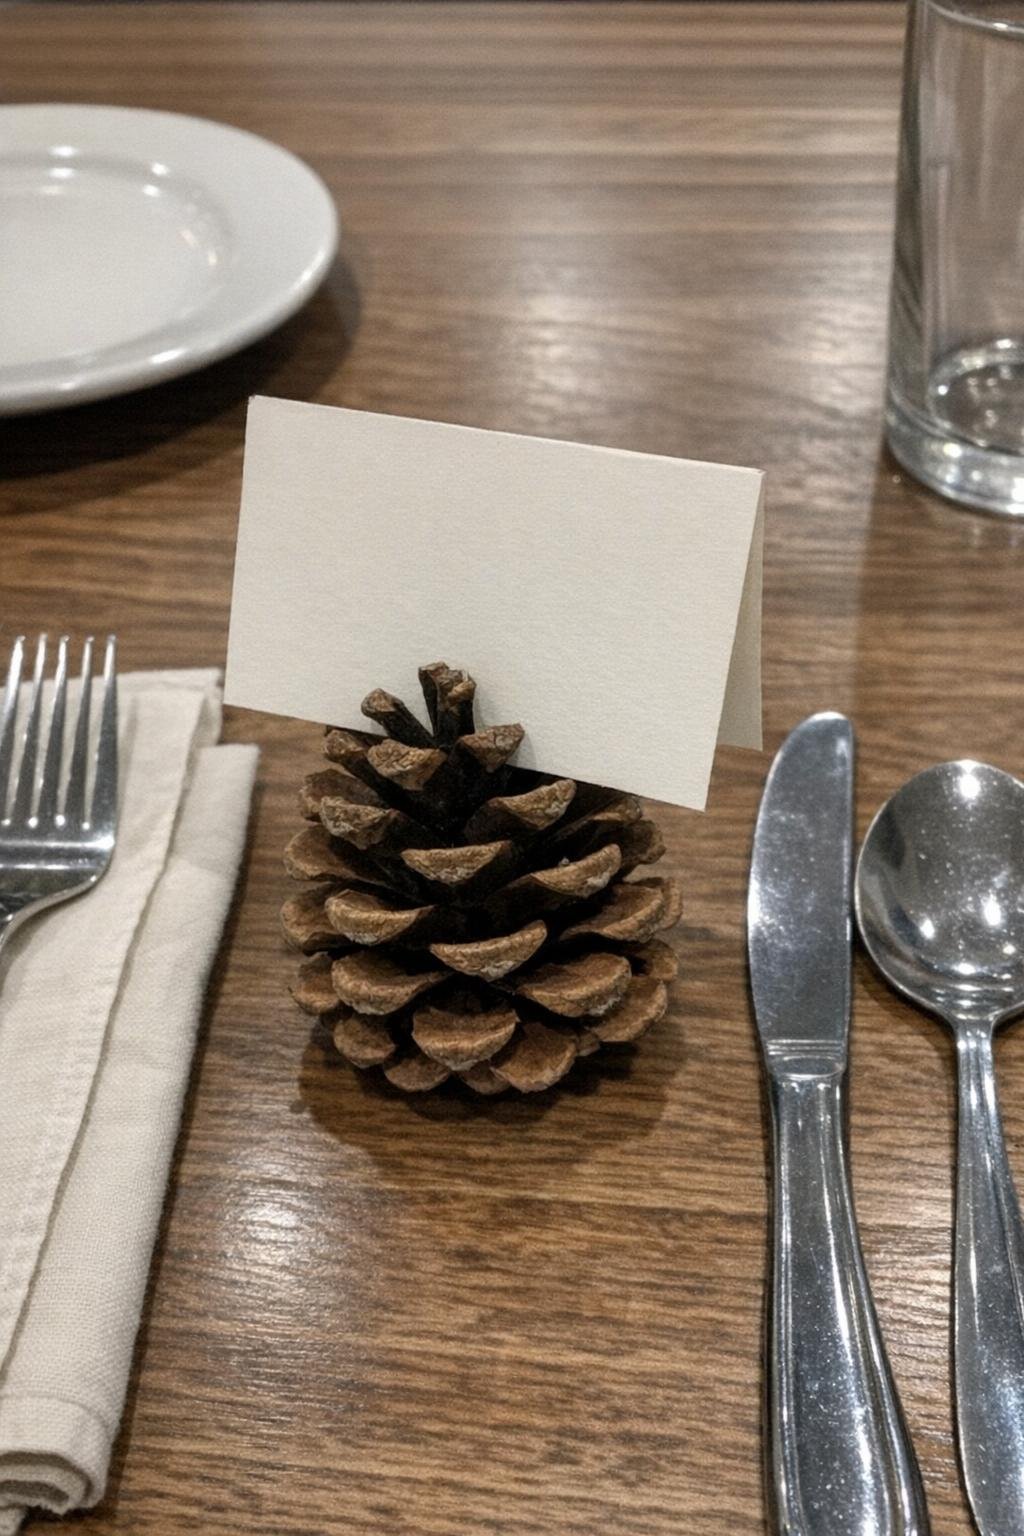
For fall dinners or holiday meals, small pine cones make adorable little place-card holders that cost almost nothing. Choose cones about 2 to 3 inches tall that sit flat on the table. Use small scissors or a craft knife to cut a narrow slit into the top scales, just wide enough to hold a folded card securely.
I like setting one at each plate with a sprig of rosemary or cedar tucked beside it. If your table is busy with kids, use cardstock folded into a tent shape so the card stands up better. It’s a simple touch, but it makes even a weeknight soup supper feel more thoughtful.
6. Pine cone soil topper for houseplants
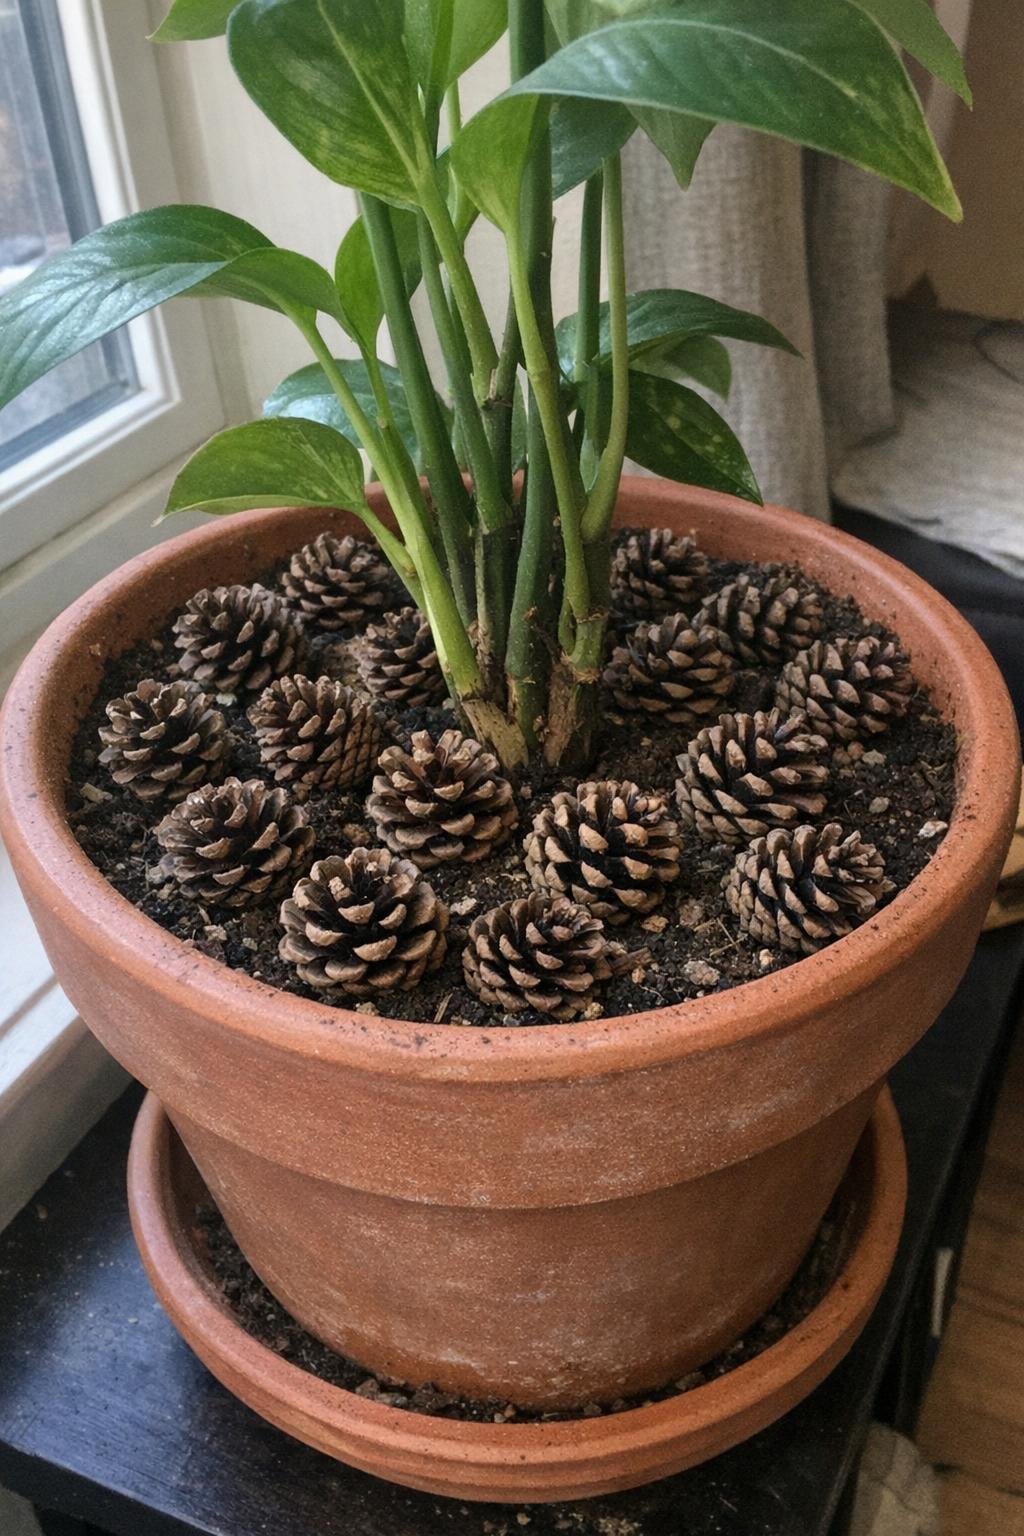
I started doing this when one of our cats kept digging in my bigger plant pots. A layer of small pine cones spread over the top of the soil acts like decorative mulch and helps keep curious paws out. Use cones about 1 to 2 inches wide, and cover the soil in a single loose layer, leaving about 1 inch of space around the plant stem.
It also helps reduce soil splashing when you water, especially in deep pots for fiddle leaf figs, rubber plants, or indoor palms. I use this most in 10- to 14-inch planters where bare soil tends to look messy. Just make sure the cones are completely dry before adding them indoors.
7. Pine cone wreath
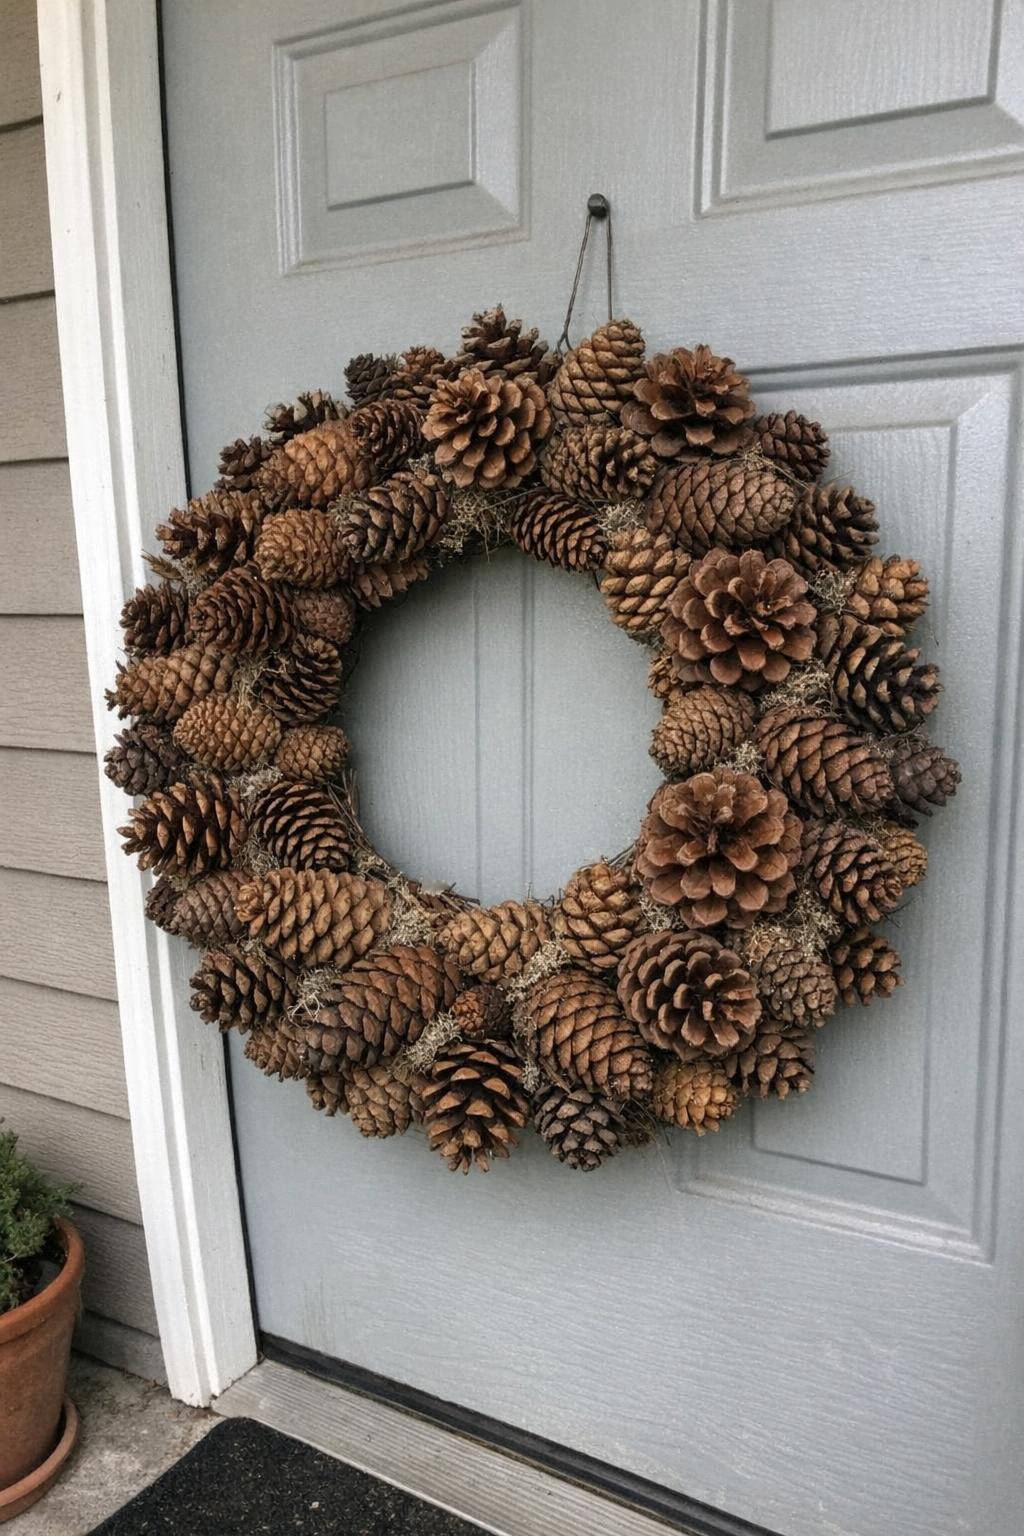
When you want one project that looks impressive on a front door, a pine cone wreath is hard to beat. Start with a 12- to 14-inch wire wreath frame and hot-glue medium pine cones all the way around it, layering them slightly so the frame disappears. You’ll usually need 35 to 50 cones depending on size.
I love them left natural, but a light frosting of white craft paint on just the edges gives a wintry look without making it fussy. Hang it with wide jute ribbon or plain twine. If your door is exposed to weather, keep it on a covered porch so the glue holds up better.
8. Snow-tipped pine cones
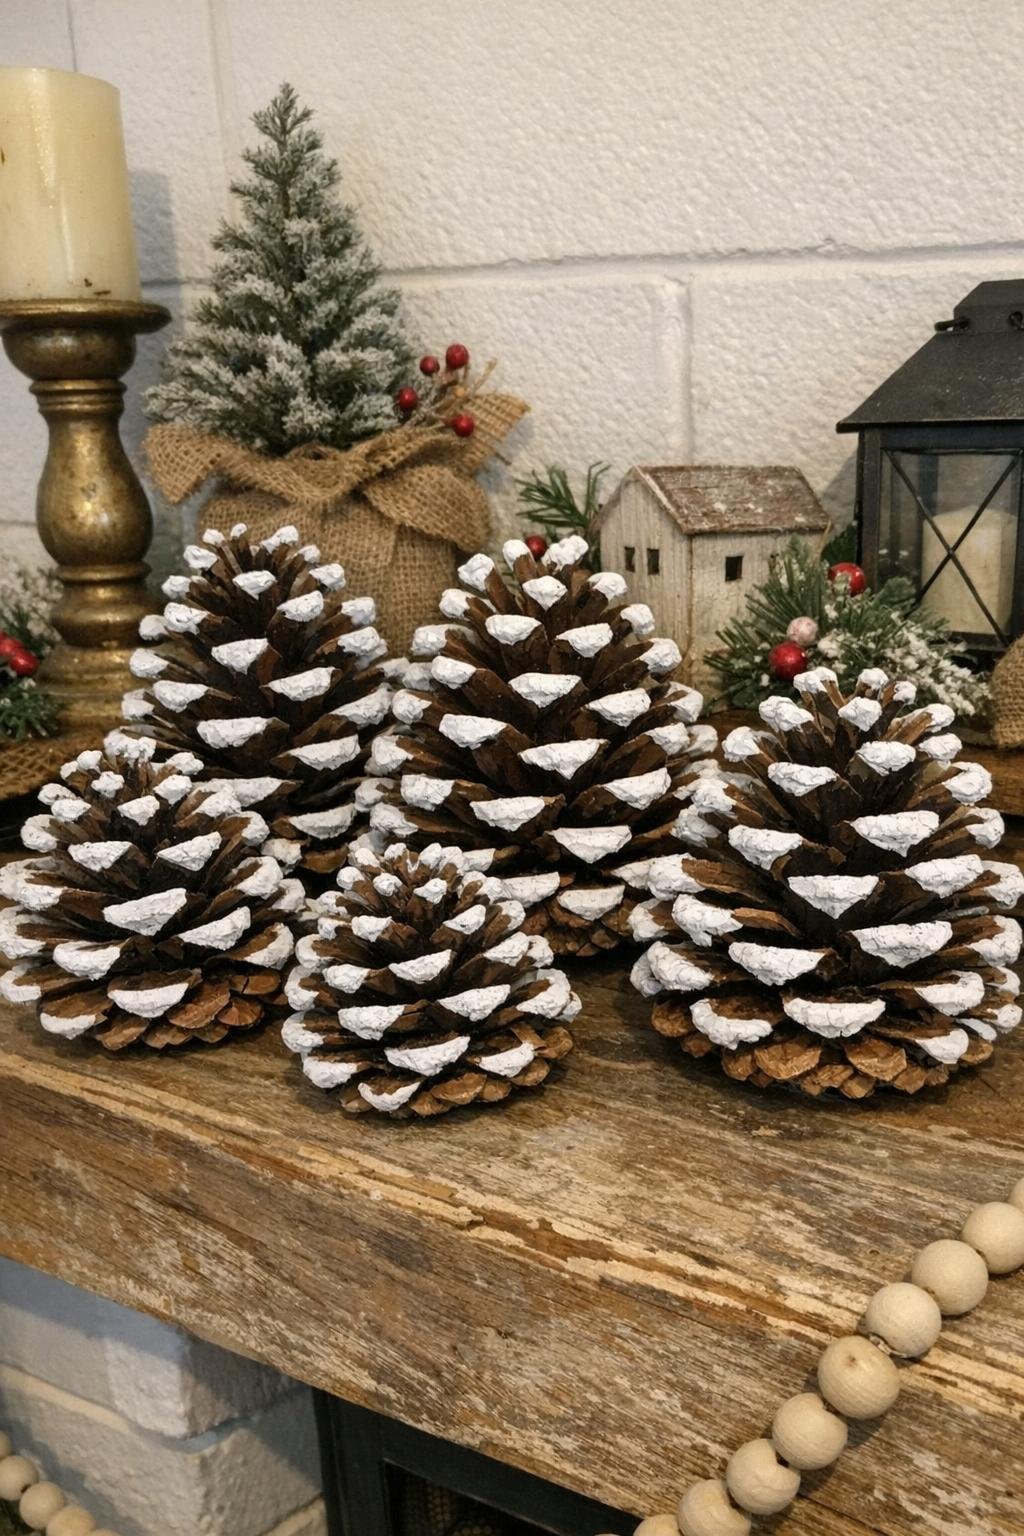
This is one of my favorite mantel fillers because it takes plain pine cones and makes them feel festive in under an hour. Use a small stiff paintbrush to dry-brush white craft paint just onto the outer tips of the scales. While the paint is still tacky, sprinkle on a very light dusting of fine glitter if you want a little sparkle.
Cluster 6 to 10 of them in a tray, tuck them around candles, or scatter them across the mantel with evergreen clippings. If you prefer a less glittery look for a more natural home, skip the sparkle and use only paint. They still read as snowy and wintery from across the room.
9. Pine cone garland
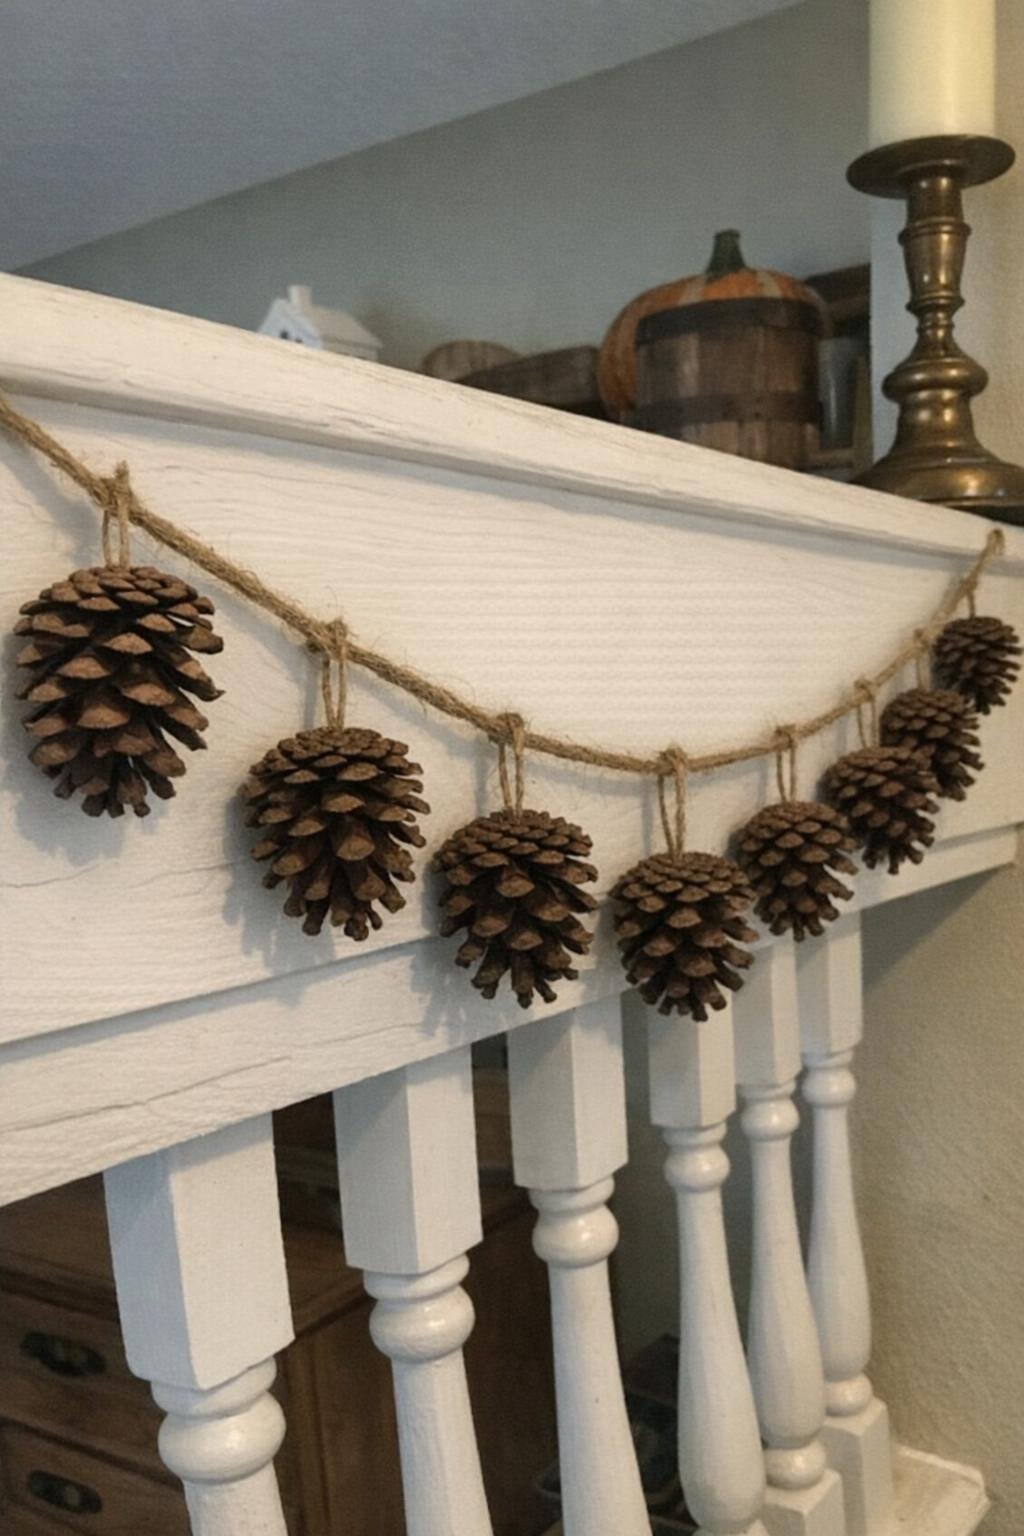
A pine cone garland adds wonderful texture to a stair rail, mantel, or window without costing much at all. Wrap thin floral wire around the base of each cone, then twist the wire securely onto a length of jute twine. I space mine about 4 to 6 inches apart so the garland bends nicely and doesn’t get too heavy.
For a 6-foot mantel, you’ll need roughly 12 to 15 cones. You can leave the twine plain, or weave in a little faux cedar or a narrow strip of burlap ribbon. This one stores well too, which makes it worth the little bit of effort up front.
10. Pine cone Christmas ornaments
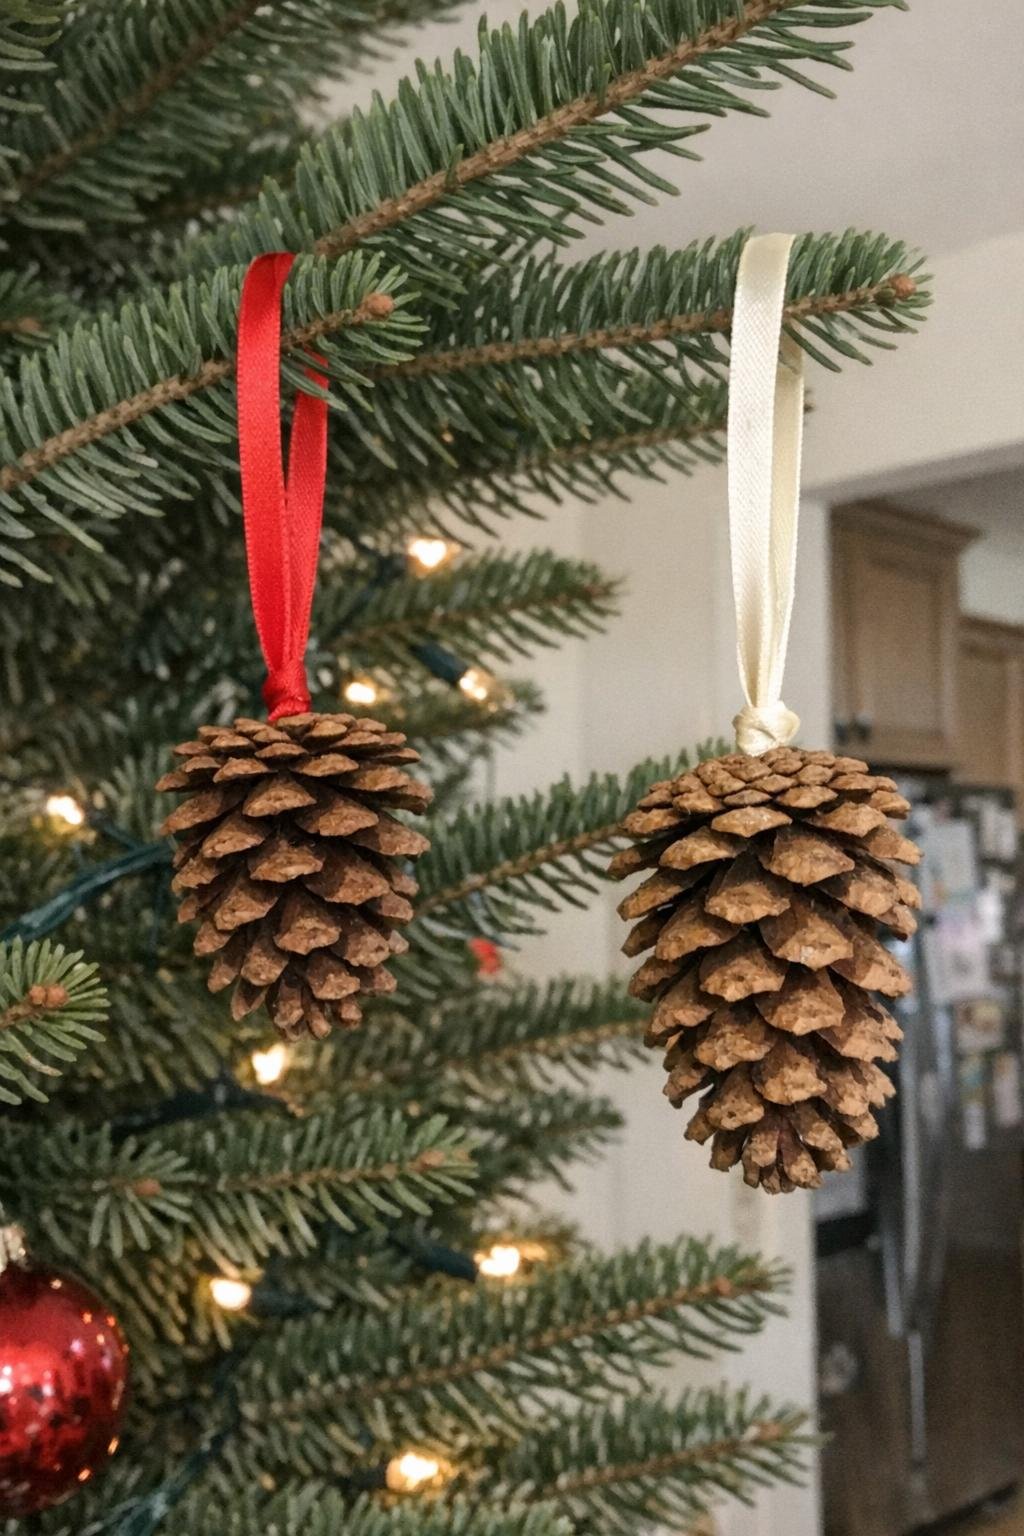
Pine cones make charming tree ornaments, especially when you group a few different sizes together. Twist a small eye screw into the top of each cone, then thread through a 6- to 8-inch ribbon loop or simple twine hanger. If the cone feels loose, add a dot of craft glue to the screw before twisting it in.
I like using three sizes on the tree: small near the outer branches, medium through the middle, and a few larger ones tucked deeper into the greenery. You can leave them natural, brush them with a little gold paint, or tie a tiny bow at the top if you want a softer look.
11. Tabletop pine cone forest
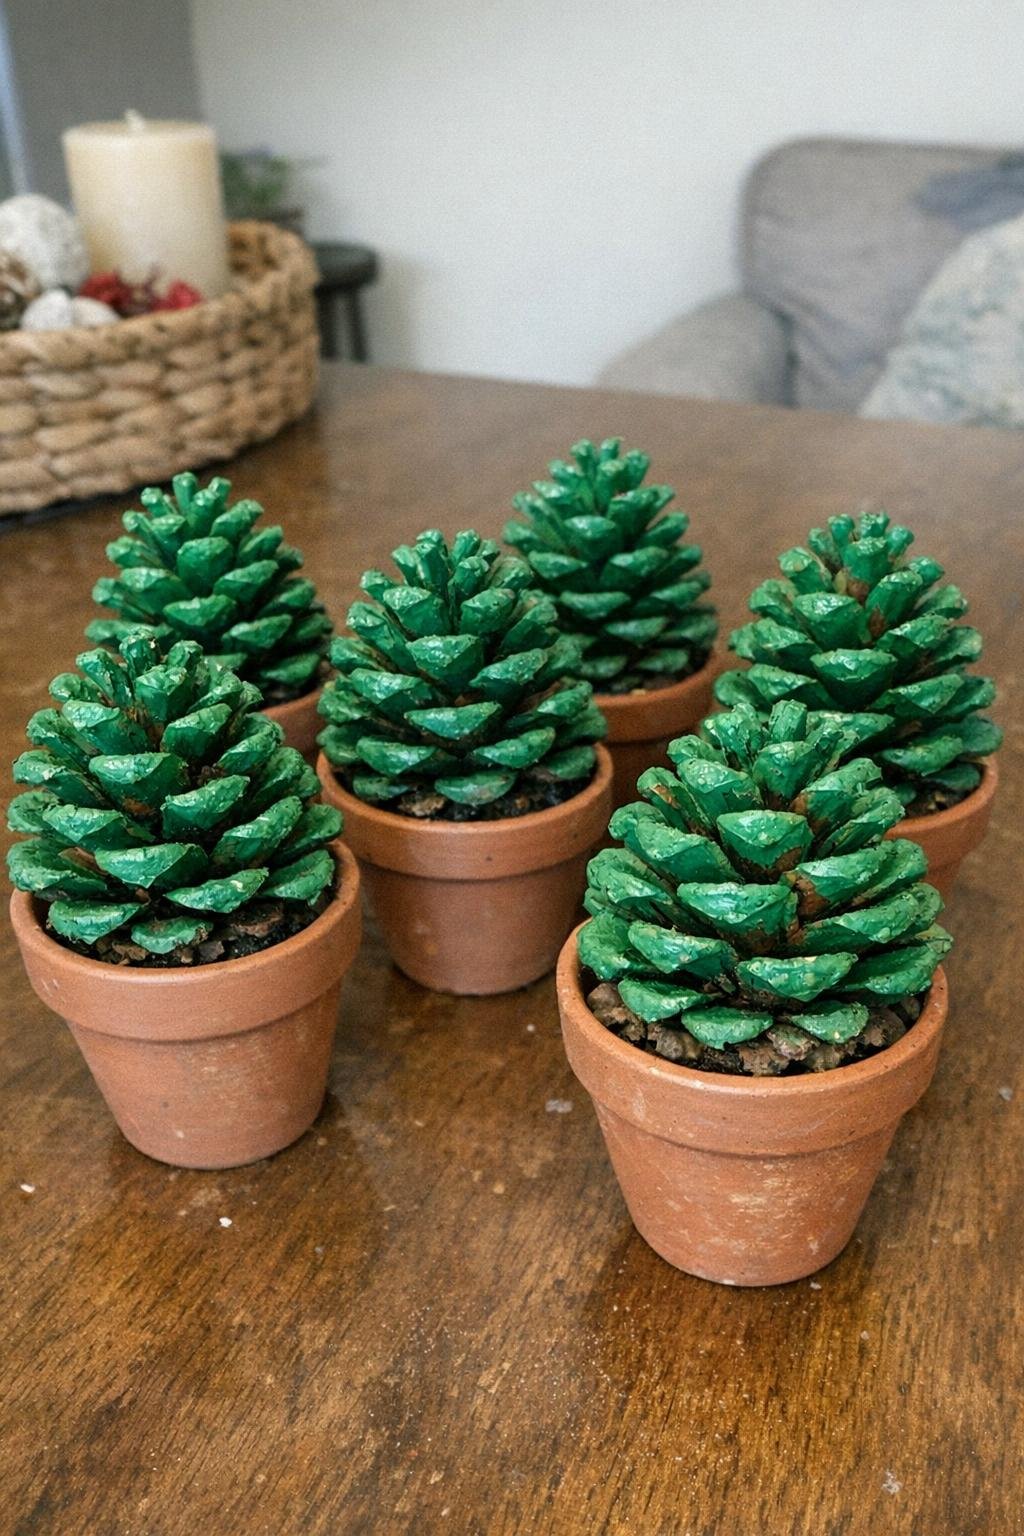
This is such a cute centerpiece for a console table, kid table, or kitchen windowsill. Paint medium pine cones green with craft paint, making sure to work color into the outer scales while still letting some natural texture show through. Once dry, stand each one upright in a tiny terracotta pot with a blob of hot glue or floral clay.
Grouping 5 to 9 little “trees” together at different heights gives the nicest look. I sometimes set them on a tray with a little loose faux snow around the pots. If you have picky crafters at home who don’t love messy painting, let them decorate just one cone each and keep the rest plain.
12. Pine cone candle ring
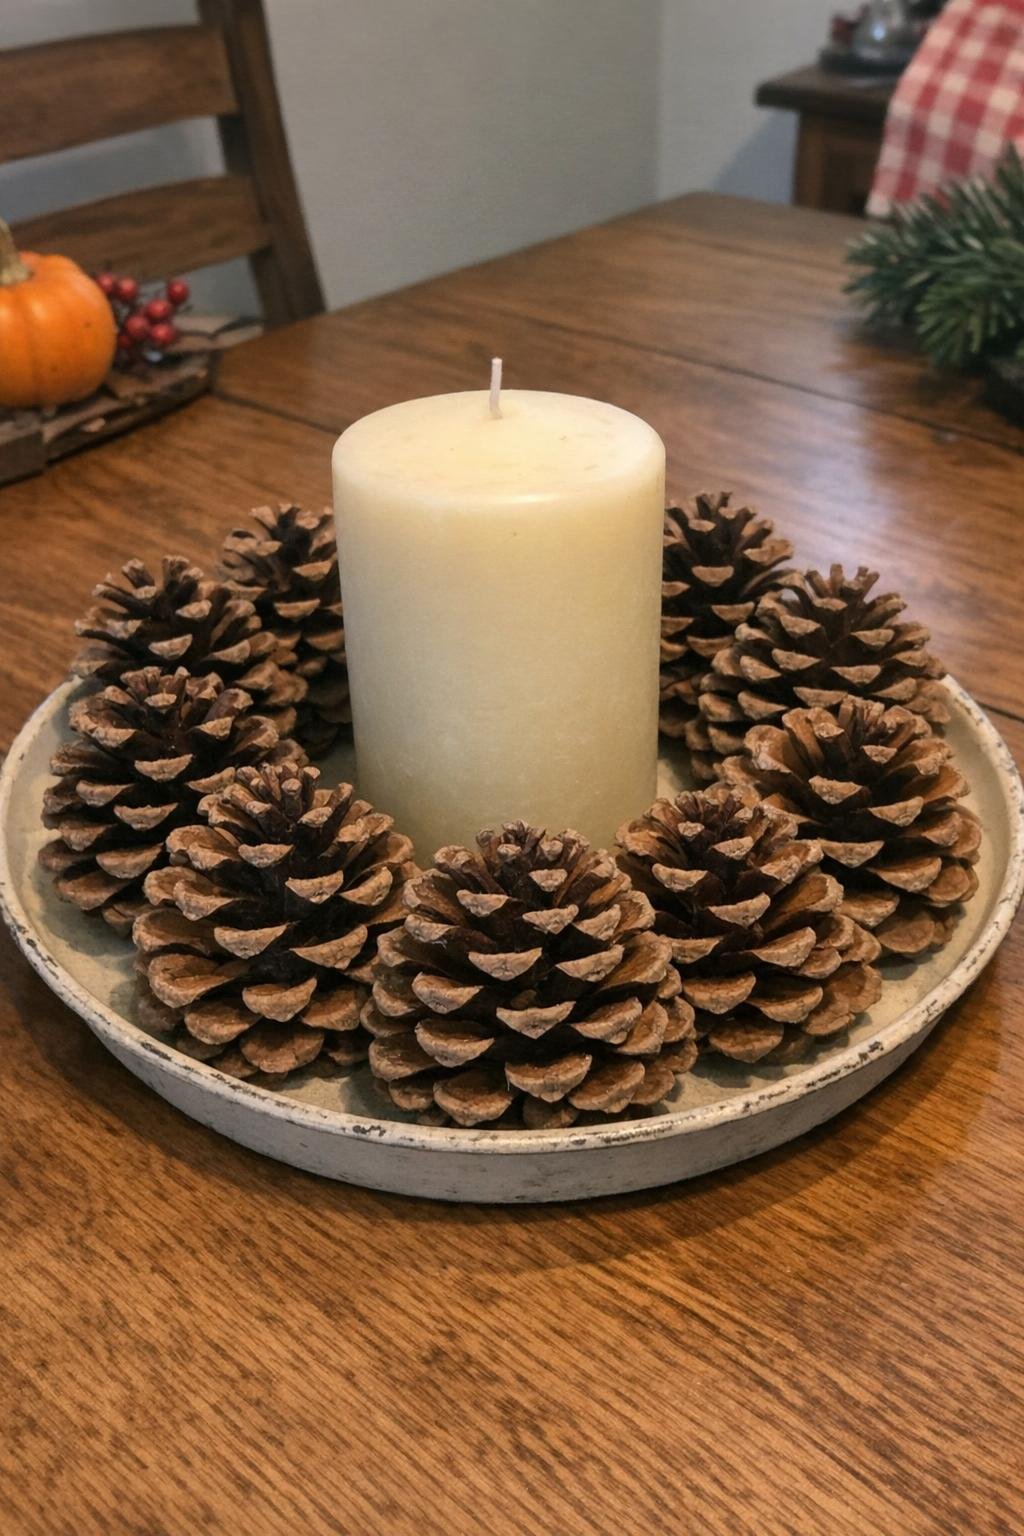
For a quick centerpiece, make a pine cone candle ring around a plain pillar candle. Arrange small to medium cones in a circle on a tray or charger, then glue them side by side so they form a ring large enough to fit around a 3- or 4-inch pillar. Keep at least 1 inch of clearance between the candle and the cones for safety.
I like adding a few sprigs of faux greenery or some acorns in the gaps, but even plain pine cones look lovely on a dining table. If you’d rather not use a real flame, a battery candle works beautifully here and lets you keep the centerpiece out all season without worry.
Once you start saving pine cones instead of tossing them, it’s amazing how many pretty and practical things you can make from them. I love that they’re free, easy to find, and flexible enough to use from early fall all the way through winter.