
I swear mason jar lids multiply in my kitchen drawer. I’ll use the jars for soup prep, overnight oats, or little leftovers, and somehow the loose rings and flat lids end up in a rattling pile that’s too useful to throw away but too messy to ignore. If you’re anything like me, you’ve probably kept them “just in case” and then forgotten about them for months.
These are 12 mason jar lid projects that actually look good when they’re finished, not just crafty in a one-afternoon-and-never-again way. I kept this list practical and photo-worthy: the first six work year-round, and the last six lean into fall and winter decorating, which is when I tend to pull out my extra lids and finally do something with them.
1. Twine-wrapped jar-ring coasters
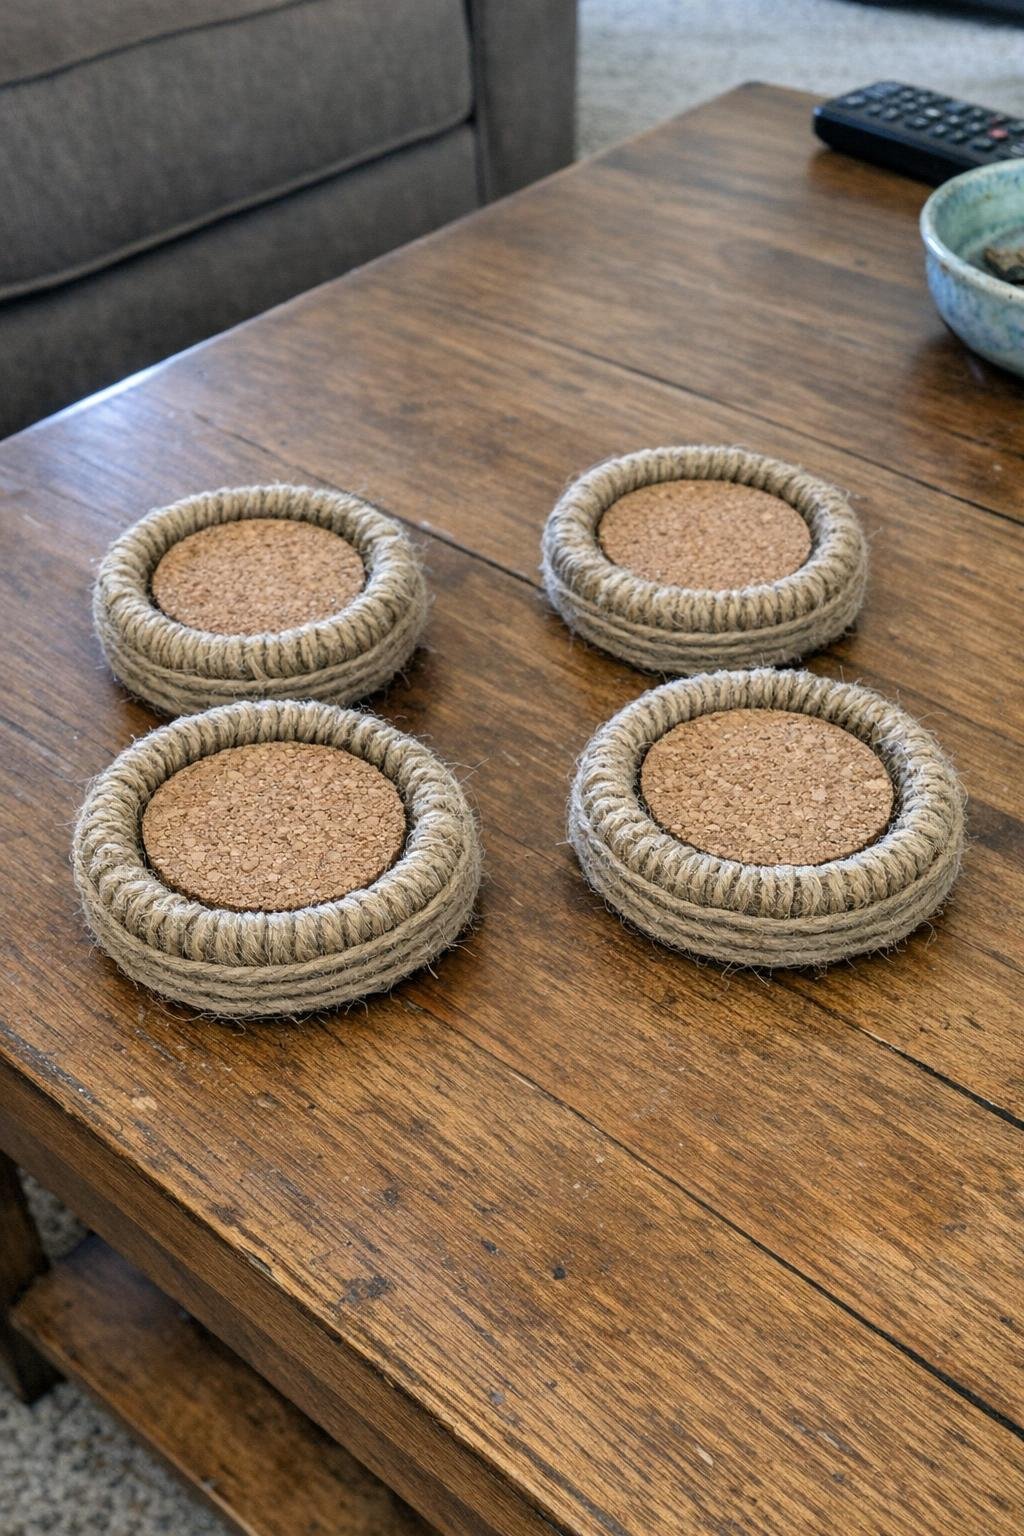
This is one of the easiest upgrades for a pile of standard-mouth rings. Wrap each ring tightly with 1/8-inch jute twine, adding a thin line of hot glue every 2 to 3 inches so it doesn’t shift. Then trace the inside opening onto 1/8-inch cork sheet, cut out a circle, and glue it into the center. One coaster usually takes about 6 to 8 feet of twine and 10 minutes to finish.
I like making a set of four because they look surprisingly polished on a coffee table, especially next to a mug or a cold glass. If you want them to sit flatter, press each finished coaster under a heavy cookbook for 30 minutes while the glue cools completely.
2. Jar-lid tealight holders
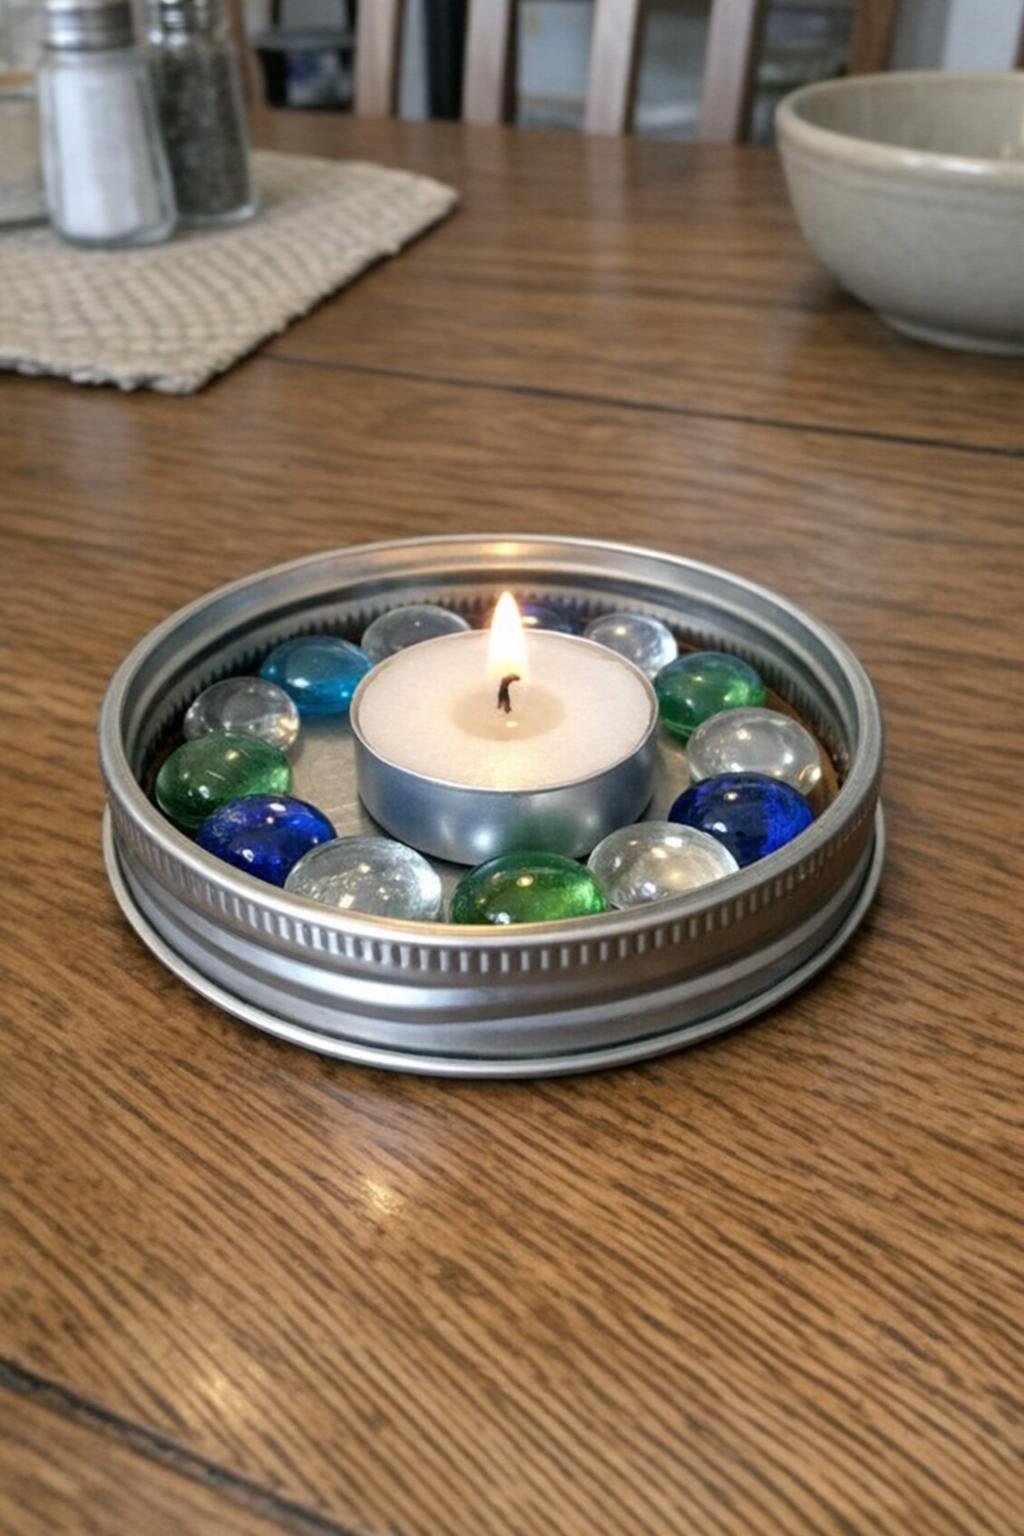
Take one flat lid and set it inside its matching ring so it forms a shallow tray, then place a standard metal-cup tealight in the middle. Glue small glass gems or vase fillers around the candle, filling the space between the candle cup and the ring. Clear gems look simple and clean, but amber or pale green gives it more of a cozy glow at night.
I’ve used these on a dining table with three holders in a row on a narrow runner, and they cost only a few dollars total if you already have the lids. Keep the gems low enough that they don’t touch the flame, and use battery tealights if you want something completely worry-free for everyday display.
3. Ring trivet
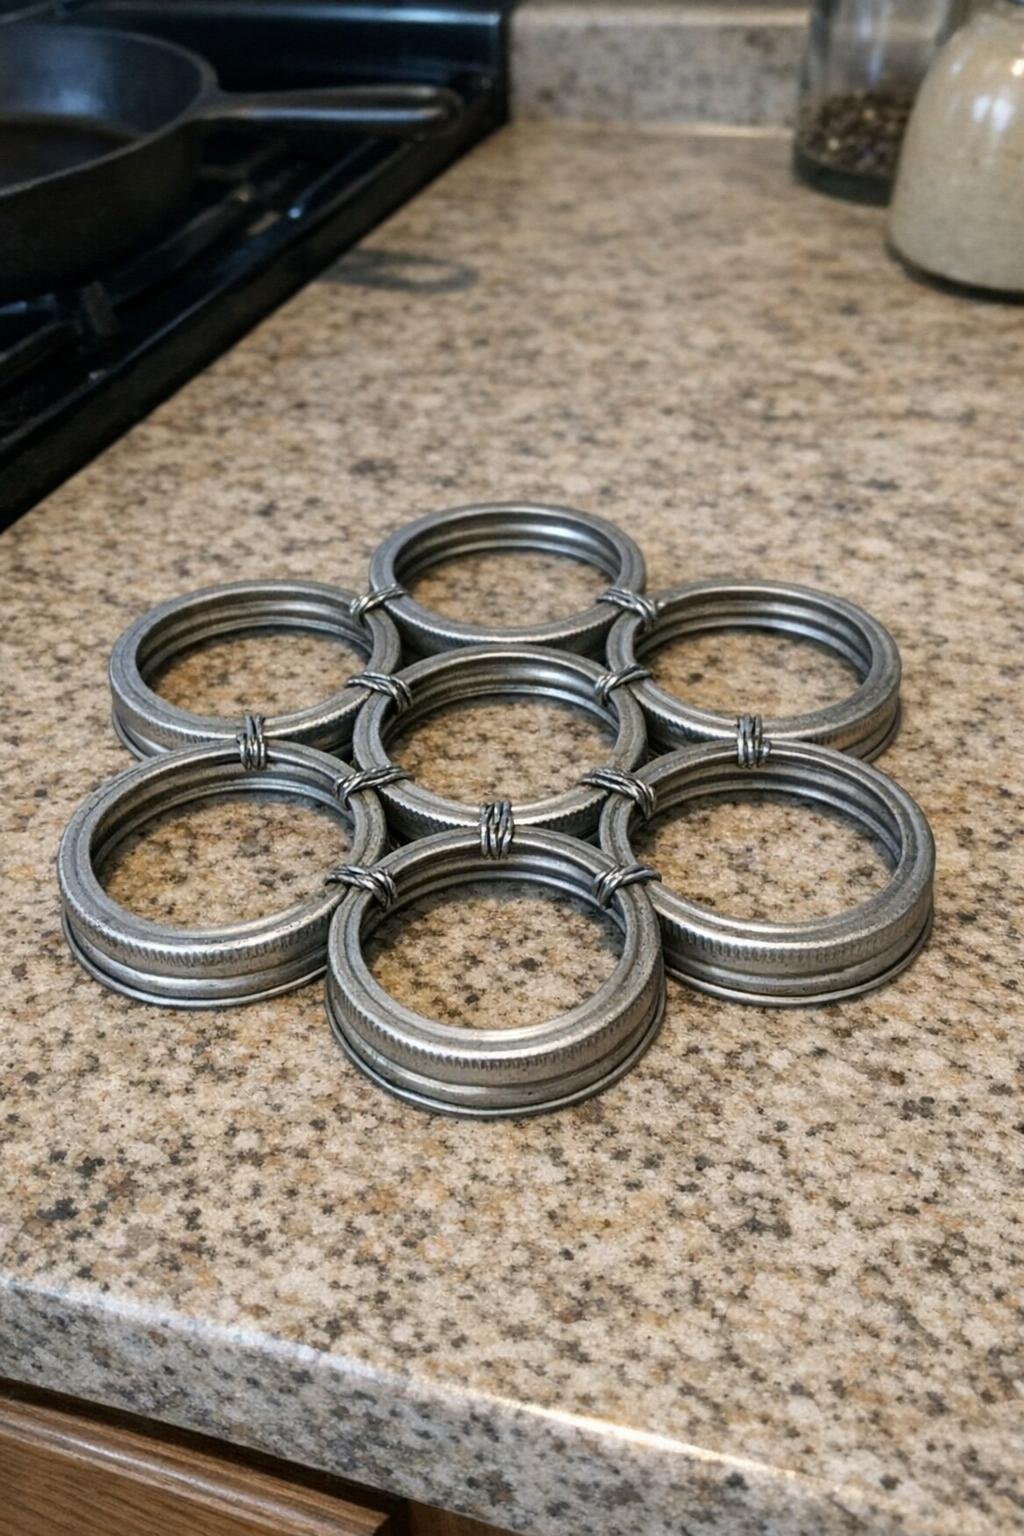
A ring trivet is one of those projects that looks clever because it is clever. Arrange seven rings in a honeycomb layout: one in the center and six around it. Use 22-gauge floral wire to bind touching points together, wrapping each connection 4 or 5 times and twisting the ends tight with needle-nose pliers. You’ll have a trivet about 8 to 9 inches across, which is a good size for a saucepan or casserole dish.
If you want a sturdier finish, add a tiny drop of metal epoxy at each joint after wiring. I keep one near the stove, and it’s genuinely useful on busy weeknights when I’m moving hot pans around and don’t want to hunt for a bulky trivet in the cabinet.
4. Jar-lid photo magnets
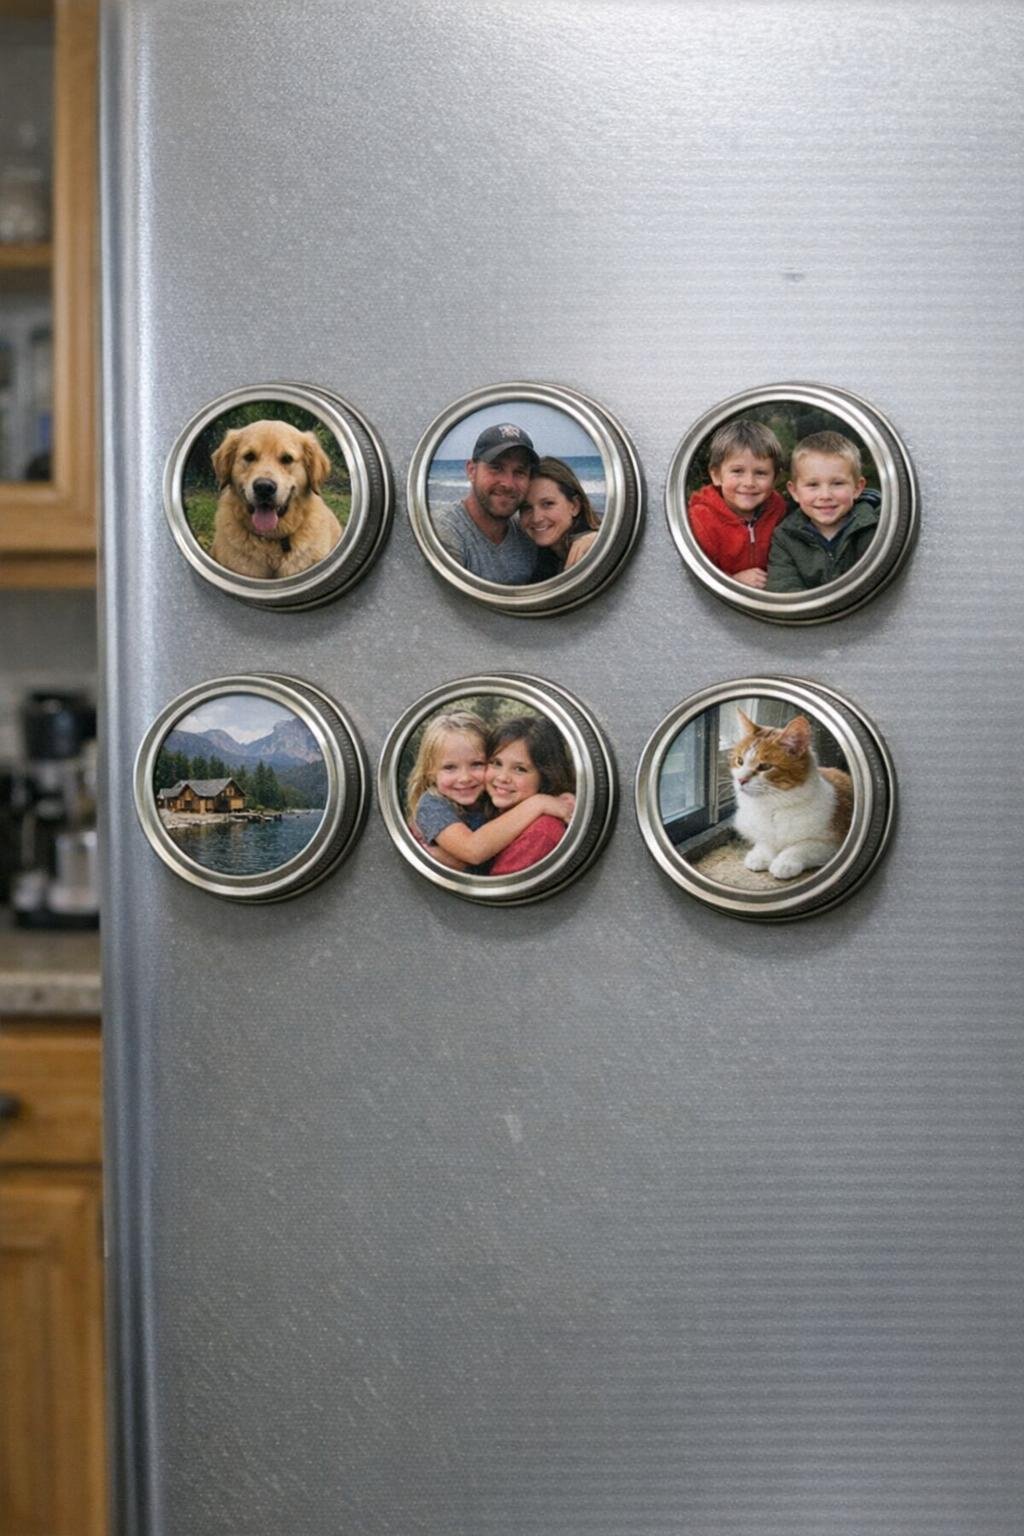
Flat lids are almost the perfect little frame for refrigerator magnets. Cut a family photo, recipe image, or pet picture to fit the inner circle of the lid, then glue it down with a thin coat of decoupage medium. Once it dries, glue a small round magnet or a 1-inch strip magnet on the back. For durability, add one more coat over the top of the photo and let it dry for at least 20 minutes.
I love this one because it turns random printed photos into something you’ll actually see every day. A set of six magnets makes a sweet gift too, especially if you use black-and-white prints for a more pulled-together look on the fridge.
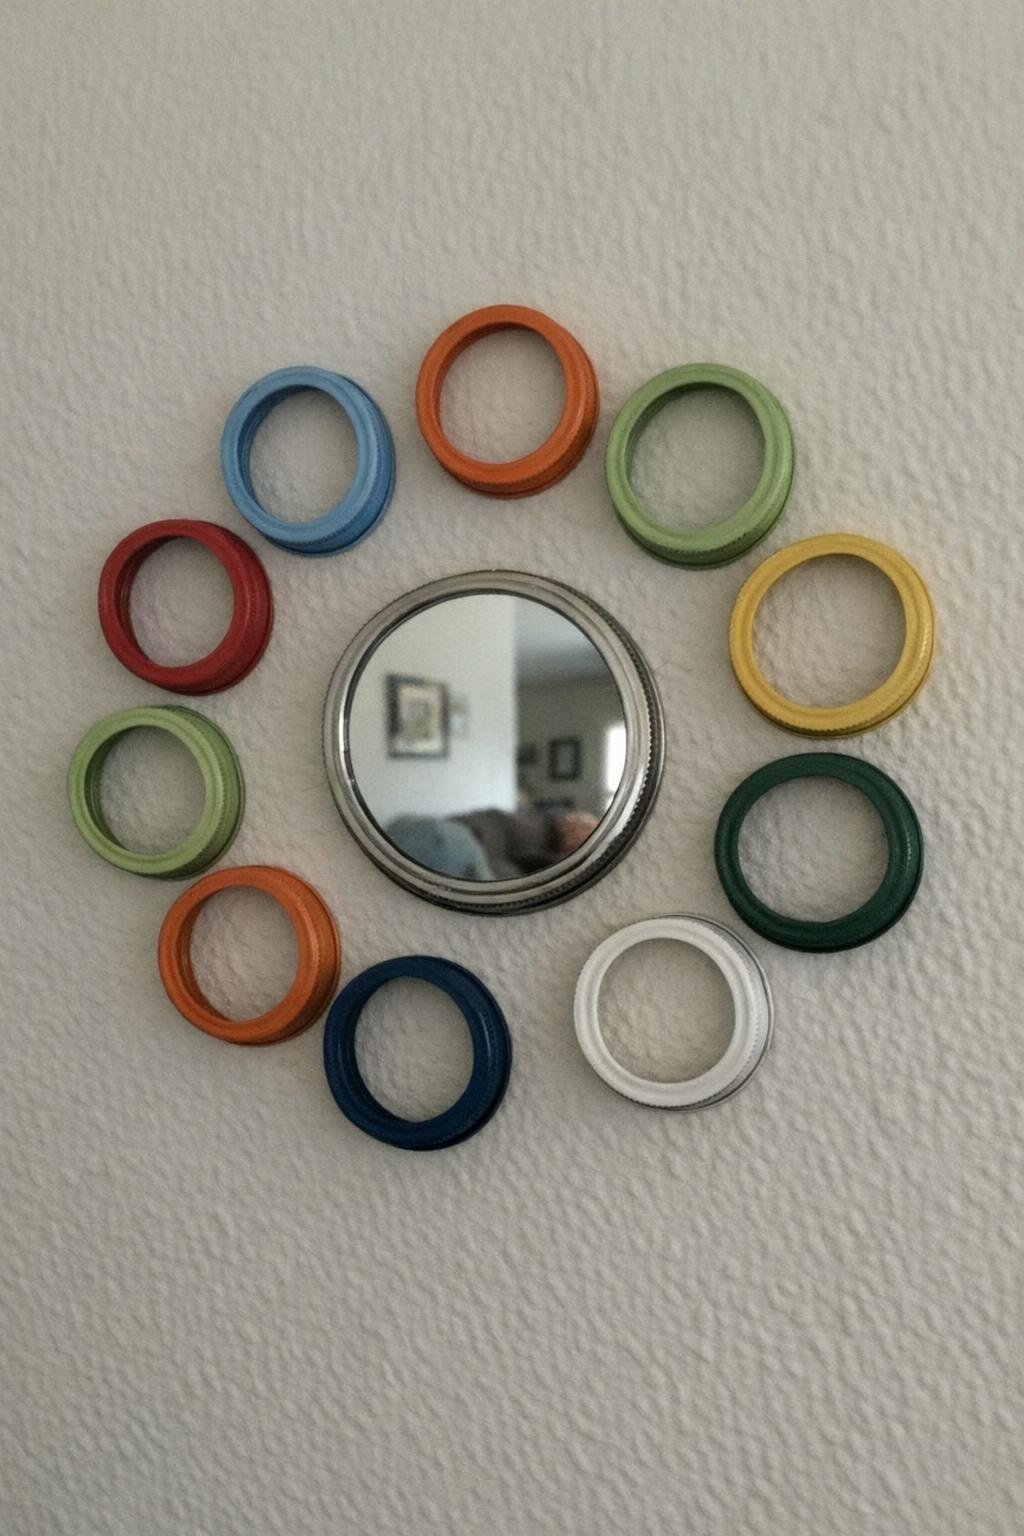
5. Sunburst mirror
This one looks much more expensive than it is. Paint 16 to 24 jar rings in one color—matte black, brushed gold, and creamy white all work well—then glue them in a full circle around a small round mirror, usually 6 to 8 inches across. Space the rings evenly so they radiate outward like sun rays, and attach the whole piece to a plywood or thick cardboard backing for support.
I’ve seen this style in boutique home stores for prices that make me laugh, and honestly, a DIY version can look just as striking if you keep the spacing neat. Hang it in a hallway, powder room, or above a small shelf where it catches light without needing to be oversized.
6. Chalkboard pantry lids
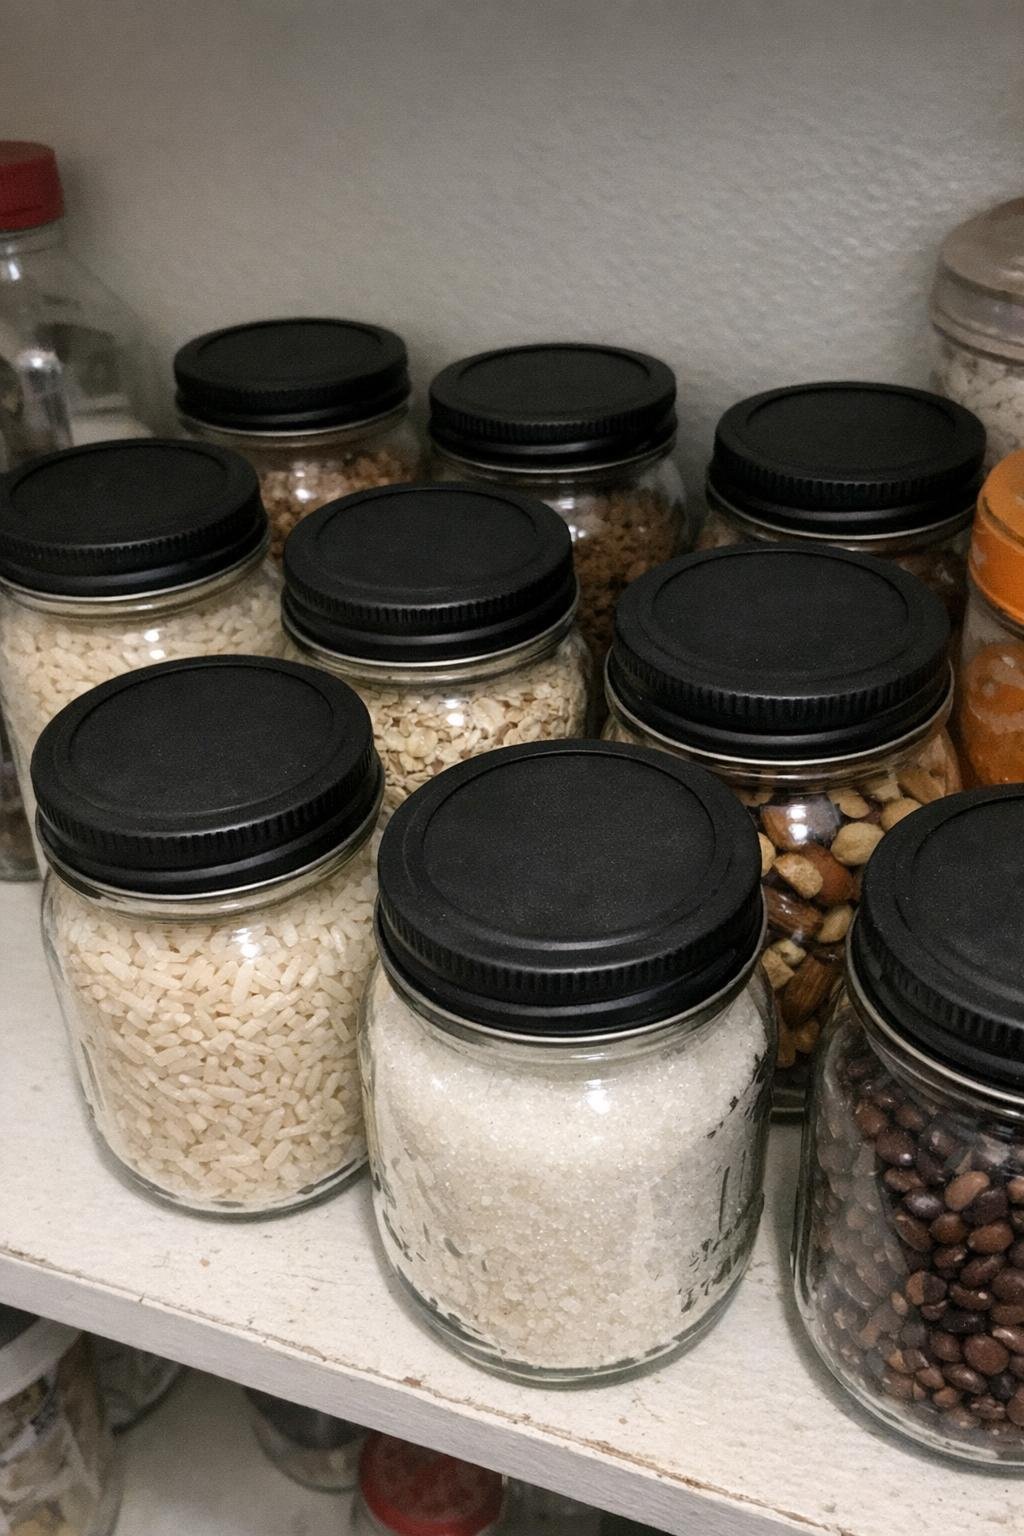
If you store dry goods in mason jars, this is the most practical idea on the list. Paint the flat lids with two thin coats of chalkboard paint, letting each coat dry for about 1 hour. Once cured, place them back in the rings and screw them onto jars of flour, rice, oats, sugar, or snack mix. Then label each one with chalk or a chalk marker.
What I like is that the labels are easy to change when the jar’s job changes. In my pantry, that matters a lot because one week a quart jar holds granola and the next week it’s full of popcorn kernels. A 2-ounce sample jar of chalkboard paint usually covers plenty of lids.
7. Mason-jar-ring pumpkin
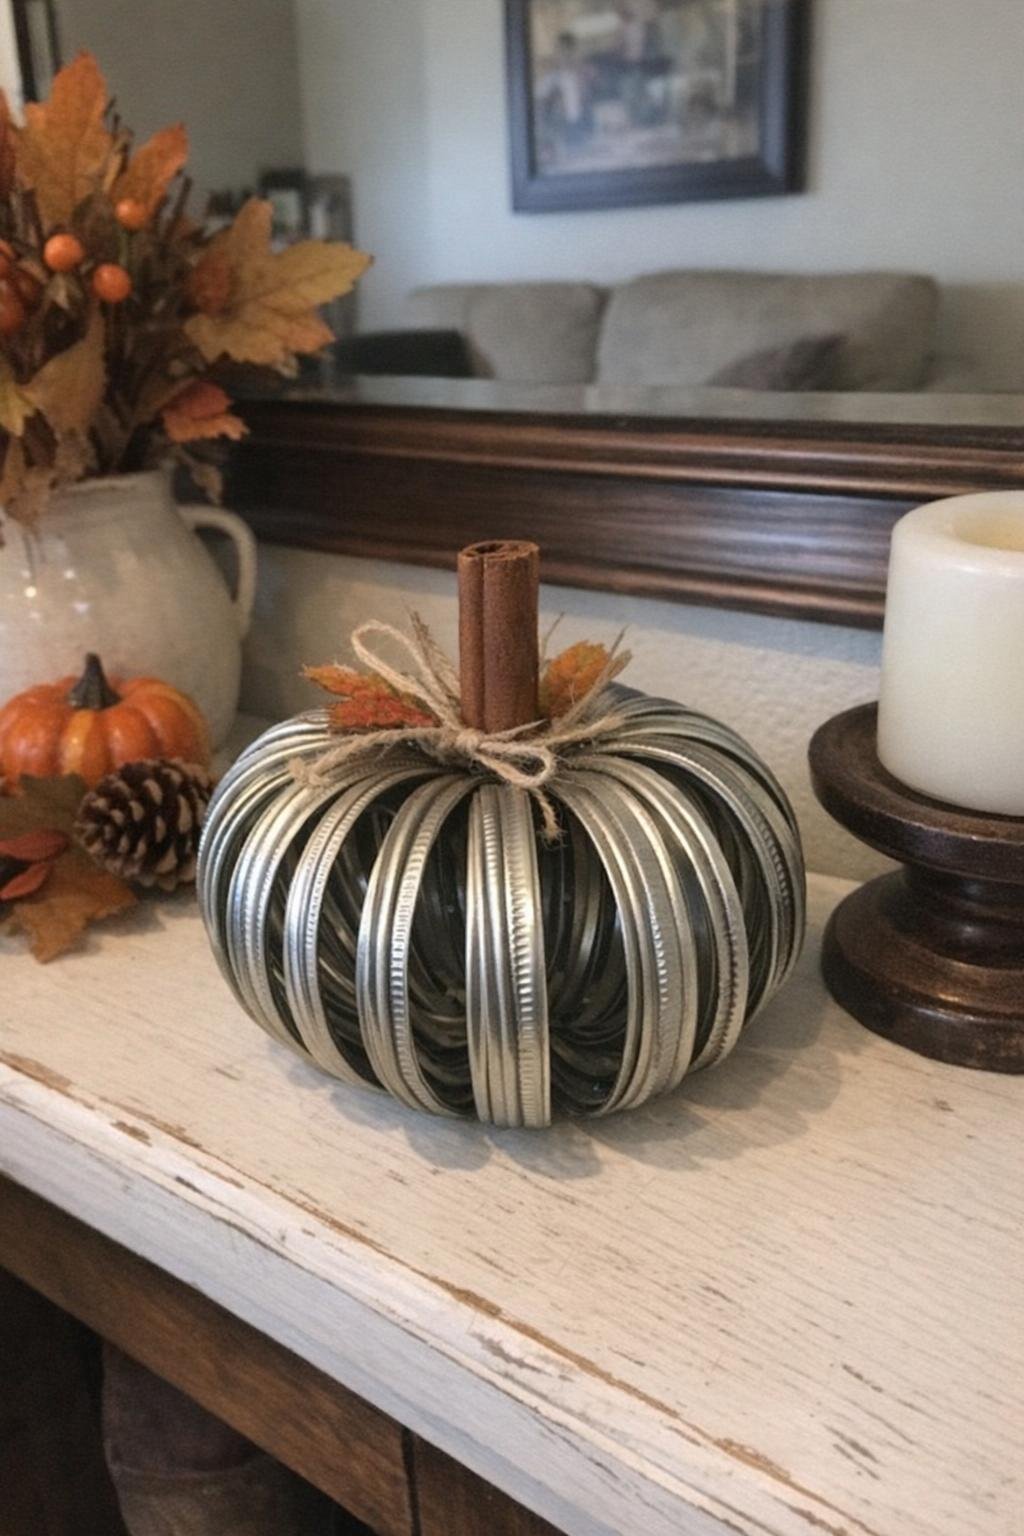
For fall, thread 8 to 12 jar rings onto a piece of sturdy jute or floral wire, then pull them into a round pumpkin shape and tie the top closed. Fan the rings slightly so the form looks full, then tuck a cinnamon stick into the center as the stem. A strip of burlap ribbon or a couple of faux leaves makes it feel finished without much extra effort.
This is one of my favorite front-entry or mantel crafts because it takes maybe 15 minutes and instantly reads as autumn. If your rings are mixed sizes, use all wide-mouth or all regular-mouth in one pumpkin so the shape stays even.
8. Jar-lid Christmas ornaments
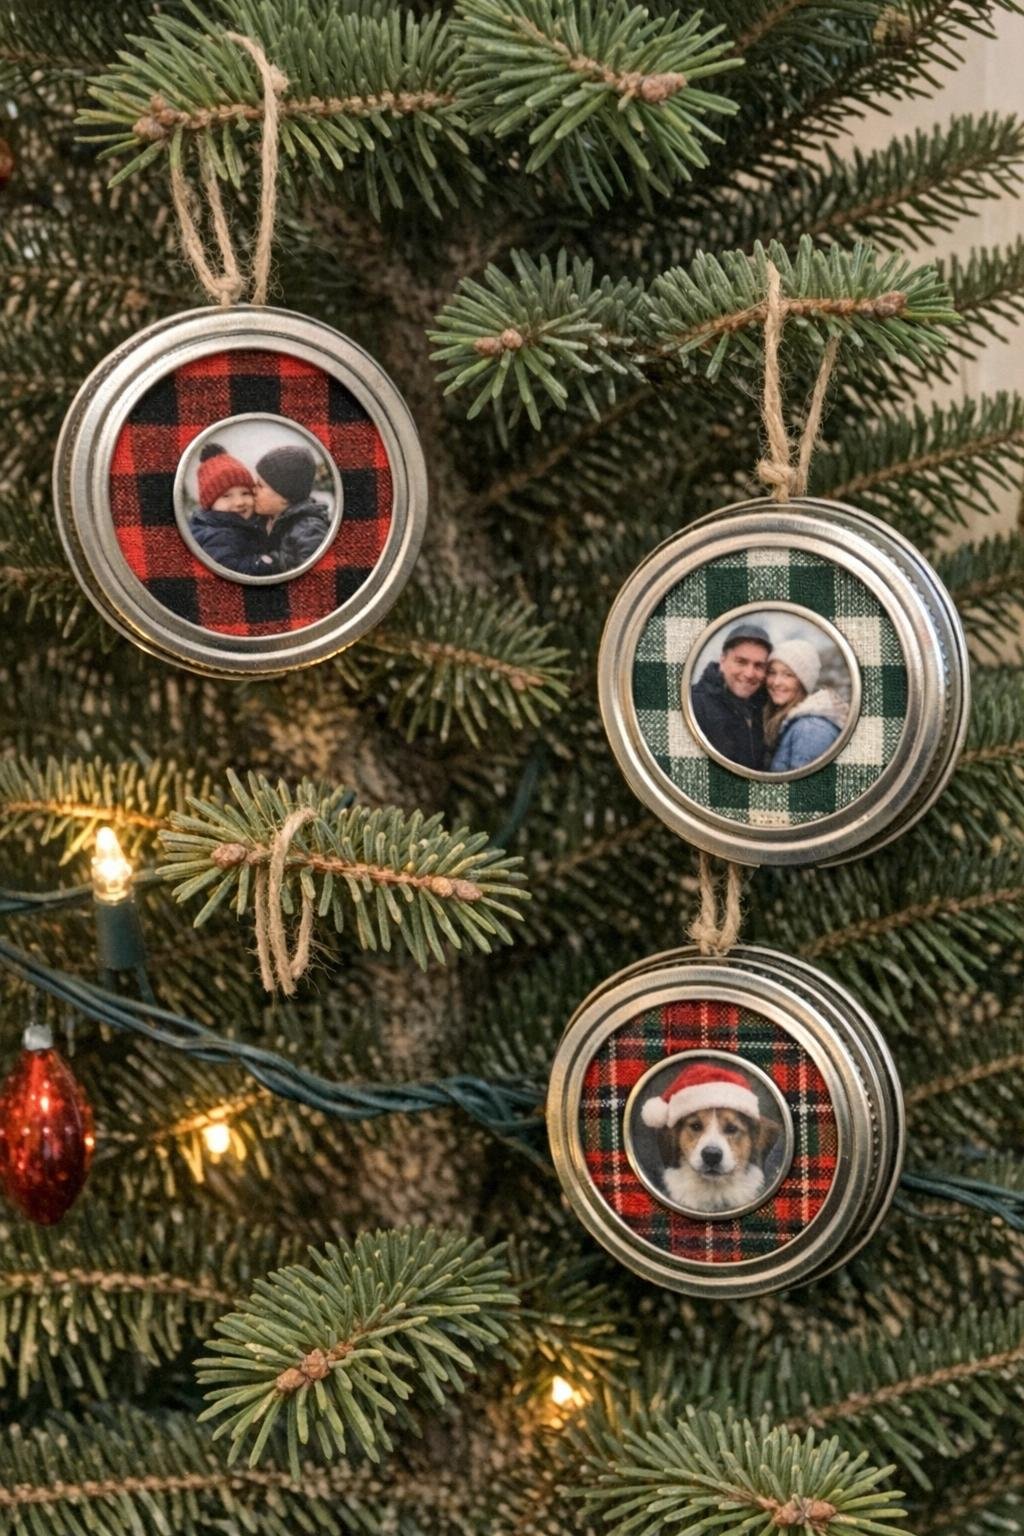
Flat lids make great little ornament frames. Cut a circle of plaid fabric, batting, or a small family photo to fit inside the lid, then place it in the center and secure the ring over it. Loop a 6-inch piece of ribbon or twine through the top for hanging. If you use fabric, a pinch of batting underneath gives it a soft, padded look.
I’ve made these while watching Christmas movies and they’re the kind of project you can finish in batches of six or eight in an hour. They look especially nice tucked deeper into the tree where the metal edge catches the lights.
9. Painted jar-ring wreath
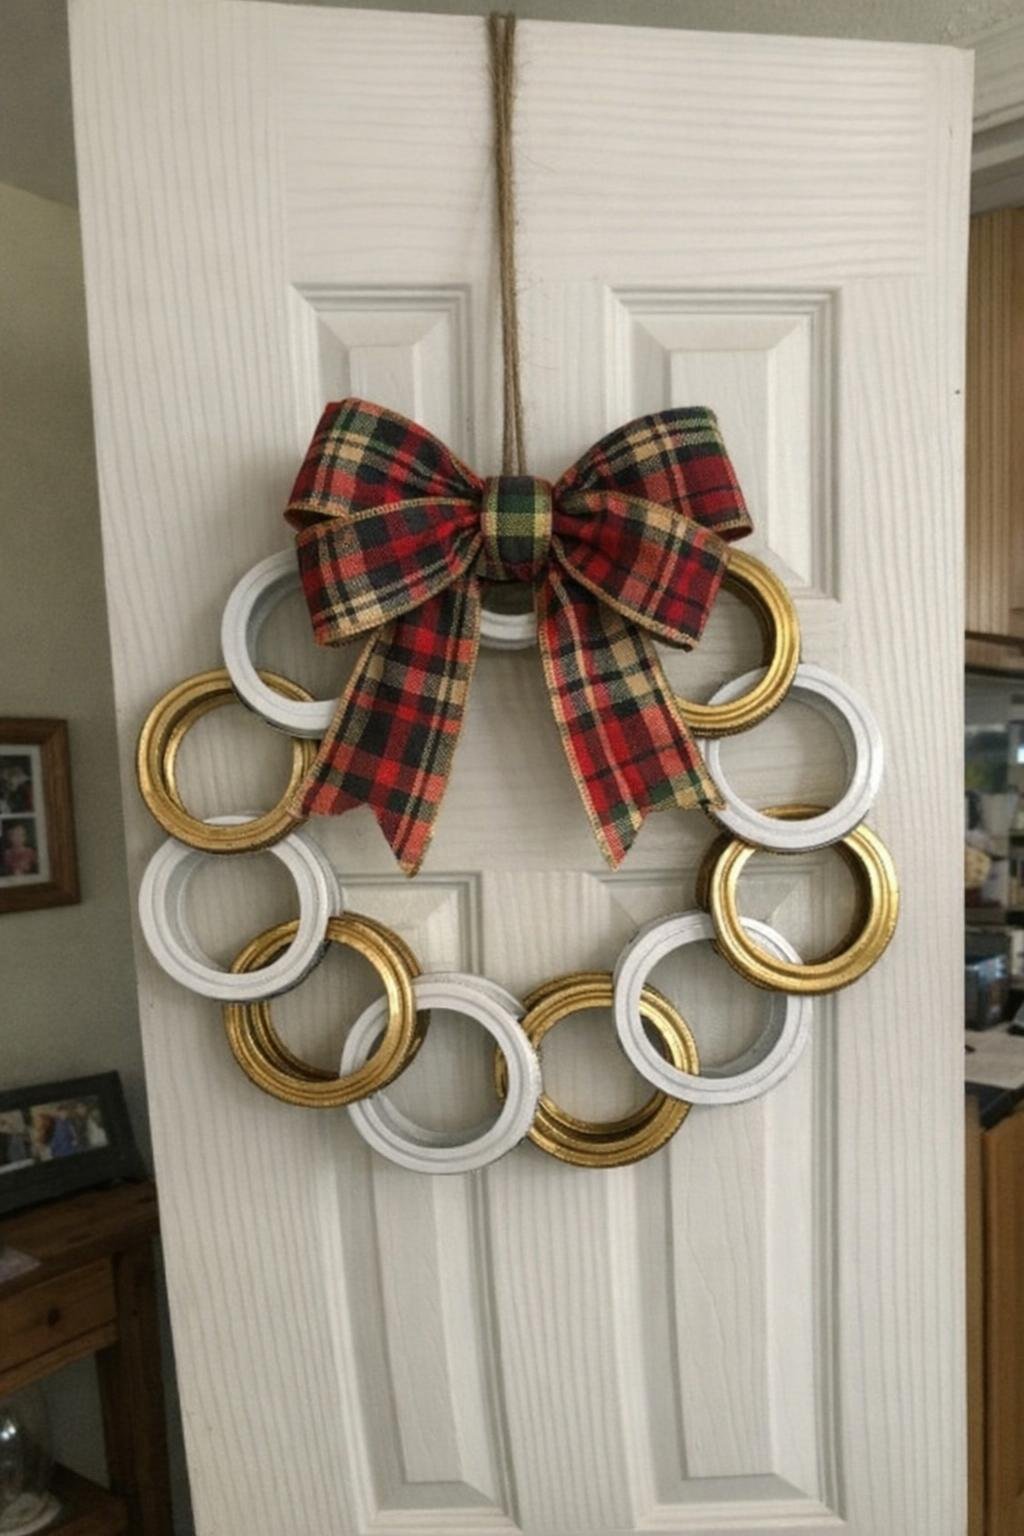
Glue 12 to 18 rings into a large circle, overlapping the edges slightly, then spray-paint the whole wreath gold, white, or deep green. Once it dries, add a plaid bow, a bit of faux cedar, or a small cluster of pinecones where the rings meet at the top or bottom. The finished wreath is light enough to hang on an interior door with a removable hook.
This works because the repeated ring shape gives the wreath nice texture without needing a lot of filler. I like setting it on newspaper in the garage for painting, then letting it cure overnight so it doesn’t stay tacky if your house is warm.
10. Jar-ring snowflake
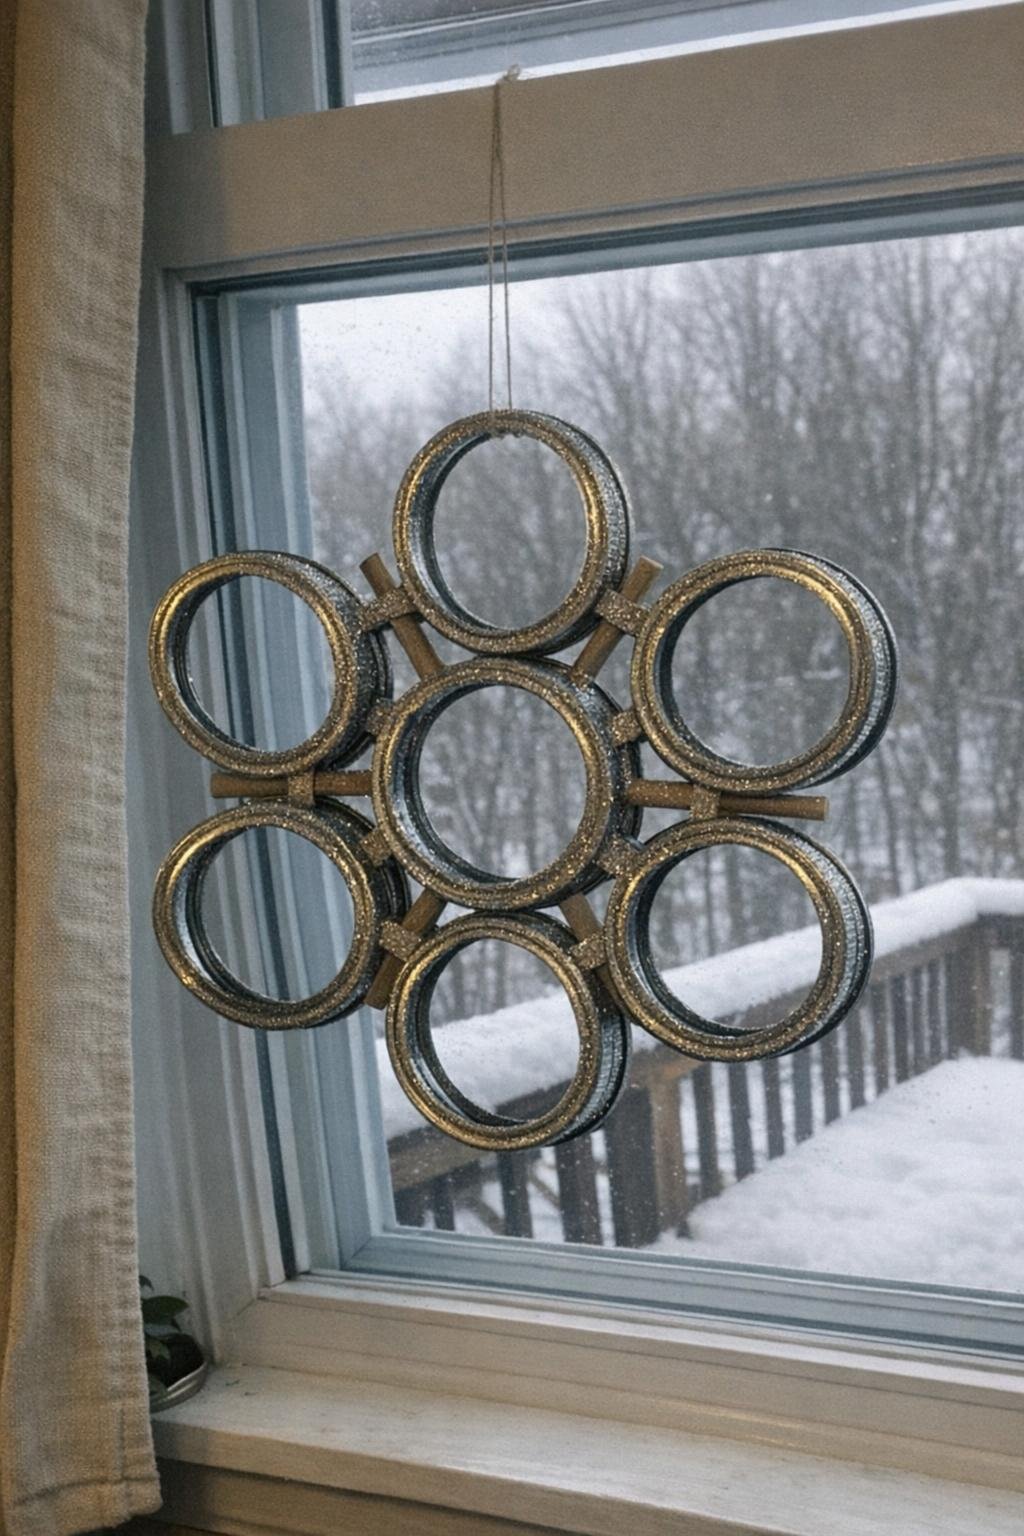
Use six rings to build a snowflake: one ring in the center area and the others angled evenly around it, or glue pairs together in a symmetrical branching pattern. Once the glue sets, spray it white or silver and dust on a little fine glitter while the paint is still tacky. Fishing line works well for hanging because it nearly disappears from a window or shelf display.
I’d keep the glitter light here so it still reads as metal and not elementary-school craft day. These look best grouped in twos or threes at different heights, especially near a window where winter light can catch the edges.
11. Jar-lid snowman ornaments
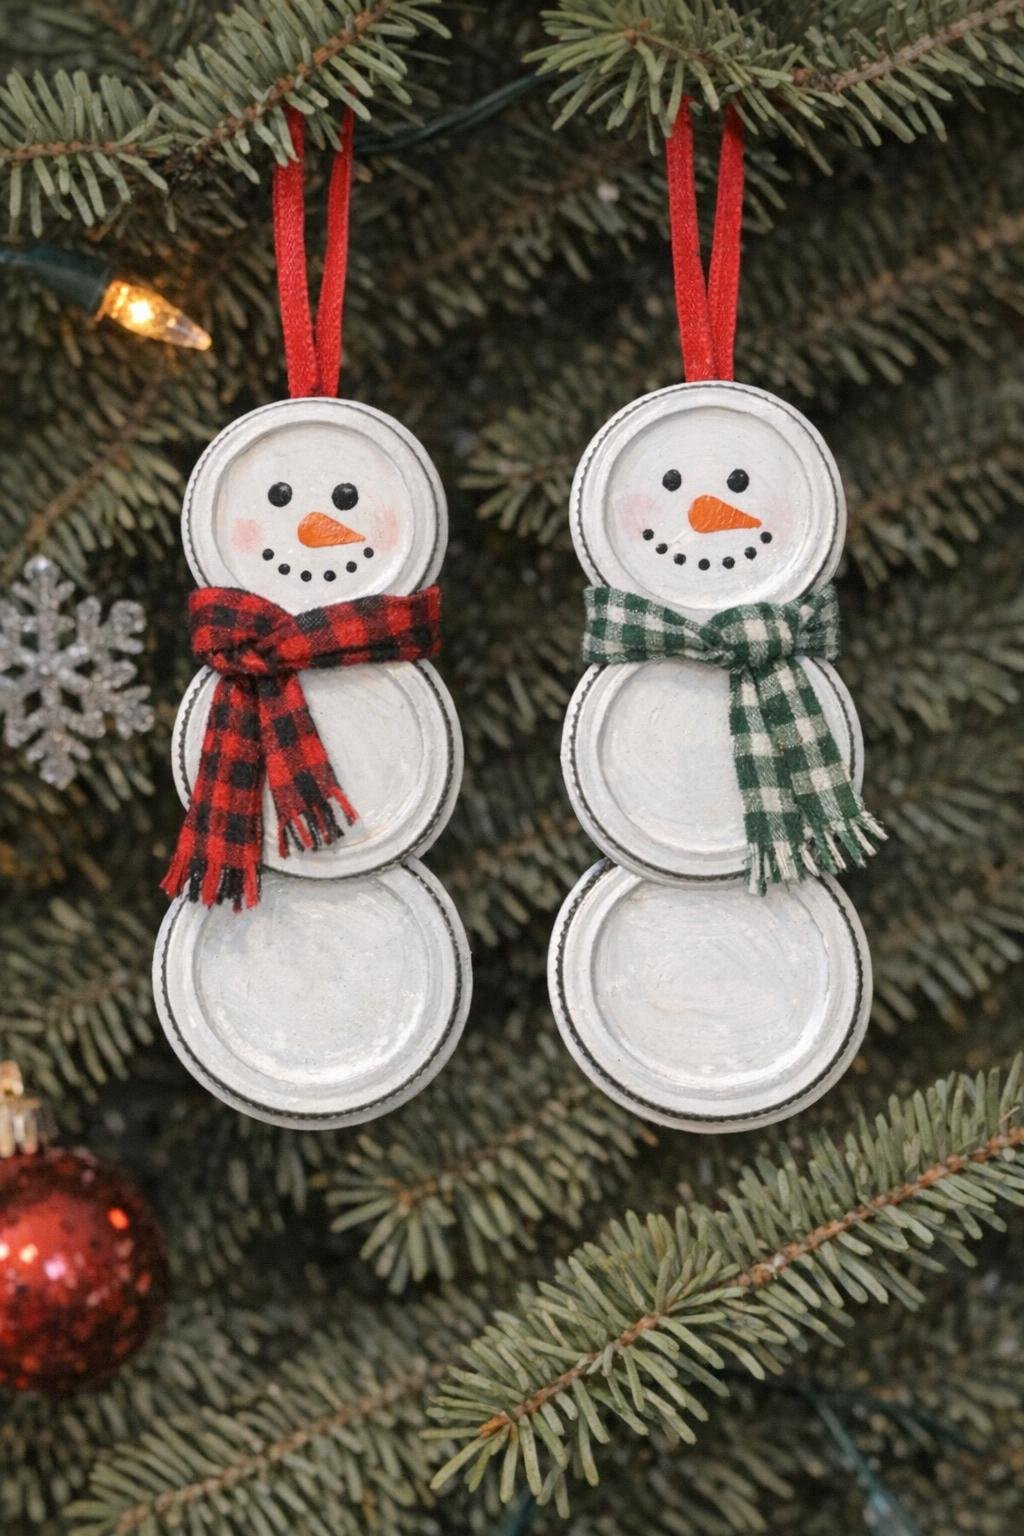
Paint three flat lids white, let them dry, and stack them vertically on a ribbon so they form a snowman shape. Add simple black dots for eyes and buttons, a small orange triangle nose, and a strip of scrap fabric as a scarf between the top and middle lids. Keep the painted features bold and basic so they’re visible from a few feet away on the tree.
This is a cute one to make with leftover craft paint, and it doesn’t require perfect drawing. A set of two or three tied onto gifts also works well if you want the tag and the decoration to be the same thing.
12. Stacked-ring Christmas tree
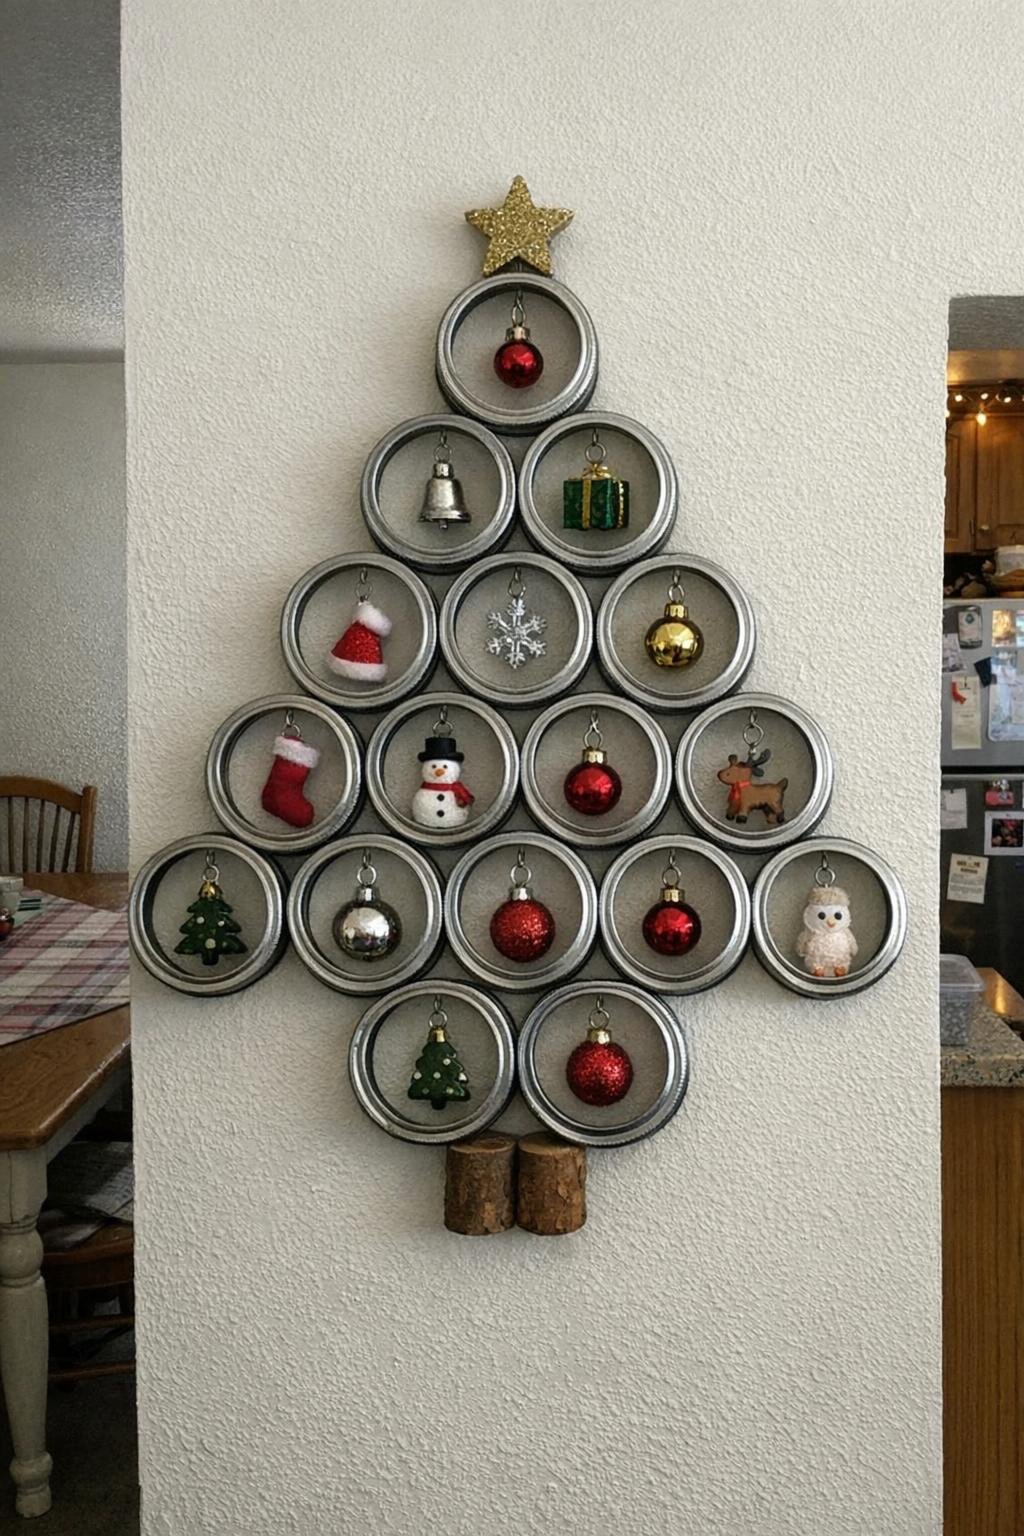
For a wall decoration, glue jar rings into a triangle with one ring at the top, then increasing rows underneath until you have a tree shape. A version with 10 rings usually fills a narrow wall nicely, but 15 rings gives you more room to hang mini ornaments inside each opening. Paint the rings green, gold, or leave them silver for a more simple look, then add a small star at the top.
This is such a smart option if you want holiday decor in a tight corner, apartment entry, or kitchen wall where a full tree won’t fit. I especially like it in a breakfast nook because it adds Christmas spirit without stealing floor space I need for actual life.
If you’ve got a drawer full of spare lids and rings, this is your sign to turn them into something useful or festive instead of letting them clang around for another year. A few of these can be done in one evening, and honestly, that’s my favorite kind of DIY.