
I’m the kind of person who tucks away perfectly usable craft leftovers “just in case,” and styrofoam balls are one of those things that seem to multiply in closets, gift bins, and old project boxes. The good news is they’re incredibly handy for quick decor projects, and with a few inexpensive supplies, you can turn them into something that looks far more polished than the original foam ever did.
I pulled together 12 of my favorite uses for styrofoam balls, starting with everyday decor ideas and moving into fall and winter projects for the second half. These are the kinds of crafts I like to make at my kitchen table while supper is in the oven: simple, budget-friendly, and pretty enough to actually put out in a bowl, on a shelf, or right in the middle of the table.
1. Yarn-wrapped decorative balls
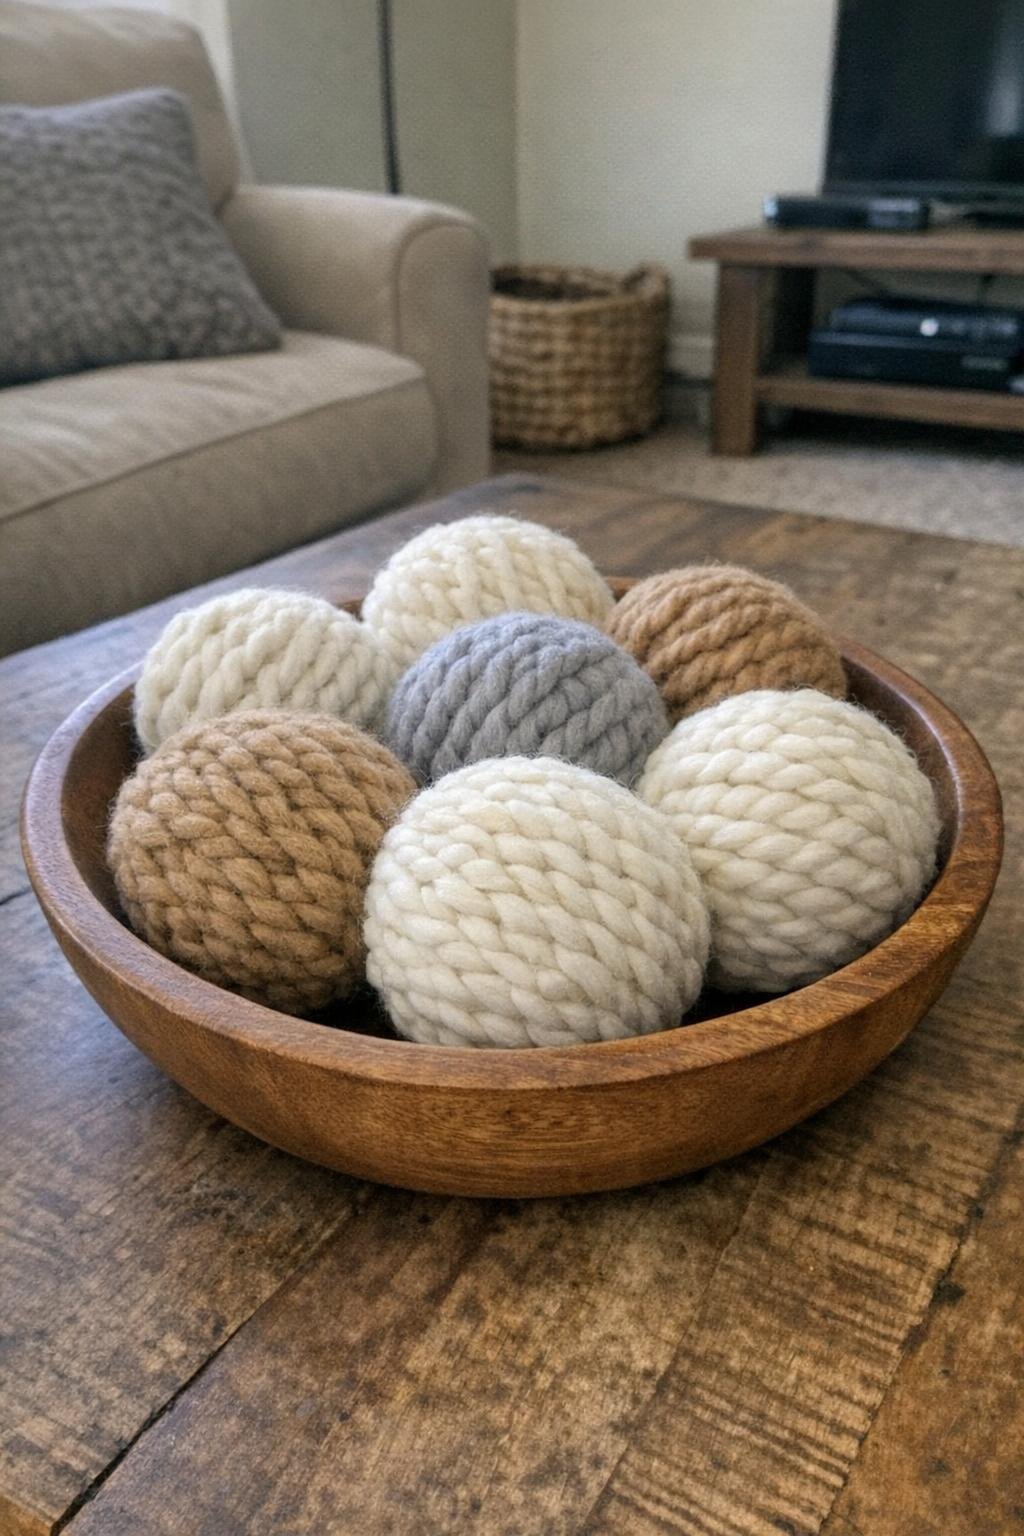
This is one of the easiest ways to dress up plain foam balls, and it works beautifully as bowl filler. I usually use 3-inch and 4-inch styrofoam balls, then wrap them with chunky yarn in cream, gray, or rust tones. Start with a dot of hot glue, wrap the yarn snugly around the ball while slightly changing direction every few turns, and finish with another small dot of glue tucked underneath. One ball usually takes 6 to 10 yards of yarn, depending on thickness.
For a fuller display, I make 5 to 7 balls and pile them in a wooden dough bowl or wide ceramic bowl on the coffee table. If you have picky decorators in the family like I do, this is a nice neutral project because it adds texture without looking too “crafty.” Mixing boucle yarn with smooth wool yarn gives the arrangement a cozier, layered look.
2. Faux boxwood topiary
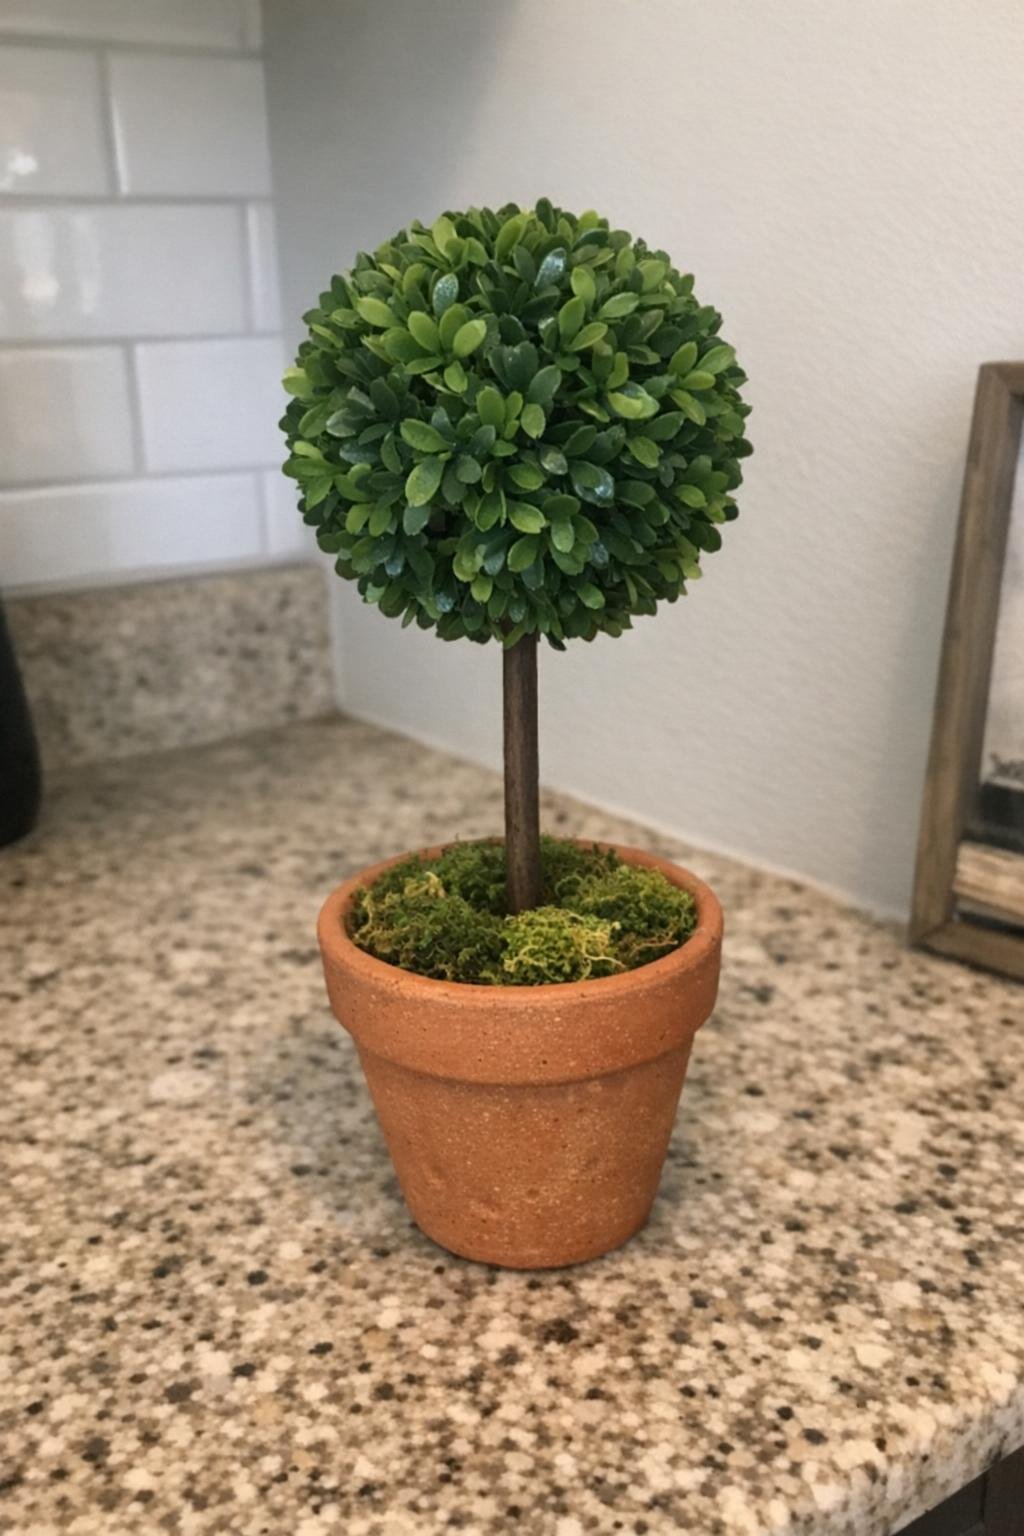
A foam ball makes a wonderful base for a small topiary, and this one looks surprisingly upscale for the cost. Use a 5-inch ball, a 12-inch dowel or sturdy stick, a small terra-cotta pot about 4 inches wide, and faux boxwood sprigs or boxwood picks. Push and glue the dowel into the ball, then press the other end into floral foam inside the pot. Trim the boxwood into short sprigs, about 2 to 3 inches long, and insert them all over the ball until the foam disappears.
I like to cover the pot with preserved moss or even a layer of small pebbles glued on top. One topiary fits nicely on an entry table, kitchen counter corner, or bathroom shelf. If you want a pair, make two matching ones for either side of a mantel or buffet. It’s one of those projects that looks store-bought once it’s done.
3. Sequin-and-pin balls
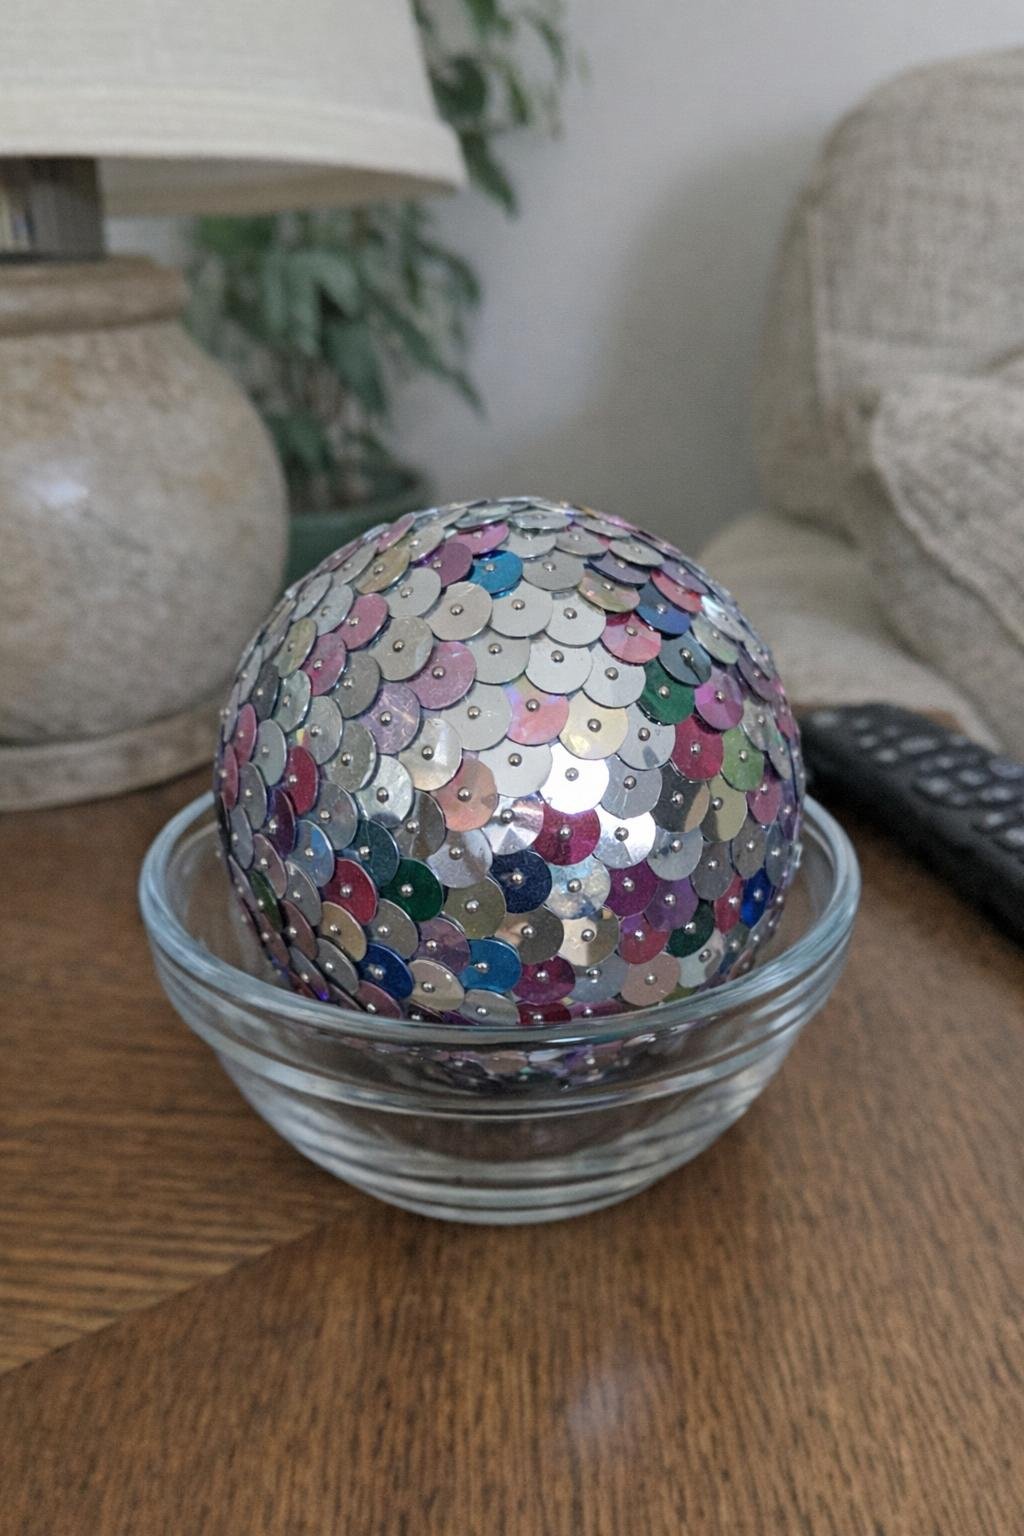
If you want a project with a little sparkle, sequins pinned over the full surface make a lovely ornament or bowl display. Start with a 3-inch foam ball, flat cup sequins, and pearl-head or plain silver straight pins. Overlap the sequins slightly like fish scales, pinning through the center so the whole surface catches the light. A 3-inch ball usually takes around 700 to 900 sequins, so this is a sit-and-watch-a-movie kind of craft.
I love these in jewel tones for winter, but they also look pretty year-round in white, champagne, or soft blush. Set 3 of them in a glass compote bowl or tuck a ribbon loop into the top before finishing so you can hang them. If you’re crafting with older kids or teens, this one is fun because the results look so dramatic without needing paint or drying time.
4. Thumbtack disco ball
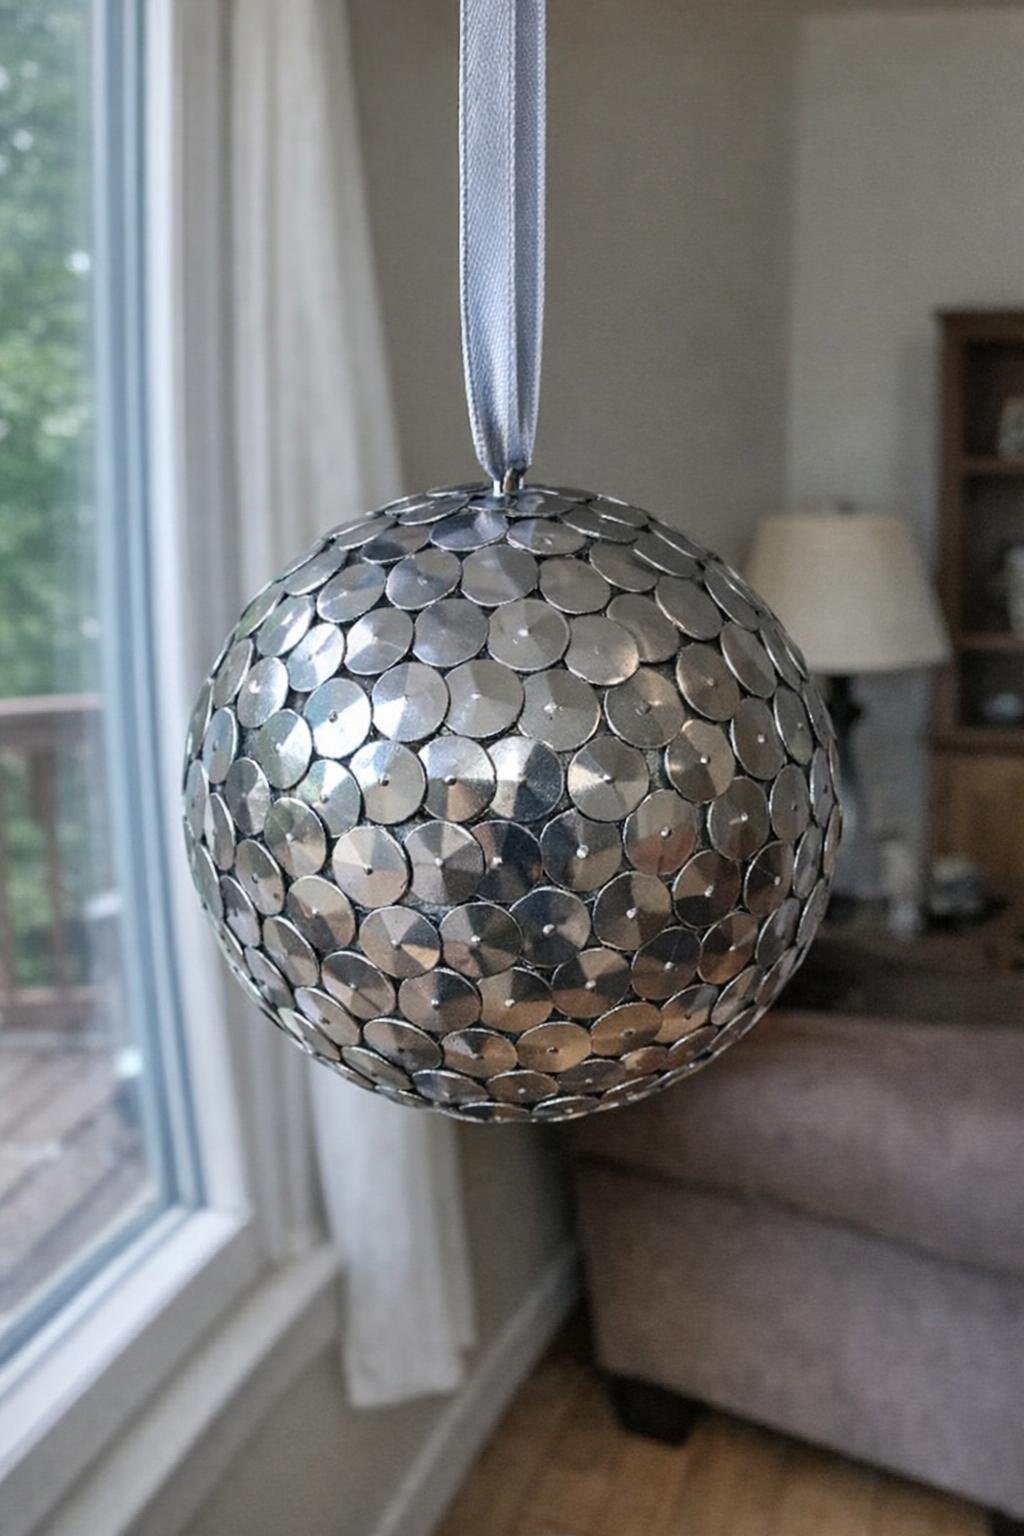
This version is clever, shiny, and much faster than it looks. Use a 4-inch foam ball and flat silver thumbtacks, pressing the tacks in rows so their heads slightly overlap. It usually takes 250 to 350 thumbtacks to cover one ball, depending on tack size. Once it’s covered, add a loop of narrow ribbon or clear fishing line to hang it from a ceiling hook, light fixture, or party backdrop.
I’ve also set one on a pedestal stand instead of hanging it, and it still gives off that playful disco-ball look. For a safer finish, place a small drop of tacky glue every few rows if the foam feels loose. This is a great one for a basement rec room, teen bedroom, or New Year’s setup where you want some shine without spending much money.
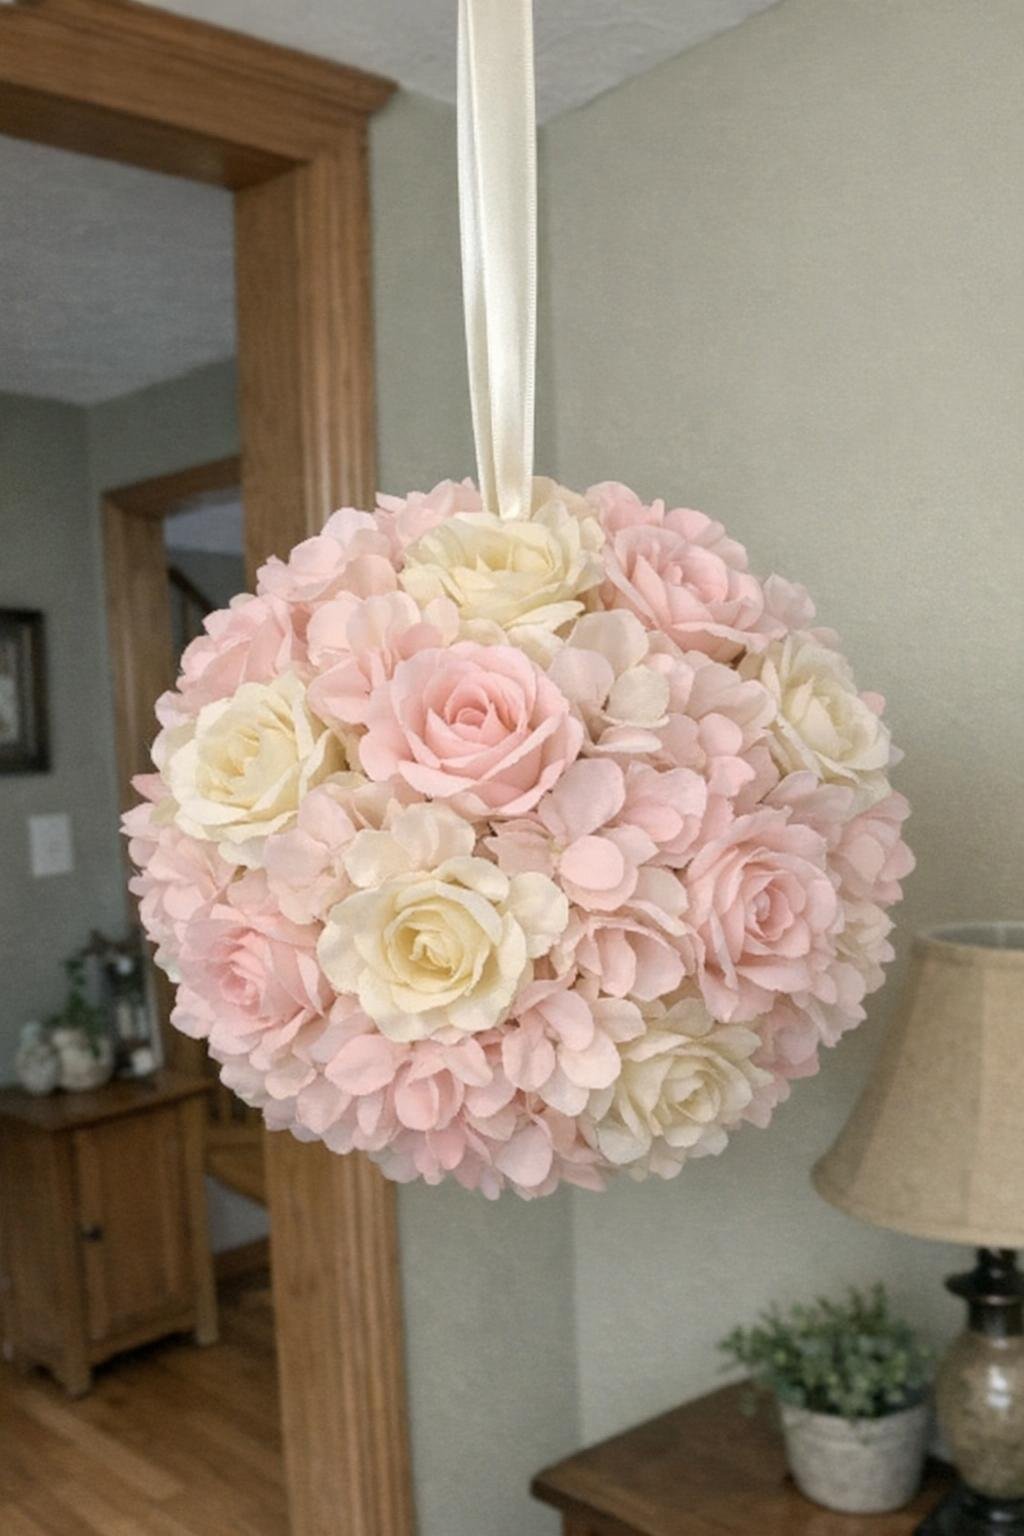
5. Silk-flower kissing ball
A floral kissing ball makes a beautiful party decoration, especially for showers, birthdays, or spring tables. Use a 5-inch or 6-inch styrofoam ball and artificial flower heads clipped from stems, leaving about a half-inch stem nub if possible. Push or pin the blooms closely together until the ball is fully covered. Roses, hydrangeas, mums, and carnations all work well, and one ball usually takes 35 to 60 flower heads depending on size.
Add a satin ribbon loop for hanging, or place the finished ball in a shallow urn for a centerpiece. I like soft white or blush for a classic look, but if your family loves color, go with yellow or mixed pinks. This project photographs beautifully because it looks lush and full from every angle, and the foam underneath disappears completely.
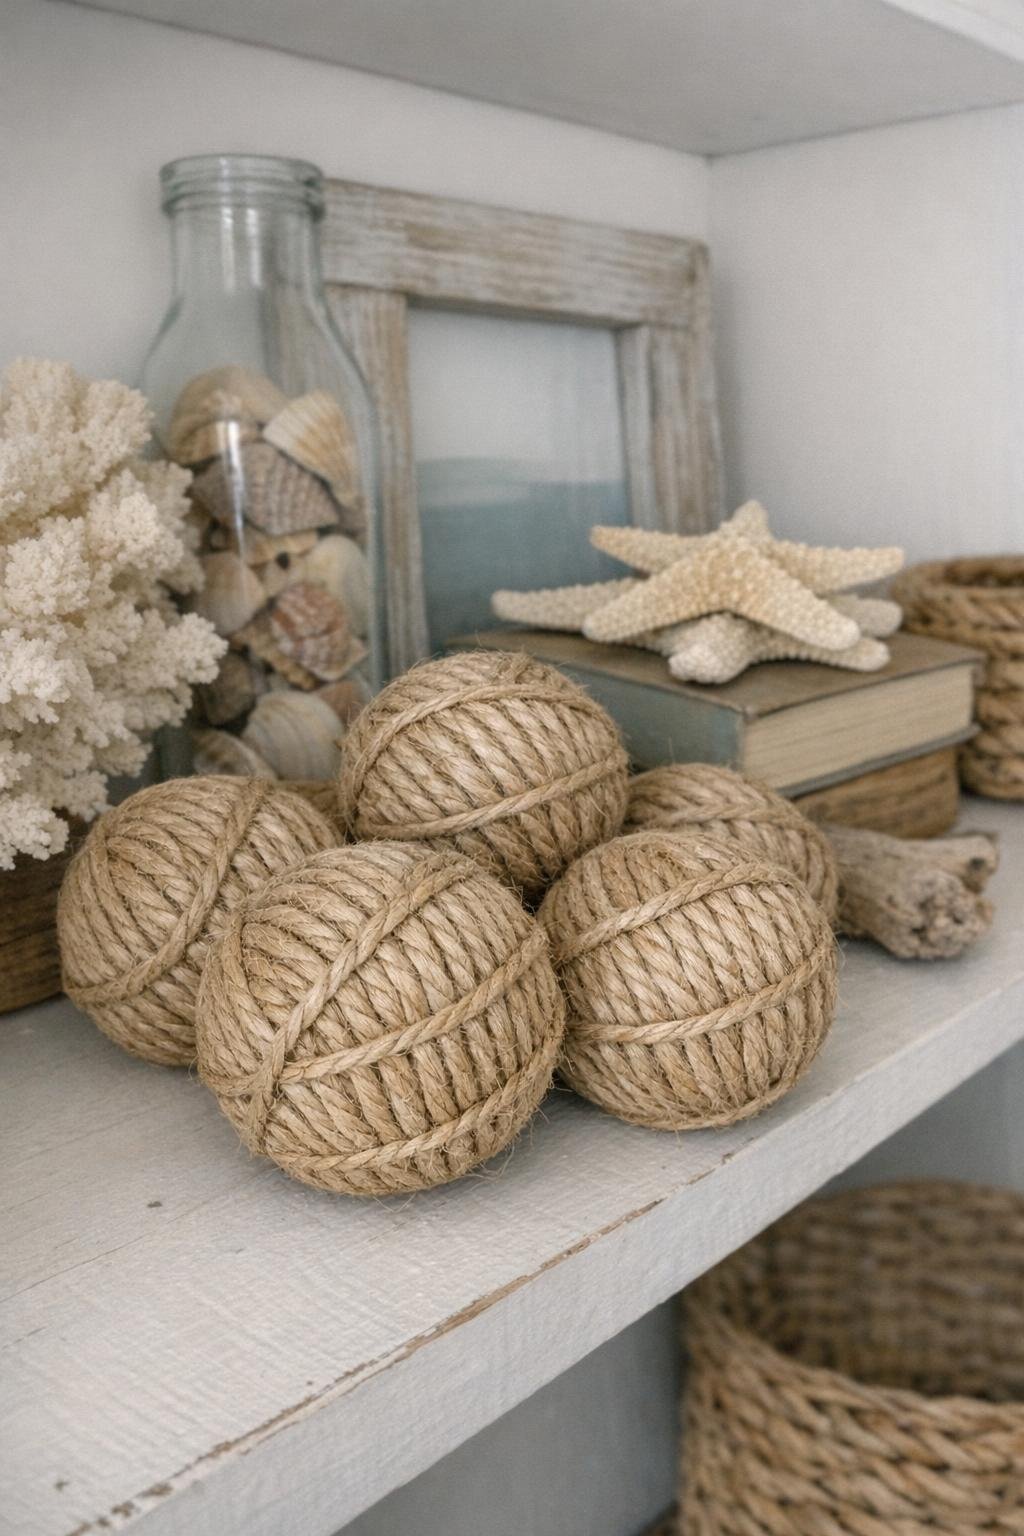
6. Rope-wrapped nautical balls
For a coastal or lake-house look, wrap styrofoam balls with sisal rope or jute cord. A 4-inch ball takes roughly 18 to 25 feet of rope, depending on thickness. Begin at one point with hot glue, coil the rope tightly in a small spiral, and continue around the ball in gradual rings, gluing every few inches so nothing shifts. The finished texture is sturdy and handsome, especially in tan, flax, or weathered gray tones.
I like grouping 3 different sizes on a shelf with driftwood, a lantern, or blue glass bottles. These are nice because they don’t read as overly seasonal, so you can leave them out all year. If you want a tidier finish, use thinner cord; if you want a chunkier, more rustic look, use 3/8-inch sisal rope and let the texture be the star.
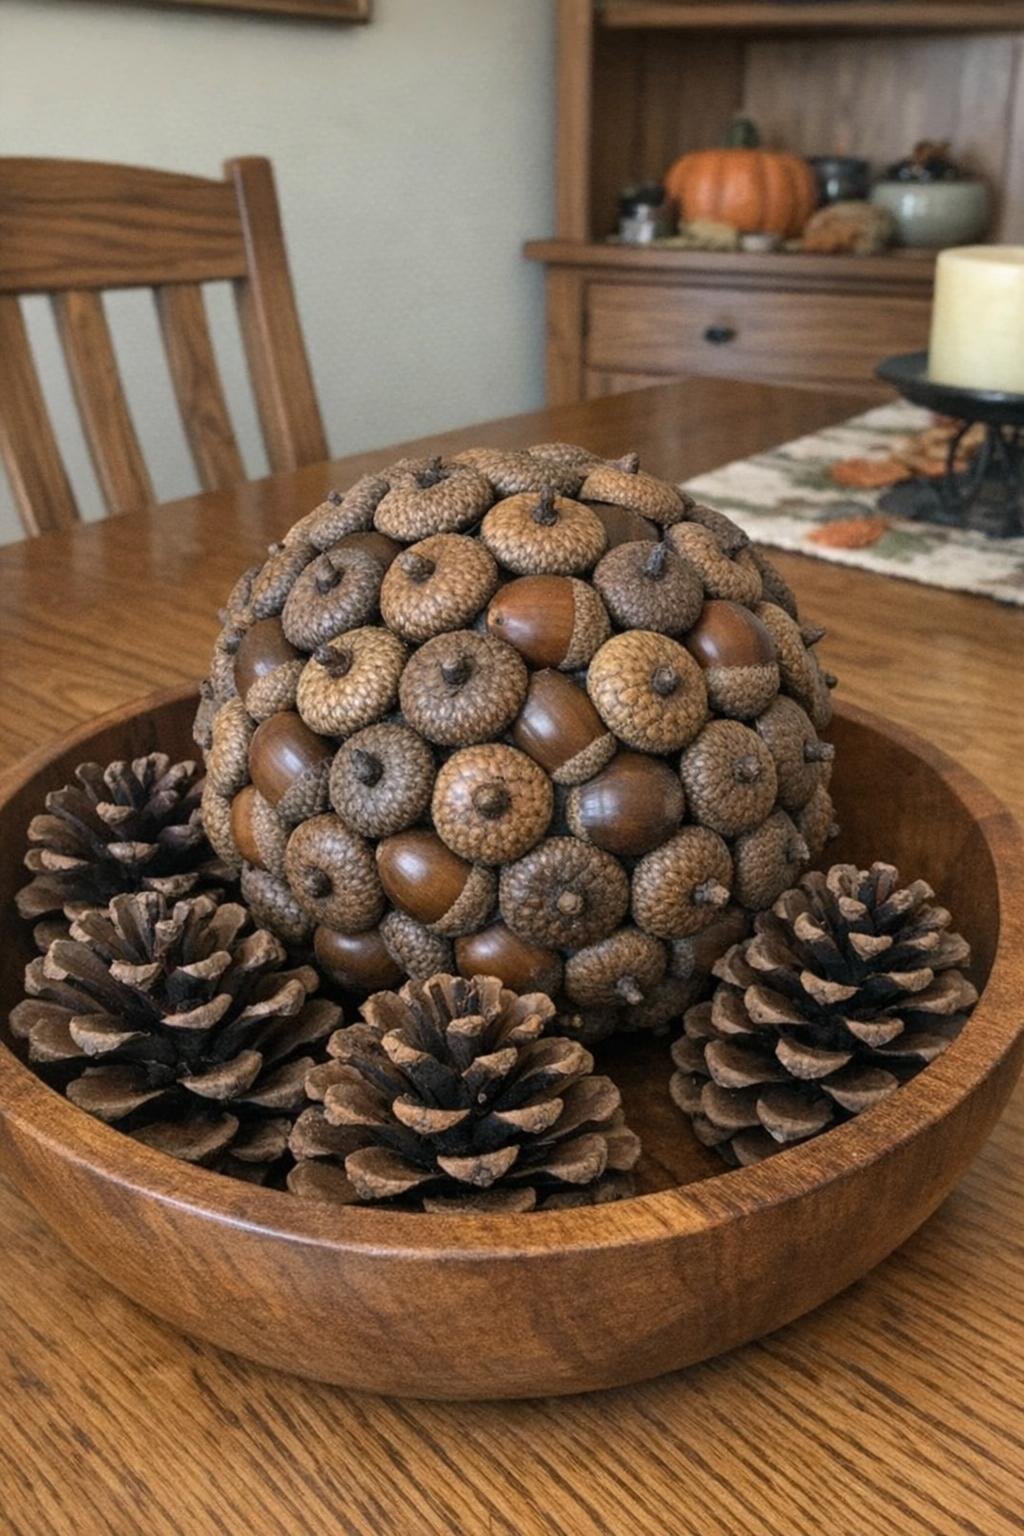
7. Acorn-cap ball
This fall project has wonderful texture and looks especially pretty in a wooden bowl. Gather clean, dry acorn caps and glue them onto a 3-inch or 4-inch foam ball, starting at the top and working in tight rows. Depending on the size of the caps, you’ll need around 120 to 200 to cover one ball. A low-temp glue gun works well and helps the caps sit snugly against the foam.
I usually mix a few shades of brown caps together so the ball looks more natural. Set 3 finished balls in a bowl with mini pinecones and dried leaves, and you’ve got a centerpiece that costs very little if you gather the materials yourself. This is one of my favorites for September through Thanksgiving because it feels woodsy without being fussy.
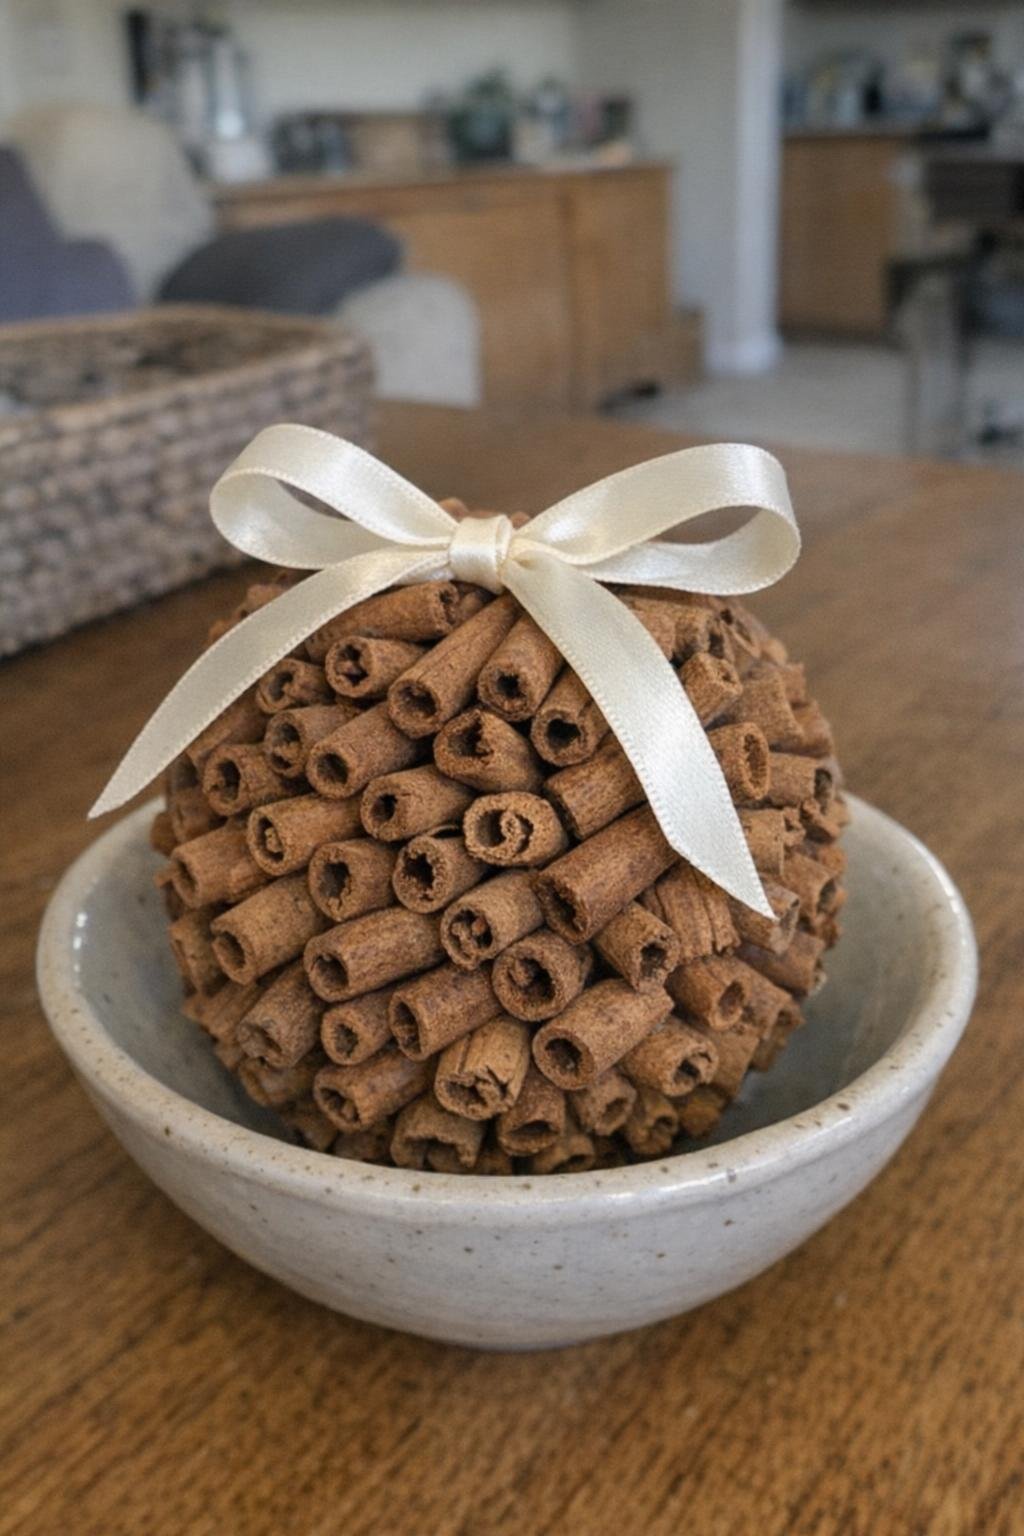
8. Cinnamon-stick ball
A cinnamon-stick ball looks cozy and smells lovely for at least the first few weeks, especially in a warm room. Use a 3-inch foam ball and short cinnamon stick pieces cut or snapped to about 1 1/2 to 2 inches long. Glue the pieces upright side by side all around the ball, then tie the finished piece with a narrow velvet or satin ribbon. One ball usually takes 45 to 70 pieces, depending on thickness.
I like placing two or three of these in a shallow bowl near the entryway or on a holiday tray with candles. They pair beautifully with dried orange slices and pine sprigs if you want a fuller display. If real cinnamon gets pricey in your area, use just one accent ball mixed in with plain wood or yarn-wrapped balls to stretch the look.
9. Cotton-swab snowman
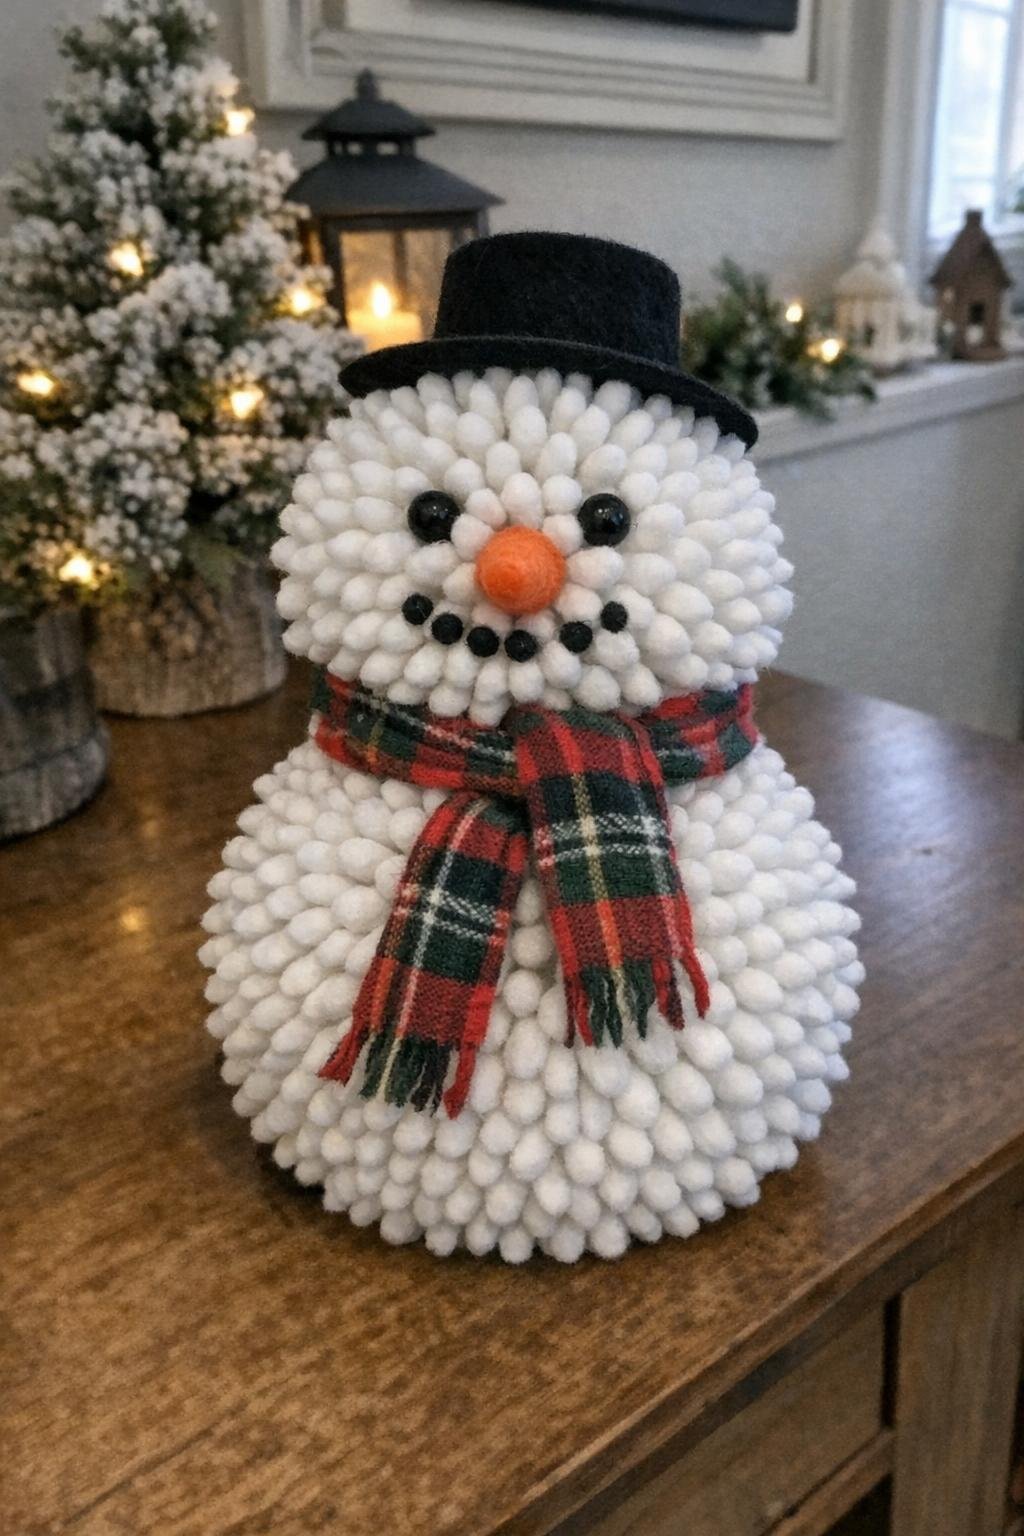
This one is a showstopper for winter decorating and a fun way to use lots of plain cotton swabs. Use one large foam ball, about 6 inches, for the body and one smaller ball, about 4 inches, for the head. Cut the cotton swabs in half and press the cut ends into the foam so the soft white tips face outward. It takes several hundred pieces to create that fluffy snowball effect, often 500 to 700 halves total for both sections.
Stack and glue the two balls together, then finish with a small fabric scarf and a tiny hat made from felt or a child-size glove fingertip. I display this on the hearth or by the front door table through January. It has a sweet, playful look that kids love, and because the materials are all soft white, it still blends in with calmer holiday decor.
10. Glitter ball ornaments
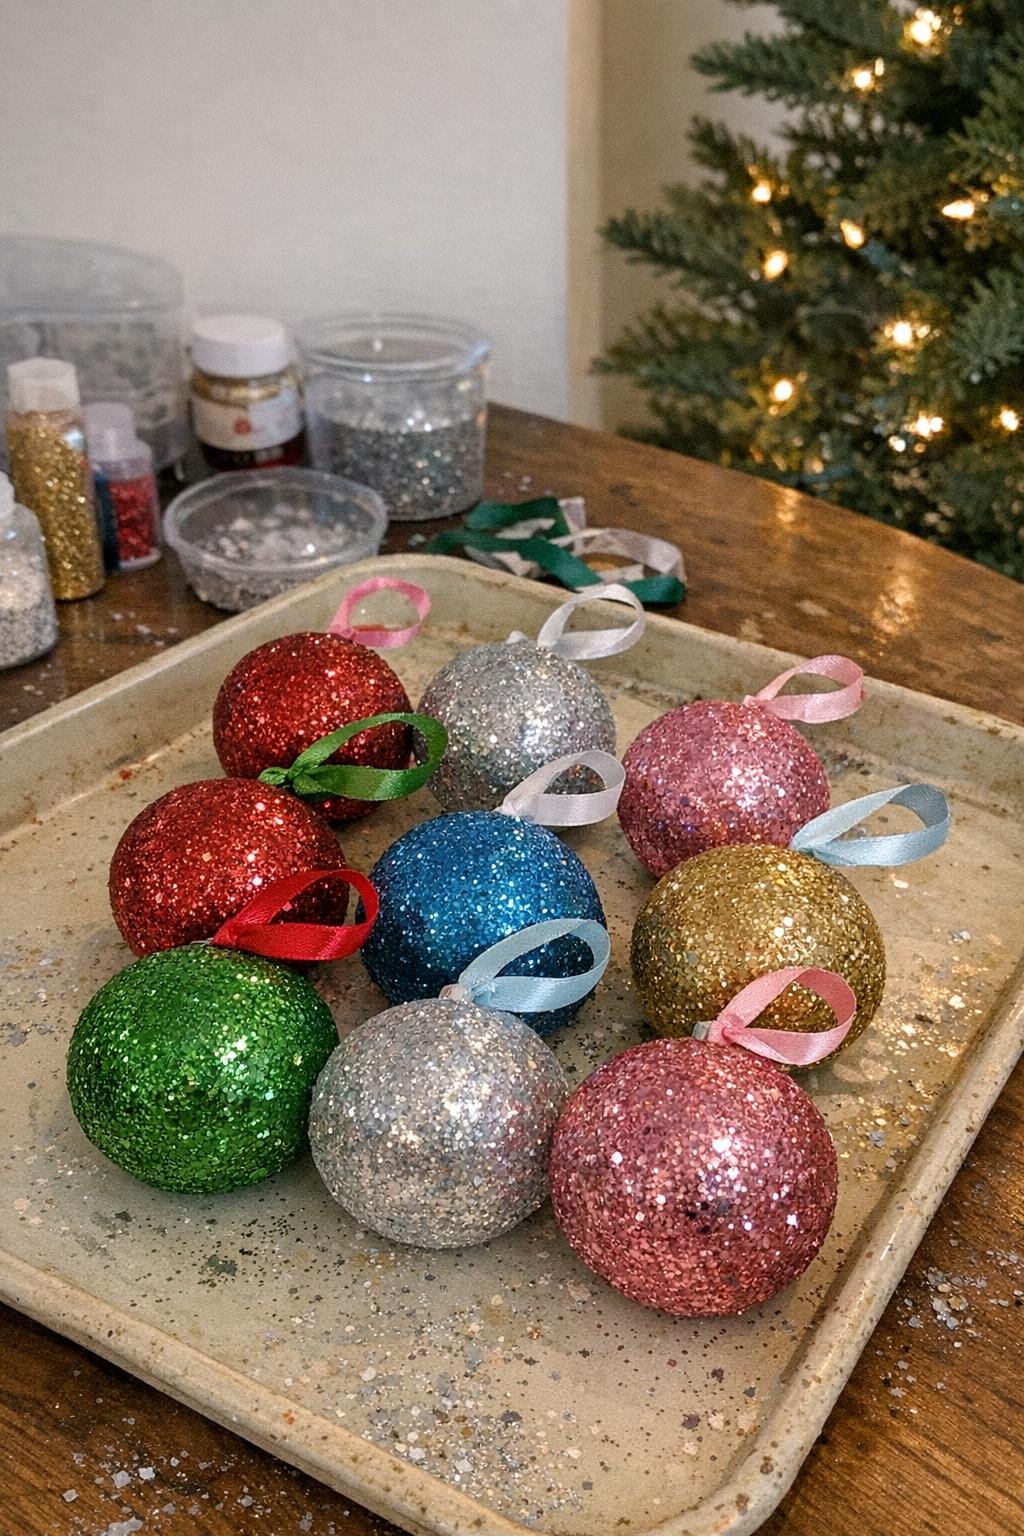
These are classic holiday crafts, but they still look magical when done in a grown-up color palette. Brush a thin even coat of white glue or Mod Podge onto 2-inch or 3-inch foam balls, roll them in fine glitter, and let them dry on a paper cup or bottle opening for about 1 hour. Insert a loop of ribbon with a floral pin or bent wire hanger at the top once dry.
I prefer making a set of 6 in champagne, silver, or soft icy blue so they feel coordinated on the tree or in a centerpiece bowl. If you’re worried about glitter shedding, add a light spray of clear sealer outdoors after they dry completely. This is also a nice project for using up leftover ribbon scraps from gift wrapping.
11. Faux snowball garland
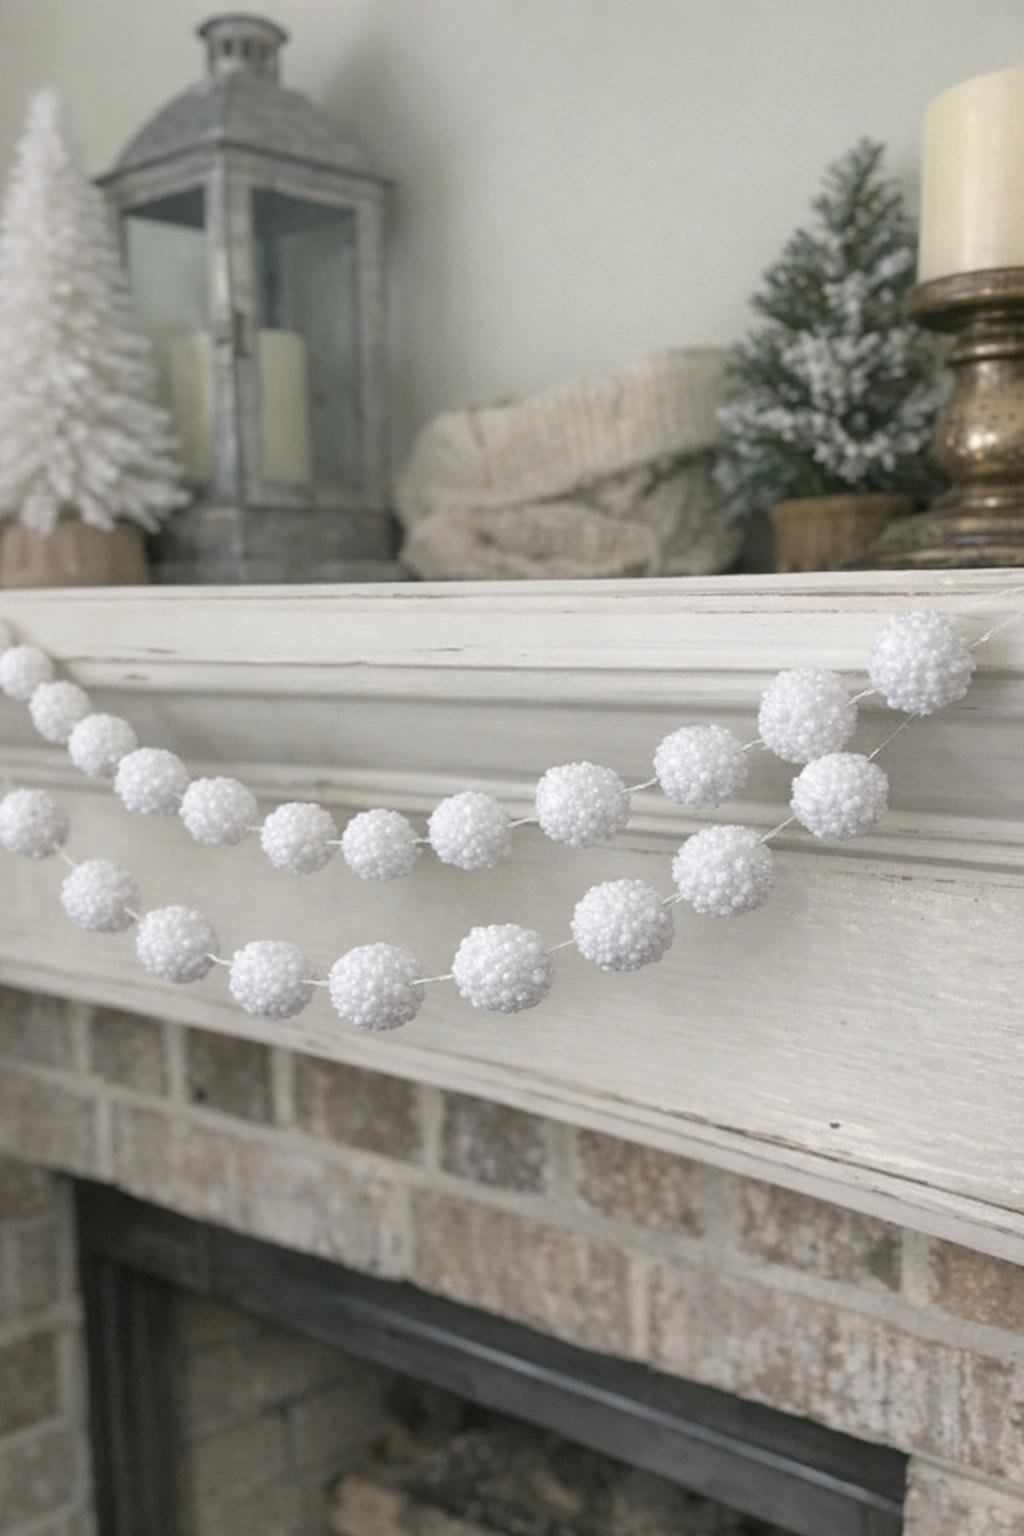
If you want winter decor that can stay up after Christmas, this garland is simple and charming. Use small styrofoam balls, around 1 to 1 1/2 inches wide, coat them lightly in glue, and roll them in Epsom salt for a frosty crystal look. Let them dry for at least 45 minutes, then string them on clear fishing line with a long needle, spacing them about 2 to 3 inches apart. A 6-foot garland usually takes 18 to 24 balls.
I drape this across a mantel, window frame, or hutch shelf where it catches the light just a bit. Epsom salt gives a more snowy texture than plain glitter, which I really like in a farmhouse-style home. If you want extra fullness, mix in two ball sizes so the strand looks more organic and less perfectly uniform.
12. Cranberry ball
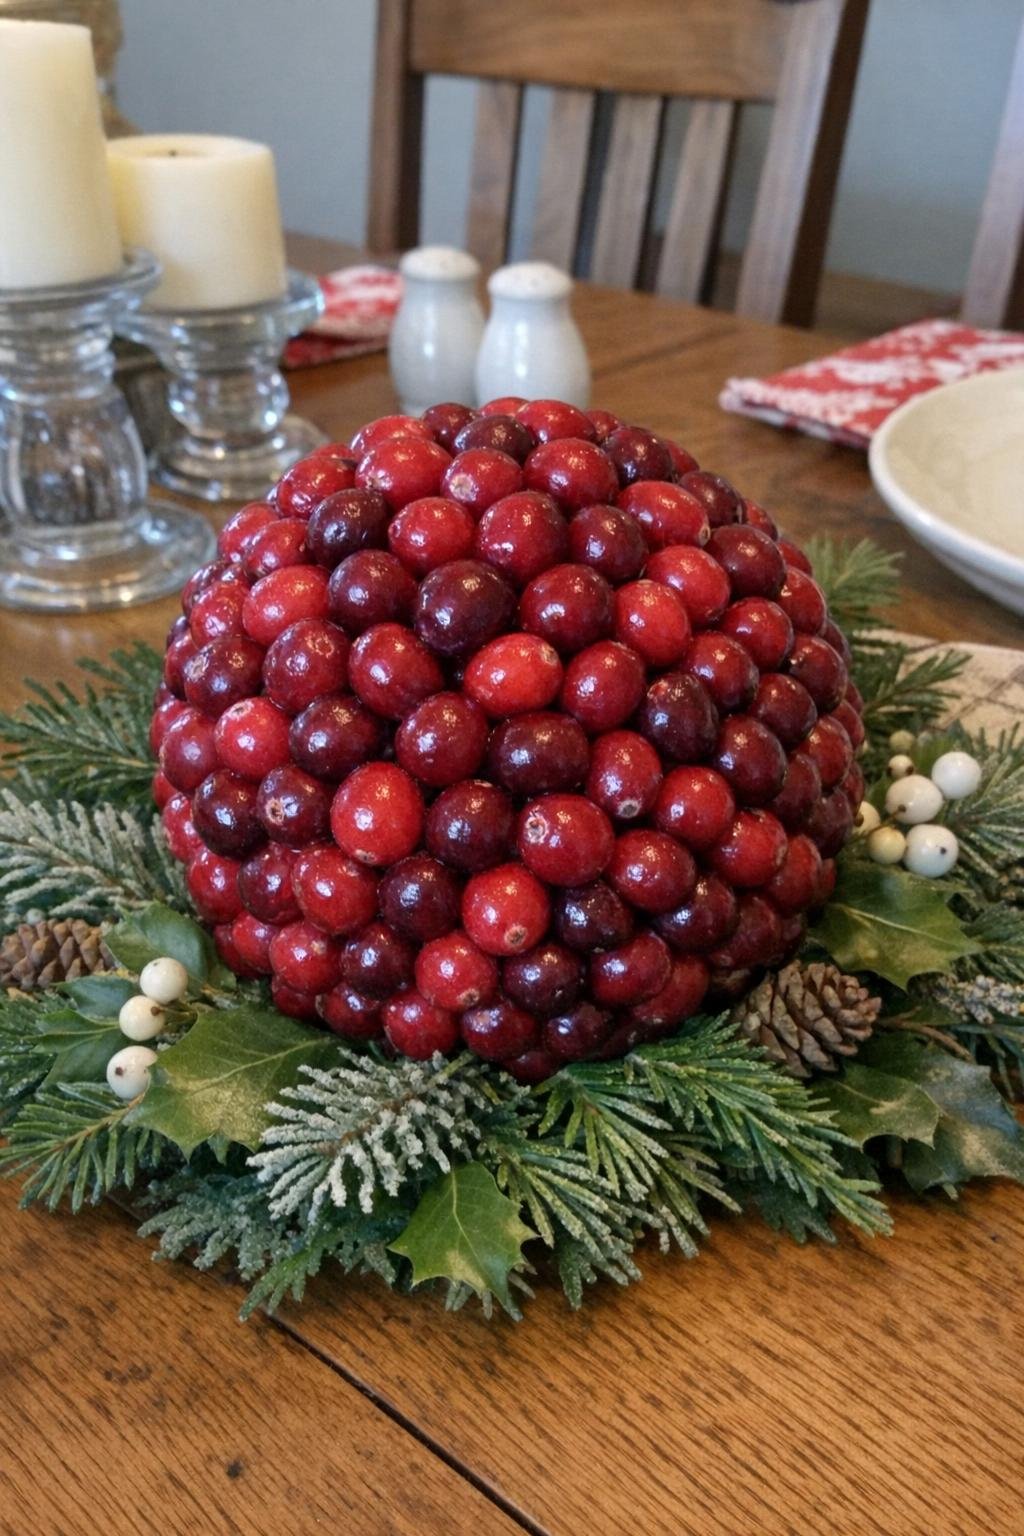
For a holiday table, a cranberry-covered foam ball is bright, festive, and surprisingly elegant. Use a 3-inch or 4-inch styrofoam ball and fresh cranberries attached with floral pins or short greening pins. Push each pin through a cranberry and into the foam, packing the berries close together until the entire surface is covered. A 3-inch ball generally takes around 100 to 140 cranberries.
These are best made the day you plan to display them so the fruit stays firm and glossy. I nestle one or two into a greenery centerpiece with cedar, pine, or eucalyptus, and they instantly make the whole table feel special. If you’re serving kids or a crowd, this is a lovely way to get that classic red holiday color without relying on anything breakable.
Styrofoam balls may not look like much on their own, but they’re one of the handiest little bases to keep around for home decor. Whether you lean cozy, classic, sparkly, or seasonal, there’s a project here that can turn that forgotten foam into something truly display-worthy.