
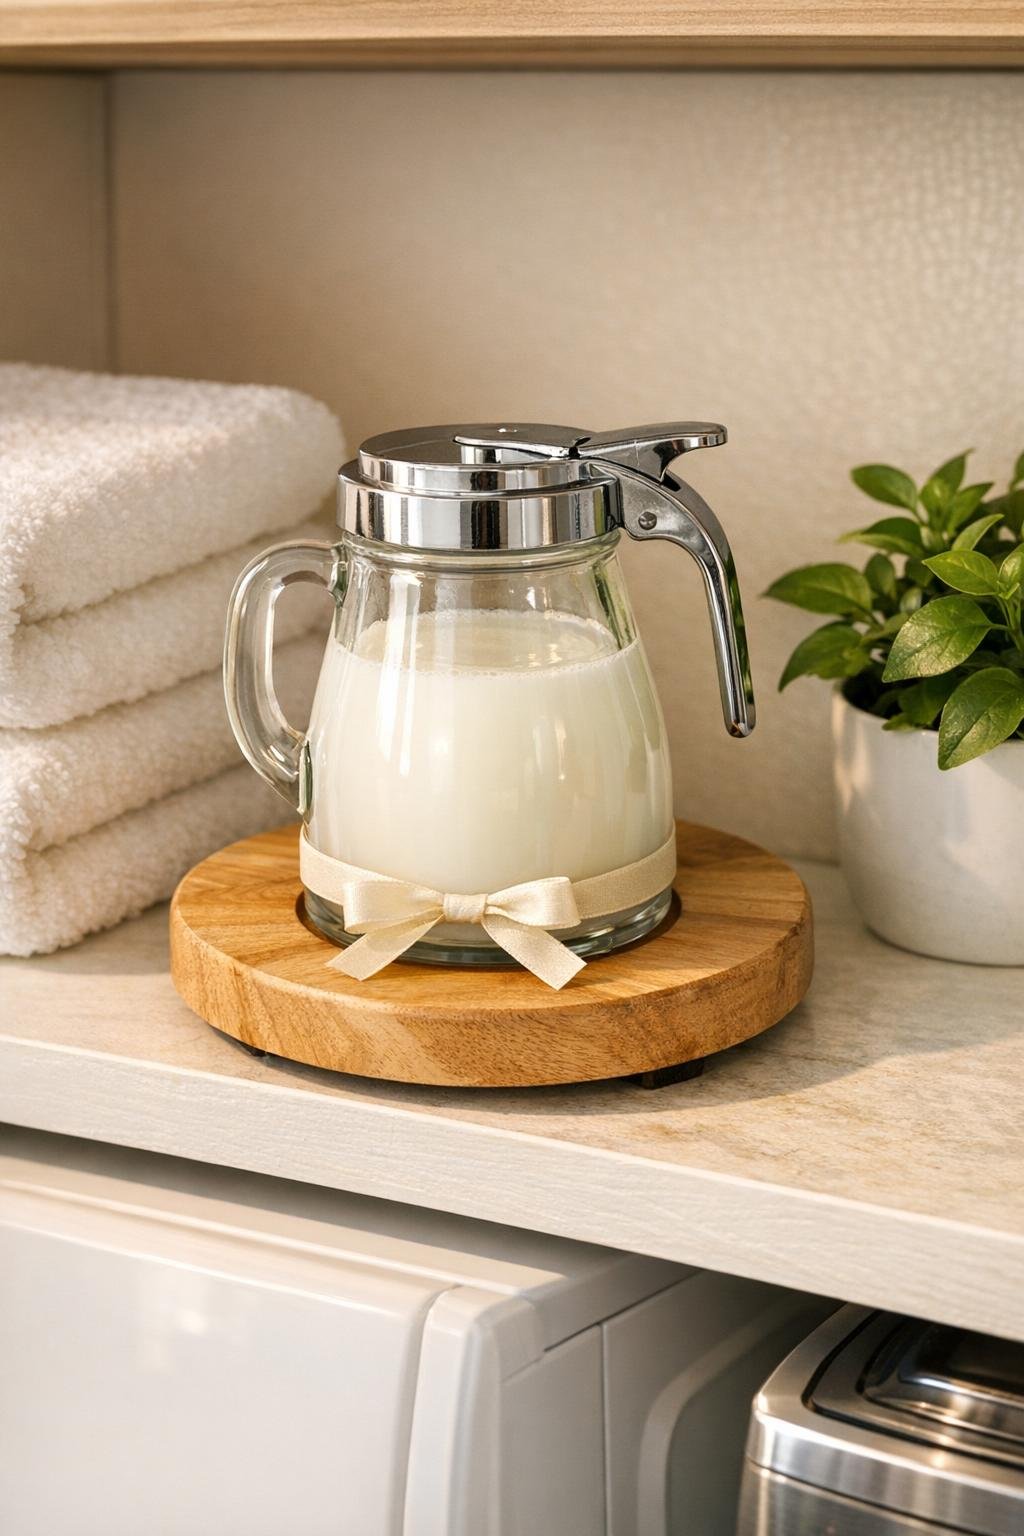
There is something satisfying about turning two simple household pieces into one hardworking little station, and this laundry room fabric softener dispenser is exactly that kind of project. By attaching a small clear glass syrup pitcher onto a round wooden lazy susan, you get a tidy, easy-to-grab spot for fabric softener that looks far nicer than a bulky store bottle sitting on the shelf. It is practical, sturdy, and just polished enough to make an ordinary chore feel a little more put together.
I have always believed utility can be pretty, even in a hardworking room like the laundry space. This is a good beginner project if you want a quick afternoon make that does not ask much of you besides a steady hand and a little drying time. The finished piece keeps the pitcher contained on its own base, catches little drips, and gives you a neat spot to turn and pour without shuffling bottles around.
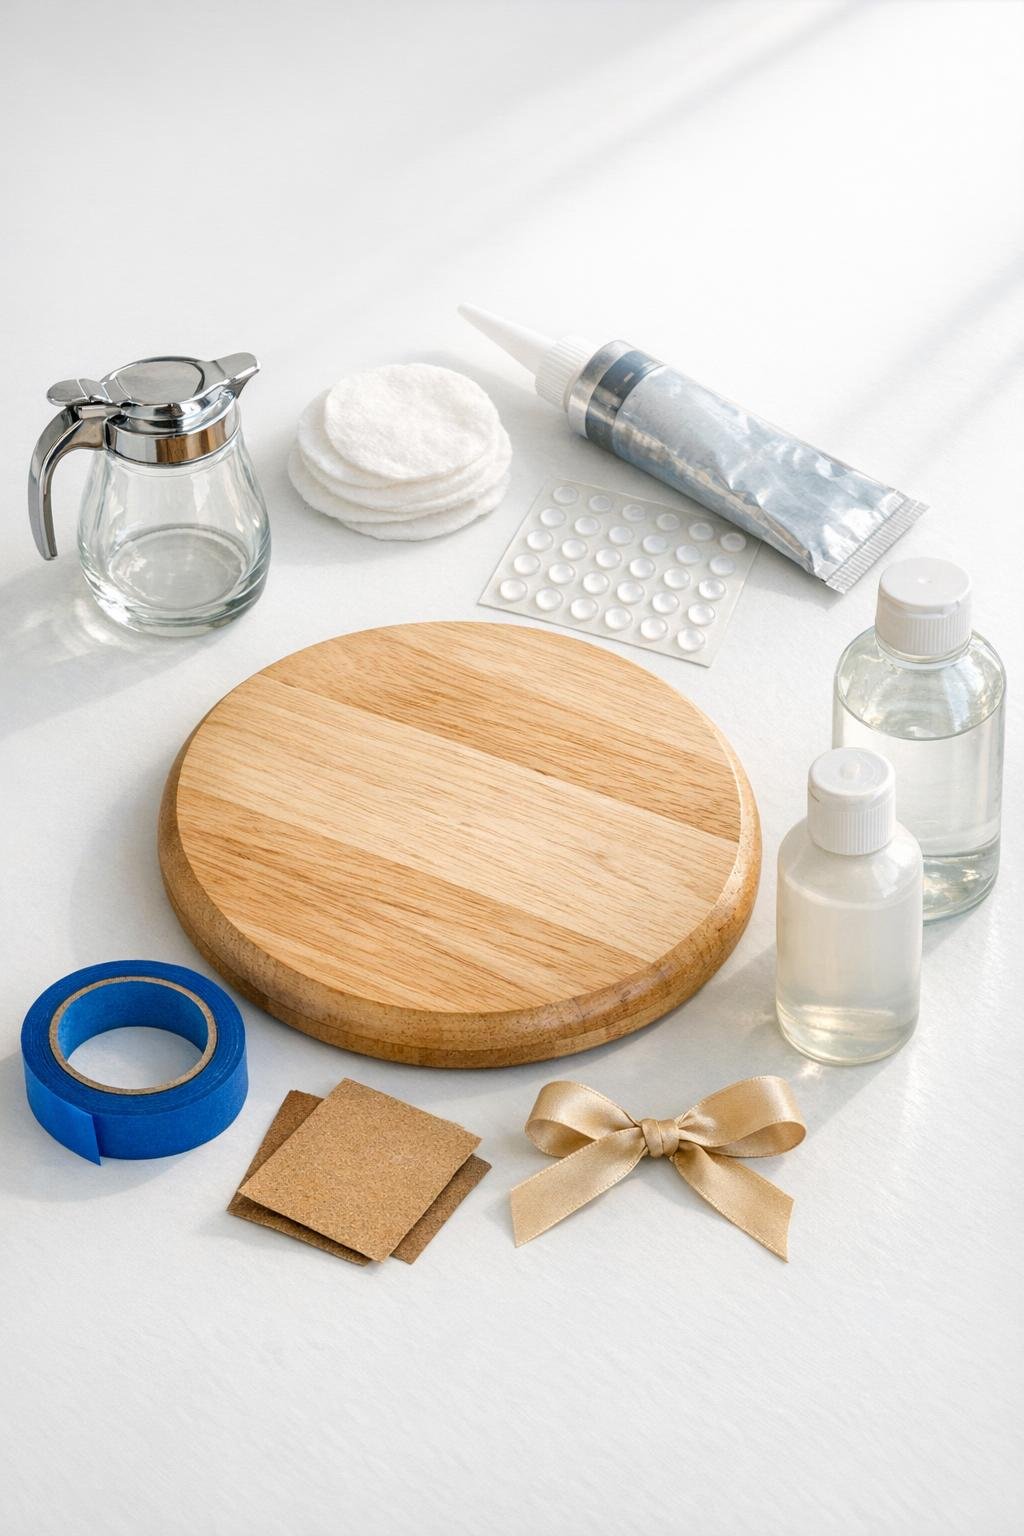
Materials
Instructions
1. Wipe the top of the wooden lazy susan and the bottom of the glass syrup pitcher with rubbing alcohol to remove dust, oil, and factory residue, then let both dry fully.
2. Lightly sand the center area of the lazy susan where the pitcher will sit if the wood is slick or glossy, then brush away the sanding dust with a dry cloth.
3. If your lazy susan is bare wood, brush on a thin coat of clear matte or satin sealer across the top and edge, then let it dry completely so laundry drips wipe off easily later.
4. Set the syrup pitcher in the center of the lazy susan and turn the base a full circle to check that the handle clears the edge comfortably and the pitcher looks balanced from all sides.
5. Lift the pitcher off and apply a generous ring of clear adhesive to the pitcher base, plus a small spiral in the middle, so you get full contact without leaving dry spots.
6. Press the pitcher firmly onto the center of the lazy susan, give it a tiny twist to spread the adhesive, and line the handle up in the position you like best for pouring.
7. Use short strips of painter's tape from the pitcher sides down to the wood to hold it steady while the adhesive cures, then leave it undisturbed for the full drying time listed on your adhesive.
8. Once the adhesive is cured, peel off the tape and check the bond by gently rotating the tray and lightly nudging the pitcher; if needed, add a neat extra bead of adhesive around the base and smooth it with a cotton pad.
9. Stick the four clear silicone bumpers evenly around the lazy susan top, just outside the pitcher base, to create a quiet little drip zone and help keep measuring cups or lids from sliding if you set them there.
10. Tie a simple ribbon or piece of twine around the pitcher neck if you want a softer finished look, keeping it narrow and neat so it does not interfere with washing or pouring.
11. Fill the pitcher with fabric softener only up to about three-quarters full, wipe the spout clean, and set the dispenser beside the washer where the lazy susan can turn easily for quick pouring.
Variations & Tips
For a farmhouse look: Stain the wooden lazy susan a light walnut or weathered oak before assembly, then seal it well so splashes wipe right off.
If you want extra drip protection: Run a very thin, tidy bead of clear silicone around the outside edge of the pitcher base after gluing to create an easy-clean seal where liquid cannot sneak underneath.
For small laundry spaces: Use a 6- to 8-inch lazy susan and a petite syrup pitcher so the piece fits neatly on a narrow shelf without losing the same usefulness.
To keep it looking fresh: Empty and rinse the pitcher regularly with warm water and a little dish soap, then dry it well before refilling so softener buildup does not cloud the glass.
Adhesive choice matters: Pick an adhesive rated for both glass and wood, and give it the full cure time. I have learned over many years that patience at this stage saves a world of fuss later.
Nice finishing touch: Keep a small measuring cup or cap beside the dispenser on the lazy susan if there is room, so everything you need for one load is gathered in one tidy turning station.