
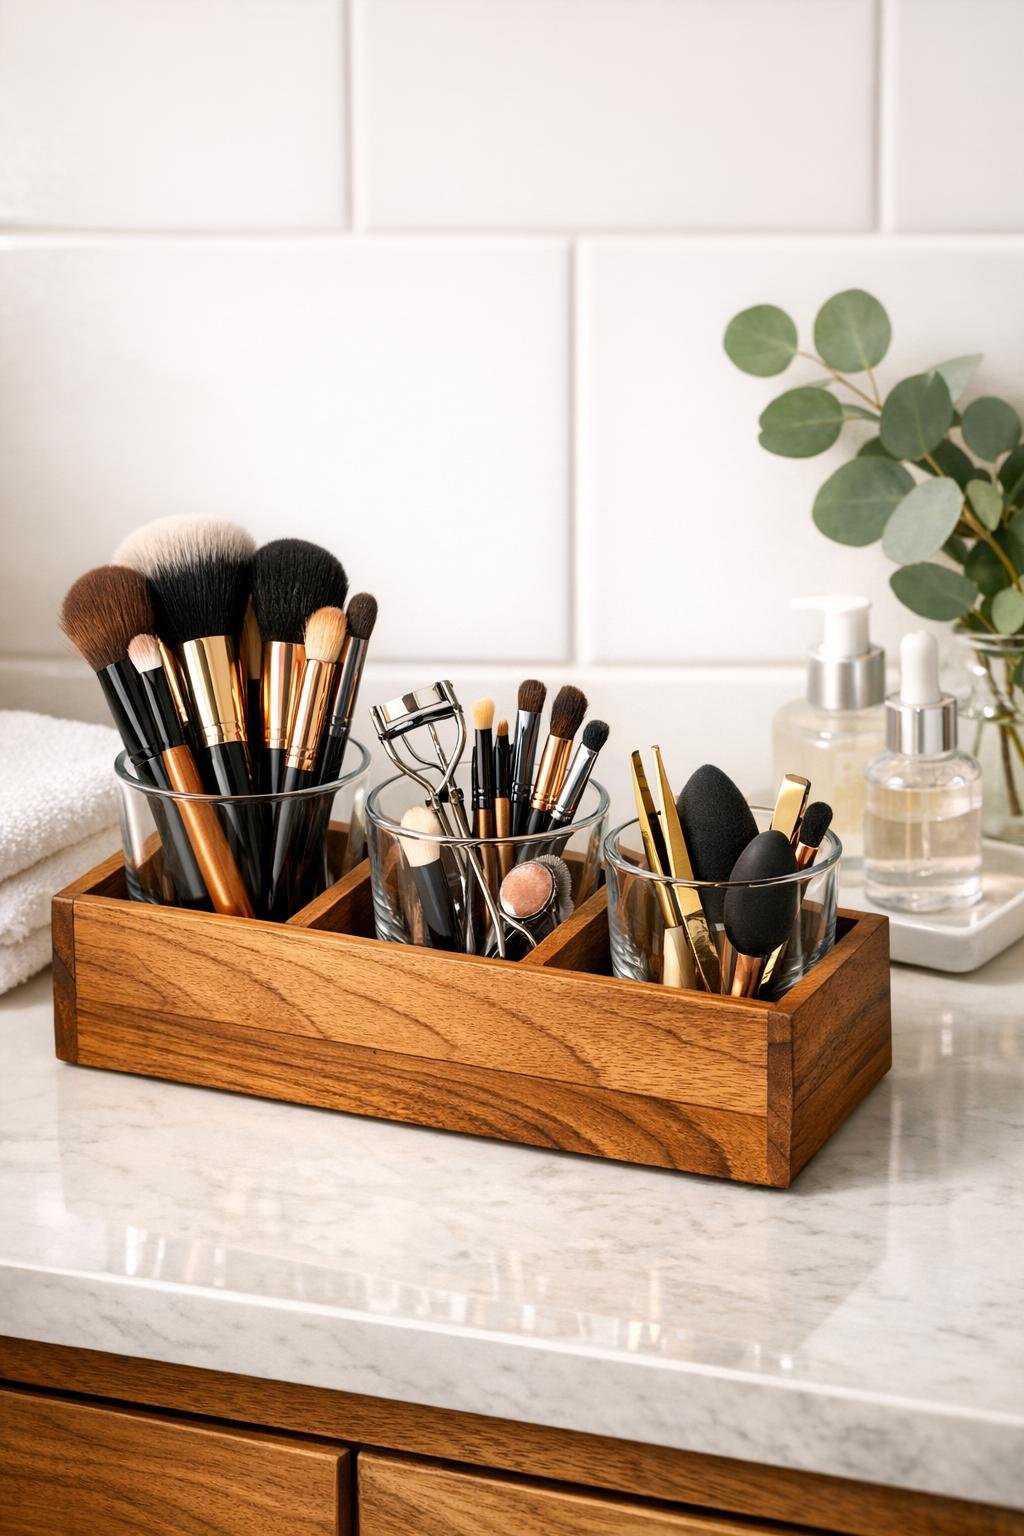
I love a bathroom organizer that solves two problems at once: it corrals clutter and makes the counter look intentionally styled. This simple makeup brush holder does exactly that by turning a basic wooden desk organizer into a neat station for brushes, lip pencils, mascara, and other everyday essentials, with small glass votive holders nested inside to keep everything easy to clean.
What makes this project especially worthwhile is how practical it is for real life. The wood organizer brings warmth and structure, while the glass inserts catch powder dust and makeup residue so you can lift them out and wash them whenever needed. If your bathroom counter tends to collect a loose little pile of brushes the way mine does, this is an easy upgrade that looks polished without requiring fancy tools or a full afternoon.
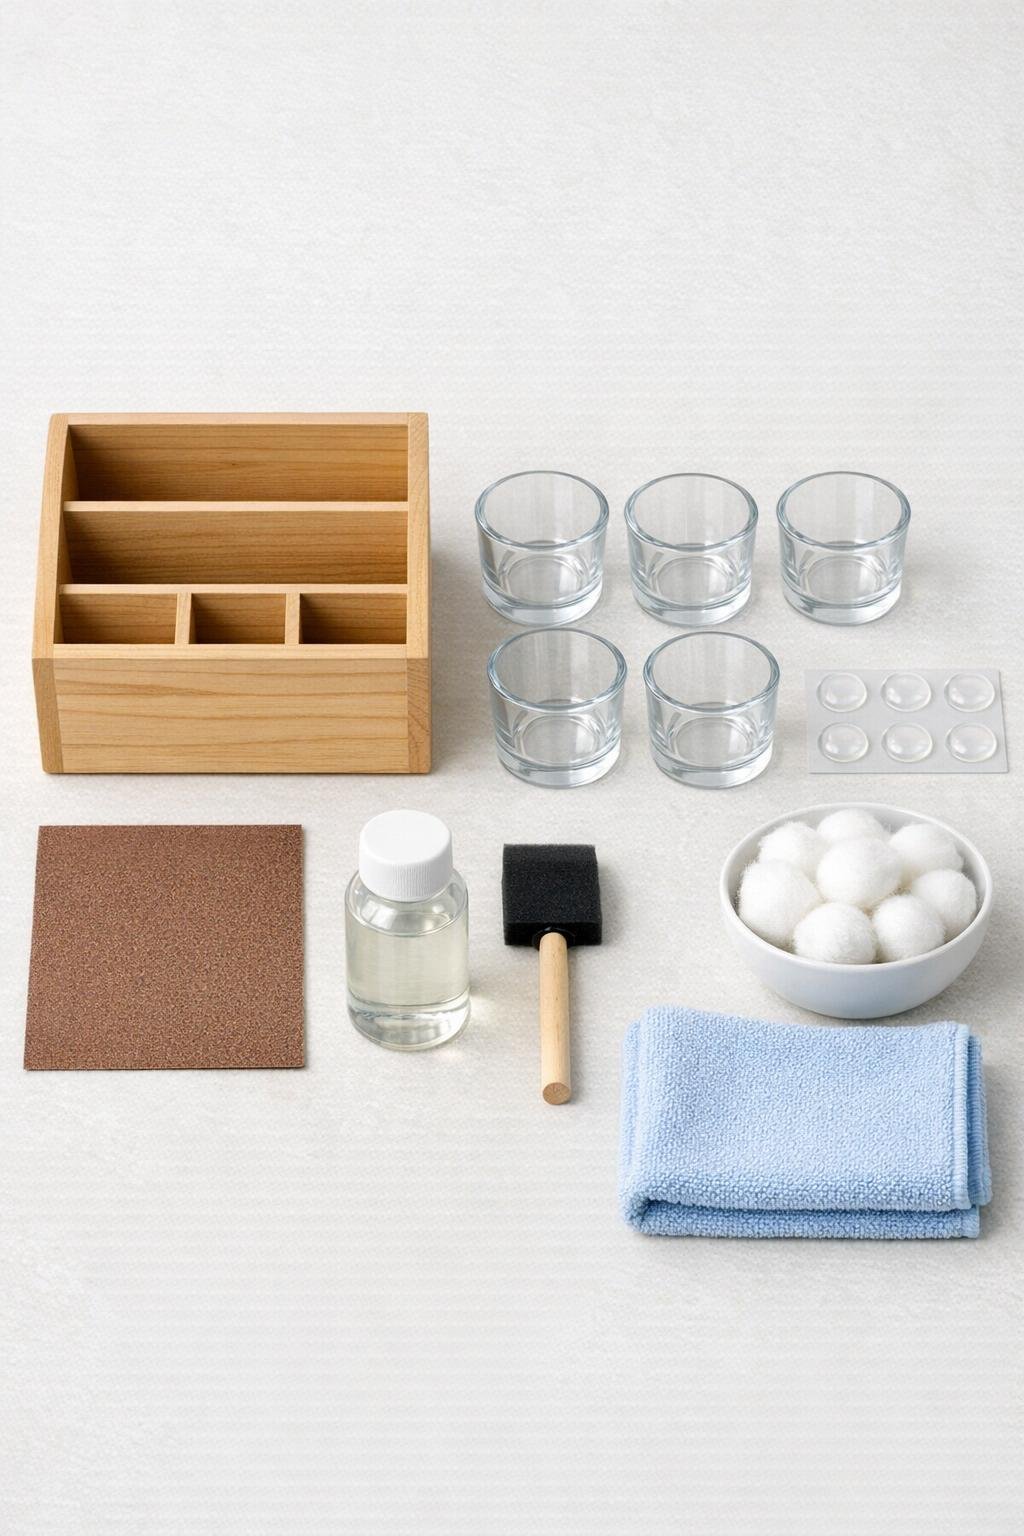
Materials
1 natural wooden desk organizer with 4 front compartments, about 10 to 12 inches wide
Instructions
1. Set the wooden desk organizer on your bathroom counter and test-fit the votive holders in the compartments so you know which spaces work best for taller and shorter brushes.
2. Lightly sand the organizer with 220-grit sandpaper, focusing on the top edges and any rough spots, then wipe away the dust with a microfiber cloth.
3. Brush on a thin coat of clear matte or satin sealer over the wood, covering the inside dividers and outer surfaces, then let it dry fully according to the product directions.
4. Wash the glass votive holders with warm water and a drop of dish soap, dry them well, and make sure there is no moisture left on the bottoms.
5. Place one adhesive rubber bumper in the bottom of each compartment where a votive holder will sit; this keeps the glass from rattling and protects the wood from trapped moisture.
6. Set the clear glass votive holders into the compartments, pressing them gently into place so they sit level and snug without forcing them.
7. Add a small handful of cotton balls, dried beans, or coffee beans to any compartment meant for tall makeup brushes if you want the handles to stand a little higher and stay neatly upright.
8. Sort your items by type: face brushes in one glass, eye brushes in another, pencils or mascaras in a third, and cotton swabs or beauty tools in the last section for a tidy, balanced setup.
9. Wipe the outside of the glass and the wood one last time, then place the organizer where you use makeup most often so it is handy every morning.
Variations & Tips
For a darker wood look: Use a walnut or espresso stain before sealing if you want the organizer to feel more like a furniture piece on the counter. I would still finish with a water-based topcoat so it handles bathroom humidity better.
For easier cleaning: Choose straight-sided votive holders rather than curved ones. They give you a little more usable space inside and are much easier to wipe out when powder settles at the bottom.
For extra brush support: Coffee beans give the prettiest look through clear glass, while dried beans are inexpensive and stable. Cotton balls are the softest option if you want a cleaner, spa-like look.
For small bathrooms: Use only two or three compartments and dedicate the rest of the organizer to lip balm, hair ties, or sample-size products. I like projects that pull double duty, especially on a crowded vanity.
To protect the wood long-term: Never return the votive holders to the organizer while they are still damp after washing. Let them dry completely first so moisture does not get trapped against the sealed wood.
Best styling tip: Keep the tallest, fullest brushes toward the back and the shorter tools in front. It sounds like plating food, but the same principle applies here: a little arrangement makes the whole thing look more intentional.