
There’s a special kind of satisfaction in turning something old and soft into a boxful of ornaments you’ll want to hang year after year. This project starts with the smartest little trick of all: felt the sweater first by washing it hot and drying it hot, so the knit tightens up and won’t unravel when you cut it. Once you do that, the rest is easy evening work—just simple squares, a little stuffing, and a few hand-finished touches.
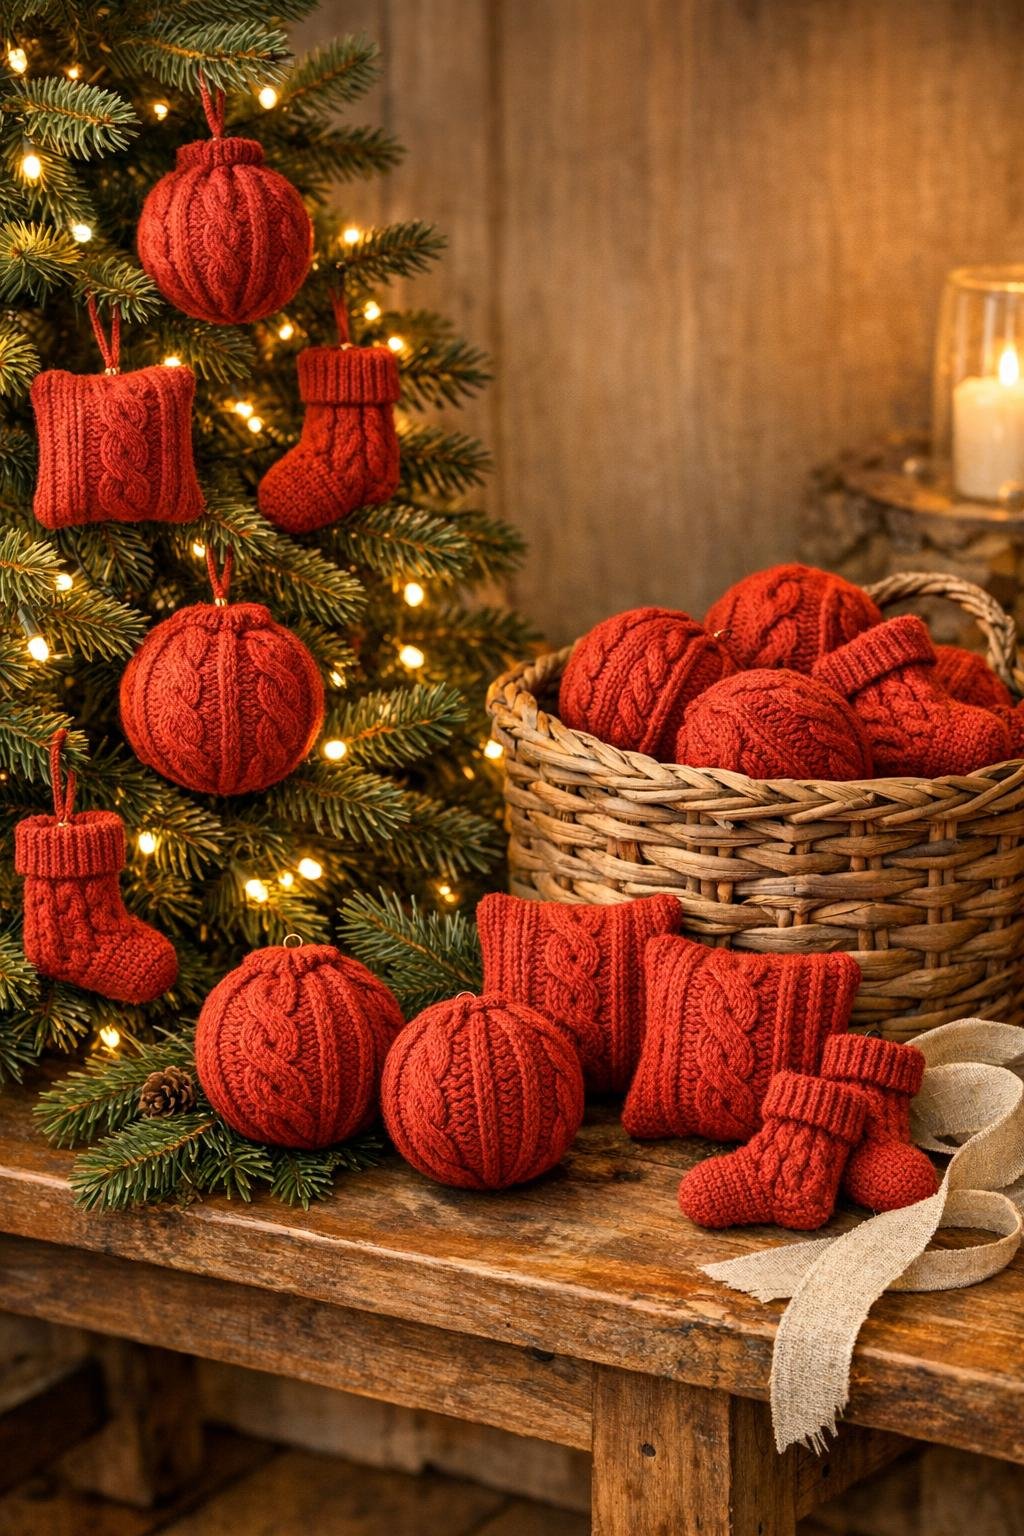
I’m especially fond of this sort of make-do craft because it reminds me of how nothing useful was wasted when I was growing up. A worn sweater might not be fit for wearing anymore, but the ribbed hem, the cuffs, and those cozy cable-knit sections still have plenty of life in them. With 24 cut squares, you can make about a dozen charming ornaments: mostly puffy knit balls or little pillows, with a pair or two turned into mini stockings for variety.
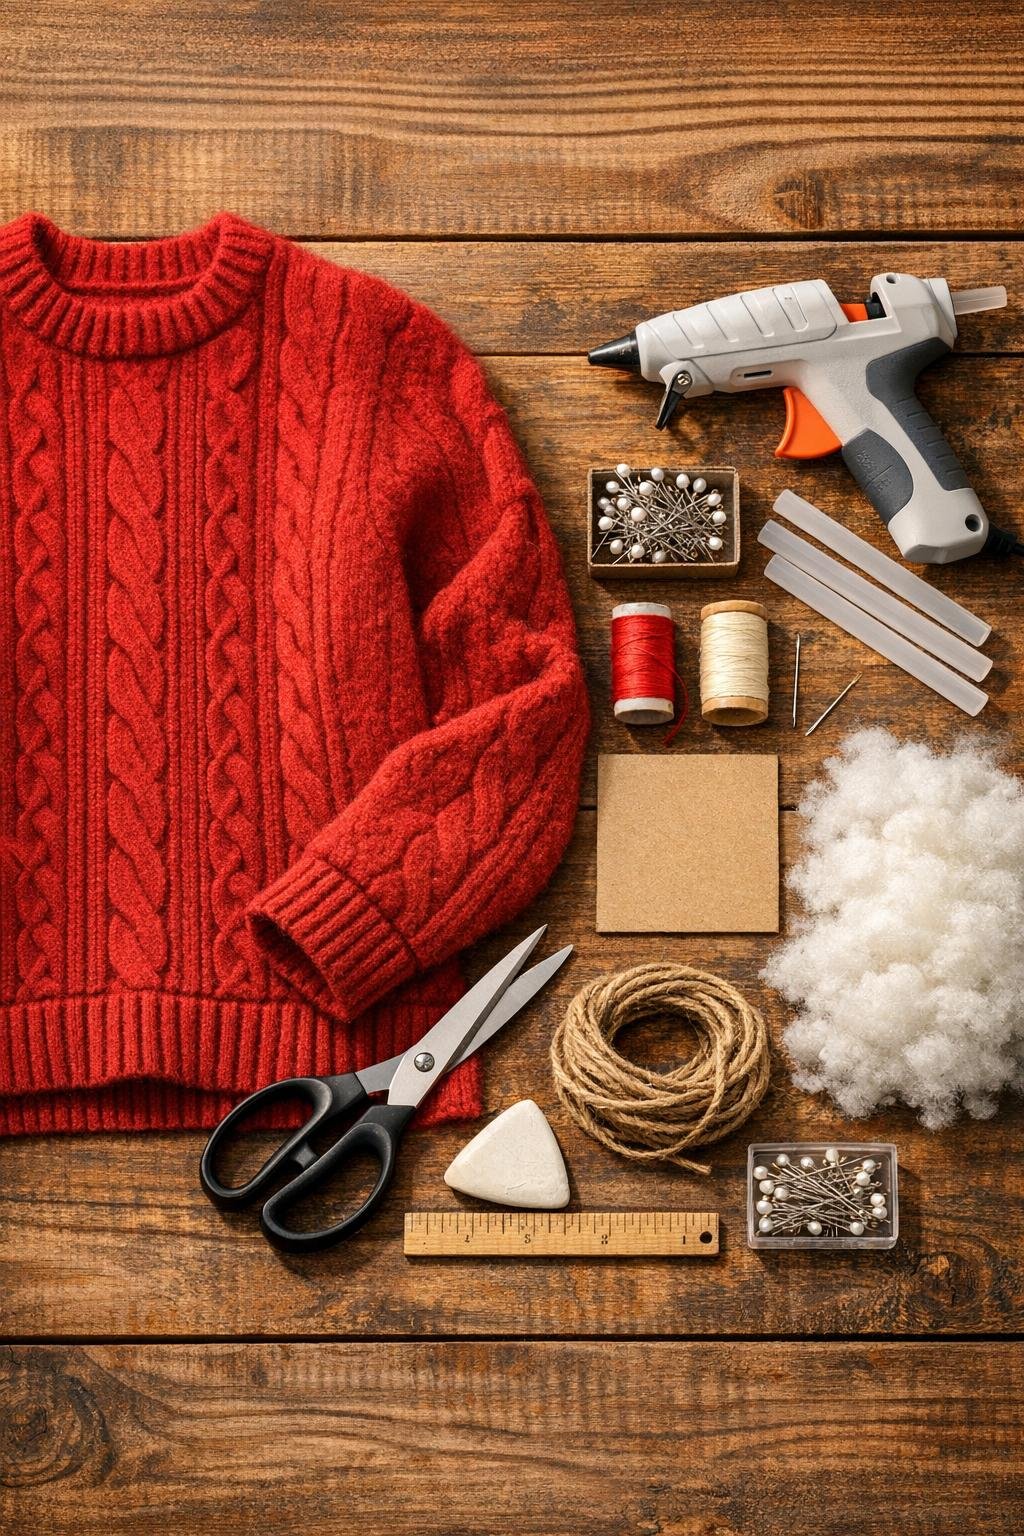
Materials
Instructions
1. Felt the sweater first by running it through a hot wash and a hot dryer; this is the whole trick, because it shrinks and tightens the knit so it won’t unravel when you cut it.
2. Lay the dried sweater flat and choose the best sections, especially the ribbed hem, cuffs, and any cable-knit panels that still look full and even.
3. Trace around a 4-inch cardboard template until you have 24 squares marked on the sweater, fitting them close together to use the fabric well.
4. Cut out all 24 squares with sharp fabric scissors, keeping the lines as straight as you can so the finished ornaments look tidy and full.
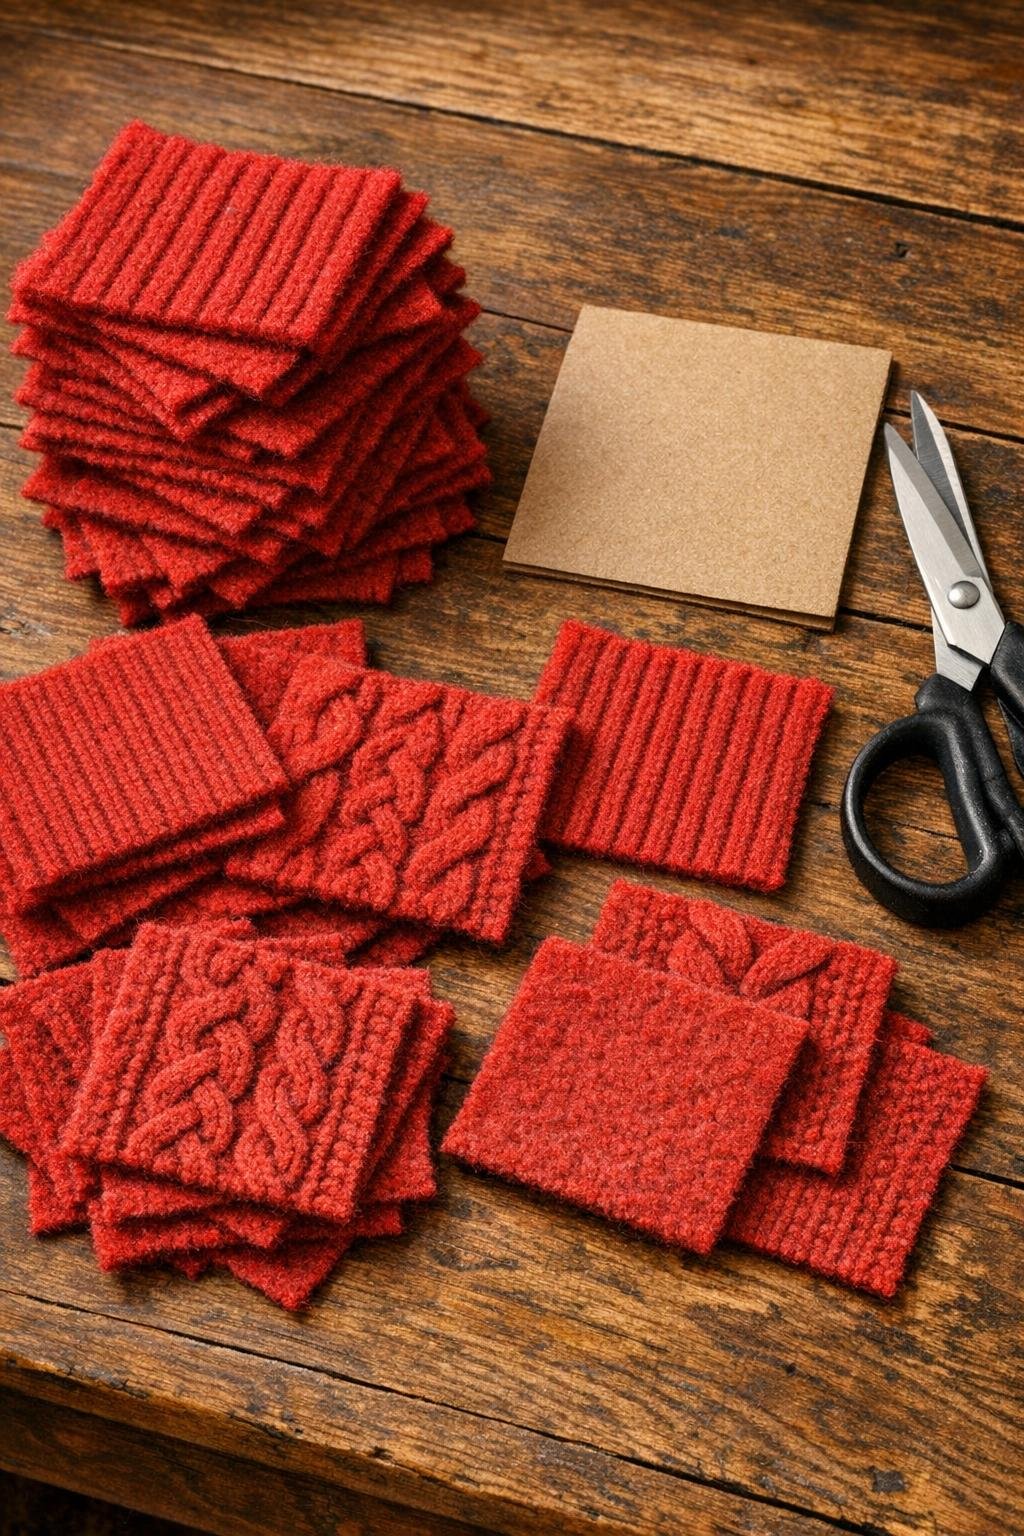
5. Match the squares into pairs with right sides together, making 10 pairs for round or pillow ornaments and reserving 2 pairs from ribbed sections for mini stockings if you want some variety.
6. Sew around three sides of each square pair with a 1/4-inch seam, or run a thin line of hot glue along three sides and press together, leaving one side open.
7. Turn each sewn or glued piece right side out and gently push out the corners with a blunt pencil or chopstick so the shape looks plump and even.
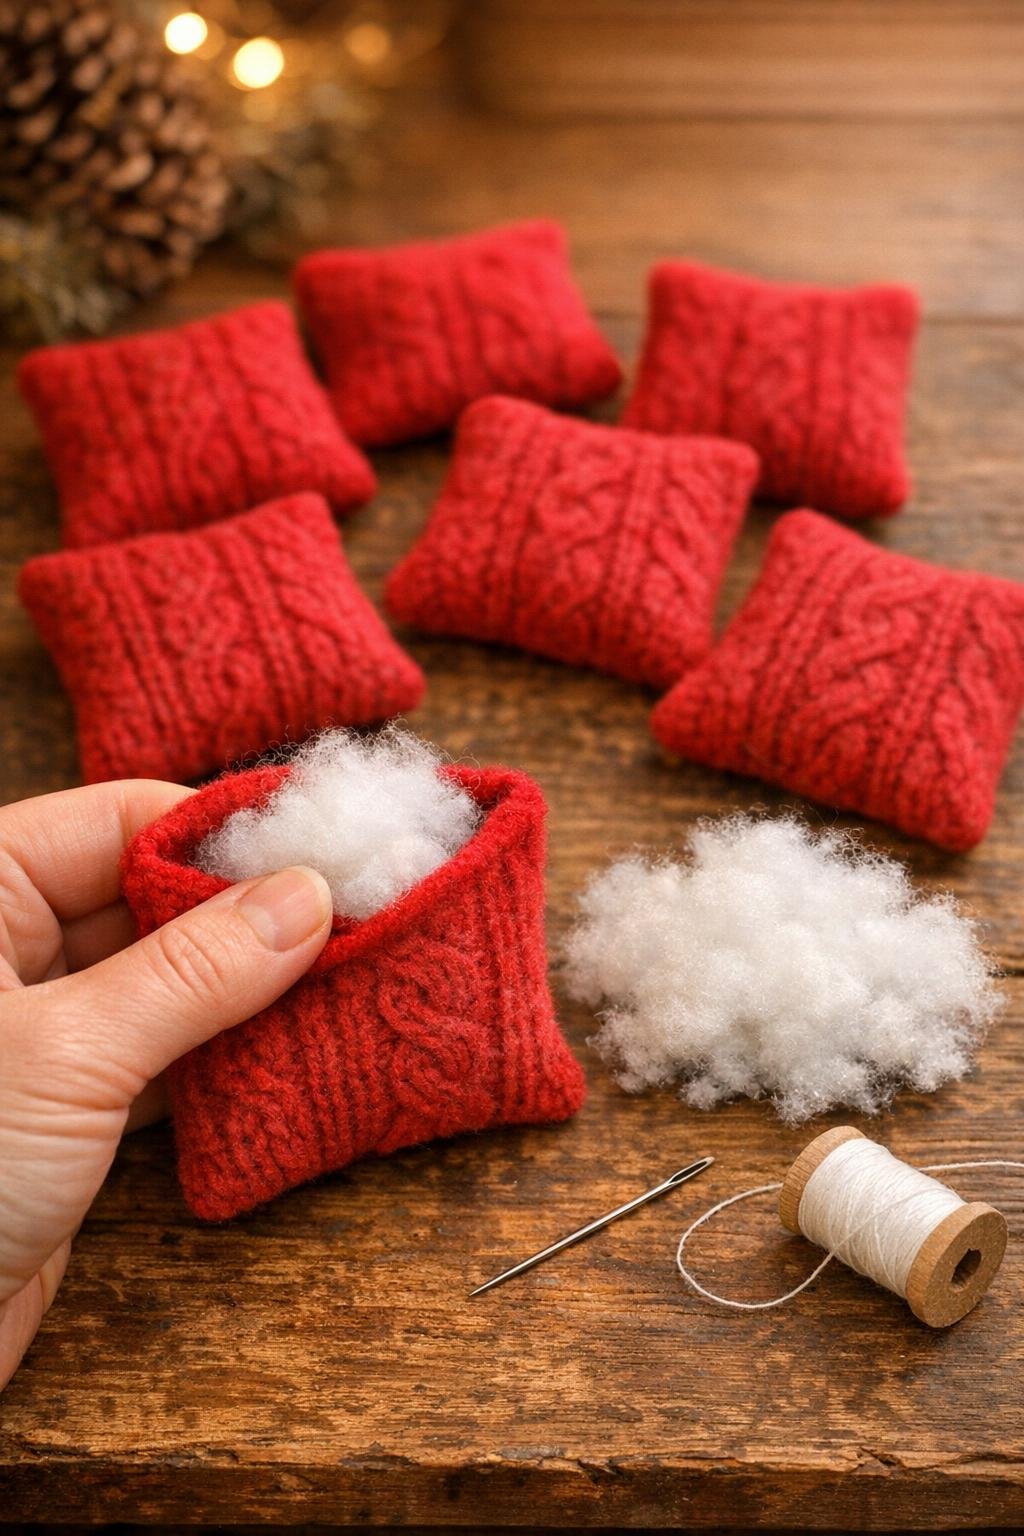
8. Fill each ornament lightly with fiberfill until it feels soft and rounded; don’t overstuff, or the seams will strain and the knit pattern won’t show as nicely.
9. For puffy knit ball ornaments, gather the open edge together tightly at the top like a little pouch, then wrap and knot an 18-inch piece of twine around the gathered neck.
10. For pillow ornaments, fold the raw edges inward and stitch or glue the opening closed, then tie on a loop of twine or ribbon at one corner for hanging.
11. To make mini stockings, use two reserved ribbed squares and cut each pair into a simple stocking shape with the ribbed edge at the top, then sew or glue around the sides, turn, and stuff lightly.
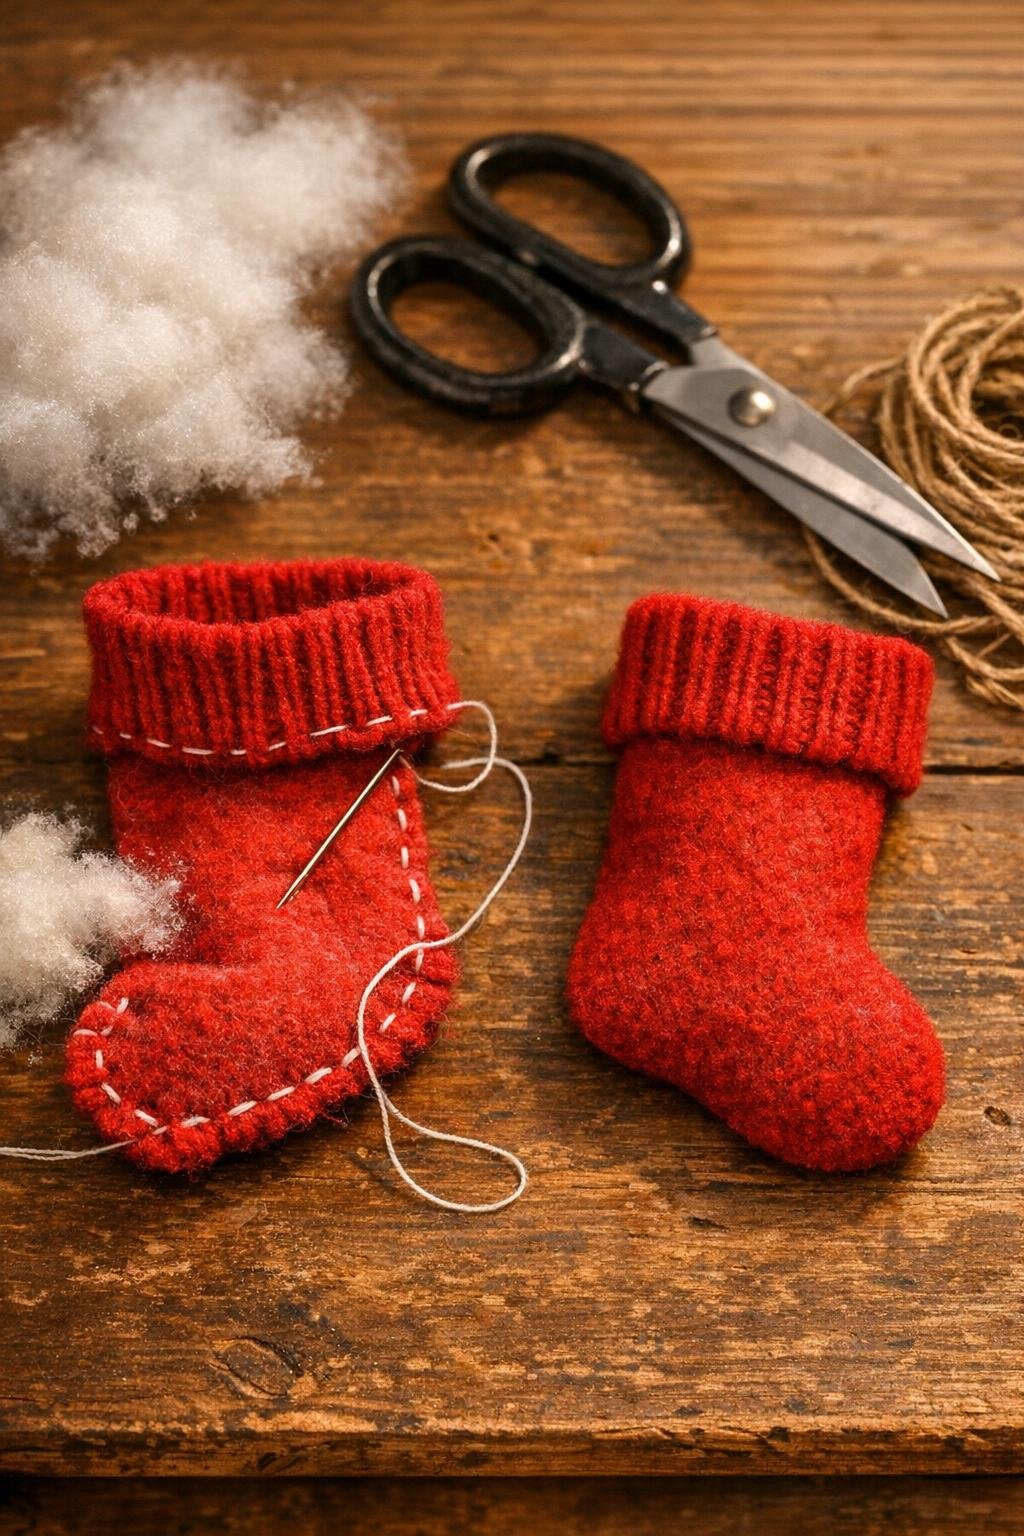
12. Add hanging loops to every ornament with twine or narrow ribbon, and trim any loose threads so the set looks finished and ready for the tree, a wreath, or a bowl on the table.
Variations & Tips
Best sweater choice: Wool and wool-blend sweaters felt best, and older sweaters with a nice cable or rib pattern often make the most charming ornaments because the texture stays visible after stuffing.
Use the hem and cuffs: The ribbed hem and cuffs are the prettiest parts for mini stockings and gathered-top ornaments, because they already have a finished look and hold their shape beautifully.
If you don’t sew: Hot glue works just fine for this project as long as the sweater has been felted first; use a thin bead so it doesn’t soak through the knit.
Keep the set full: Twenty-four 4-inch squares usually makes about a dozen ornaments, which is enough to decorate a small tree, fill a wreath, or tuck into packages as gift toppers.
Make them more polished: A tiny bow of twine, a loop of narrow ribbon, or even a little stitched snowflake on the front can give each ornament a finished, handmade look without much extra work.
Mix the shapes: I like making mostly gathered ball ornaments, then adding a few pillows and 1 or 2 mini stockings so the collection looks generous and varied rather than all one shape.
Gift idea: These are lovely packed in a shallow box with tissue paper for a neighbor, a teacher, or a newly married couple starting their own holiday traditions.